Trending Post: How to Make Your Home Look More Expensive
Trending Post: How to Make Your Home Look More Expensive
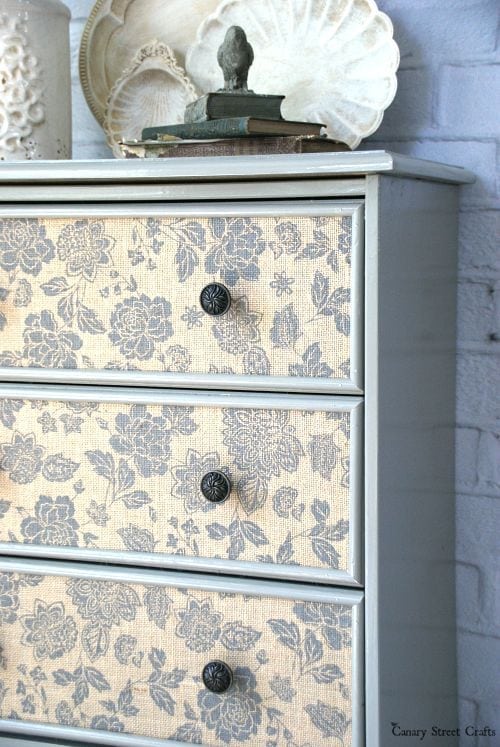
DIY dresser project furniture flips can be an easy and cost-effective way to upgrade your living space.
Any DIY dresser project can give a fresh new look to any bedroom or hallway in no time! Painting, stenciling, and refinishing are all great options for giving an old dresser a fresh look. The best part about a furniture flip is that you don’t need any special tools or skills – just gather your supplies, get creative, and you’re ready to go!
Painting a DIY dresser project is one of the quickest ways to give it a makeover.
Start by removing all hardware and sanding the surface. Then, apply primer and paint in multiple coats until you achieve the desired effect. To add depth, consider adding different colors such as ombre or two-tone effects. You can also add custom graphics with stencils to give your piece that extra flair!
Refinishing a DIY dresser project is another great way to transform an outdated dresser into something new. Begin by cleaning off the wood with mineral spirits and sandpaper. Use wood filler on any holes or dents, then use either oil-based or water-based stain in multiple coats to achieve the desired color depth. Finally, seal with polyurethane for added protection from scratches and dirt buildup.
With some creativity and elbow grease, any DIY dresser project can truly bring life back into any living space.
Whether you opt for painting, stenciling, or refinishing – you’re sure to end up with a beautiful result that is uniquely yours! So grab your supplies today and start creating your own DIY dresser furniture flip masterpiece!
Some of my top dresser projects are:
Contemporary Dresser Gets a Poetic French Makeover