Chic Storage Ottoman Project – DIY Tire Ottoman
You’re going to love this unique upcycled furniture idea – make an DIY tire ottoman, complete with storage space, from an old tire. Use fabric and rope to make a new storage ottoman.
I haven’t done a furniture flip in a little while. I have been a busy bee recently. I am so excited to be sharing this fun project with you and thank you Discount Tire for sponsoring this project!
Related: Furniture with added storage is a must for small space living. Check out this Wooden Crate Rolling Storage Ottoman.
This holiday season, I have been working on all my gifts for my friends and family. When I was challenged by Discount Tire to utilize my creativity to execute a DIY gift using a recycled tire. I happily accepted this challenge and began brainstorming an eco-friendly upcycle. This is the perfect project if you are getting to the point of needing a new set of tires. Recycle your old ones.
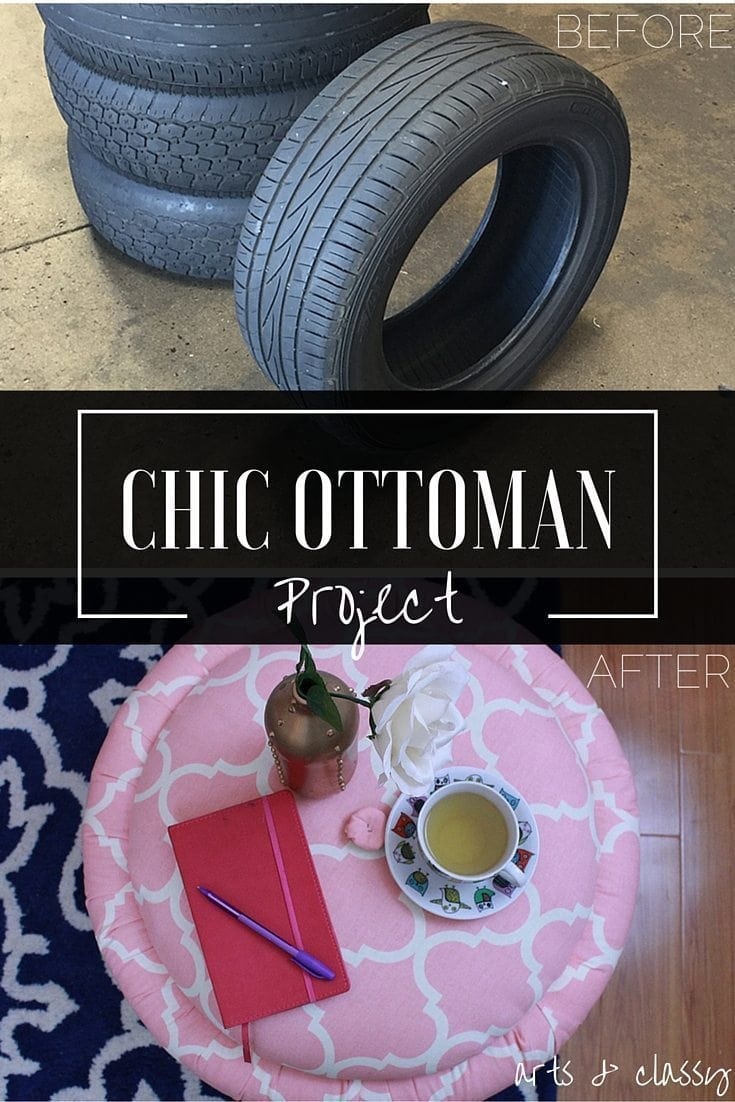

DIY Tire Ottoman
I decided to gift my project to my mom. She is retiring this week and she just moved into her dream home near San Diego! My stepdad is building a special enclosure space for my mom’s 3 kitties to live. He is allergic to felines and if you met my mom, you would wonder how they found each other because she is a crazy cat lady. We have big hearts. What can I say? This space will be her own. She wants to set up a desk and a reading corner etc. Think of it as my mom’s “She Shed.”
It’s her happy place.
My mom also tends to have a lot of things and stuff everywhere. I inherited this trait too btw. But we both try so hard to keep it in check. Hidden storage is perfect for us and for those of you in small spaces!
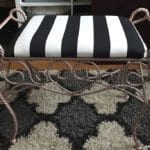
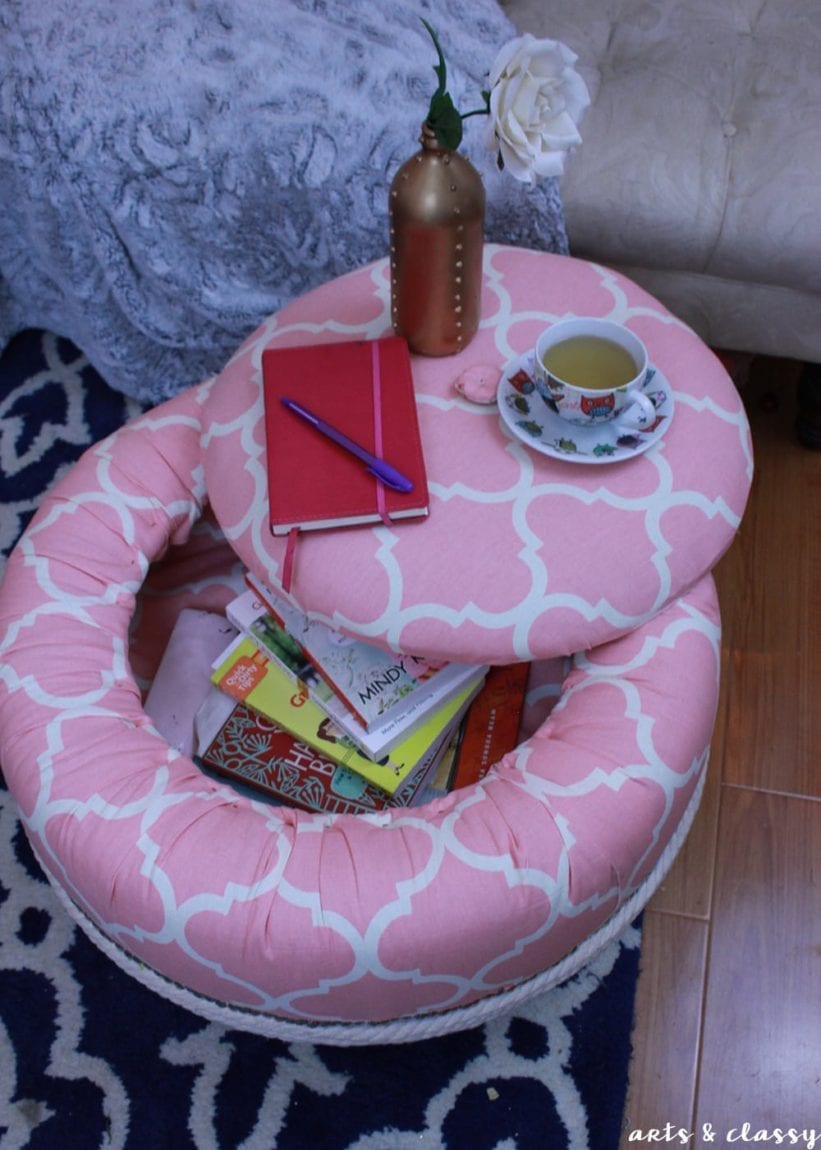
I decided to make a cute modern feminine tufted storage ottoman for my mom to store her books. She loves to read and I know she will be doing a lot of that in this space with her fur babies.
This post contains some affiliate links for your convenience. Click here to read my full disclosure policy.
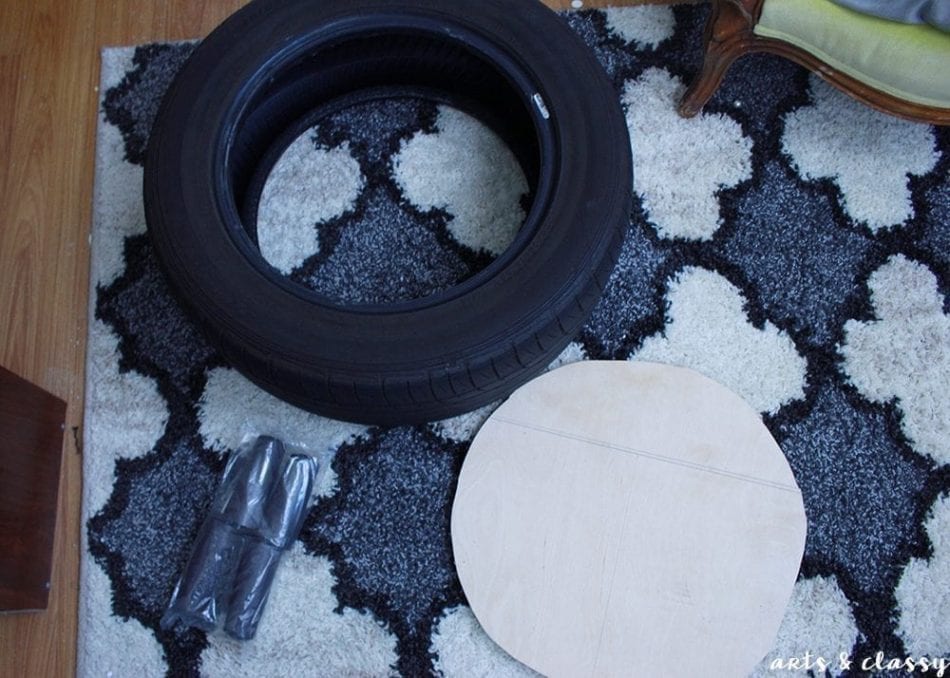
Supplies you will need for this DIY project:
- 1 Tire
- 3 Matching Sofa Legs
- Enough Plywood to create a solid base and lid (any thickness will work) Make. It. Work.
- 66 yards Cotton Rope
- Silver thumbtacks
- 4 yards of fabric
- 8 yards of quilting batting
- Cardboard or Foam core board
- Upholstery foam (any thickness will work)
- Power Drill with drill and screwdriver bits
- Staple gun with 1/2″ staples
- Electric Cordless Crown Stapler with 3/4″ crown staples
- Jigsaw with wood blade
- Wood Screws – 2 1/2″
- Spray Adhesive
- Hot Glue Gun
- Hot Glue Sticks
- Pencil
- Plastic Curves
- Ruler
Tutorial: Make a DIY Tire Ottoman
Step 1
Get your tire. I got mine from my local America’s Tire. This tire had a nail in it and was going to dispose of, but I was able to rescue it for my project!![]()

Step 2
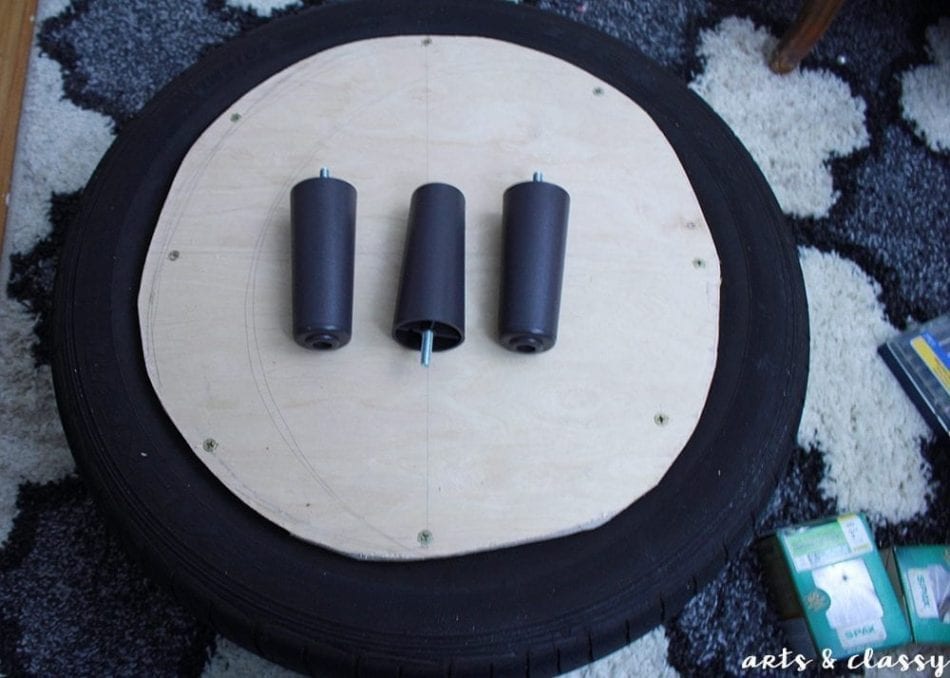
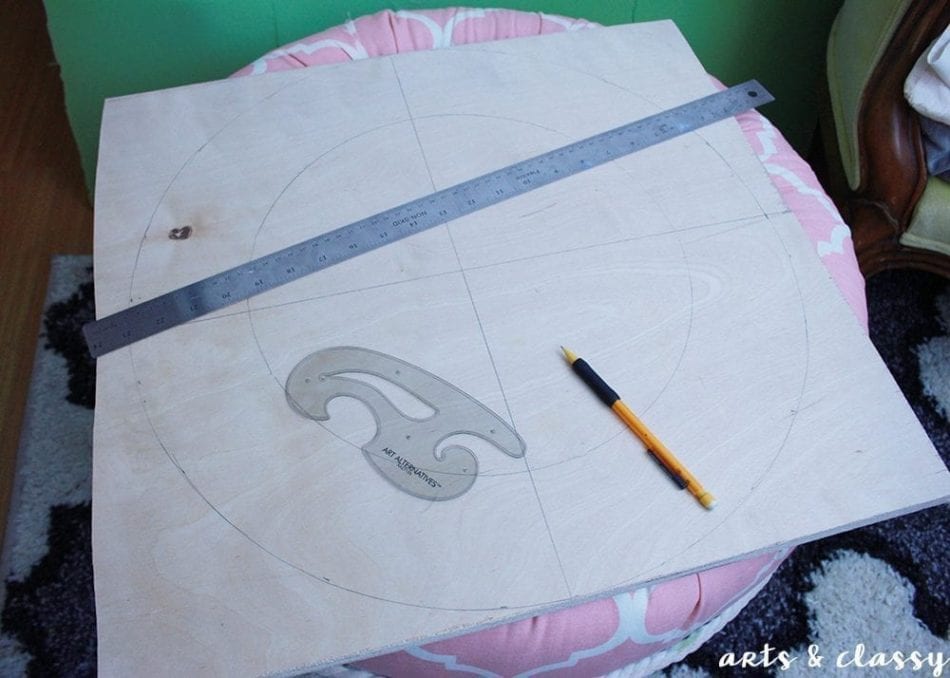
Create a circular shape with your jigsaw for your base. I measured about 1″ from the edge of the tire so that the screw would stay secure and safe. I want people to be able to sit on this piece.
Once my plywood was cut I used my 2 1/2″ screws to secure the plywood base to the tire with my power drill. I just followed the circumference of the plywood.

Step 3
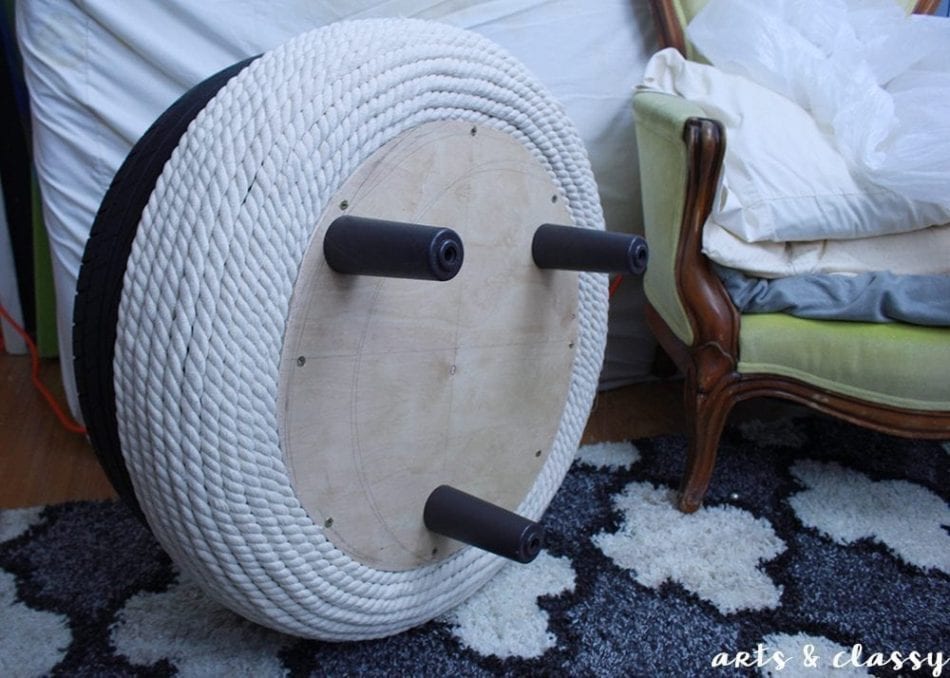
Attach the legs. I decided to use 3 legs instead of 4 for the style.
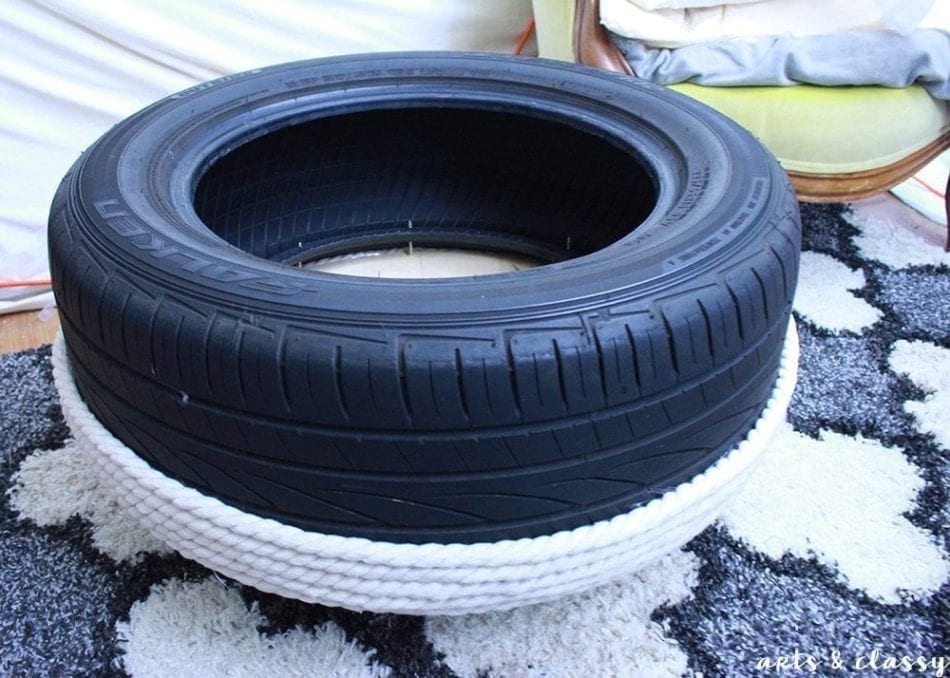
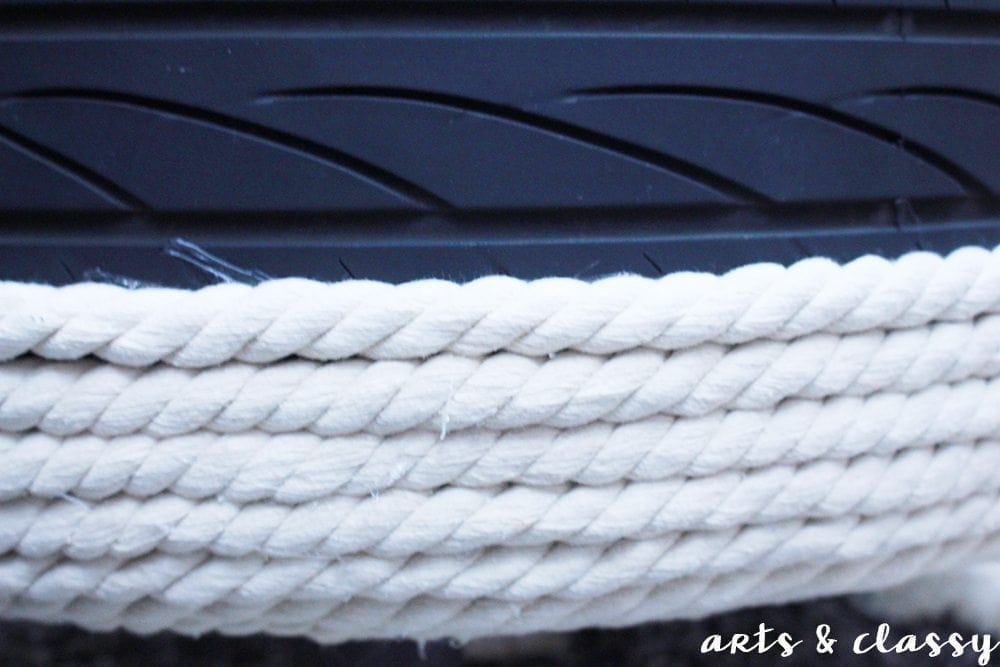
Step 4
I took my hot glue gun and my rope and I began winding it around the base to clean it up a little. My first circle cut wasn’t the cleanest. I was power tool shy… I haven’t played with mine in a while. But I nailed the top. It came out looking great.
Step 5
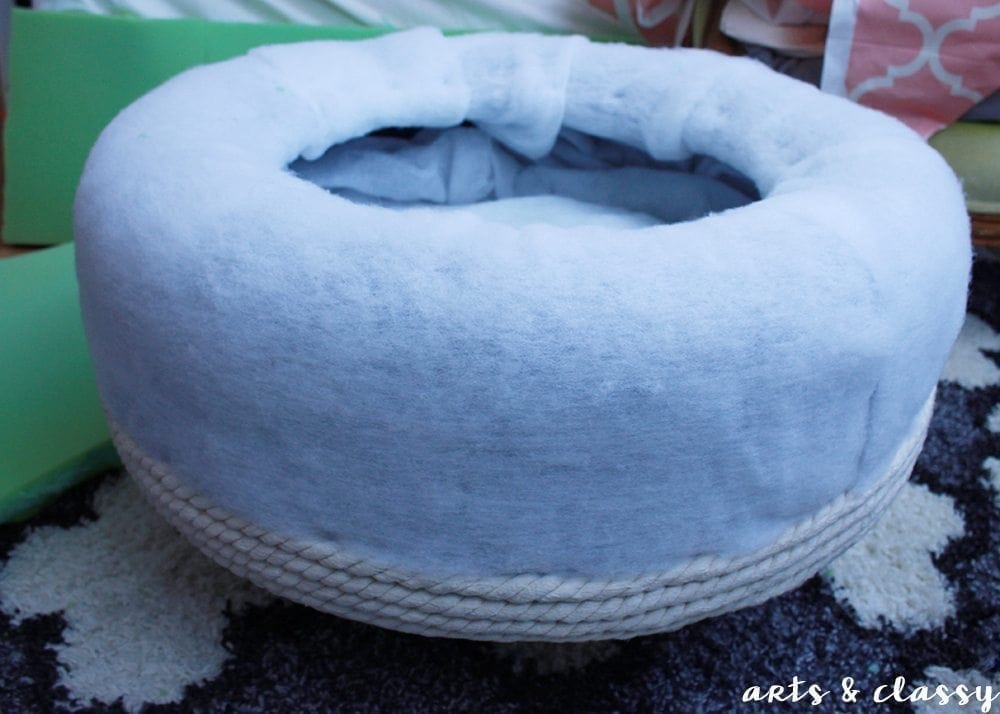
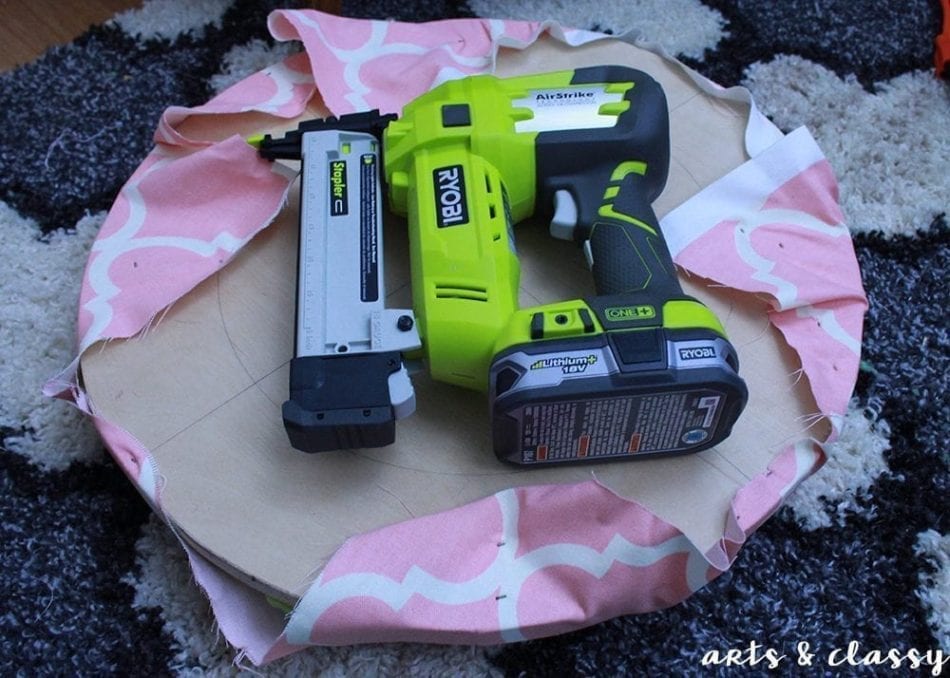
I decided to upholster the rest of the ottoman once I used up all my rope. I used my spray adhesive, batting, and my crown stapler to secure the batting in place on the interior and exterior.
In the interior of the tire, I found that using my manual stapler worked better to secure the batting because it fits better in awkward spaces.
Step 6
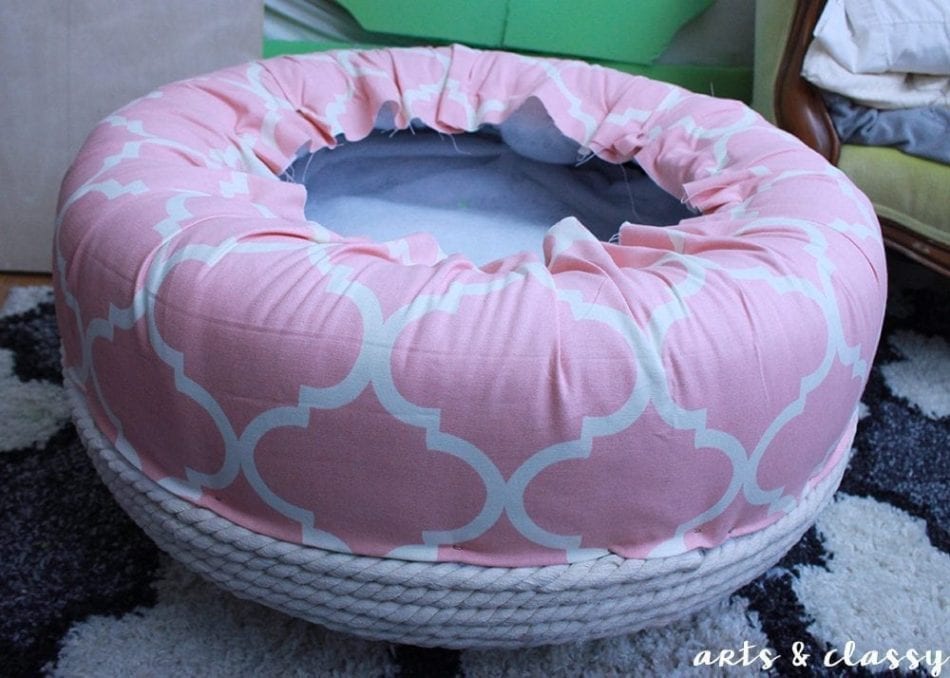
I cut, placed, used my spray adhesive, and my crown stapler to secure the fabric in place over the batting. I also did this on the interior of the tire. I wanted to make sure my storage space was controlled and looked pretty.
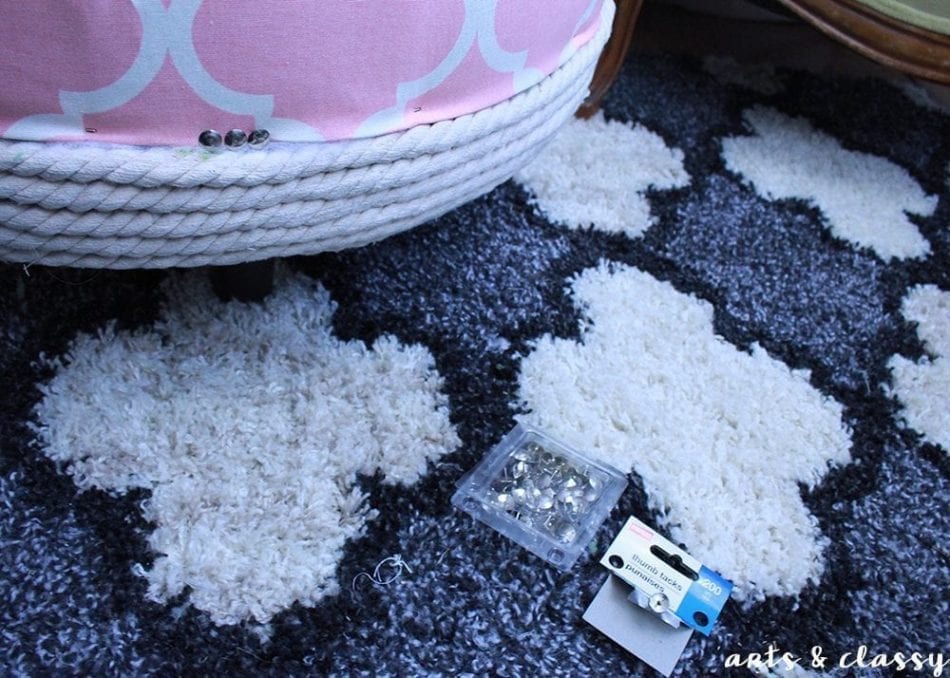
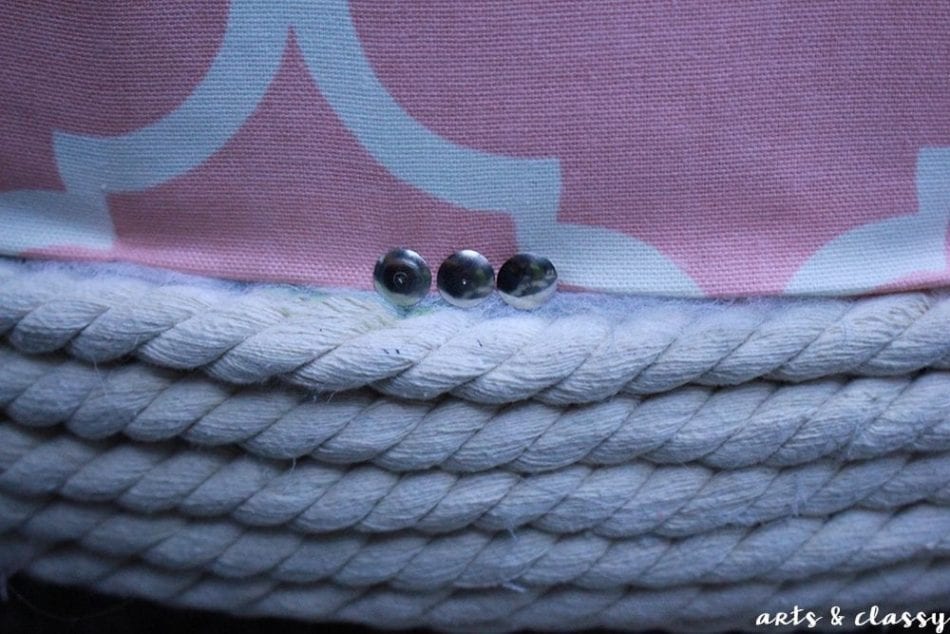
Step 7
On a whim I decided to clean up my edges with some chic looking thumb tacks. Once stuck in the tire, they were not coming back out. I love the decorative look it gave this piece.
Step 8
I measured out and cut my top for my storage ottoman from my left over plywood with my electric jig saw.
Step 9
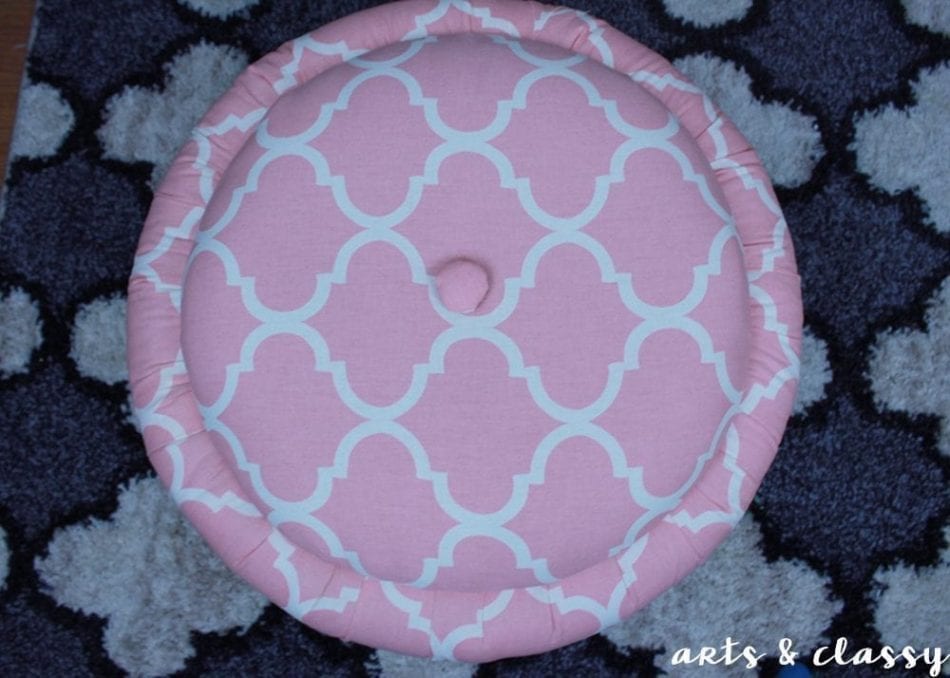
It came time to upholster the top of this ottoman.
I used the rest of my fabric to secure over upholstery foam. I wanted to create a tufted effect in the middle of the top.
I made my top upholstery button the DIY way aka out of cardboard that I cut in a circle, with a little bit of foam placed on top and secured fabric tightly around it. Works like a charm. This is also how I made my Faux tufted headboard in the past.
Step 10
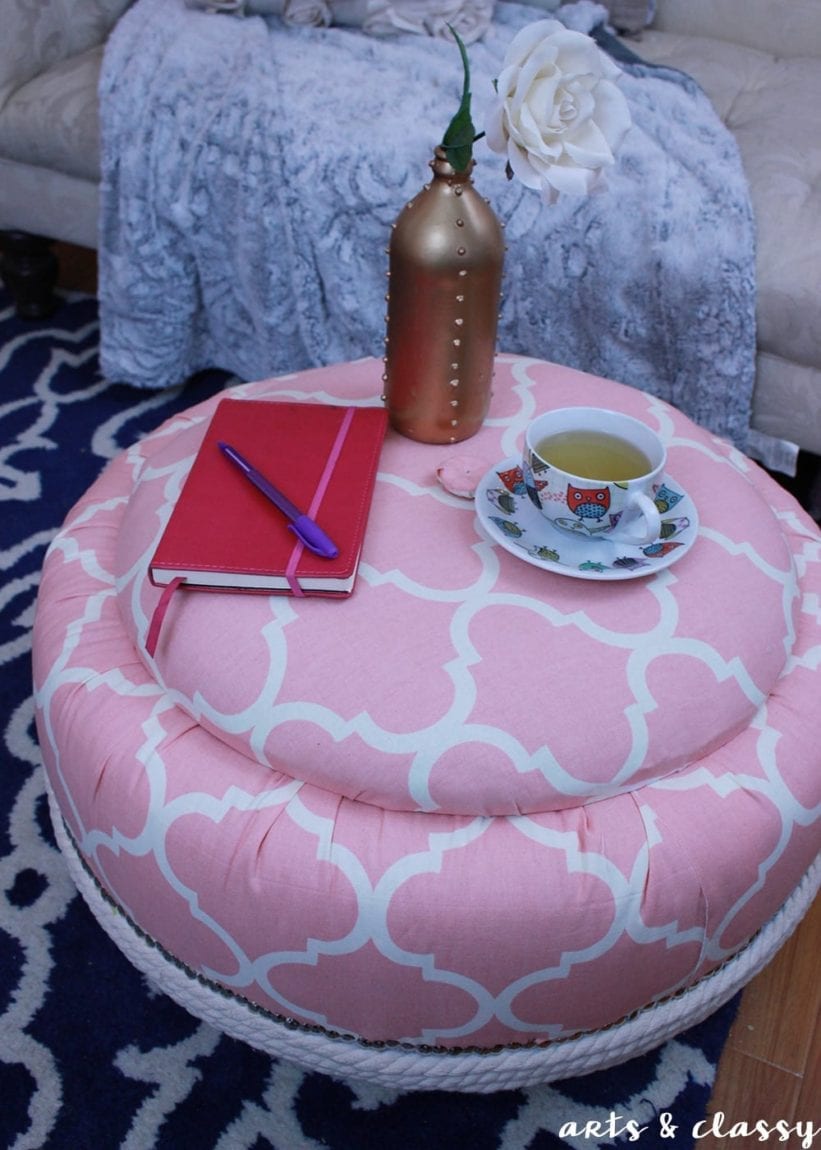
I decided to test out my creation! I am really pleased with how it came out and my mom will be so excited to add this to her “She Shed” in her retirement bliss! I am so happy I was able to turn this old tire into something beautiful that can be enjoyed by another. This is why I love what I do.

I encourage you to share your sustainability efforts + projects and presents with me!
All you have to do is use the hashtag #OldTiresTurnNew to share your DIY project on social media. Follow Discount Tire & America’s Tire on Facebook!
I hope you enjoyed this project! Please let me know in the comments below if you found it valuable! Will you join me in becoming more eco friendly? Especially during the holidays. I believe in YOU!

*This post has been sponsored by Discount Tire however, all opinions expressed are entirely my own.
Here are a few more DIY ottoman projects I think you’ll enjoy: