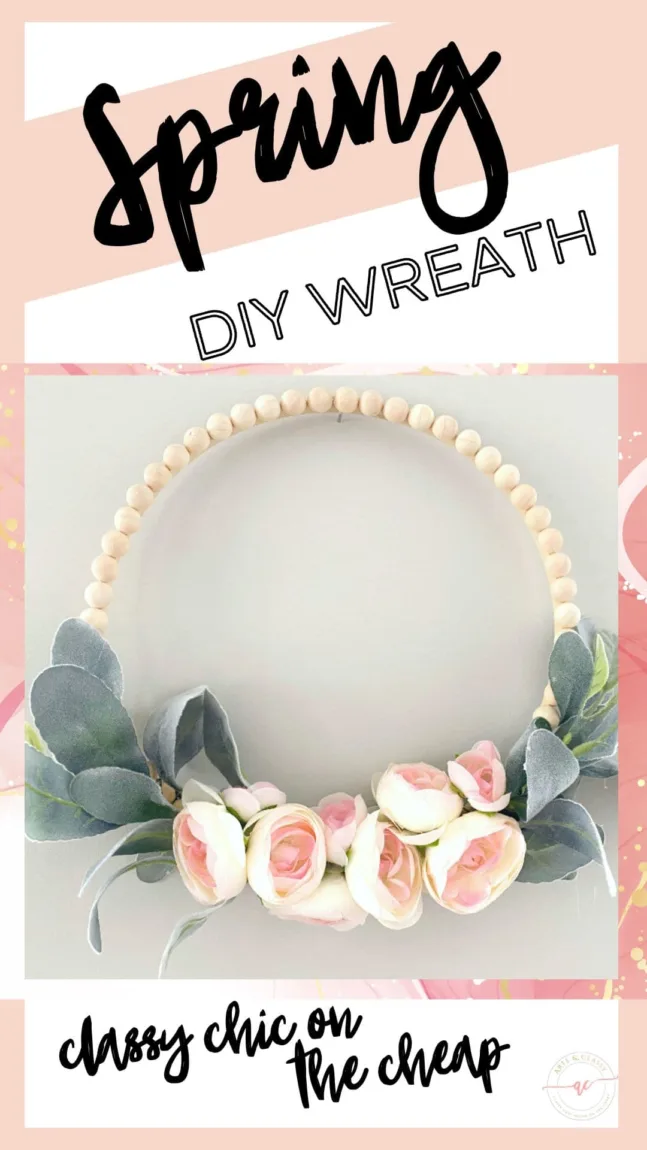
90% Savings: Make Your Own DIY Spring Wreath for Pennies!
Making beautiful floral wreaths for your front door or window is a great way to welcome spring and warmer weather. In this blog post, I’m going to show you how to make a DIY spring wreath using a wood embroidery hoop and some inexpensive materials from the craft store. This project is perfect for beginners, and it will only take you about 30 minutes to complete!
Is it cheaper to make your own floral wreath?
With the right materials and some simple instructions, it can be easy to make a beautiful and easy DIY spring wreath that will make your house stand out. All you need are some artificial flowers, greenery, and a hoop, and you’ll be able to create something beautiful!
It’s much cheaper than buying professionally-made wreaths and gives you a chance to personalize the design. If you’re feeling confident in your crafting skills, why not try making your own floral wreath this season?
This post contains some affiliate links. I may earn a small commission if you make a purchase through one of these links. See more information in my full disclosure policy.
What do you need to make a spring wreath?
To make the exact wreath I made, these were the items in my craft supply closet. But I encourage you to follow your creativity and may your wreath in a way that reflects your style and color scheme.
- Wooden hoop
- 15 mm Split Wood Balls
- Lambs Ear (2 stems)
- Ranunculus
- Hot Glue Gun
- Gorilla Glue Sticks
- Clear zip ties
- Floral wire
- Scissors
Step 1
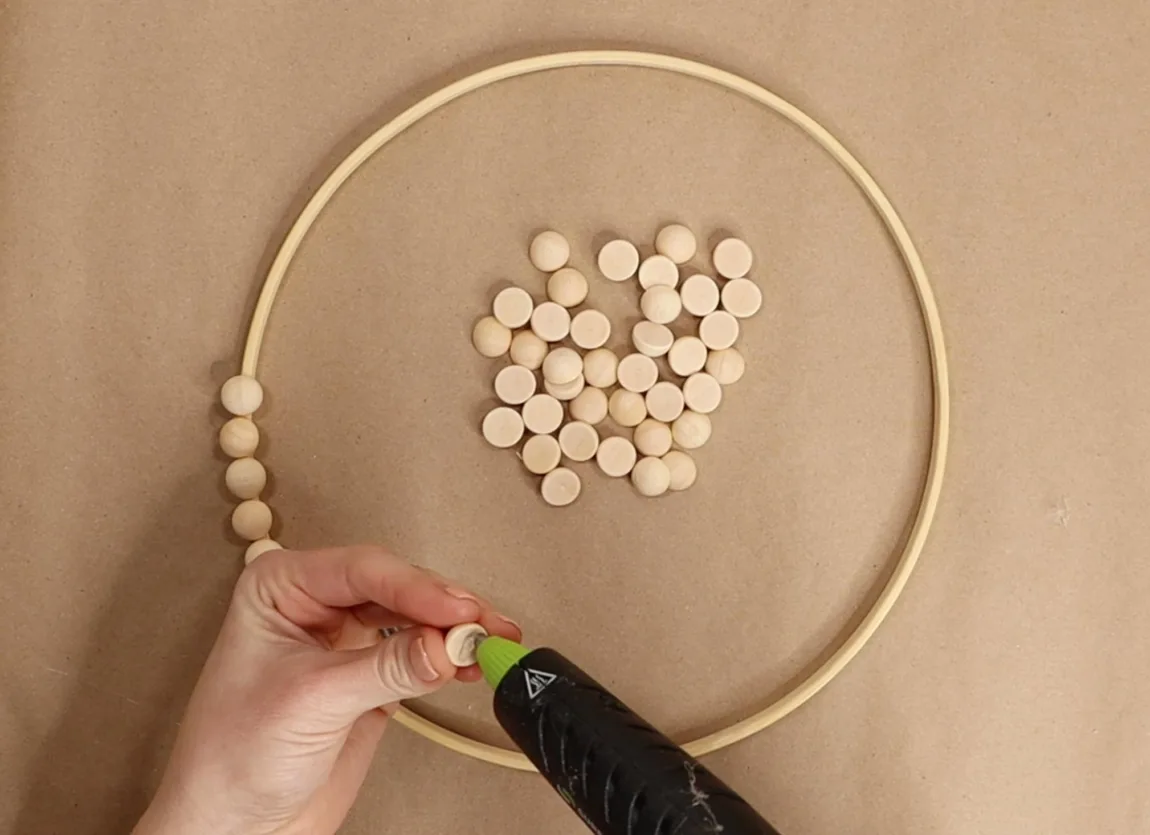
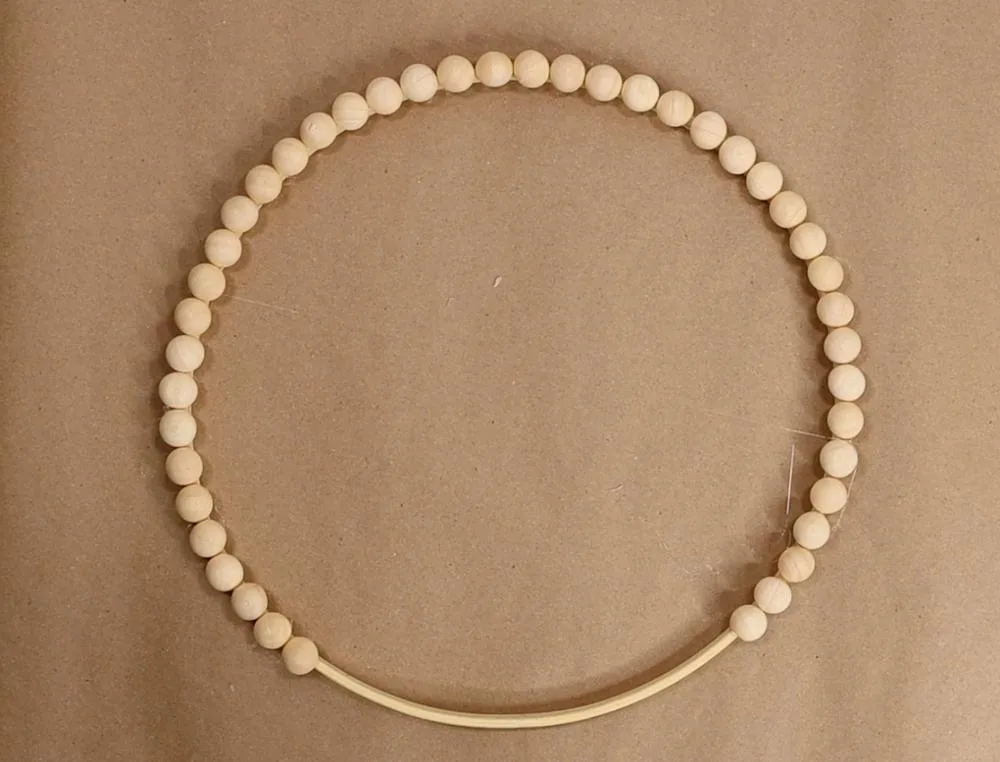
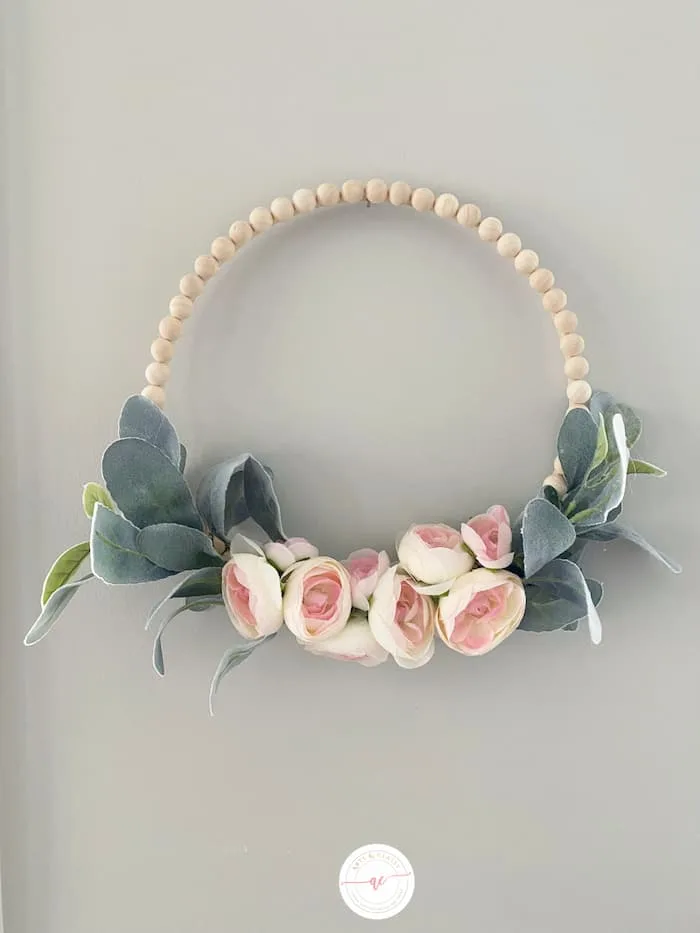
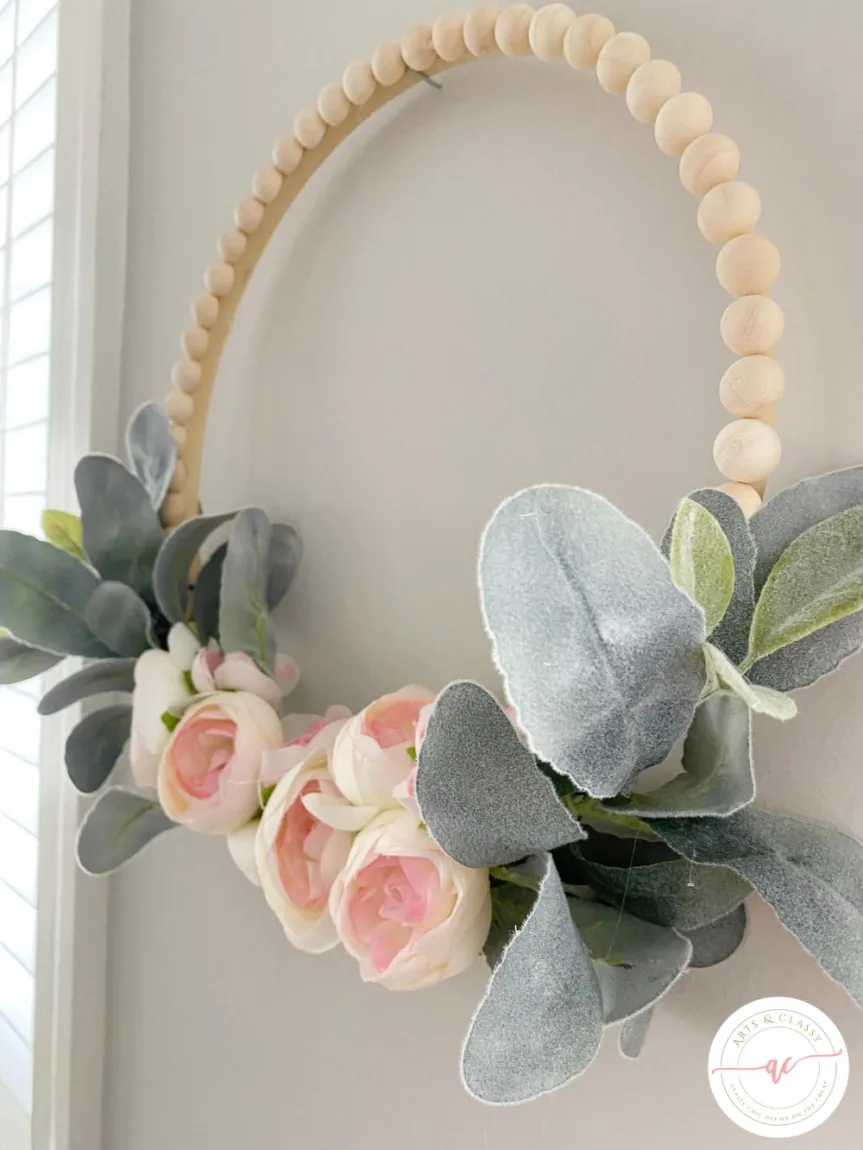
After scavenging around my craft room, I was able to put together the materials needed to make a wreath perfect for springtime. Using a wreath form of wood craft hoop to provide a sturdy base, I grabbed some 15mm wood bead slices close by and set to work using the hot glue gun. After carefully positioning the beads around the hoop’s circumference, creating an even pattern for added aesthetic, I relished the finished product of this diy wreath. It was a beautiful spring craft that meshed well with my creative endeavors.

Step 2
For a unique twist, I’m ditching the traditional bead border around my wreath and instead adding some beautiful faux flowers. If you want to focus on an Easter theme, add eggs or a bunny for that extra bit of festivity! Or, take it down a different path by incorporating peonies or other seasonal flowers like daffodils into your design.
Step 3
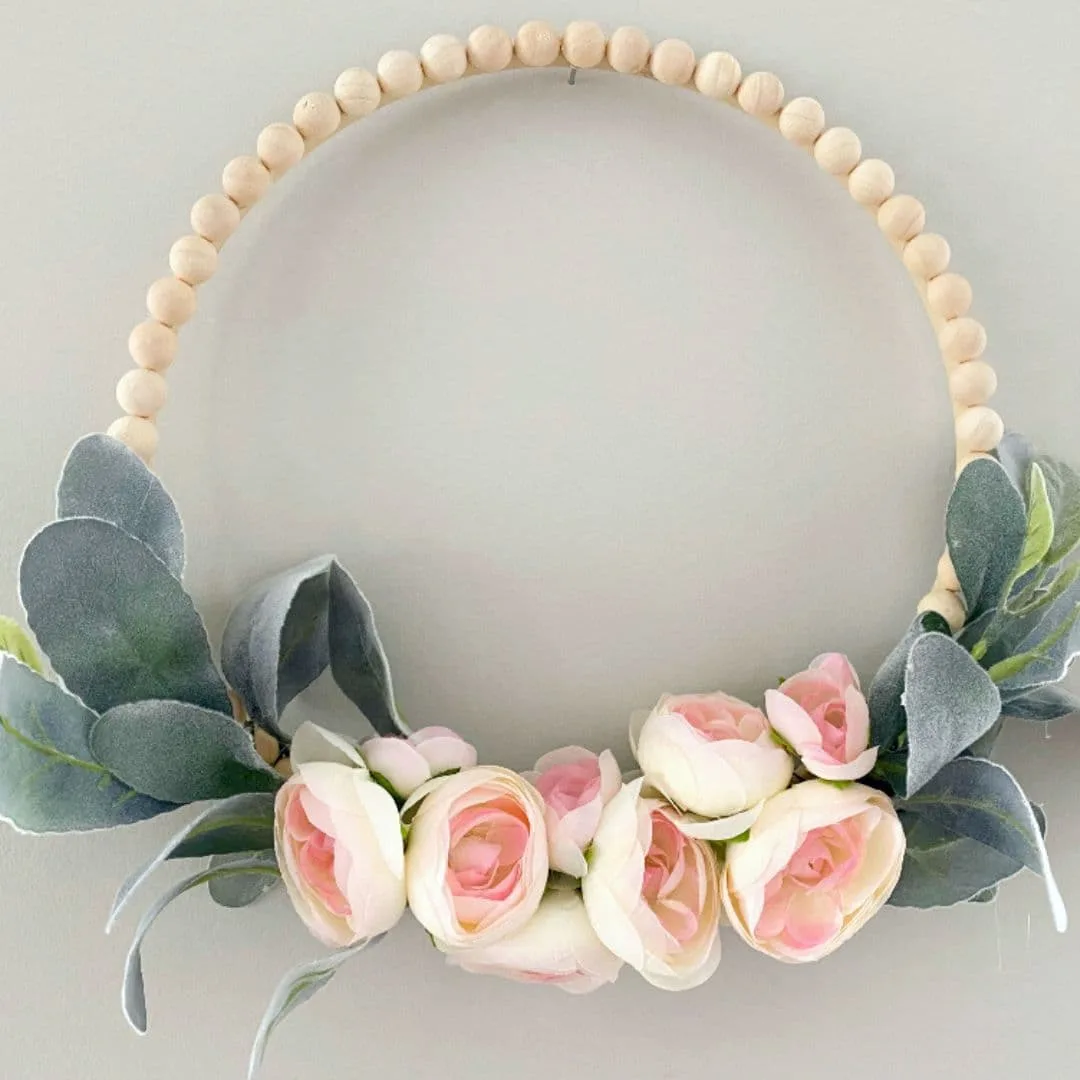
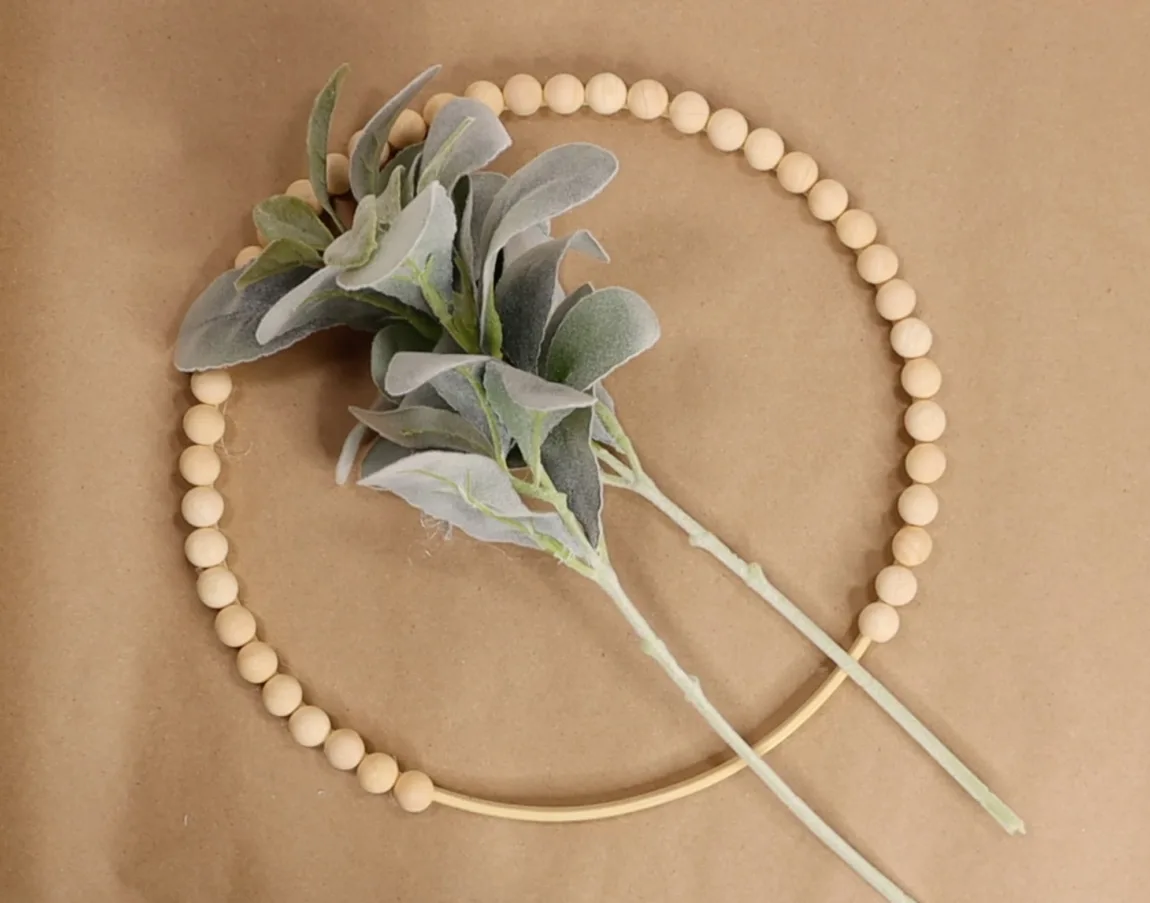
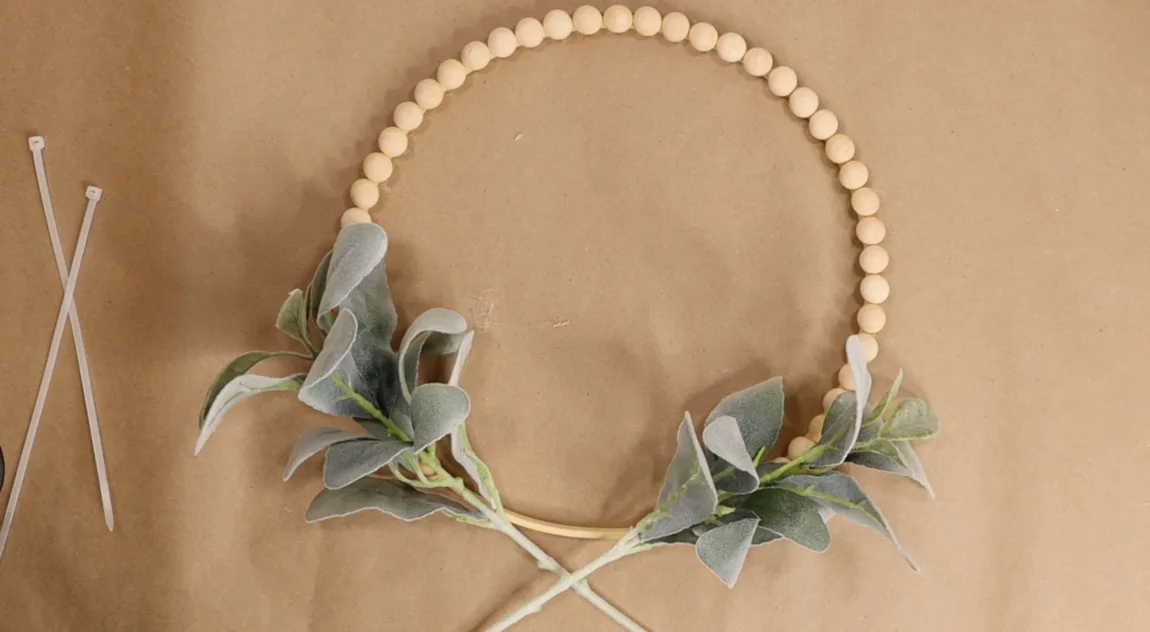
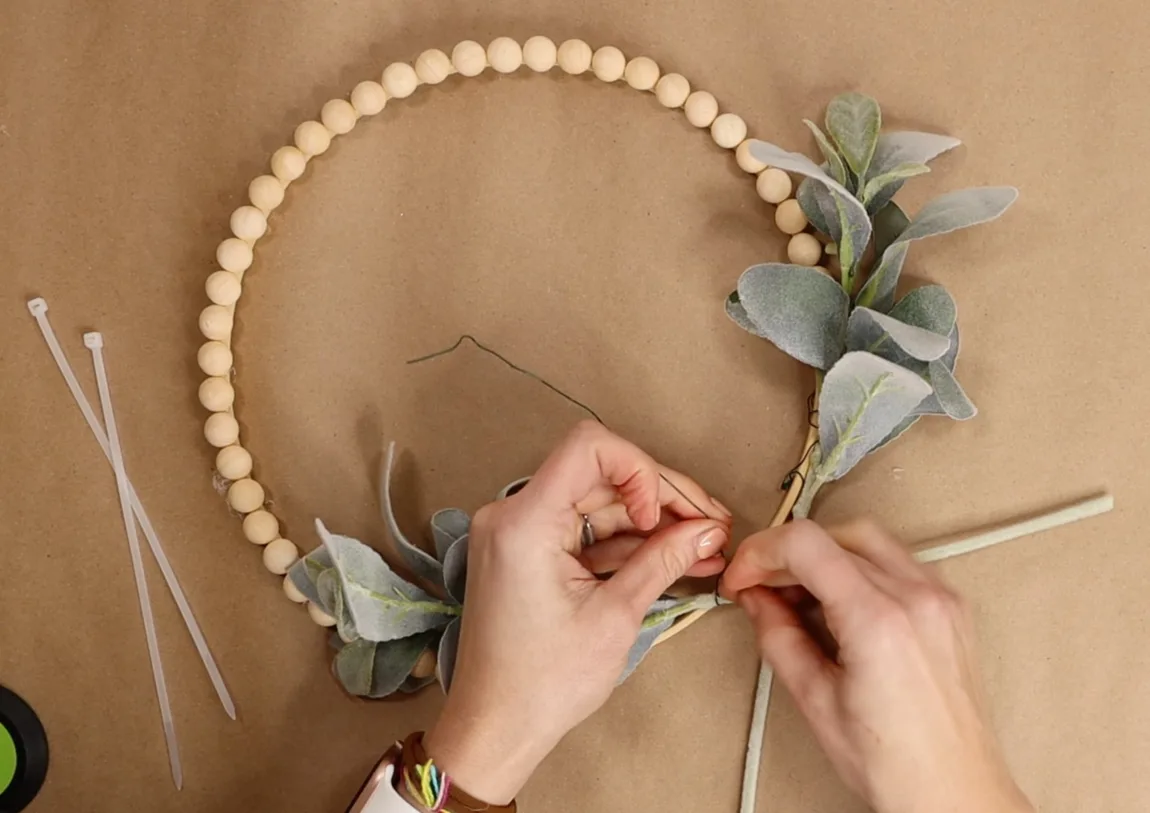
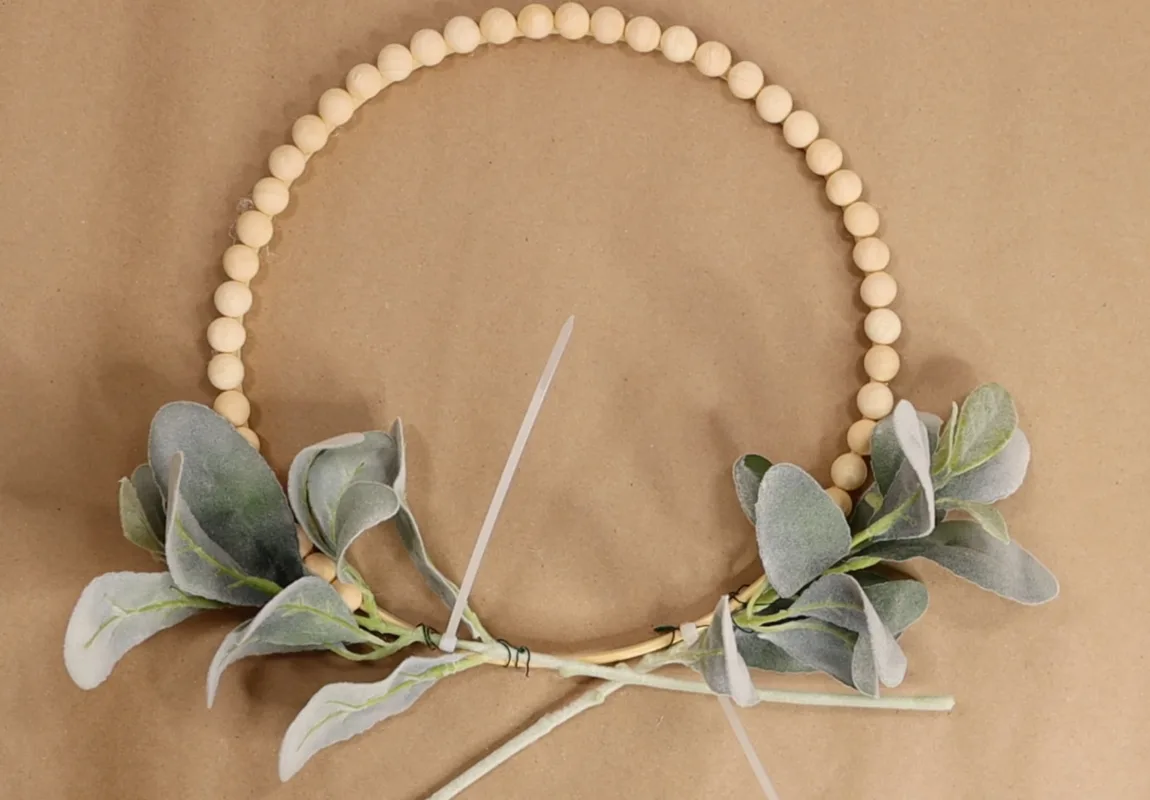
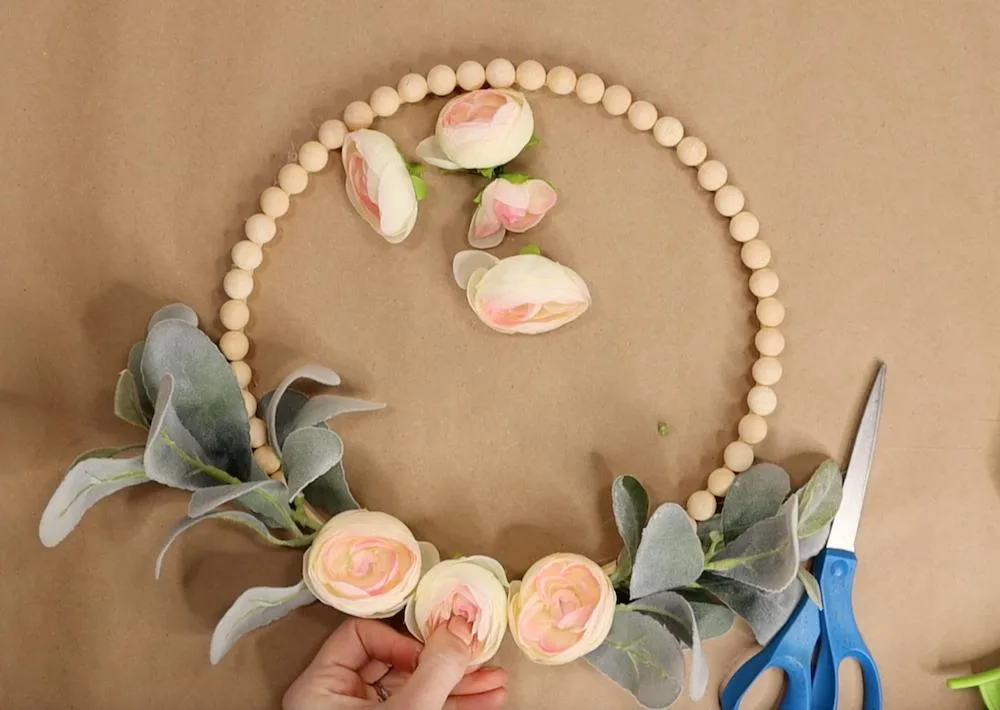
The first layer of greenery that I chose was lambs ear. You can get 2 steps for $2 at Walmart! What a great deal! Position the greenery in the way you want it to be displayed and attach it with floral wire and a clear zip tie. Use hot glue if needed for additional support on the hoop.
Step 4
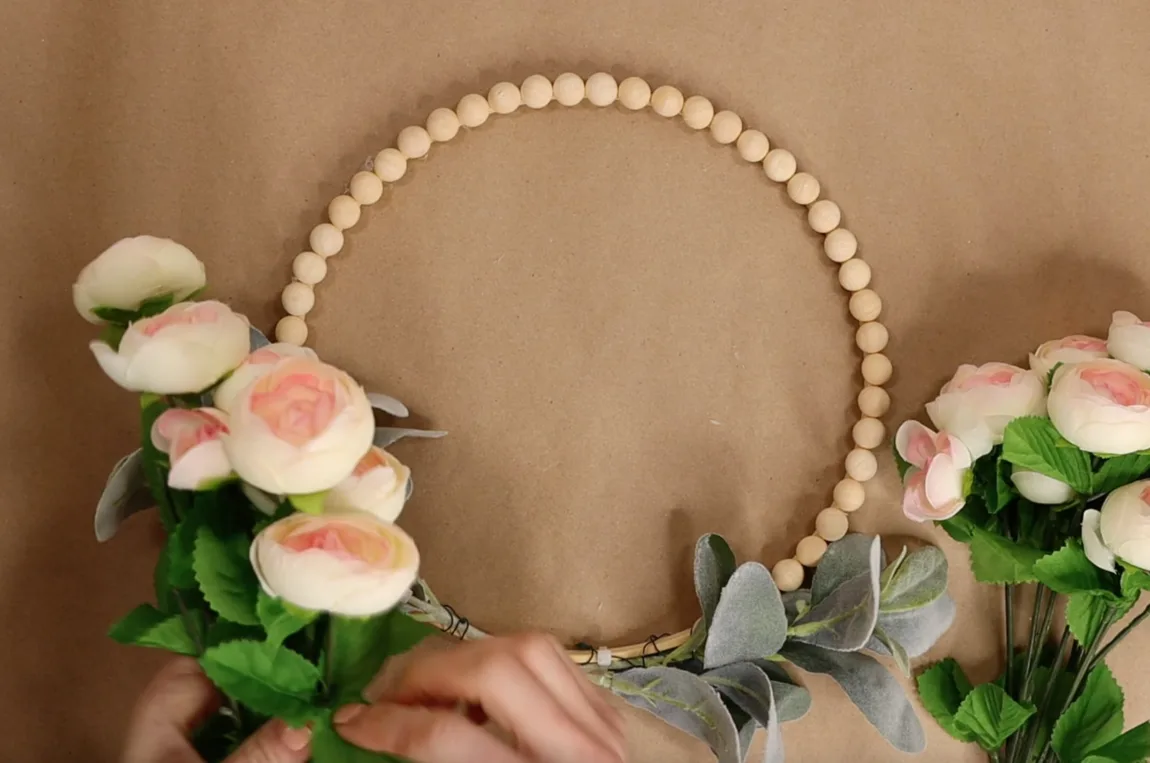
I chose to use ranunculus blooms for this DIY spring wreath project. I was tempted to use eucalyptus as well but I was trying my best to make this a very budget-friendly diy spring wreath idea. The next part is to hot glue the blooms covering the lamb’s ear and the wood hoop wreath form.

Step 5
Hang and enjoy this simple DIY spring wreath in your home or on your front door to embrace the season!

Now that you know how easy it is to make your own floral DIY spring wreath, there’s no excuse not to add a little personality to your front door this season!
And if you liked this project, be sure to follow me on Instagram, TikTok, YouTube, Facebook, and Pinterest for more ideas. I post new DIY projects every week, so you’ll always have something fun (and affordable) to keep you busy. Thanks for reading!
I hoped you enjoyed this spring decor project! If so, you might also like:


Meredith, this is such a sweet spring door wreath and so simple to make!!
Thank you for sharing your spring wreath DIY at Create, Bake, Grow & Gather this week. I’m delighted to be featuring it at tomorrow’s party and pinning too.
Hugs,
Kerryanne
Thank you for the feature and the positive feedback, Kerryanne!