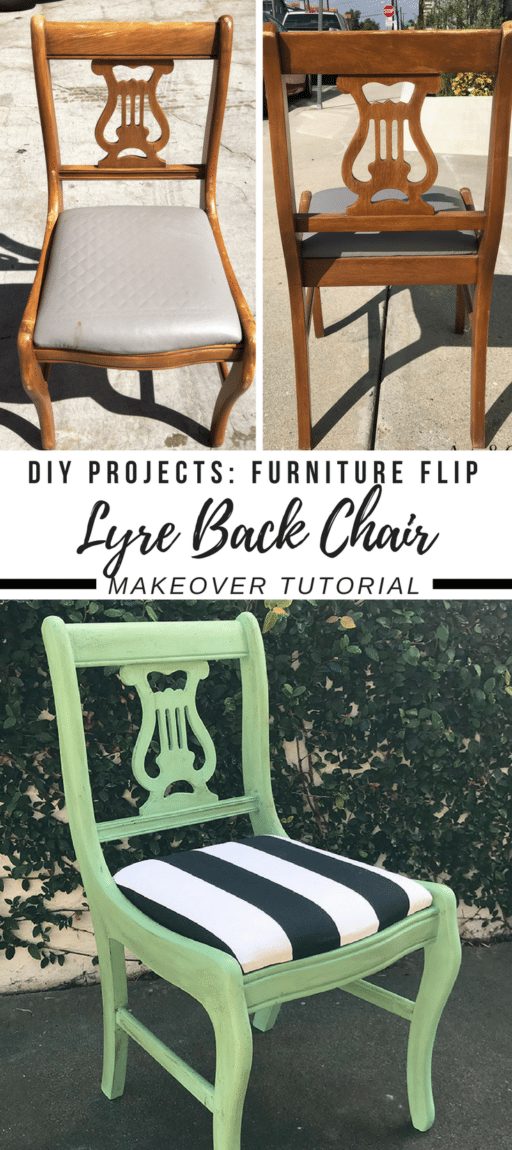
A Lyre Chair Find Gets A Makeover (With Photos)
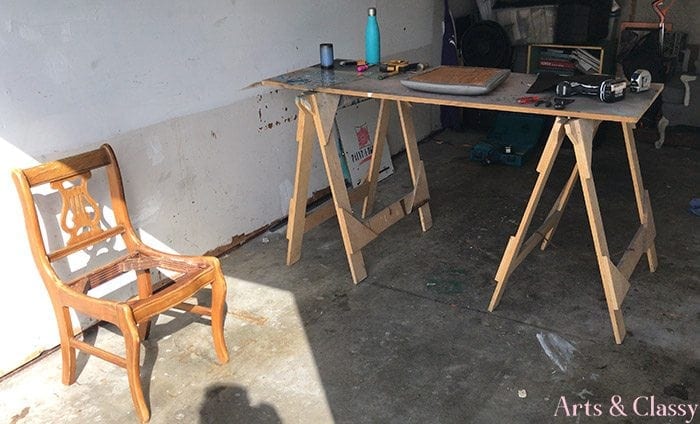
Happy Makeover Monday! This is a new series I am starting every week. I am showcasing the projects I am working on to inspire others. This week I am sharing this Lyre chair makeover! I love picking up furniture on the side of the road to revive, but this week I scored a gem of a chair on Facebook Marketplace. I will say that I typically have a lot of success at finding furniture that is in good condition from my local thrift store.
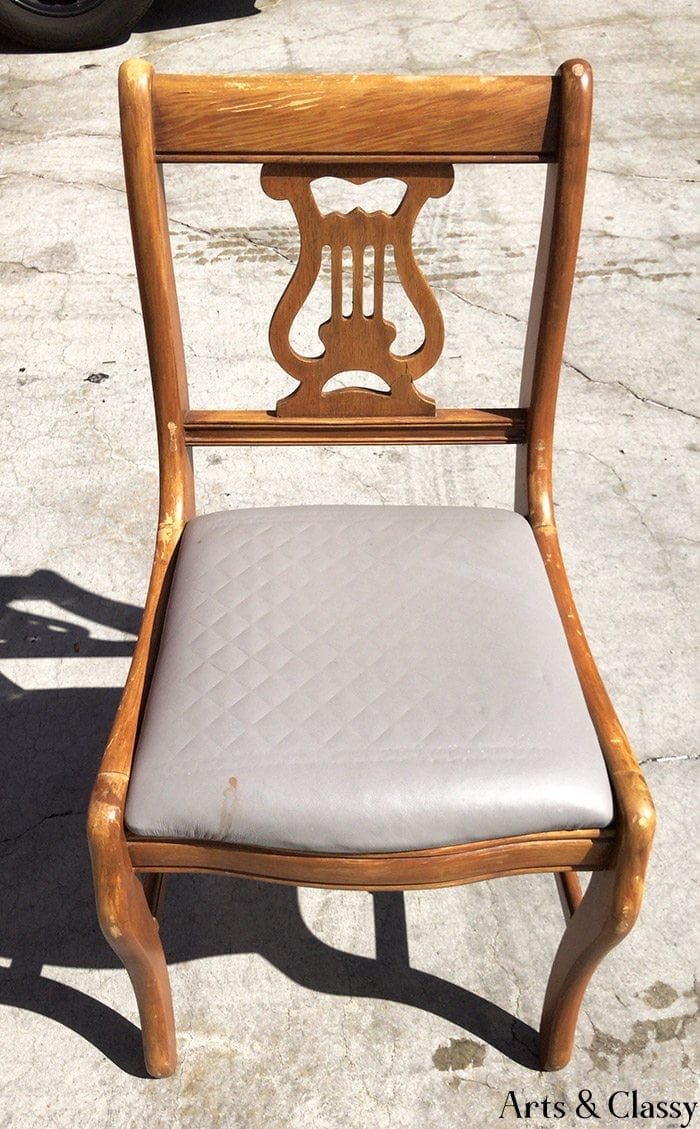
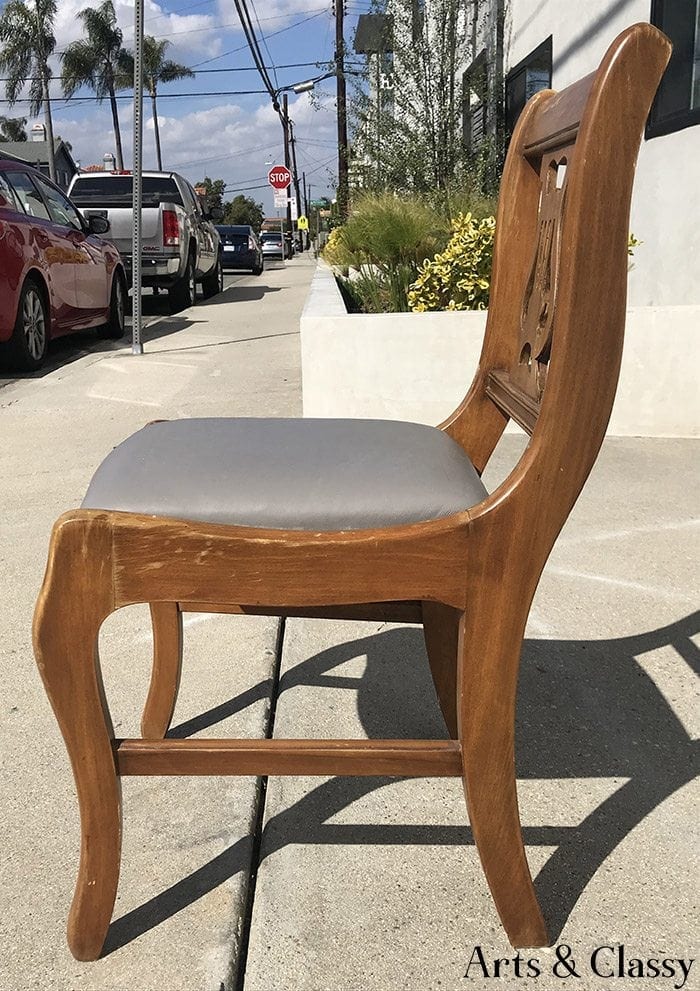
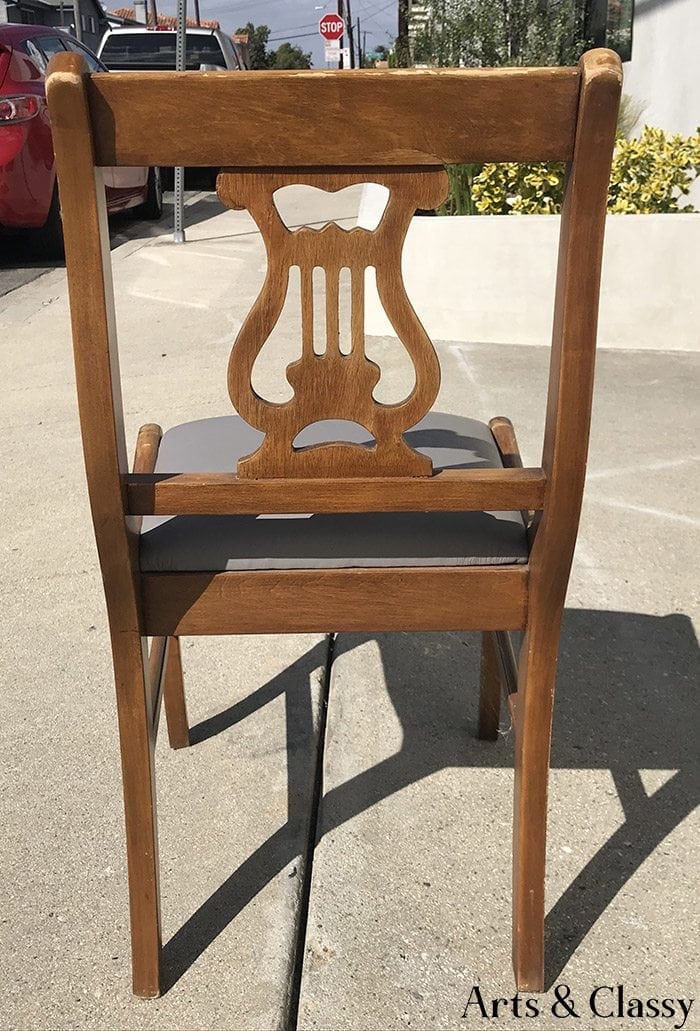
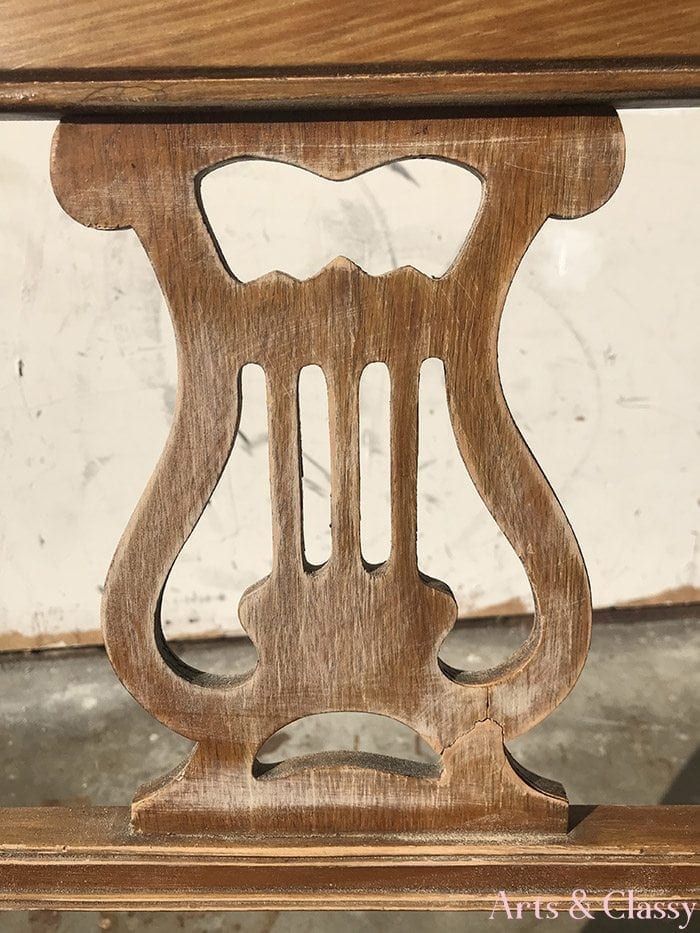
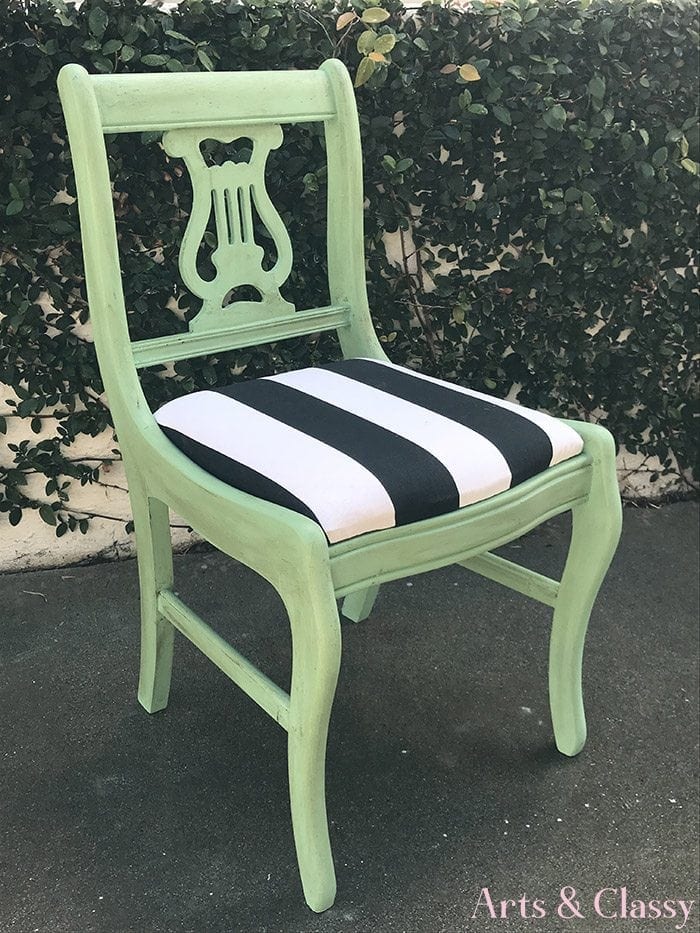
After doing a little research on the style of this chair, I discovered it is a Lyre back chair. If you are a fan of side chairs and arm chairs, you will love this makeover.
Here are the before photos…
This post contains some affiliate links for your convenience. Click here to read my full disclosure policy.
Supplies I used for this makeover:
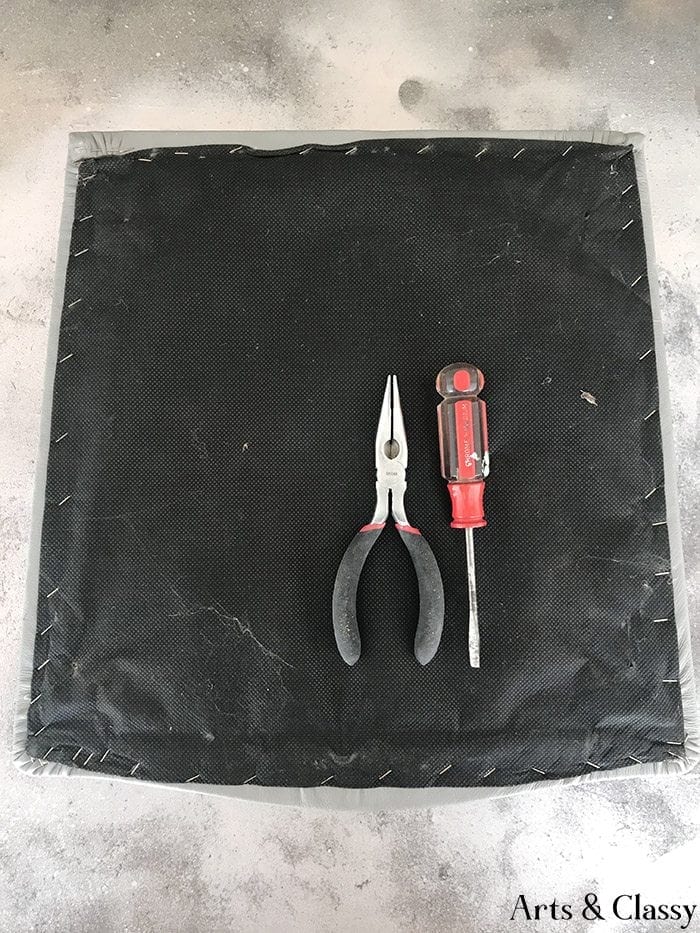
- Flathead screwdriver
- Needlenose pliers
- Power drill
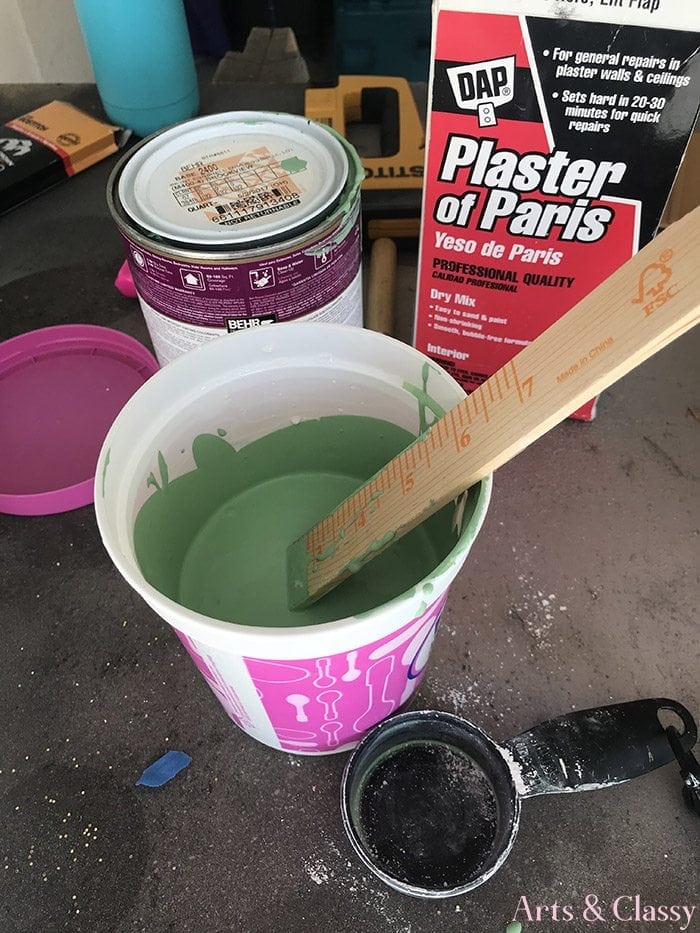
- Plaster of Paris – 1/4 of a cup
- Behr Latex Acrylic Enamel – Color is Brookeview – 1 cup
- 3 Tablespoons warm water
- Sandpaper
- Striped fabric
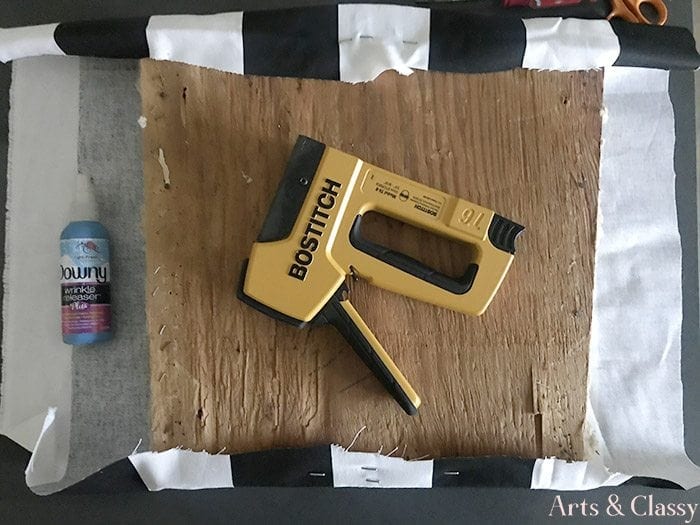
- Upholstery Staple Gun with staples
- Wood glue
- Painters tape
- Angled paint brush
- Dry measuring cups
- Paint stirrer
- Dark furniture wax
- Wrinkle release for the fabric
- Hammer
- Rag
Step 1
Removed the seat from the chair.
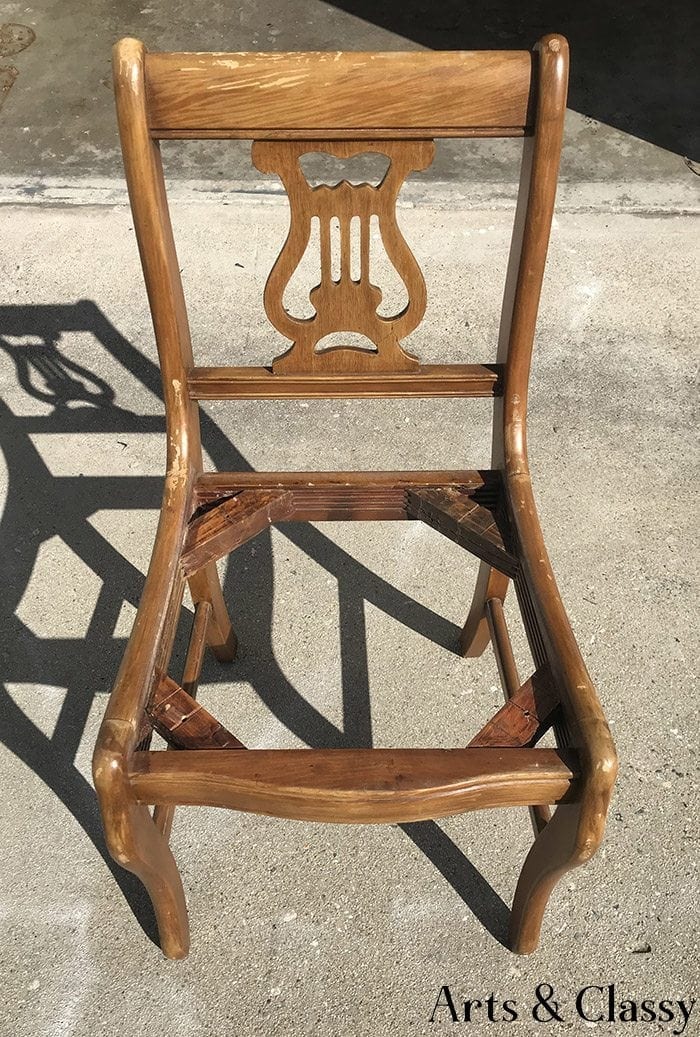
Step 2
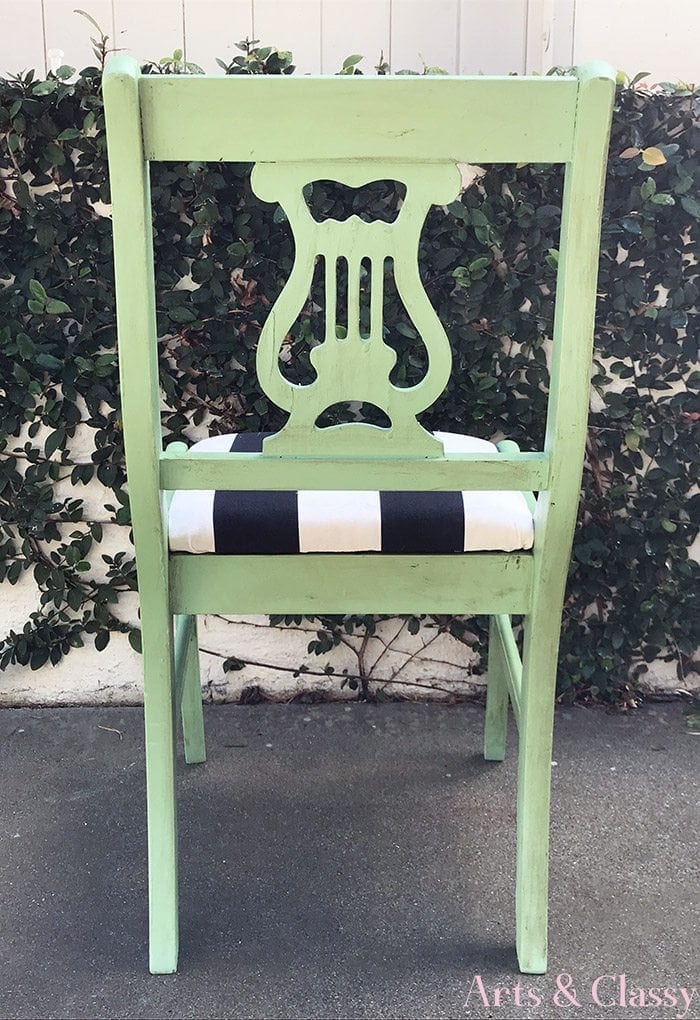
I sanded down the chair and used wood glue to fix some parts of the harp back. After sanding it down, I wiped it off to make sure extra dust and residue was gone before painting. I hadn’t worked with harp back chairs before and I really love the detail in the back design.
Step 3
Mixed up my homemade chalk paint recipe. Mix warm water with Plaster of Paris mixture and stir. After that, I added 2 cups of paint and stirred.
Step 4
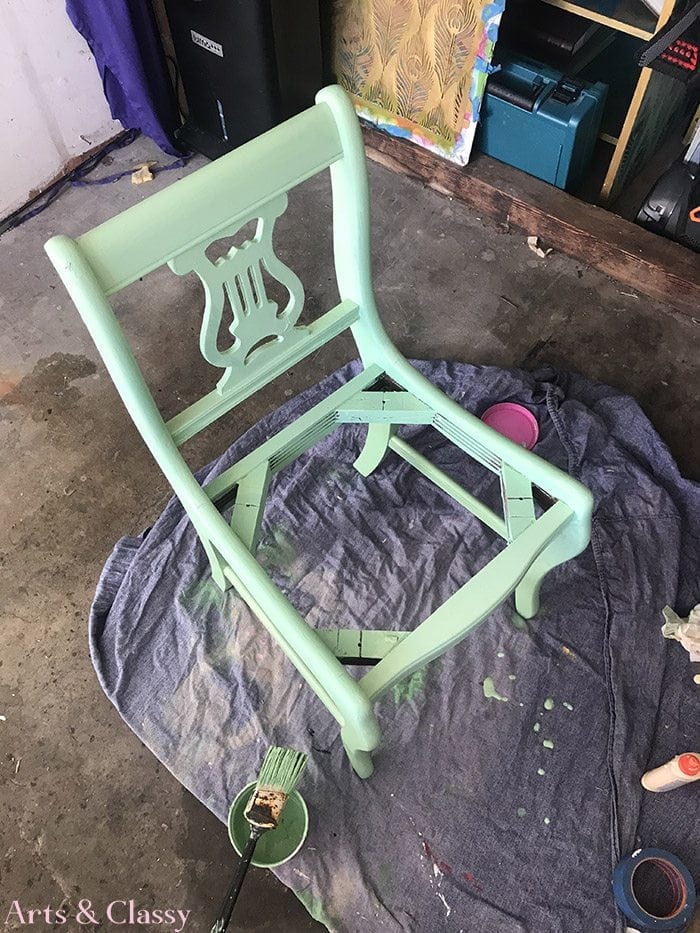
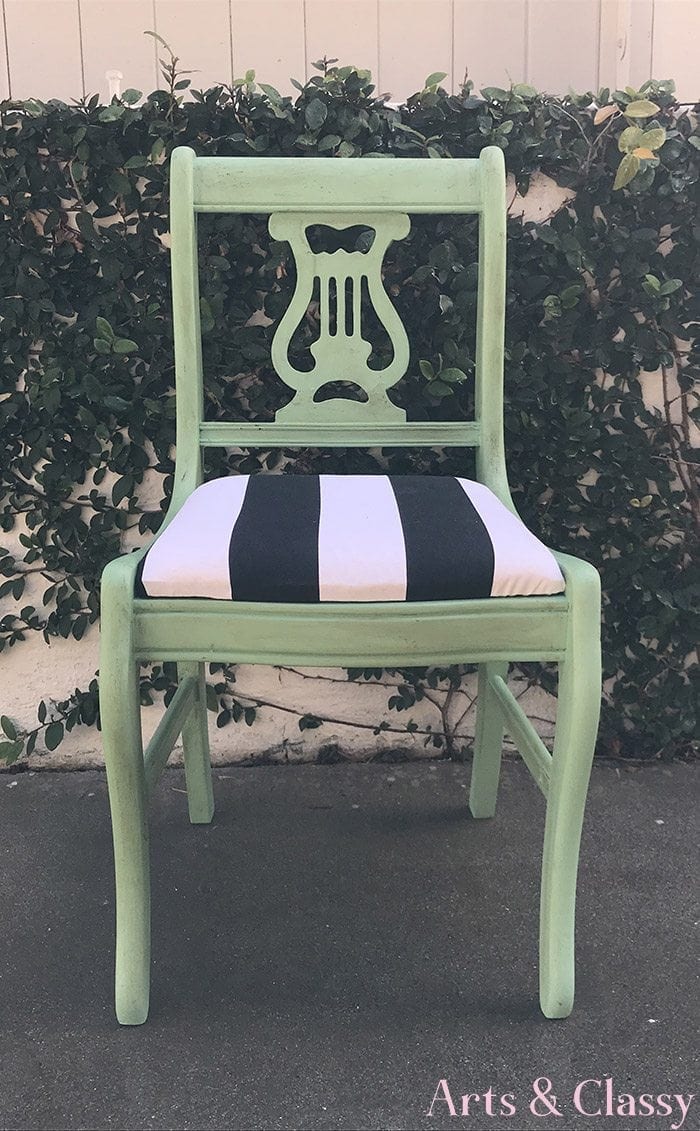
After my chalk paint mixture was mixed, I applied to the lyre chair frame. I applied about 2 layers of this chalk paint all over the the lyre chair and allowed it time to dry.
RELATED: EASY DIY METAL OTTOMAN GLAM MAKEOVER
Step 5
I used my favorite dark furniture wax to seal this piece and give it some aging.

Step 6
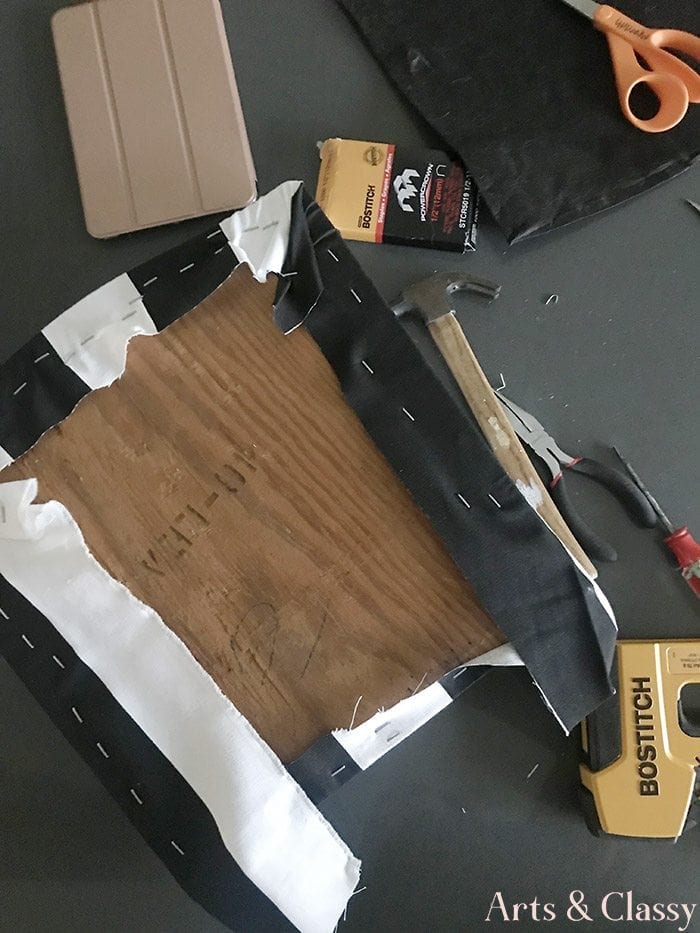
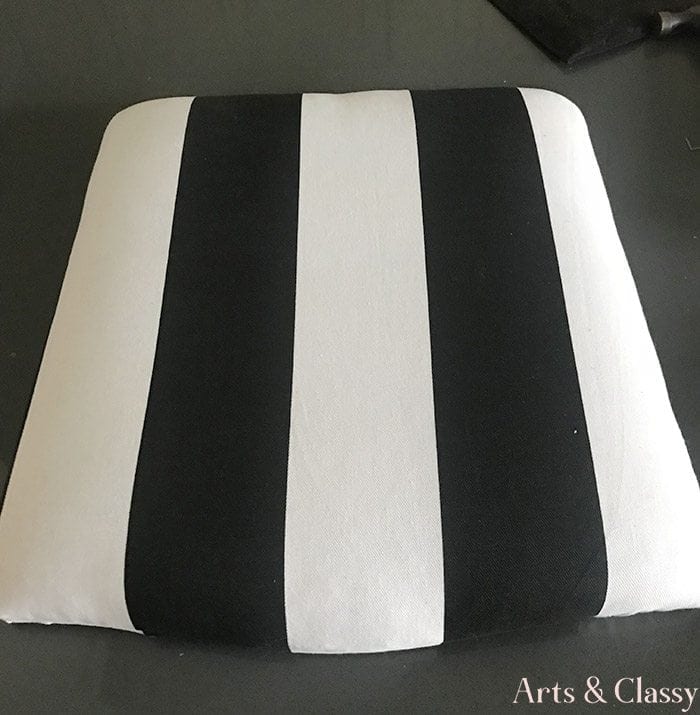
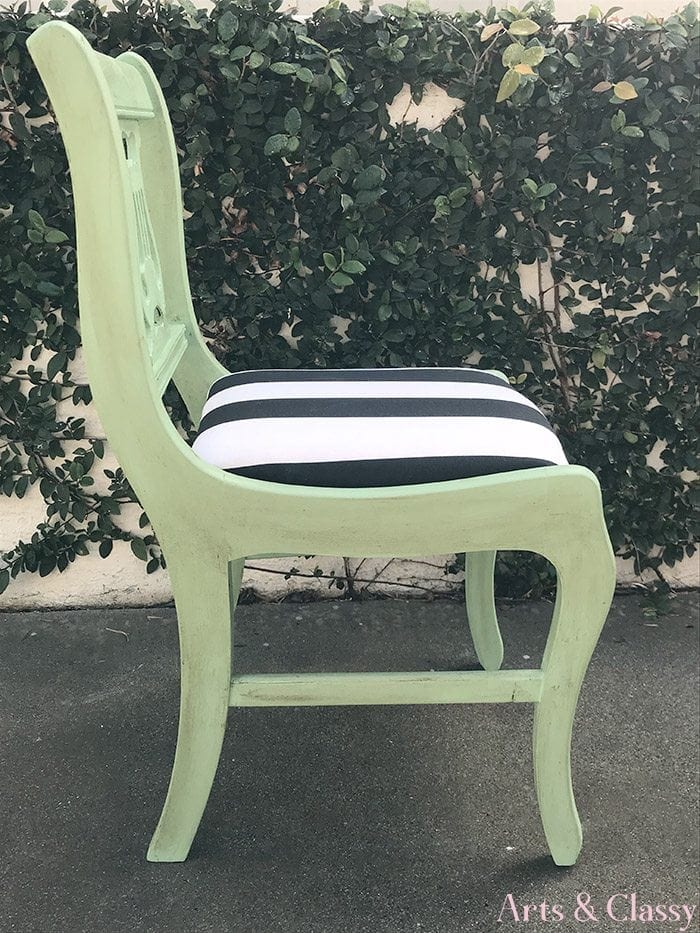
My last step was uncovering the seat and reupholstering it with my striped fabric. The important part here was making sure that the stripes were facing the right direction and not at an angle.
I made sure to secure the staples with a hammer to make they were flush with the surface.
RELATED: HOW TO CHALK PAINT AN IKEA CHAIR SET
Step 7
I reassembled the seat to the frame of the chair with my power drill and 4 screws.
And there you have it? What did you think of this Lyre chair project? If you like projects that are in this category, you will love to see more of my furniture flips! For additional information about me, please see my ABOUT page. Let me know in the comments below.

Make sure to share this project by pinning to your Pinterest boards. 🙂

I love it! How do you apply the dark wax? Is it brushed on (liquid) or is it a paste you have to use a rag with?
Hello Rhonda! You can apply it with a brush, but I prefer to take a rag and apply it in small circular motions. It applies heavily, so a little bit goes a long way. 🙂 Thanks for commenting! Let me know if you have any other questions. Best, Meredith
I love your taste. Such an unlikely combo that works so well and so striking!!
I love your taste. Such an unlikely combo that works so well and so striking!!
I love it! How do you apply the dark wax? Is it brushed on (liquid) or is it a paste you have to use a rag with?
Hello Rhonda! You can apply it with a brush, but I prefer to take a rag and apply it in small circular motions. It applies heavily, so a little bit goes a long way. 🙂 Thanks for commenting! Let me know if you have any other questions. Best, Meredith