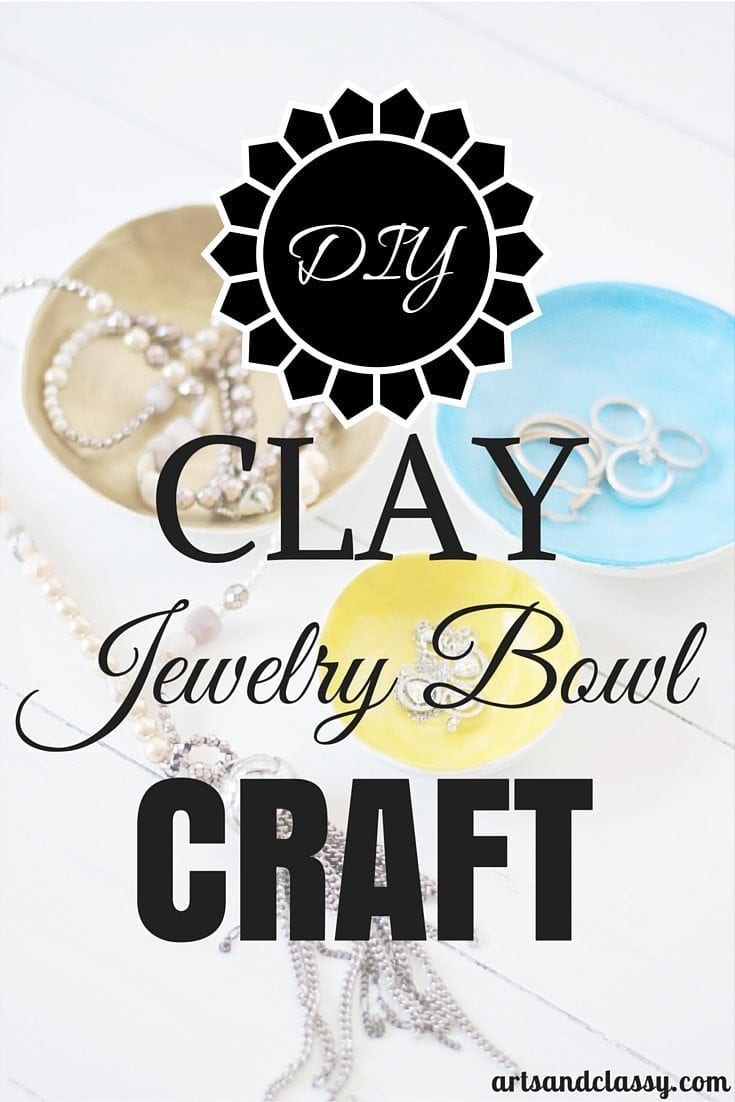
DIY Clay Jewelry Bowl Craft
Hi Arts & Classy readers! My name is Maria and I’m very excited to be here today guest blogging over from Pastels & Macarons. I recently started to decorate my guest bedroom.
It was bare and boring and only had a white Ikea bed in the room. Everything else, blank. But blank is good because it gives you a clean slate work with. Like a painting I’m ready to take on my guest bedroom and turn it into a beautiful space. I want a welcoming and warm space for my guests.
We moved in to the house we are living in ten months ago and I’m slowly decorating and buying furniture for it. It’s a lot larger than what we are used to.
It’s a rental so there are a lot of limitations when it comes to the changes I can make but hey, one can work with a rental, you just need imagination and a love for accessorizing your room. Best way to decorate when you can’t change wall colors or add permanent changes to the home.
In order to bring the room together I’m putting lots of pretty accessories in the room to brighten it, give it texture and get a pretty color palette going.
I decided I wanted to make some cute DIY Clay Jewellery Bowls for the room as I want my lady guests to have a safe place to put their jewellery when the visit our home. I think this is a very welcoming and thoughtful little item to have in any guest bedroom.
The best thing about this project is how easy it is to make and it’s a lot of fun too!

Materials
1. Air dry clay
2. 3 x Bowls (of assorted sizes and shapes if you wish)
3. Watercolour paints and guache (colors of your choice. I used yellow and blue watercolour 4. paints and gold guache paint. You can use all guache or all watercolours. Up to you on the look you are going for)
5. Fine grit sand paper
6. Craft glue/modge podge or a gloss finish paint
Instructions
1. Roll your air dry clay with a rolling pin to the thickness you desire your jewellery bowls to be. I wanted them thin so I rolled the clay pretty thin.
2. Once you have rolled out the clay, place your bowls upside down on to the clay and press down firmly to cut the bowls shape into the clay.
3. Place your bowls back upright and begin to press the clay circles you have just cut into the base of the bowl following the shape of the bowl. I didn’t want mine to be perfect, I wanted them to be a little distorted so I played around a little.

5. Remove your clay bowls gently out of your other bowls and begin to sand back your bowls to give them a nice texture and finish. I warn you this gets messy so I suggest you do this step outside and wear clothes you don’t mind getting messy.
6. Once you have sanded your bowls back inside, dust them off really well and wipe them down with a dry cloth.
7. Start to paint each with your desired colours. For the yellow watercolour bowl I used the watercolour paints fairly thick because I wanted a vibrant yellow. The blue bowl I added extra water to get it a little lighter. I added a mix of dark and light blue and roughly blended them in together. I then wiped the inside with a dry cloth to remove excess paint to give it a bit of texture. The gold guache paint I used on its own without water.
8. Allow paint to dry.
9. Give your bowls one coat of gloss by using craft glue, modge podge or whatever other gloss medium you have at home.
I’m pretty happy with how they turned out and was happy with how easy the whole project was to make.
If you want to have a look at some more of my Guest Bedroom Projects you can have a look at my DIY Lamp Makeover and my temporary bedside tables where I use Ikea Frosta Stools and give them a rustic finish.
To follow Pastels & Macarons : FACEBOOK | PINTEREST | INSTAGRAM



Ha! I don’t have even one creative bone in my body! You need to rub off on me!
Gigi you are so funny! I would be happy to share some creative DIY with ya! 🙂