Seal Like a Pro – DIY Tips for Successful Bathroom Waterproofing
Waterproofing your bathroom like shower caulking is integral to maintaining its quality and longevity. It protects the structures from water damage, thus preventing costly future repairs. Furthermore, it guards against mold buildup that could harm your family’s health.
Interestingly enough, you can waterproof your bathroom by yourself with accurate information and the right tools at hand. This DIY project won’t just save you money, but it will also give you a sense of fulfillment knowing you contributed to your home’s preservation and improvement.
Here are some DIY tips that can help make your bathroom waterproofing project successful as if it was done by a pro.
7 DIY Tips for Successful Bathroom Waterproofing
1. Understand Your Bathroom Layout
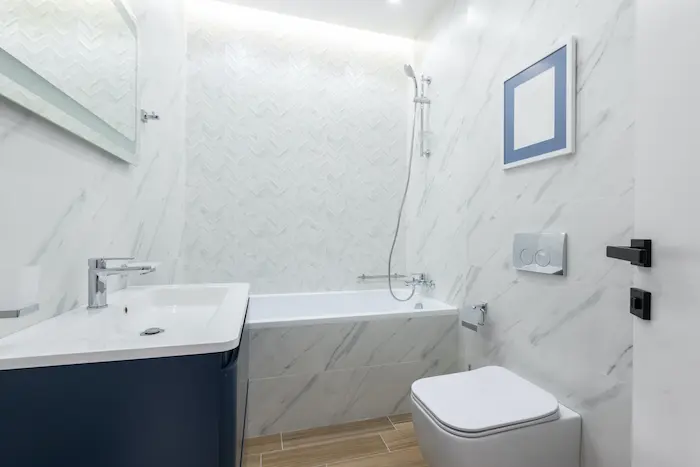
The first step towards successful waterproofing is getting familiar with your bathroom layout. Examine the areas prone to water exposure, like the tub edges, shower area, sink backsplash, and toilet base.
By understanding your bathroom’s blueprint, you can strategize the application of waterproofing materials accordingly.
2. Make sure You Have the Right Tools and Gear
Having the right tools is key to achieving a successful DIY bathroom waterproofing job. To begin with, a paint roller, brush, or trowel is necessary for spreading the waterproof membrane on flat surfaces. Likewise, an angle brush is useful in covering corners and edges.
As mentioned earlier, caulking cracks and holes around your shower tiles and tub fixtures necessitates a caulking gun. Pair it with a good-quality sealant smoothing tool to ensure the caulking beads are even and neat.
Also, don’t forget safety gear like gloves and protective eyewear. These are essential for protection against potential splashes of waterproofing material.
In a nutshell, some tools you may need to get the job done may include:
- Paint roller
- Brush
- Trowel
- Angle brush
- Caulking gun
- Sealant smoothing tool
- Safety goggles
- Protective gloves
- Caulk remover
- Utility knife
- Measuring tape
- Sponge or cloth for cleanup
3. Choose High-Quality Waterproofing Materials
Another crucial determinant of a successful bathroom waterproofing project is the materials you choose. Just like you would during an overhaul bathroom remodel, you need to select materials known for their durability and efficacy.
Depending on your project’s specific needs, pick from products such as liquid rubber membranes or cement-based coatings available in most home improvement stores.
Having a good quality waterproof barrier is essential to maximize protection against water damage.
4. Master Shower and Tub Caulking
Caulking plays a crucial part in sealing areas where water may seep or leak. Specifically for tubs and shower caulking, using a Cox power caulking gun can assist in creating solid watertight seals around fixtures. Apply evenly along all edges for an efficient barrier against water intrusion.
5. Surface Preparation
Before you embark on waterproofing your bathroom like shower caulking, preparing the surface is a pivotal step. Ensuring surfaces are clean, dry, and free of debris allows the waterproofing material to adhere properly for maximum effect.
Moreover, it enables you to spot potential issues that might compromise the waterproof integrity in the future. Skipping this stage might jeopardize the success of your DIY project, making all your efforts futile over time.
6. Use Appropriate Application Techniques
Applying waterproof layers correctly enhances their efficiency. With this in mind, be patient and thorough when painting on liquid rubber membranes or cement coatings. Ensure that each layer dries completely before adding another one to deliver solid protection.
7. Inspect Regularly For Maintenance
Last but not least, periodic checks are important to catch early signs of deterioration. Routine inspections allow you to detect and address potential issues before they escalate into significant damage.
This way, you can apply touch-ups when necessary, prolonging the effectiveness of your DIY waterproofing efforts.
Summing Up:
Venturing into shower caulking + DIY bathroom waterproofing can be a rewarding and enriching undertaking. It gives you a hands-on approach to maintaining and improving your home while saving money in the long run. So plunge headfirst into this worthwhile project.
Equipped with knowledge and the right tools, you can make your home a safer and more comfortable place for you and your loved ones.