94% of People Love DIY Farmhouse Wall Art – How to Make a Look for Less!
As I get settled in my home more and more, I am learning how I want to style each room, and finding the right Farmhouse wall art is something that has been hard for me. Why… you ask? My husband and I have slightly different styles, and text-style art isn’t his favorite.
So, in the spirit of compromise, I am trying to think outside the box to find cool and eclectic farmhouse-style art that we will both love. After a lot of hunting online for the perfect piece of Farmhouse wall art, I found this really cool Georgia wood modern farmhouse decor that looked promising.
But I am still a girl on a budget, and justifying the cost of this piece of art was not something I could do.
I am a creative DIYer, but I was stumped at that moment on what farmhouse vibe art to create.
After some daydreaming and more research online, I found a way to make my own farmhouse wall art to fit my budget and my desire to be creative! So this is my “Look-For-Less” version of this artwork I found on Etsy as part of a modern farmhouse collection.
This post contains some affiliate links. I may earn a small commission if you purchase through one of these links. See more information in my disclosure policy.
What you will need for this project:
- A larger piece of art with a farmhouse frame (or frame of your choosing)
- Rustoleum white chalk paint in the color “Linen White”
- Larger paint brushes
- Artist paint brushes
- Frog tape (for delicate surfaces)
- Black acrylic paint (I got my at Dollar Tree)
- Straight edge ruler
- Pencil
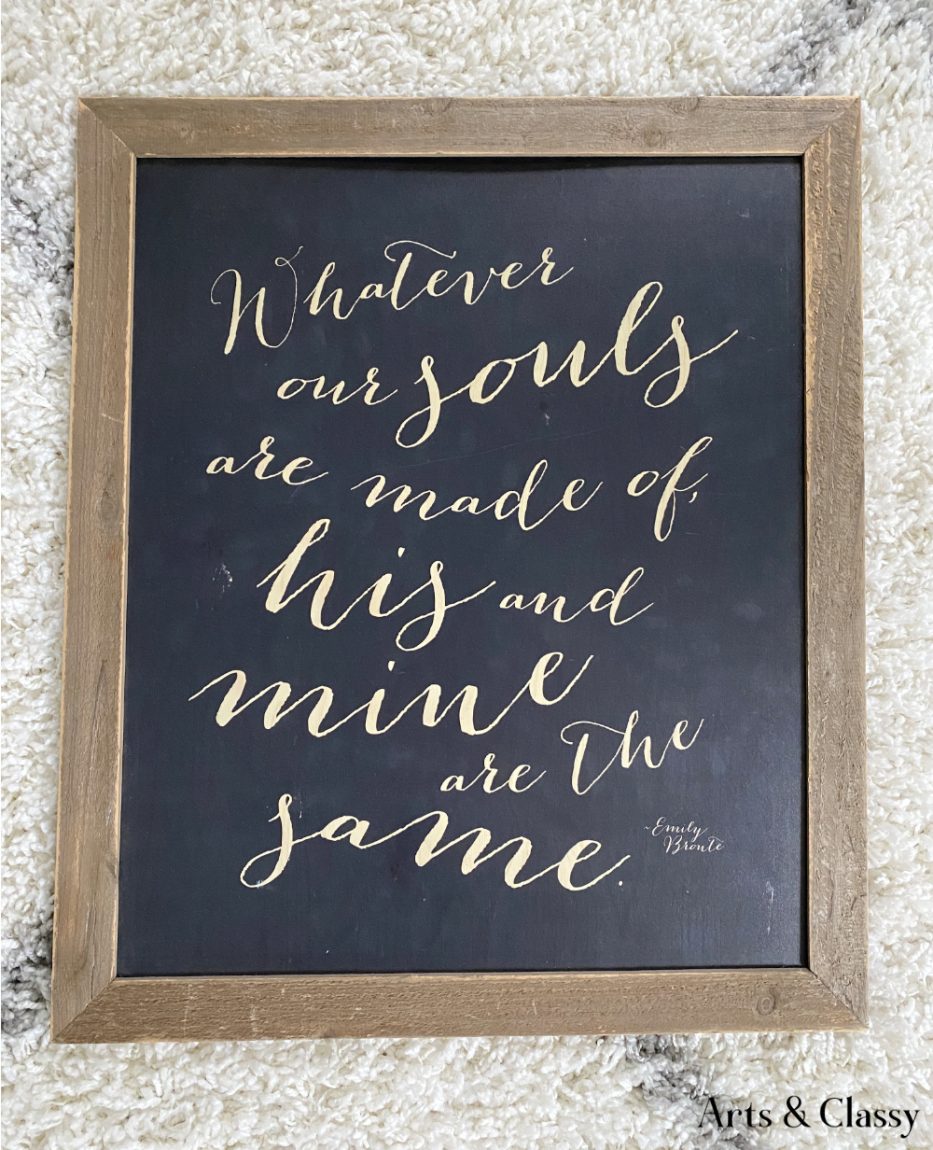
Step 1: Source Thrift Store Art
Thrift stores are such a great way to find canvas, expensive frames, and other types of art for A LOT less. I found this quote for rustic wall decor for $5.99 at my local Goodwill.
I decided it would be the perfect size farmhouse wall art for a space on one of my living room walls. Finding budget-friendly ways to create some upcycled farmhouse living room ideas that actually look good is always a WIN!
RELATED: DIY Master Farmhouse Bathroom Makeover: How to Paint Your Tile Floors on a Budget
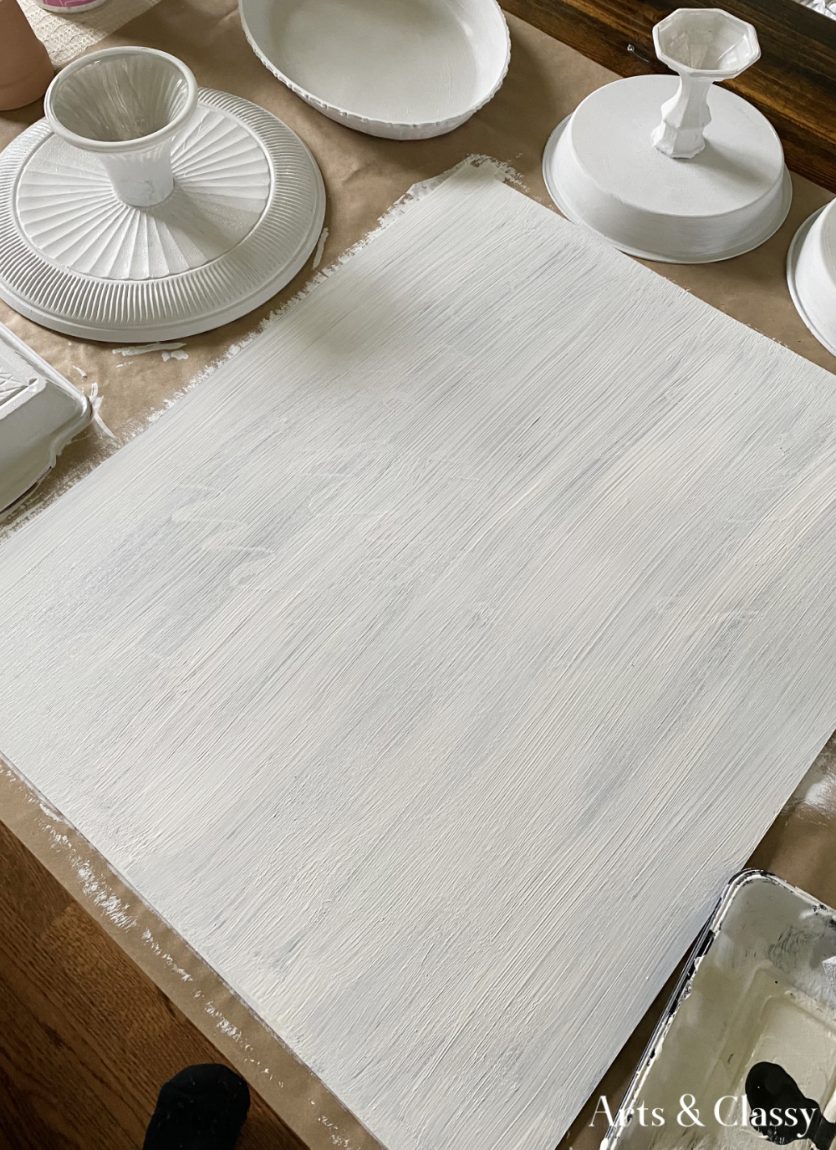
Step 2: Paint It White
After removing this chalkboard piece from the frame, my first step was to clean it off and then paint it white with my Rustoleum chalk paint. I love chalk paint because of the matte finish and the thickness of the paint.
I decided I wanted to give this surface a little more texture so that from afar it could be perceived as wood-like, like my inspiration.
RELATED: EASY-TO-MAKE FARMHOUSE GALLERY SIGN
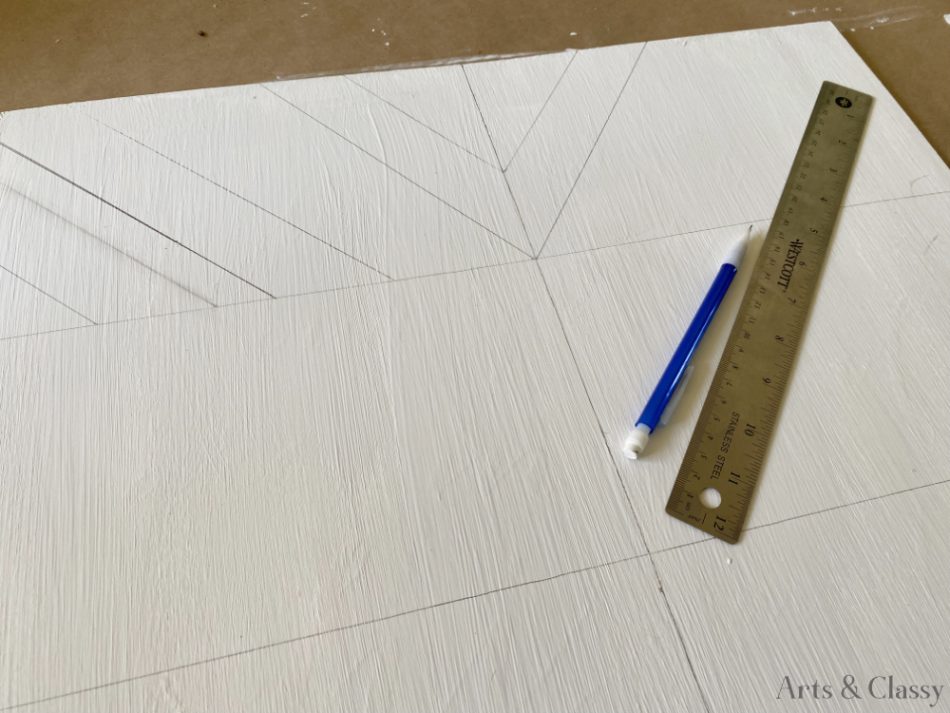
Step 3: Draw the Pattern
I used my ruler and pencil to measure and draw out my pattern. The best method I could see was to start on the top and work my way down. I did have some mess-up moments that I had to erase and redraw.
Let’s face it. This was totally trial and error, so I encourage you to go for it and not fear mistakes. You can just paint over any as they happen.
RELATED: 10 Budget-Friendly Interior Design Ideas That Will Transform Your Home
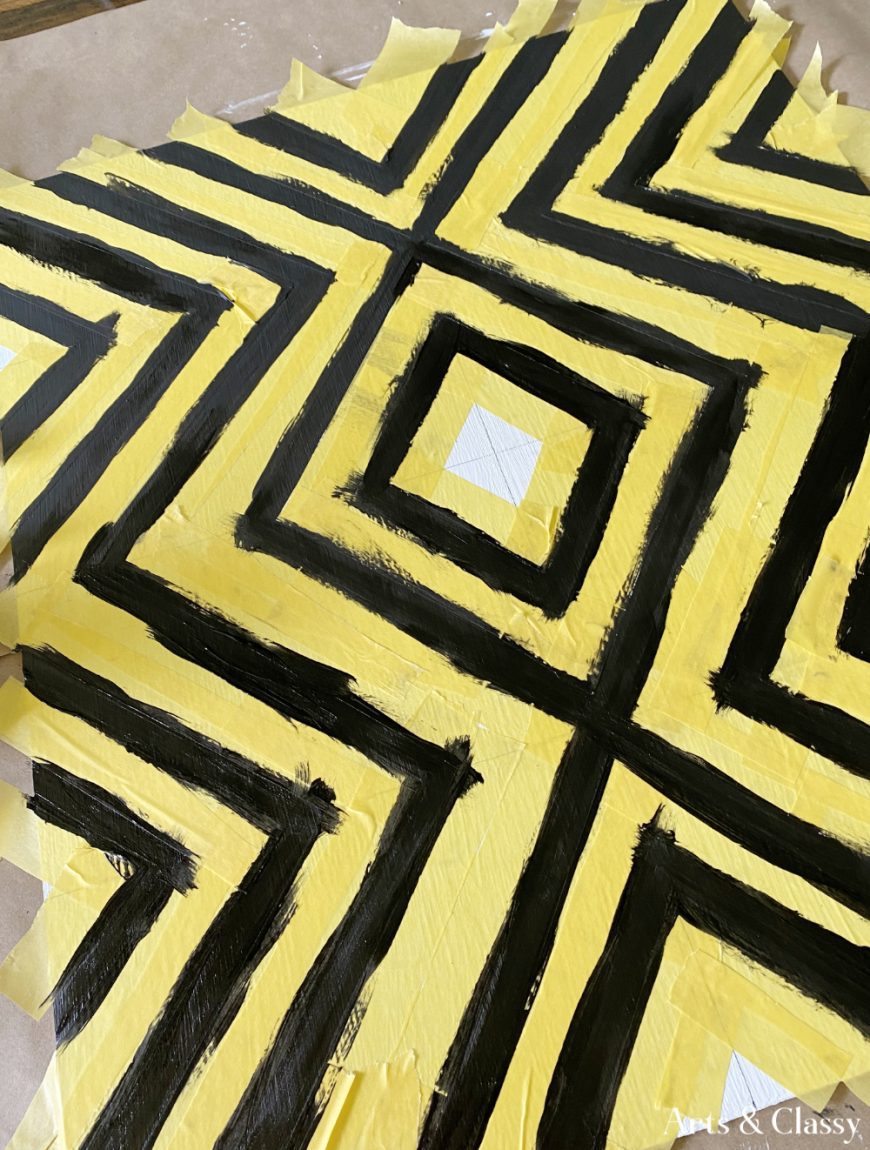
Step 4: Paint the Pattern On
I first tried hand-painting this pattern with an artist’s brush. After this approach, I realized that painter’s tape would be a staple in getting these pattern lines just right.
From there, I used tape to mask off the white stripes so that I could make the black pattern edges as precise as I could. This was the most tedious step of the entire process, but I am happy I took my time with it because it really paid off with the final product.
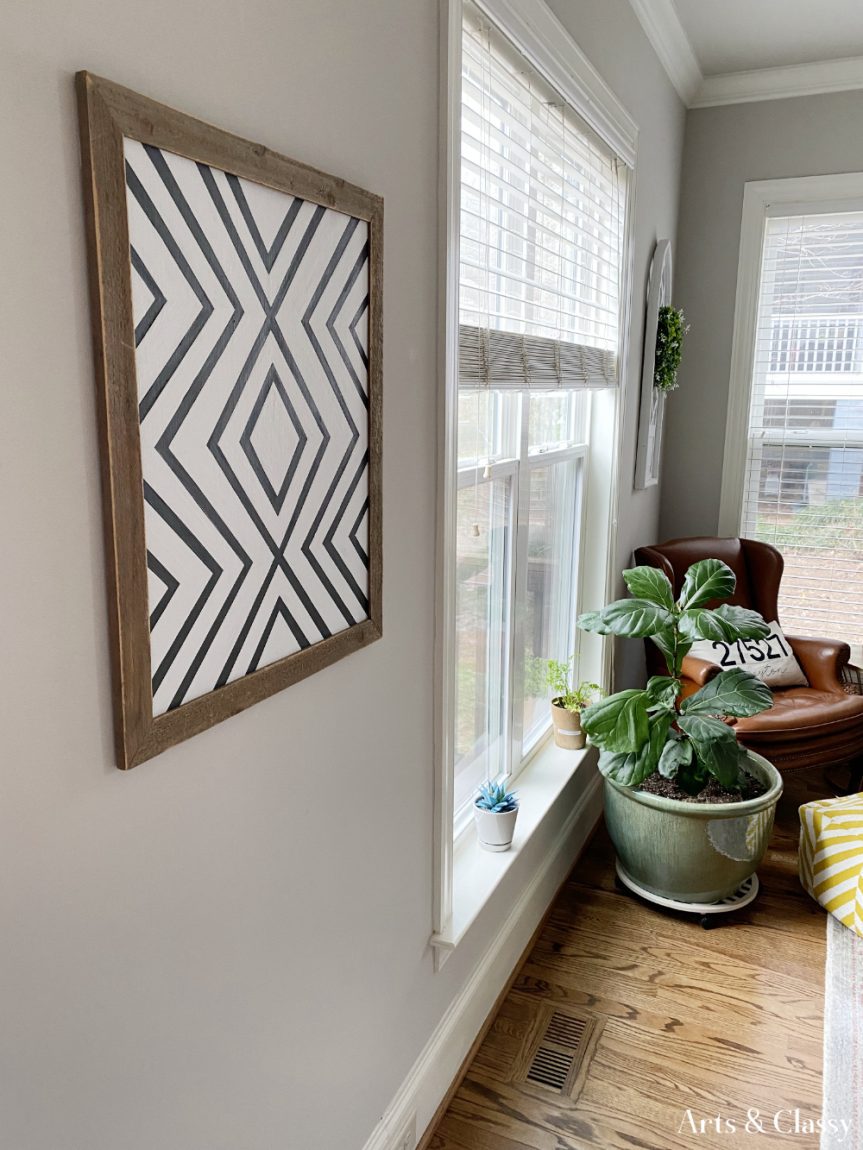
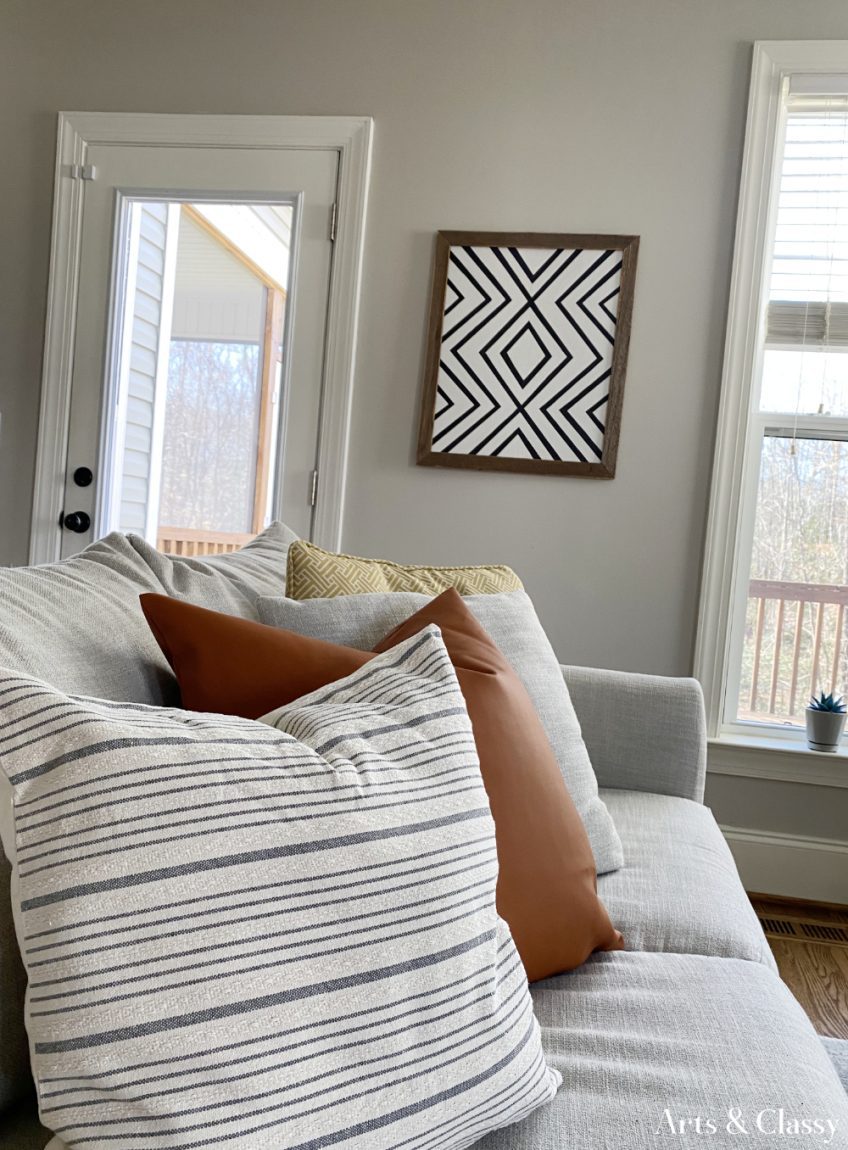
Step 5: Reassemble and Hang
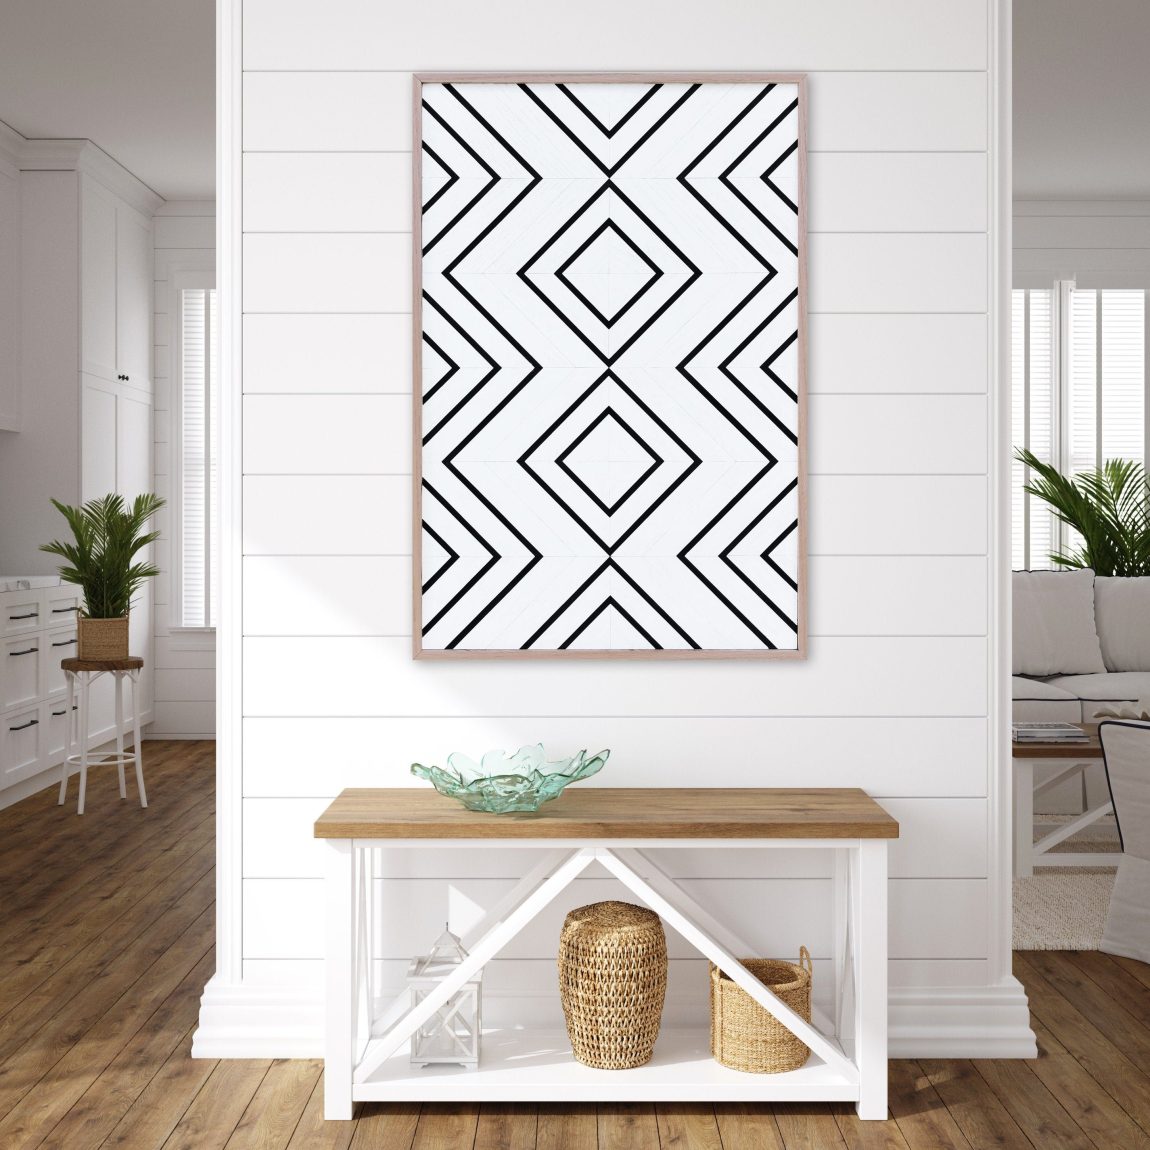
I popped the board I painted back into the frame, and now it is a lovely modern farmhouse wall art piece hanging in my living room.
While it isn’t perfect, I am really proud of the work I put into this art piece and that I spent only $10 total to make it a reality. It adds warmth to my space and complements my other furnishings in my living room.
Its neutral color palette will also blend well with the changing seasonal decor in my home but also stand out as a focal point. Adding greenery adds more depth and warmth to the design style.

RELATED: Farmhouse Bedroom Bliss on a Budget: 15 Affordable Ideas
Easily shop the supplies used for this project to create your own rustic look with your decorating style:
- A larger piece of art with a farmhouse frame (or frame of your choosing)
- Rustoleum white chalk paint in the color “Linen White”
- Larger paint brushes
- Artist paint brushes
- Frog tape (for delicate surfaces)
- Black acrylic paint (I got mine at Dollar Tree)
- Straight edge ruler
- Pencil
I am really happy with how this unique piece of wall art turned out. It has added plenty of modern farmhouse charm to my home and cost less than $10! Some other ways I see this art being used would be as a gallery wall of art and accessories.
Different textiles, antiques, and natural textures like baskets would work well with this piece. This could also be used on a focal point like a floating shelf with other items and vintage decor accents layered upon one another.
What do you think of this rustic wall art? Would you try this project? Let me know what you think of this project by commenting below.
If you enjoy modern farmhouse style, you might like these other wall decor ideas, farmhouse interiors inspiration, and content focused on interior design: