A Simple Guide To Making A Dollar Tree Pedestal Bowl DIY
Learn how to make a Dollar Tree pedestal bowl DIY with these simple instructions. You’ll learn important finishing steps for this project.
It’s perfect for multiple decor uses, or a little bowl of knick-knacks on counters, tables, and mantles. I have seen this project and other dollar store projects floating around a lot on the web from other decor blogs and TikTok accounts.
Are you as much of a fan of DIY dollar tree crafts as I am? I have really been enjoying working with my creativity with some easy DIY home decor projects in my new home to make my home feel elegant and unique. If you haven’t seen my easy $15 planters side table, then you will love that project! Let’s get into the instructions and the full tutorial for this project.
This post contains some affiliate links. I may earn a small commission if you make a purchase through one of these links. See more information in my disclosure policy.
Materials Needed to make this Dollar Tree pedestal bowl DIY.
- A round metal tray (or a plastic or glass bowl) (I got this at my local thrift store)
- Short candle holder/votive/vase from Dollar Tree
- E6000 adhesive glue
- Hot glue gun
- Gorilla Glue sticks
- Rustoleum chalk paint – “Linen White”
- Paintbrush
- Stone textured spray paint
I also created a full video tutorial walking you through all the steps for this project!
Step 1: Choose a Thrift Store Bowl
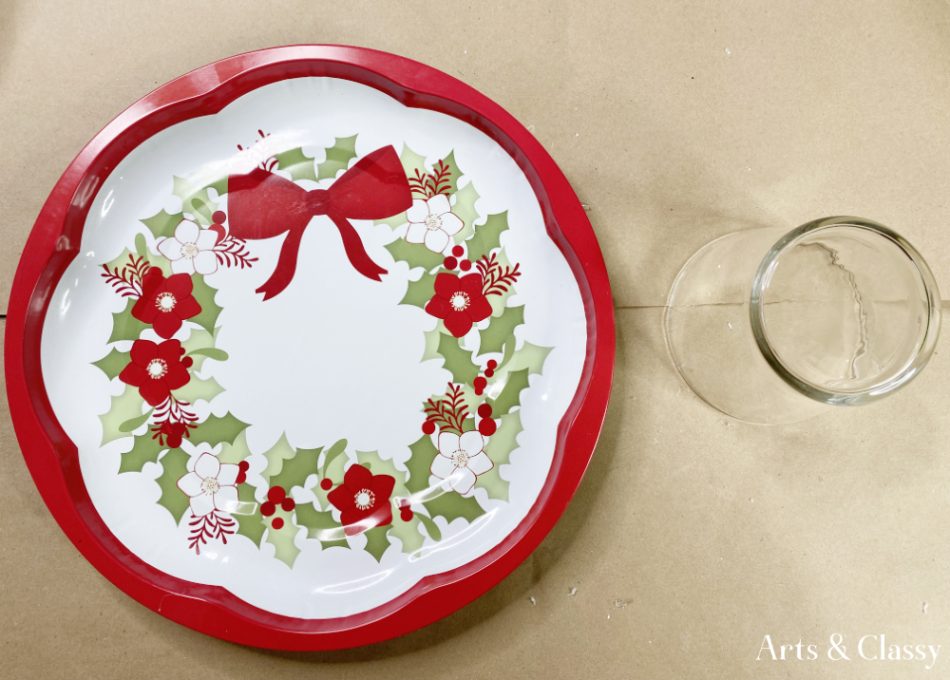
I found my “bowl” in the form of a metal Christmas tray from my local thrift store. It was 99 cents and was a perfect size. I loved how it had some dimension to it and brought it home immediately to start this project. Then I went to Dollar Tree to find a votive or vase to use as my base. I made sure to clean off the tray and bow before beginning.
Step 2: Add Dollar Tree Votive as a Base
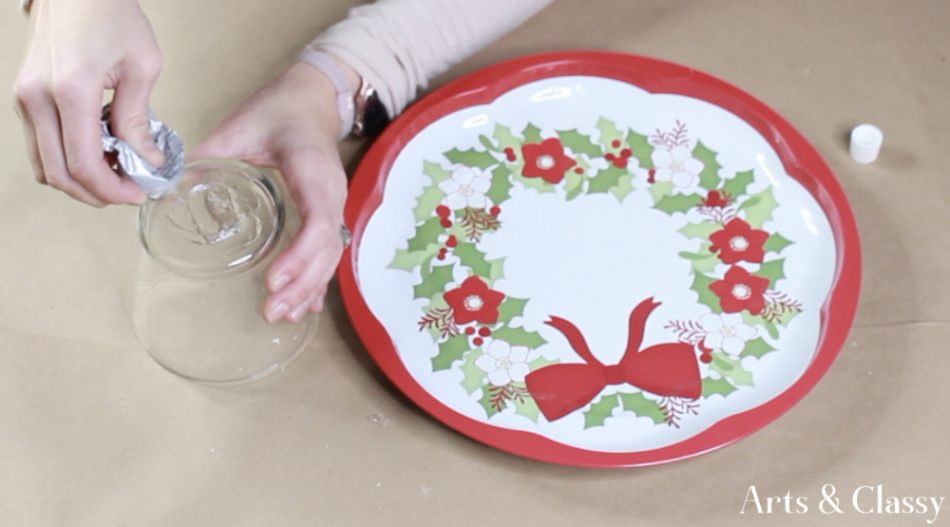
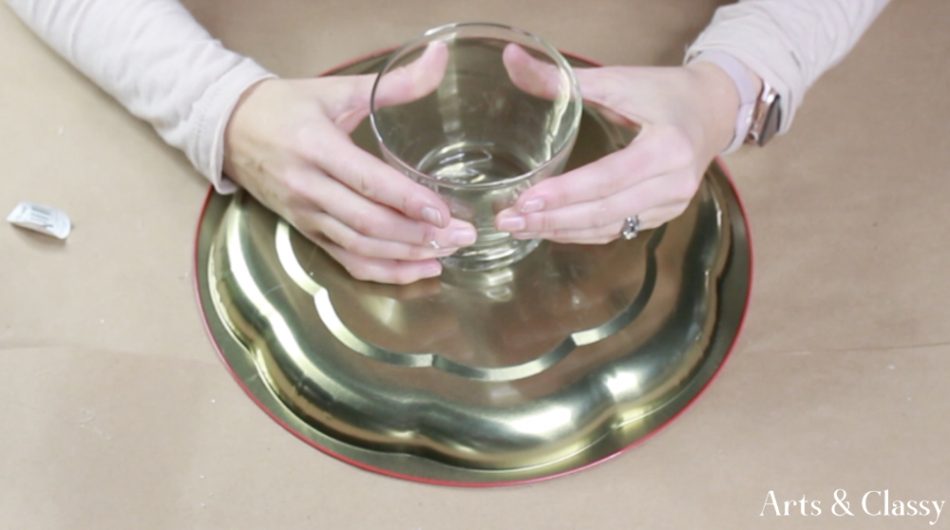
I used E6000 and hot glue to the bottom so that the votive upside was facing down. I attached the bottom of the round tray to the bottom of the glass votive. Once it was centered and placed where I wanted it, I let it sit for a bit so that it could cure and dry. I used the glue gun for it to adhere fast and the E6000 to reinforce it long-term. I made sure to put the glue closer to the center to prevent any glue drips from seeping out of the sides.
Step 3: Paint The Pedestal Bowl
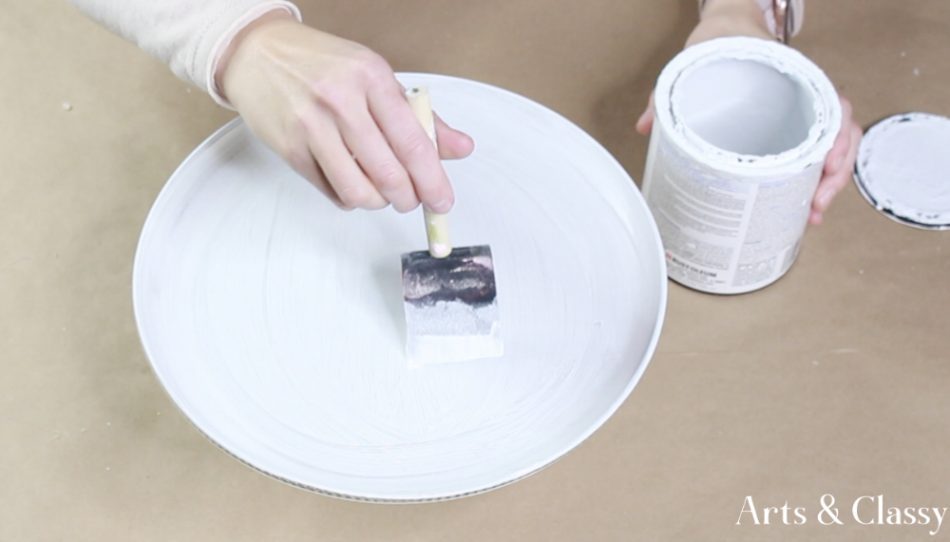
When you have seen one thing painted, it’s pretty consistent across the board. I took a paintbrush and my Rustoleum Chalked paint in “Linen White” and covered this whole thrifted dollar store craft. Primer wasn’t necessary for this project since chalk paint sticks really well to many surfaces. I did about 2 coats of paint to make sure no red from the original tray was showing through.
Step 4: Stone Spray Paint
This is one of the last steps in this DIY pedestal bowl project and I have to say I haven’t played around with stone texture spray paint much. I’m hooked. I love how this added so much texture and a hint of multiple colors to give it a real-life-looking stone texture. I sprayed about 2 even coats of this texture spray paint.
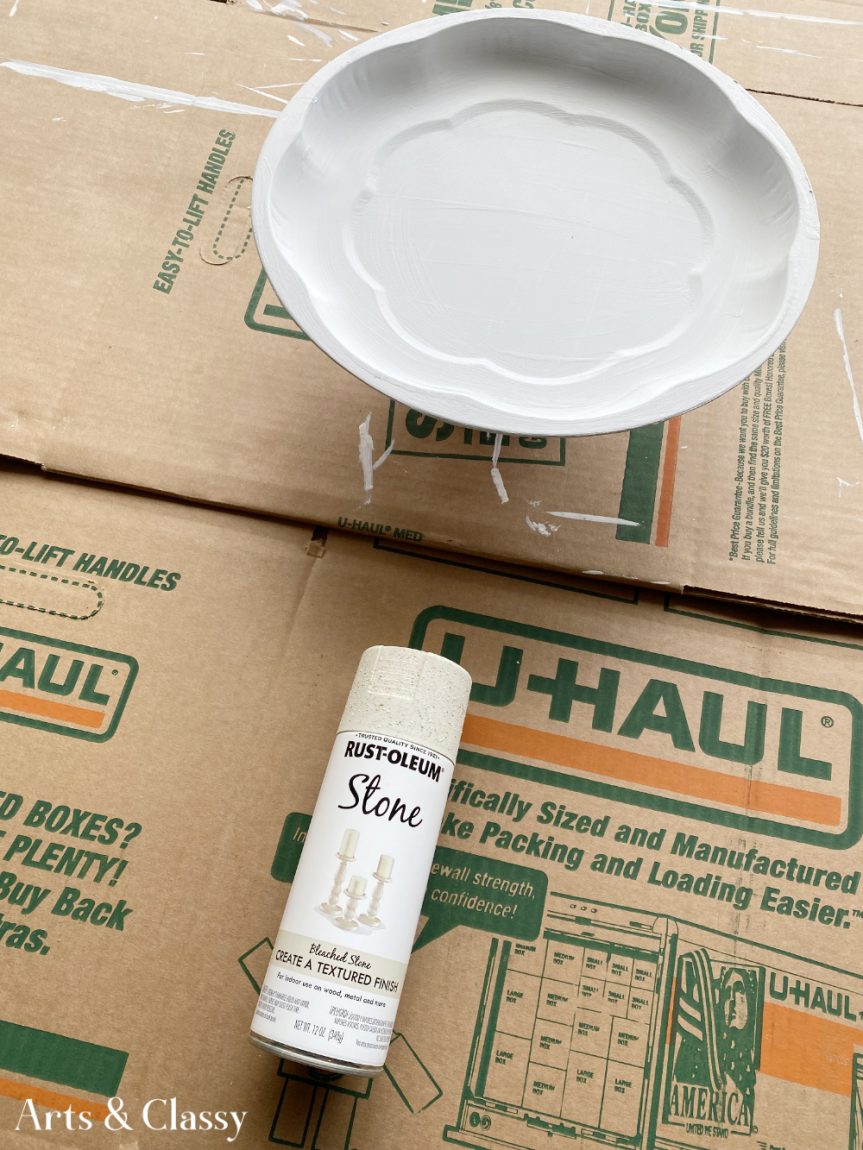
Step 5: Finishing Touches
I allowed this paint to dry (which took longer than normal spray paint) overnight. Allowing it to properly dry to the touch before bringing it into my home and figuring out the perfect spot for it. I decided it would work perfectly either on my coffee table as a centerpiece in my living room or in my blogging office.
There were so many places I could put this Dollar Tree pedestal bow DIY project. I still haven’t quite decided where I love it more, but for now, it is living in my blogging office. Playing around with smaller decor items allows me to see what could give this decor more style and charm. Some items I loved were a farmhouse bead garland, a small boxwood wreath, and a crystal candle holder.
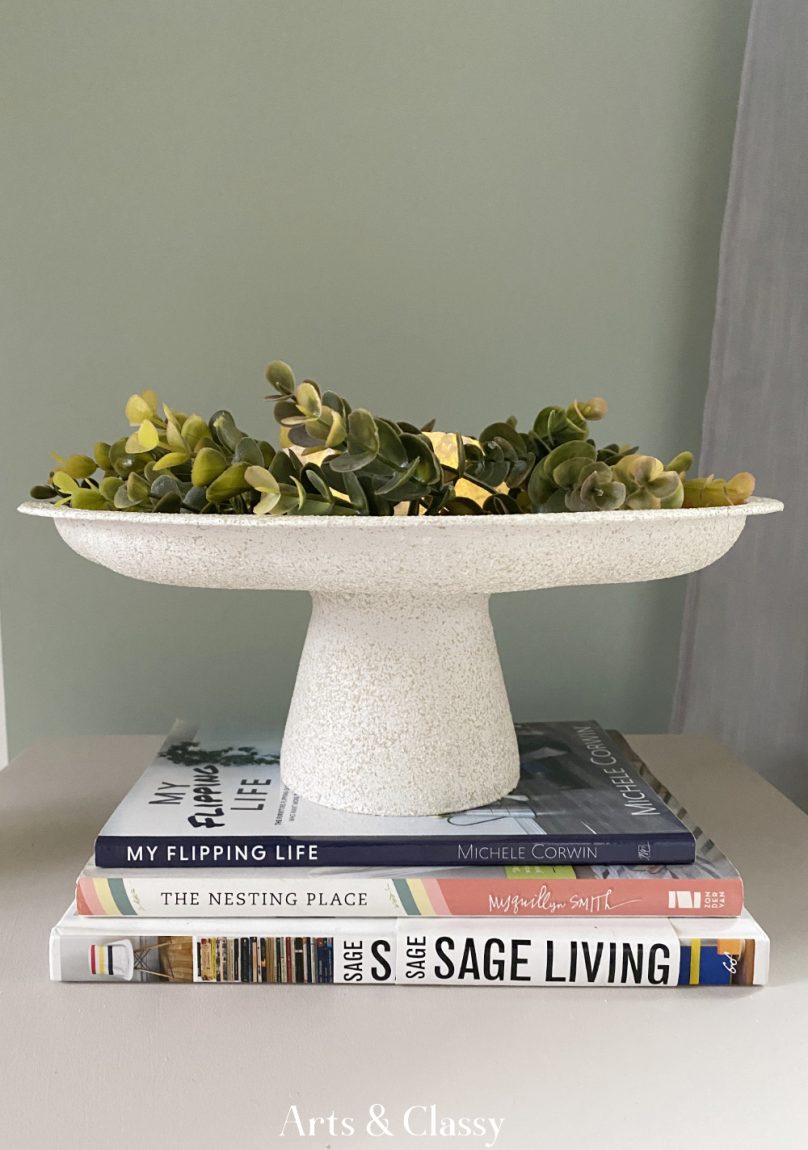
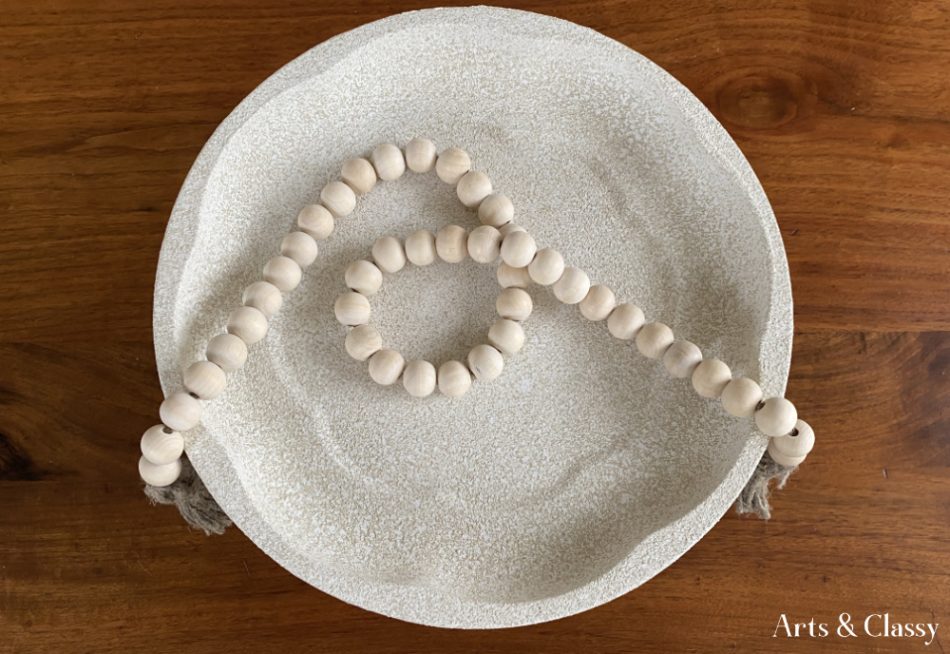
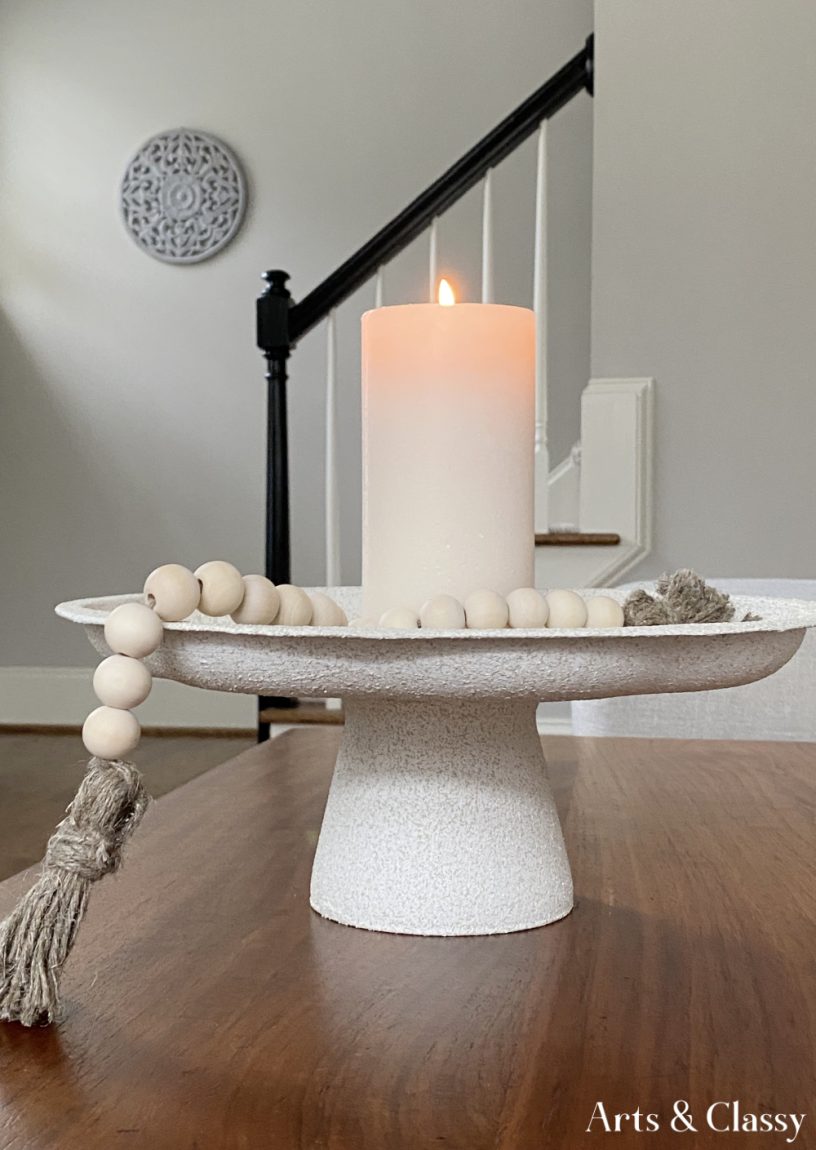
If you enjoyed this Dollar Tree pedestal bowl DIY project and love decor ideas like this one, please make sure to pin this project on Pinterest or check out these other projects I think you might enjoy. I would also love it if you could subscribe to my YouTube channel so you can be informed when I have future projects posted


This turned out great! I’m excited to tell you this post will be featured in this week’s Tuesday Turn About Link Party! Thanks for sharing your creativity and we hope to see you at the party this week! Pinned!
This is so creative! Thank you for sharing at the Share Your Crafts link party. Hope to see you again!