DIY File Cabinet Farmhouse Makeover
*This post was sponsored by Dremel. All opinions are my own. I am pretty excited to be sharing this file cabinet project with you because I have been working on it now for months and months.
In my other life, I manage a gym and the owners of my gym gave me this file cabinet to flip after they moved. It was a very dark (fake wood) cheaper file cabinet. But I knew it had the potential to be something beautiful. I do not typically makeover fake wood furniture, but this felt like a good challenge to see what I could make of it.
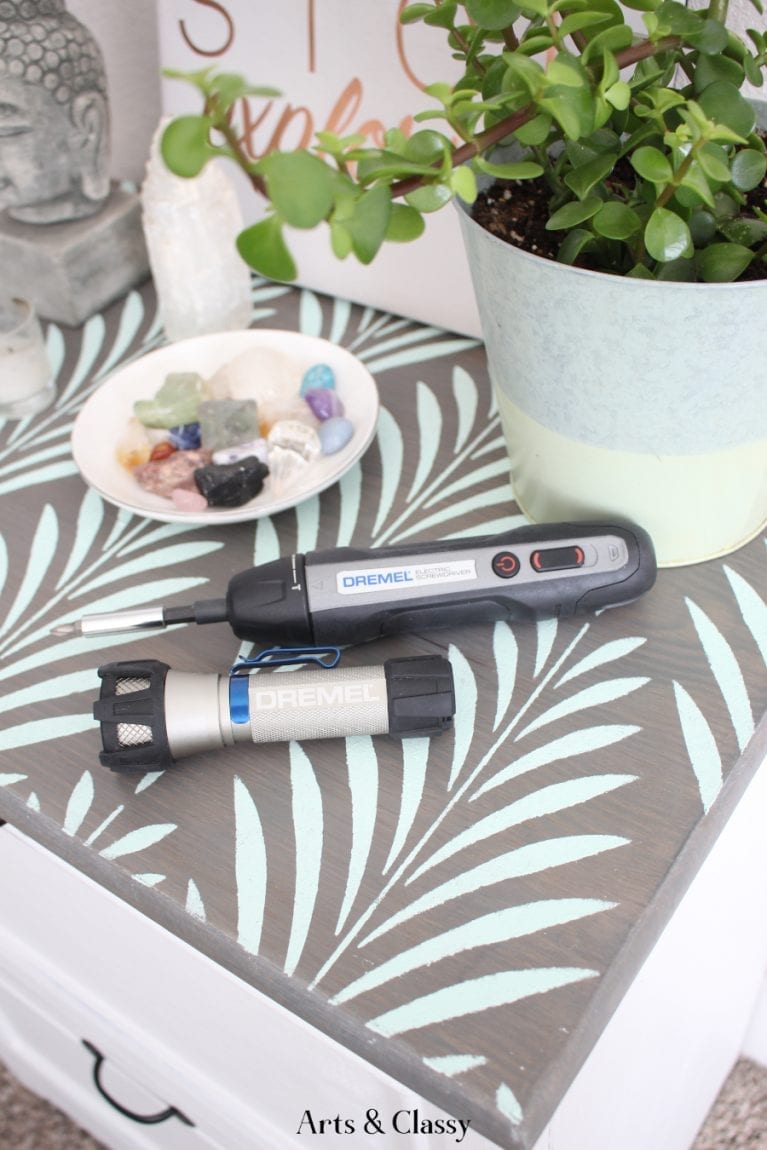
I must start with some advice and steps I take when I arrive to pick up the furniture I want to flip. When I get a new piece of furniture, I inspect it for bugs. Yes… bugs. You never know what you might find sometimes. My Dremel Home Solutions flashlight has come in very handy for these types of inspections. When you pick up furniture, you never know if it has spiders or bed bugs. It’s always smart to inspect before taking furniture into your home or workspace.
Supplies needed for this project:
- Dremel Home Solutions flashlight
- Dremel Home Solutions electric screwdriver
- Rustoleum Chalk Finish Paint – Linen white
- Wood putty
- 2 pieces of hardware
- Stencil
- Liquid wood paint
- Wood stain
- Sanding block
- Rustoleum Matte Clear coat polycrylic
- 2 paint brushes
- Spray adhesive
- Cloth rag
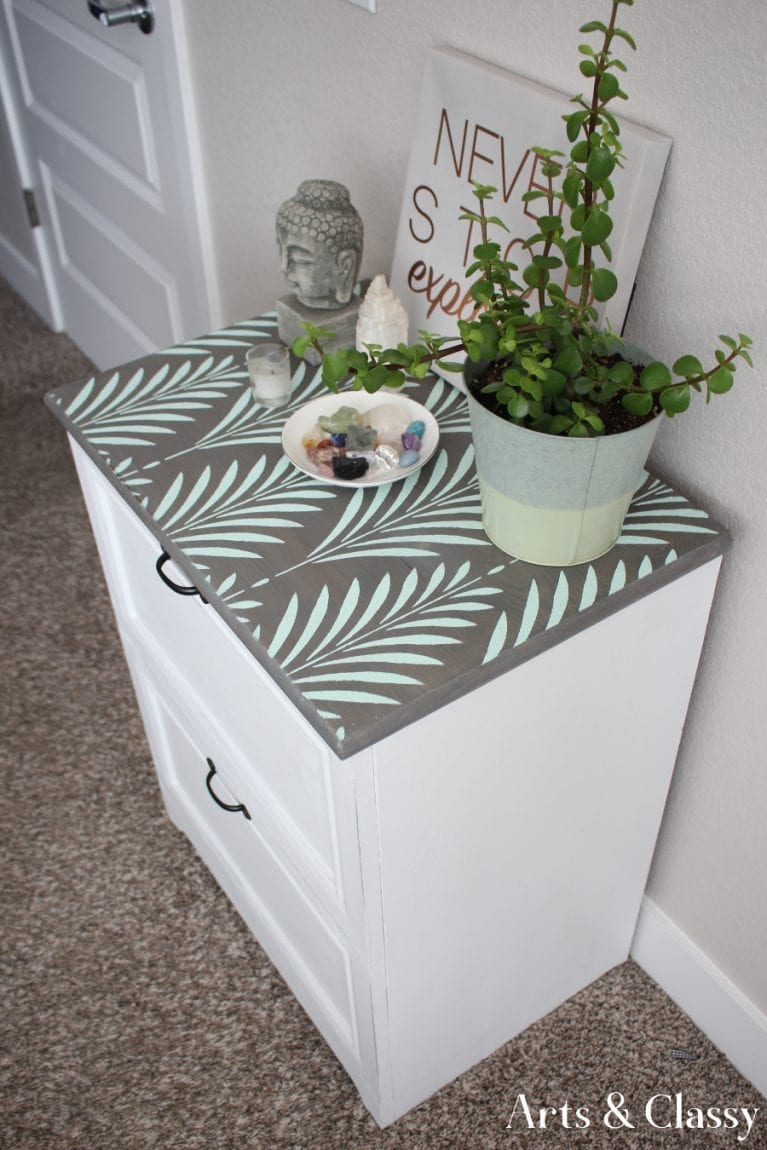
When I started this file cabinet project months ago, I forgot to photograph it, but I know you can imagine the dark wood finish I am speaking of. Why does most office furniture come in that darker wood stain? I am not a fan. I decided to light up this piece by removing the hardware and painting it white.
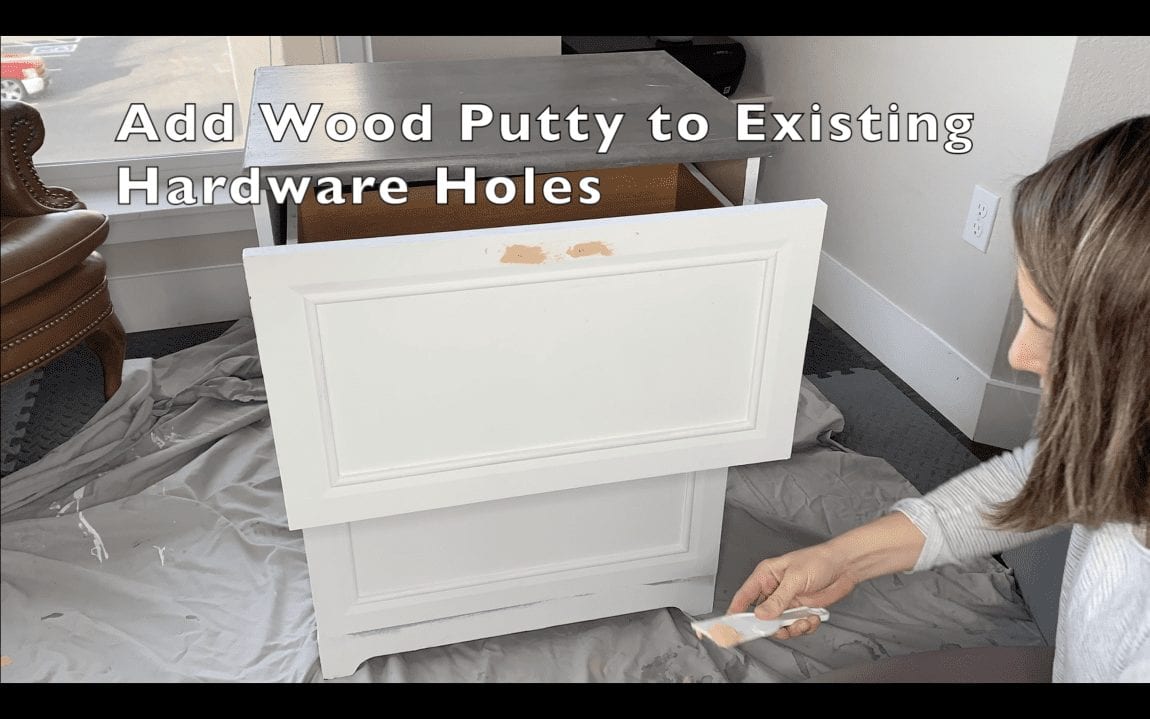
Step 1 – Add wood putty to the existing hardware holes
You can do this with a putty knife or with your fingers.
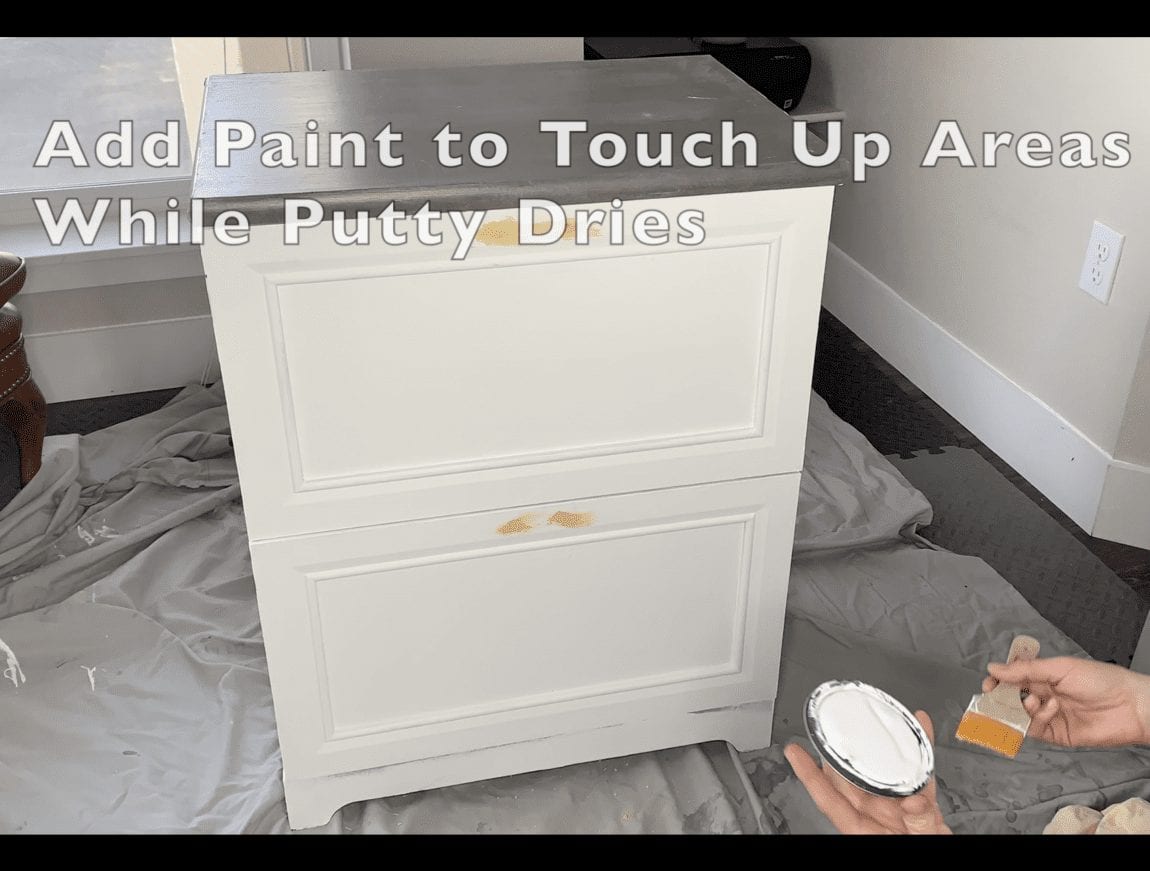
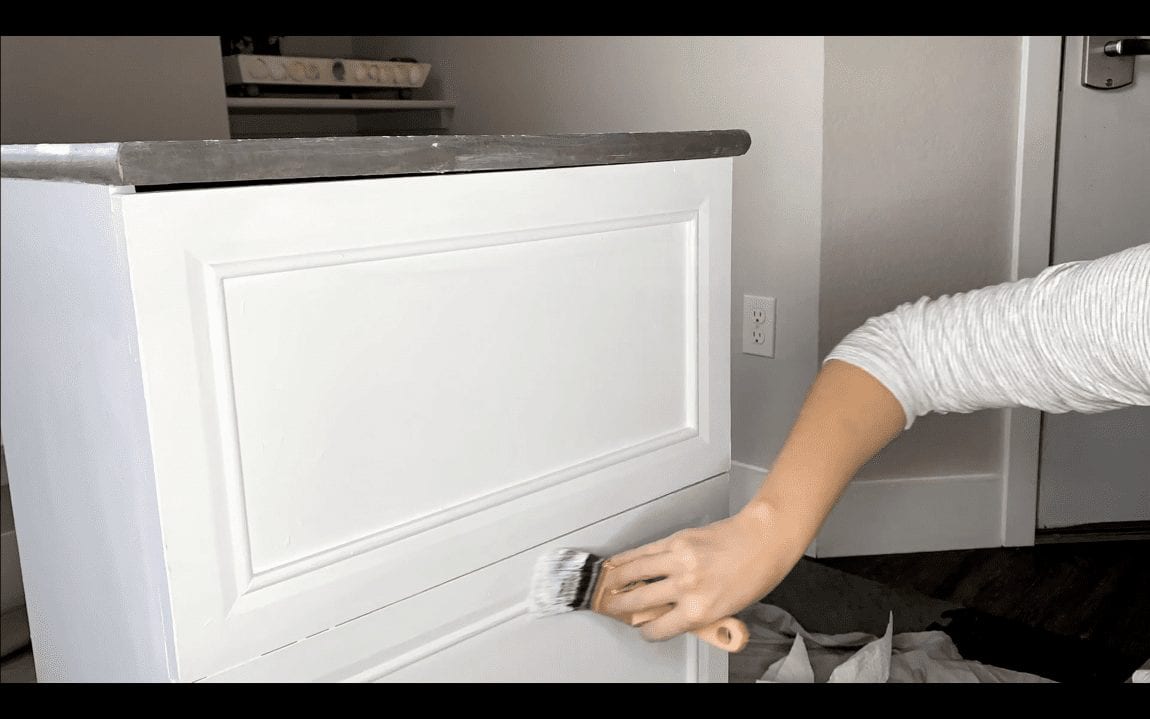
Step 2 – Add paint to touch up areas while putty dries
I used a normal paint brush for touch up painting on the file cabinet.
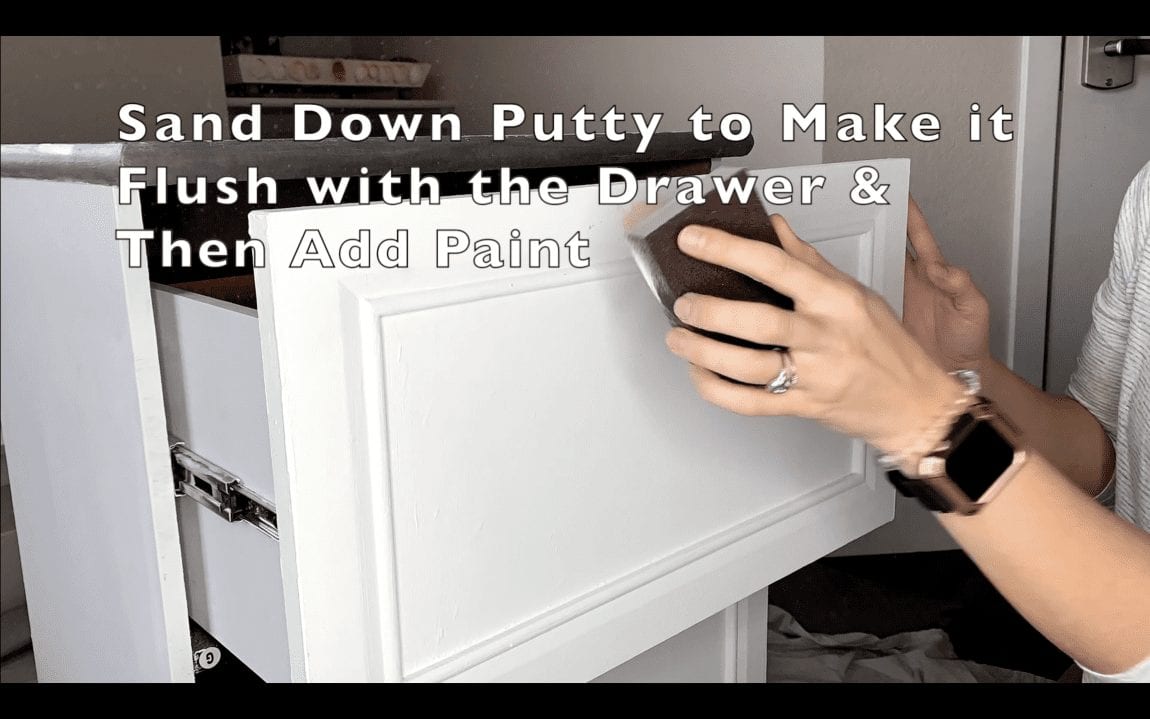
Step 3 – Sand down wood putty to the existing hardware holes
I used a sanding block to sand down the putty. I used a rag to wipe away the dust before painting over dried putty.
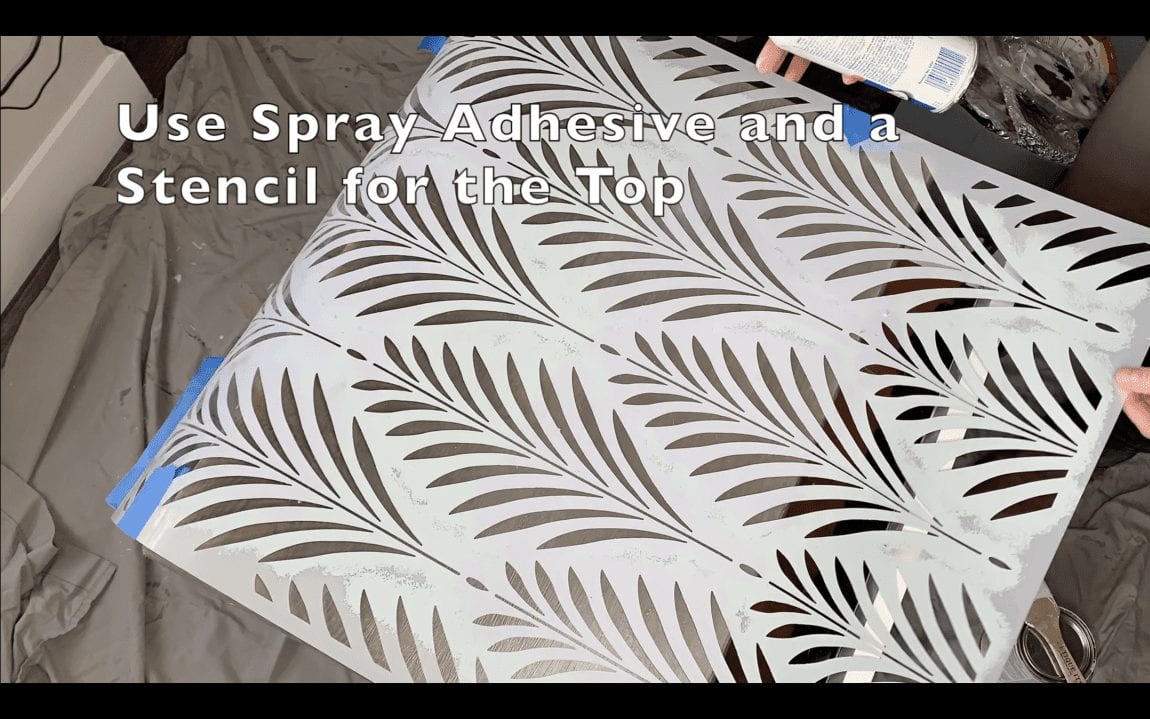
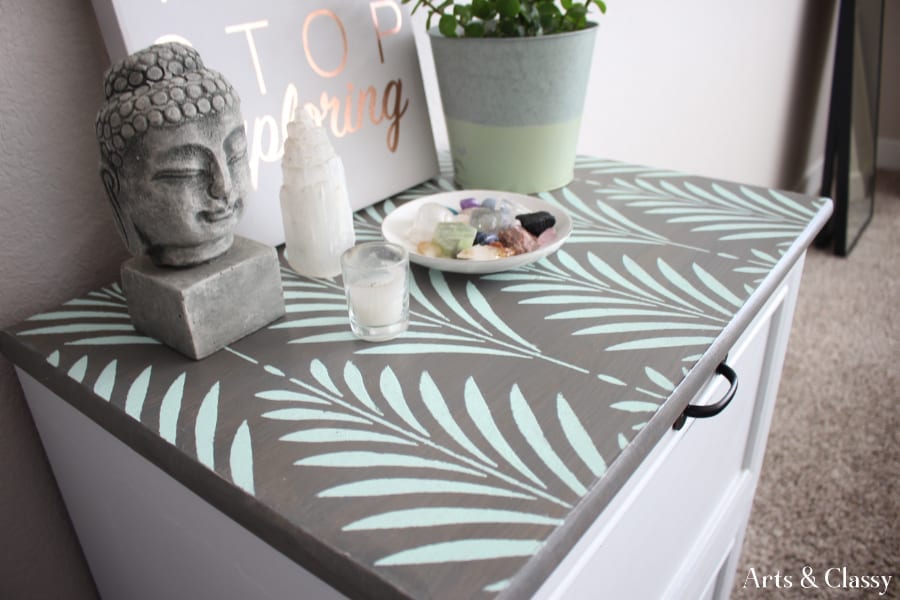
Step 4 – Use spray adhesive and a stencil to apply to the top of the cabinet
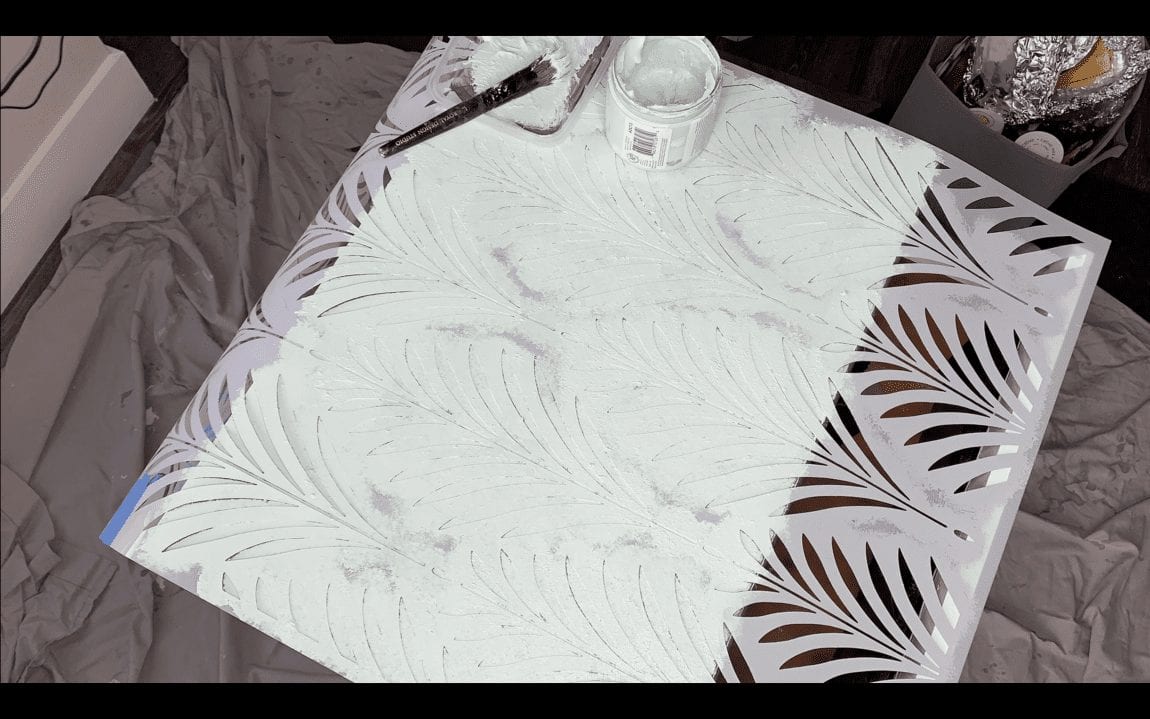
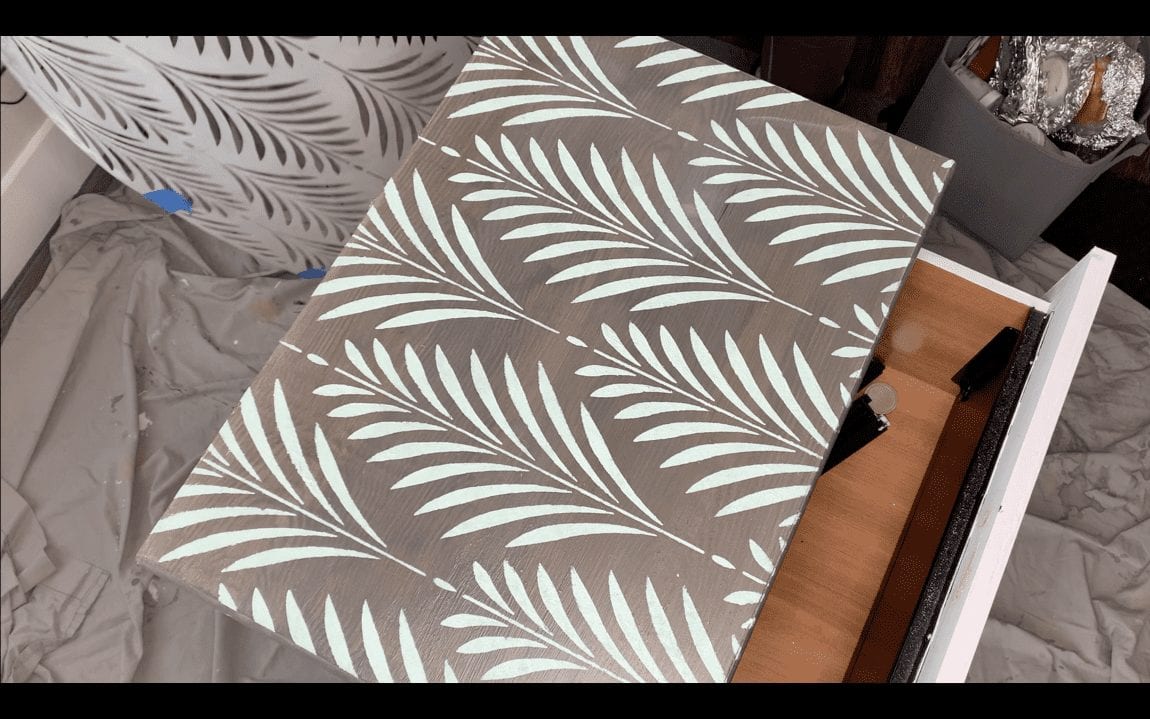
Step 5 – Use stencil brush and paint to apply to the stencil using a dabbing motion.
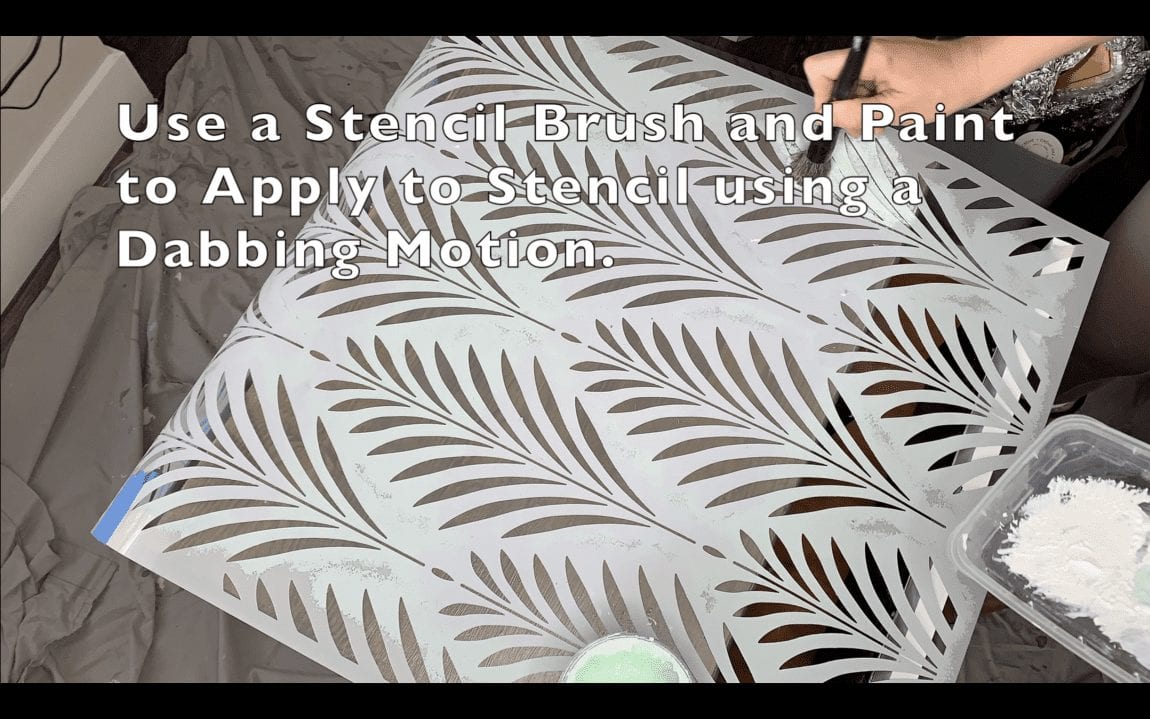
Apply a couple of coats until the coverage is full.
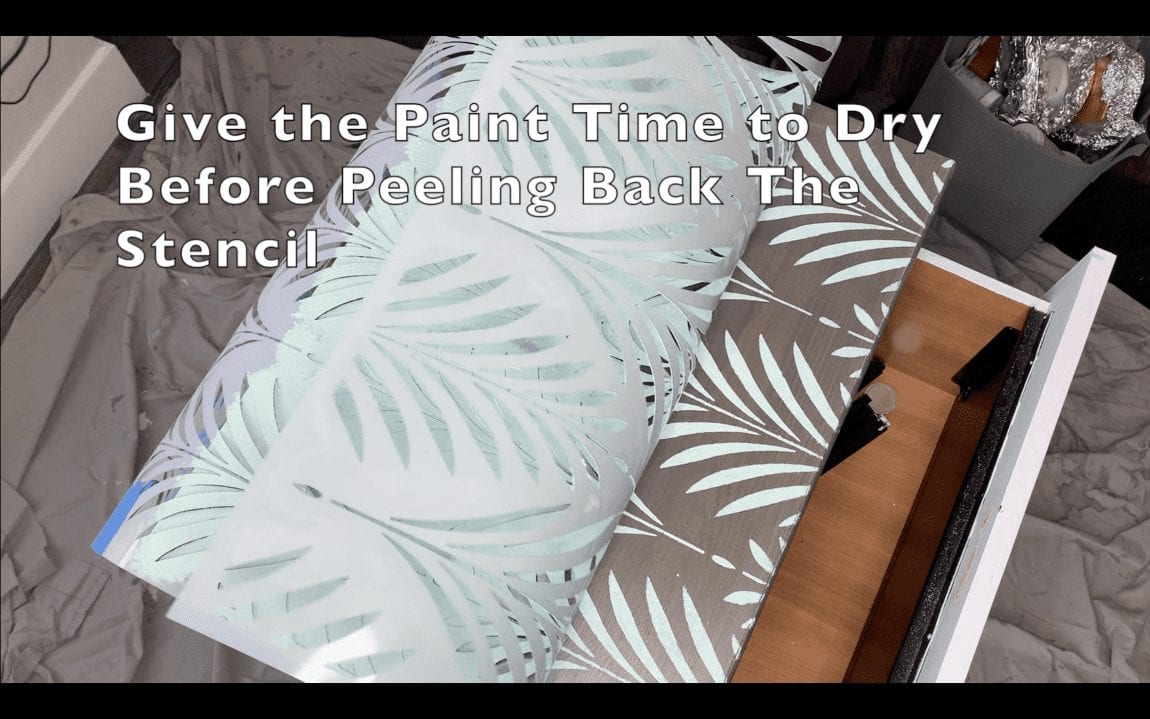
Step 6 – Wait for the paint to dry and slowly peel back the stencil to remove it.
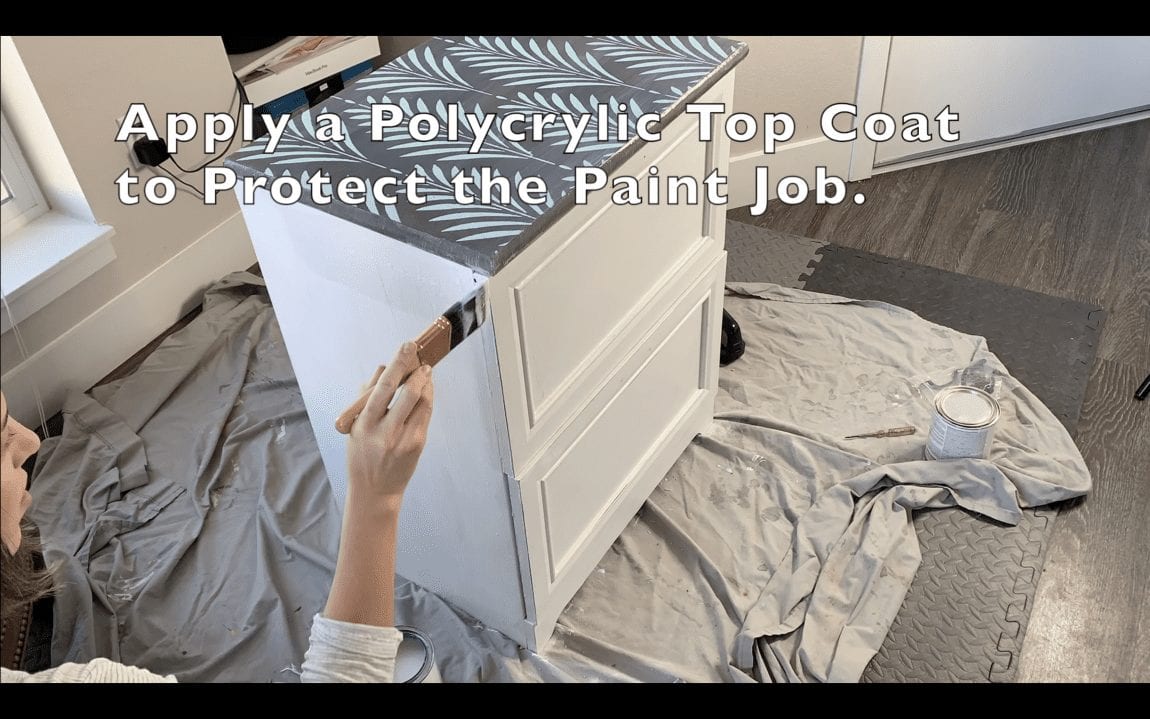
Step 7 – Use a clear polycrylic top coat to protect the paint job. Apply 1-2 coats.
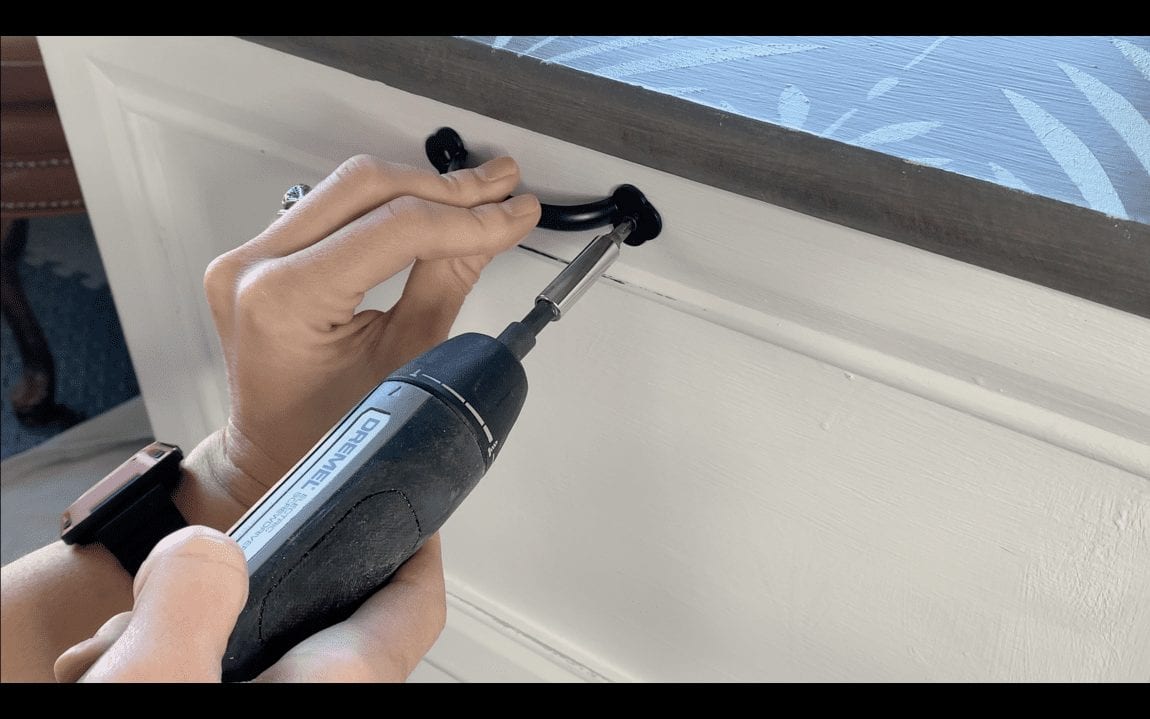
Step 8 – Use hardware drawer pulls and a screwdriver to attach to cabinet fronts.
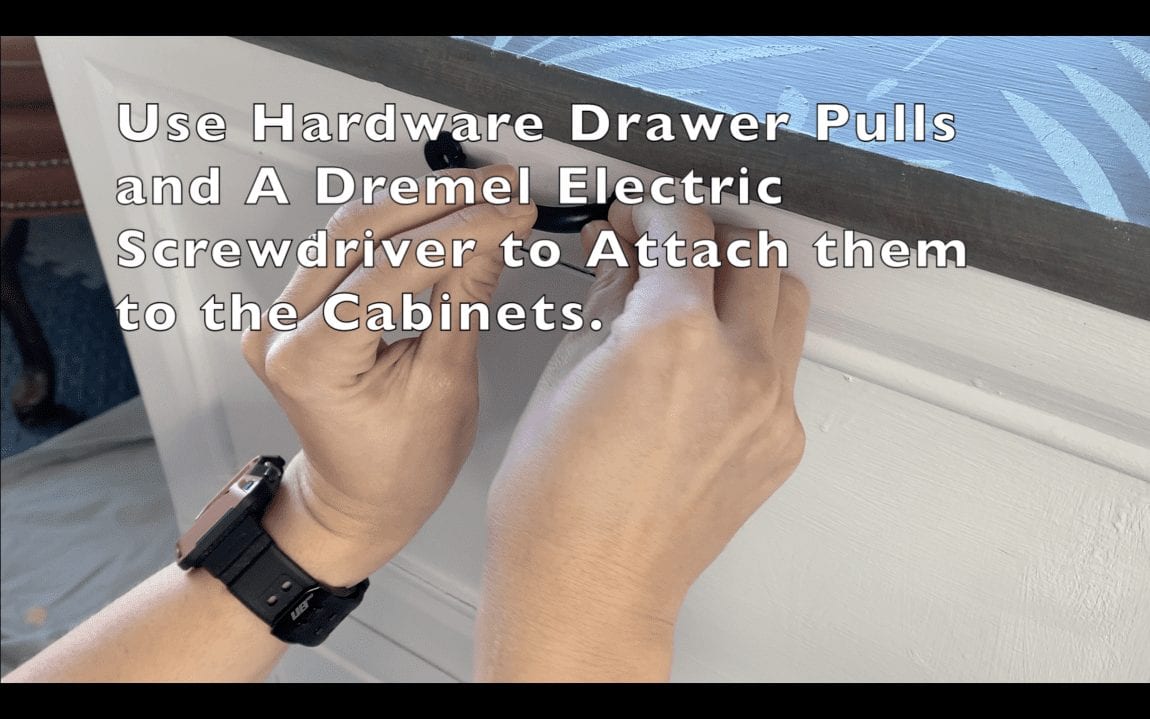
My Dremel Home Solutions electric screwdriver has 6 precision settings and 7 different drill bits to use for various projects.
Once hardware has been secured, put the cabinet where you plan to use it and decorate it with your home decor smalls.
CHECK OUT THE AFTER!!!
I love my new tools and I plan on continuing to use them for future furniture projects! Thanks Dremel for sponsoring this project!
What did you think of this DIY File Cabinet project? Let me know in the comments below.
If you liked this project, you may also enjoy: