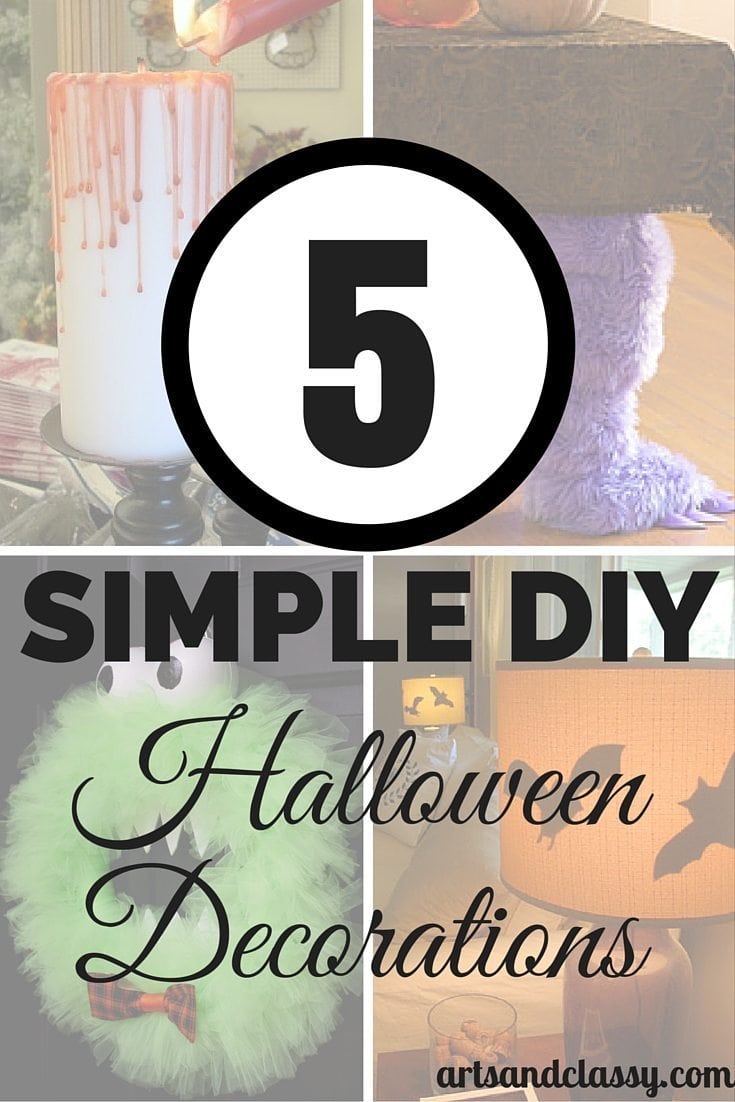
5 Quick and Easy Halloween Decorations for Beginners
Looking to add a spooky touch to your home without breaking the bank or spending hours on intricate DIY projects? You’re in luck! These easy Halloween decorations are perfect for beginners and can be completed in just a few simple steps.
Imagine your front porch transformed into a haunted house, your living room adorned with ghoulish garlands, pumpkins, and spiders, or your dining table set with creepy centerpieces. With these quick and easy DIY ideas, you can create a festive and frightening atmosphere that will impress your guests.
Why choose DIY Halloween decorations?
- Have fun: DIY projects are a great way to get into the Halloween spirit and spend quality time with family and friends. If you’re planning a Halloween party this year, or want to take your DIY decorating to another level, take a look at some of these amazing ways to transform your home into a spooky, fun home.
- Save money: Store-bought decorations can add up quickly. DIY projects are a budget-friendly way to decorate your home for Halloween.
- Personalize your space: Create unique decorations that reflect your style and personality.
1. Candy-Filled Headstones
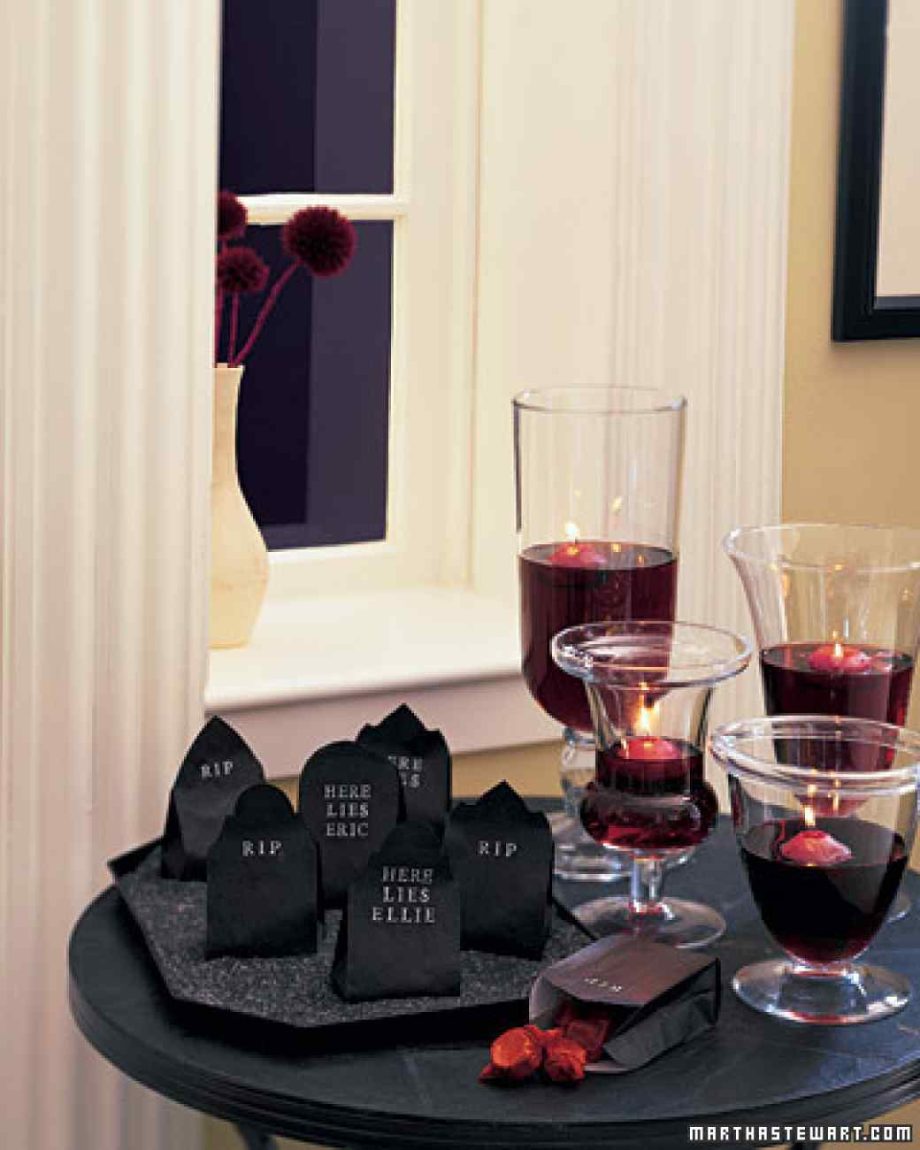
All you need for these spooky party favors is a black paper bag (or black construction paper if you’re feeling extra crafty), candy, glue, and a stamp with white ink or a white Sharpie.
You can find a template for the headstone shapes on Martha Stewart’s site, or you can trace your own and cut the top of the paper bag to make it look like a headstone.
Then either stamp a spooky message or write your own on the front of the black bag. Fill it with yummy candy and seal it up with a glue stick. Now you have a wonderful Halloween party decor and party favors for all your ghouls and goblins.
2. White Bloody Candle
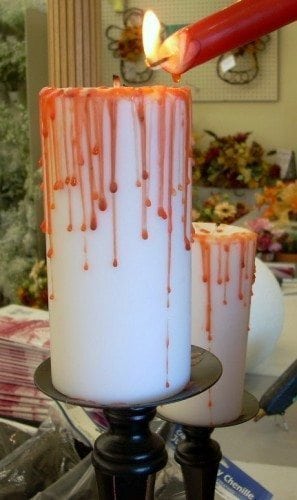
For an extremely simple and quick easy Halloween decoration, try the white bloody candle. All you need are white pillar candles, a red candle (any size is fine), and a match or lighter.
Light the red candle and hold it over the Dollar Tree white pillar so it drips the red wax on the top of the white candle and let it drizzle down the sides as well. It’s that easy.
If you are liking this post about easy Halloween decorations, you might also like:
3. Tulle Monster Wreath
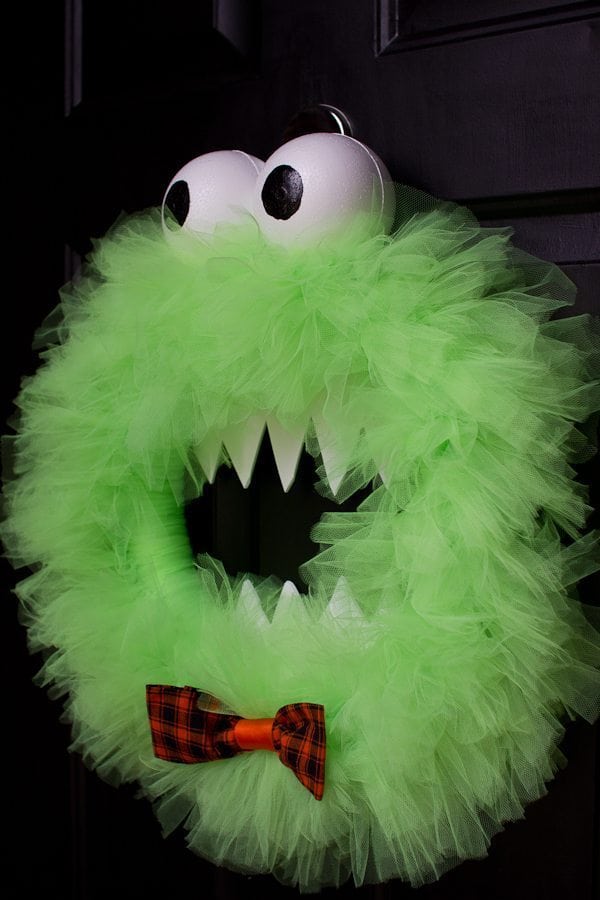
If you have young ones who might be afraid of some of the traditional Halloween decorations, try this cute but spooky monster Halloween wreath that would be great for your front door.
You’ll need a styrofoam wreath, 2 styrofoam balls for googly eyes, about 100 yards of tulle, black paint, a paintbrush, a sheet of white foam, fabric and ribbon for the bow-tie, a hot glue gun, and two toothpicks. *Bonus tip* – Use pipe cleaners to create more texture or to add some antennas for this monster wreath if you want to give it more of a science fiction vibe.
First, paint the eyes by using black paint to make pupils on the white styrofoam balls and let them dry (putting them in cups to dry works best so they don’t roll around).
Then, cut your tulle strips. You can wind the tulle around a flat shipping box and cut the edges to make equal-length strips.
Tie the tulle around the styrofoam wreath and knot it with a square note. Use the two toothpicks to attach the eyes to the tulle-covered styrofoam wreath.
Lay the wreath face-down and cut the foam sheet to make a mouth. Then use some fabric you like and some matching ribbon to make a little bow-tie and glue it to the front of the monster wreath. It is a cute and fun way to celebrate the Halloween season and to greet your guests at your doorstep.
4. Monster Table Legs
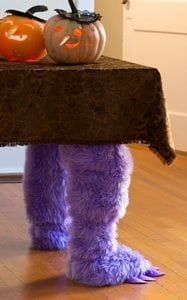
Most people use a Halloween-themed table runner or tablecloth to dress up their dining room table, but why stop there? Give your table a Halloween costume of its own with these adorably spooky monster legs.
Wrap each table leg with plastic bags or newspapers to create the leg shape. Measure and cut one yard of purple fun fur for each leg.
Wrap the fur around the bags or newspaper and tie it securely with a matching yarn. Let the fur slough at the bottom to create a paw shape.
Use craft foam triangles to create claws. Boom you have a cute and easy Halloween decoration for a festive party or just everyday decor.
5. Bat Lamp Shades
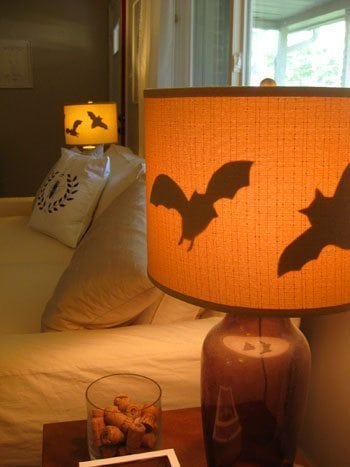
For more super cute and easy Halloween decor ideas, I have the perfect Halloween crafts to decorate your home for Halloween, use this quick and simple trick.
Sketch out bat shapes on white pieces of paper (you can use printer paper if you want). Then cut out the bat shapes to use as stencils. If you want to get really thrifty on this, you could use toilet paper rolls or paper plates that you paint with black spray paint or black card stock for this easy Halloween decoration.
Trace the bat stencils onto black construction paper and cut them out. Attach the bat shapes to the inside of the lampshade with scotch tape (a loop on each wing should work).
And you’re done! Happy Halloween!
This post contains some affiliate links. I may earn a small commission if you purchase through one of these links. See more information in my full disclosure policy.