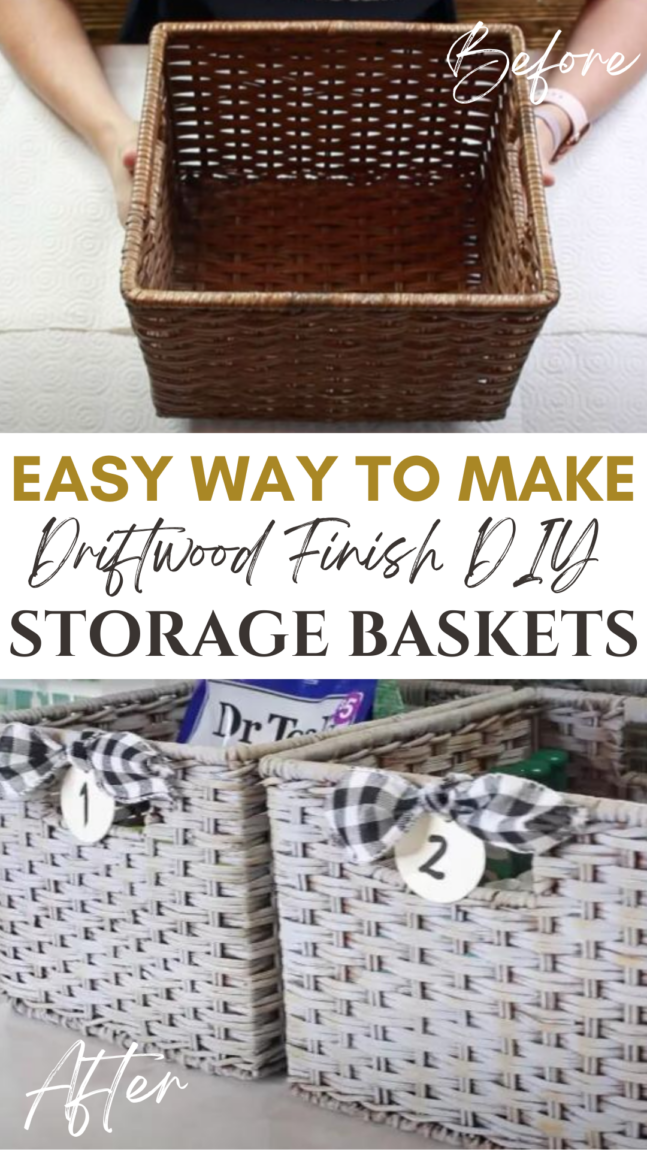
Craft a Professional-Grade Aged Driftwood Finish DIY Storage Basket in 7 Easy Steps
Are you looking for an easy way to create a unique aged driftwood-style finish on your baskets? An aged driftwood finish can give any basket a timeless and rustic feel. This instantly transformed it into a one-of-a-kind piece of decor. Creating this look doesn’t have to be complicated! All it takes is some simple supplies and the knowledge of how to create a driftwood finish DIY storage basket!
With this helpful guide, I’ll show you step-by-step how to get that classic vintage feel in no time at all. So grab your basket, gather your materials, and let’s get started!
This post contains some affiliate links. I may earn a small commission if you make a purchase through one of these links. See more information in my disclosure policy.
What do I need to make this driftwood finish DIY storage basket?
- Wicker or rattan basket of choice
- Gray “Chalky Finish” paint (This will be the main color of a wicker basket)
- Taupe acrylic paint (The color I used was called “Honeycomb”)
- Black acrylic paint
- Round wood craft tags
- Plaid ribbon
- Paint brushes
Today I am thrilled to demonstrate how you can construct a striking DIY driftwood finish for your bathroom storage. Follow the step-by-step instructions below to make your own chich storage baskets.
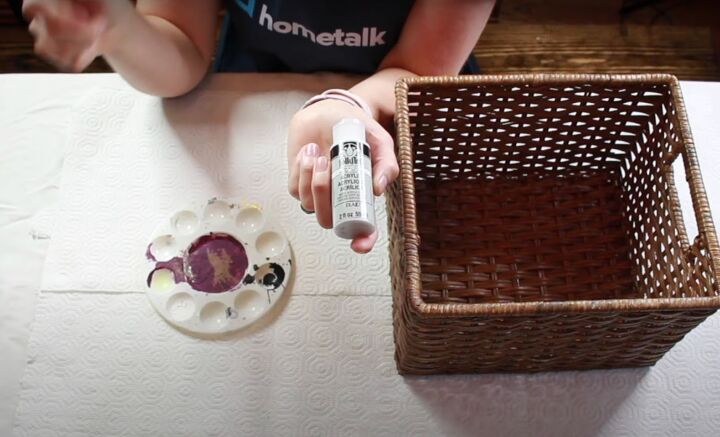
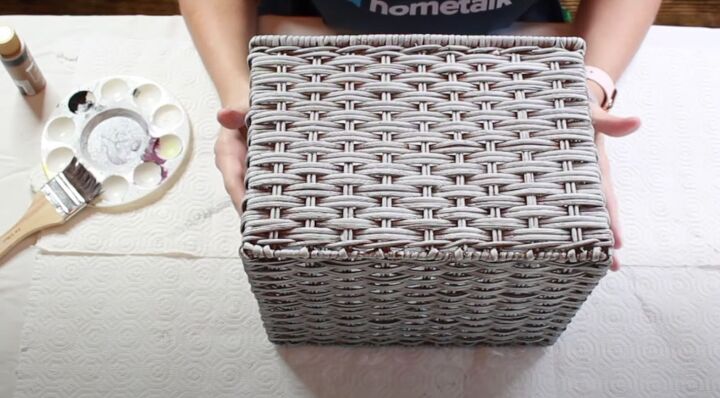
I decided to use two wicker baskets that I bought off Facebook Marketplace for $10.
Assemble all of your supplies prior to starting. Also, make sure you have plenty of space to work in, as driftwood finishing can be quite messy.

Step 1
I took my brush and began to carefully layer on the paint, making sure to get into all the crevices and cover every corner of the baskets. As I painted, I noticed the grey color slowly lightening and the baskets taking on a new look. Once I was finished with both baskets, I let them dry for an hour before inspecting my work.
The paint dried evenly and transformed the baskets into something more modern-looking than they were before.
I carefully worked the exterior of the basket with a dry brush, slowly adding paint to all sides as I went. I took my time with this step to ensure that the color would be even and consistent all over. My technique included using smooth, sweeping strokes, making sure not to overwork any one area. After completing the entire surface of the basket, I stepped back and admired my work.
The paint appeared vibrant and even throughout, and was perfectly complemented by the intricate weaving of the basket’s structure.
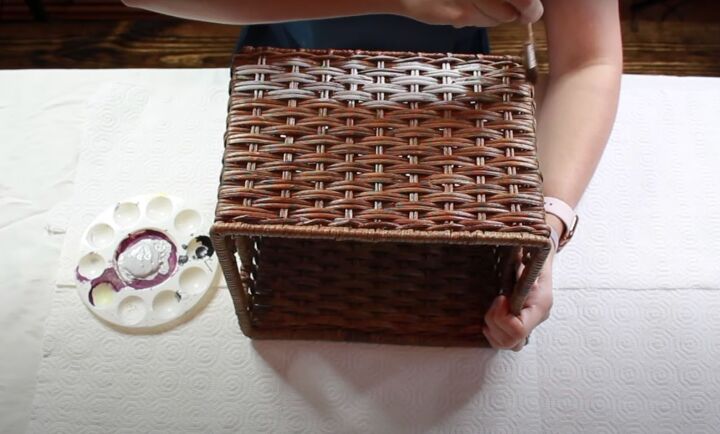
Step 2
To achieve a faux grey driftwood finish, I added some gray paint to the basket. However, although the gray successfully covered most of the original finish, there were still some areas where pieces of it peeked through. This was actually intentional as I wanted to add an extra layer of dimension and visual interest to the basket.
The contrast between the faded gray color and hints of the original finish gave it a unique weathered look that was perfect for what I was going for.
Additionally, I chose to sand certain parts of the basket in order to further emphasize its driftwood aesthetic. Once everything was finished and sealed, the end result was an attractive piece with a rustic charm that perfectly complemented my home decor.
Step 3
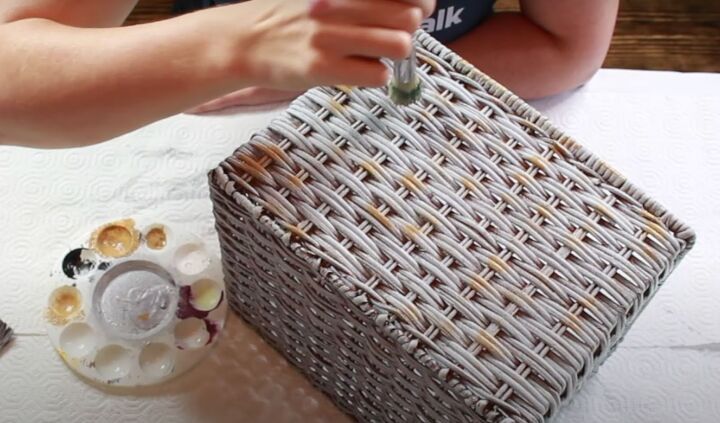
I carefully painted the honeycomb (taupe) color onto the grey using a dry brush technique. This ensured that I had a thin, even layer of paint. To make sure I didn’t have too much paint on my brush, I occasionally dipped it in water to thin out the consistency. As I applied the paint, I could see how vibrant and bright it was against the dull grey background. It was almost mesmerizing as the yellow and orange blended together to create a unique pattern.
The honeycomb color was a perfect choice for this project as its vibrancy brought life to an otherwise dull finish.

Dry brushing is an easy paint technique that involves using a brush to lightly apply paint to an area, often in order to create a more textured look. To add the lighter paint when dry brushing, start by taking a brush with bristles that are on the softer side and very lightly dab it onto the surface.
When applying the paint in this way, be careful not to press too hard as this can cause the bristles of the brush to clump together and create unwanted texture or patterns.
It is best to start off light and gradually build up the layers until you have achieved your desired look. Additionally, if you end up putting too much paint on or going outside of your desired lines, you can use a paper towel to gently remove it. With practice, dry brushing can be used to create some truly stunning effects with the right brush strokes!
RELATED: Make A Fitness Gift Basket You And Your Fit Friend Will Love
Step 4
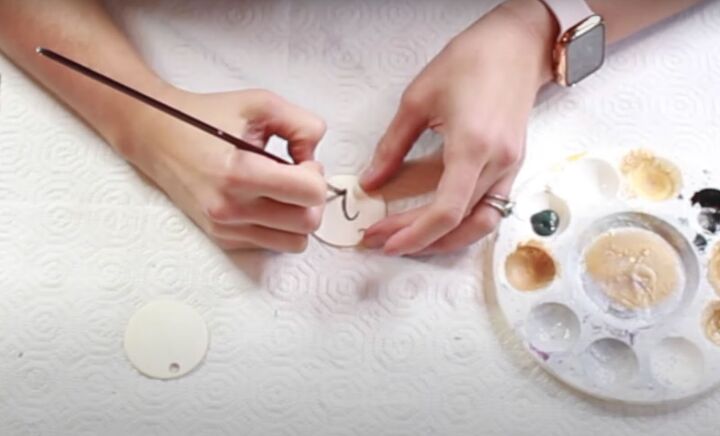
I started by selecting a few small wood crafting circles and using an artist’s brush, I carefully painted the numbers onto the wood tags. With precision, I created two different patterns; one with black paint for a darker look and one with white paint for a softer effect.
Once the paint had dried completely, I proceeded to attach each tag to the driftwood finish diy storage basket with my plaid ribbon.
This gave the finished project a vintage farmhouse feel that was perfect for my home decor style. To finish off this project I added some artificial greenery tucked around the edges of the basket, complimenting both the paint and tags perfectly!
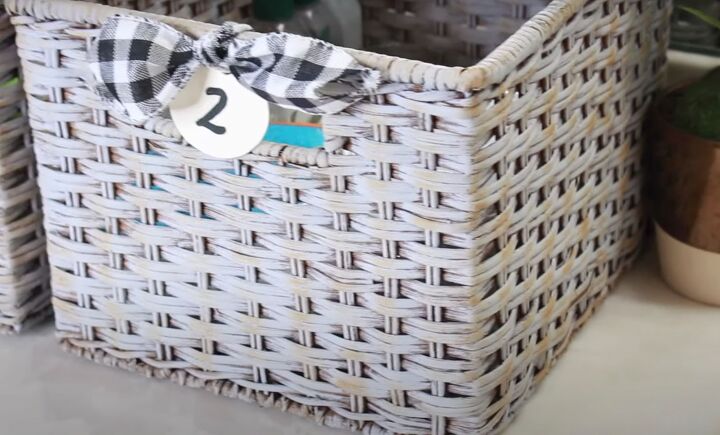
Step 5
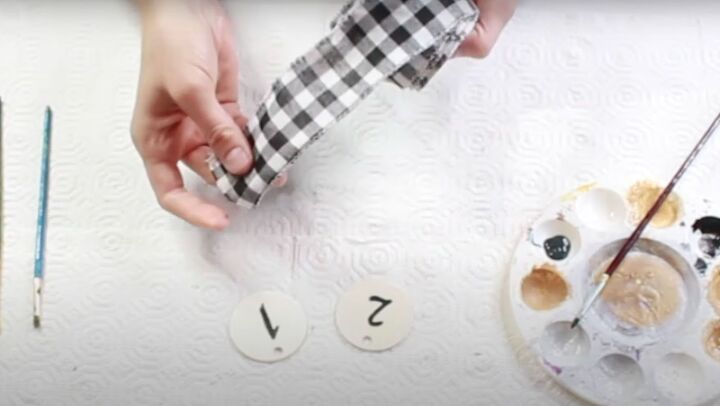
I chose a black checkerboard pattern ribbon to add the perfect finishing touch to my baskets. The ribbon was made of sturdy, rustic material and had an old-fashioned farmhouse look. After carefully measuring and cutting a length that was long enough to go around each basket twice, then tied on my tags with tight double knots.
When the basket was complete, the tags added a gentle pop of color against the dark ribbon.
Different patterns can bring so much charm and personality to everyday household items! Not only is it visually pleasing, but it also adds an extra level of detail that elevates the entire look.
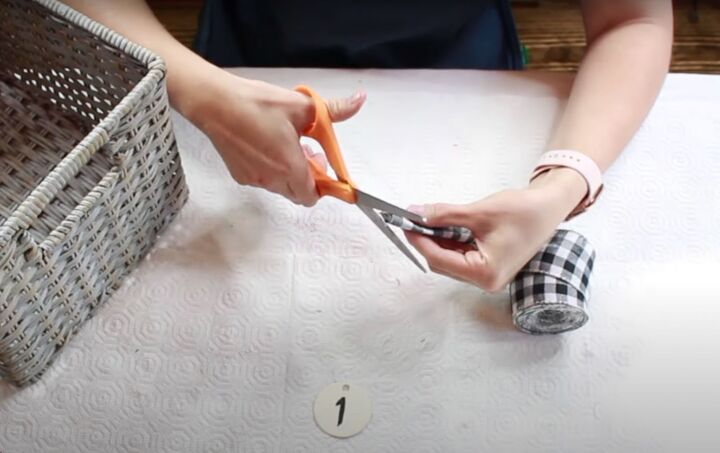
Step 6
I took a length of ribbon and folded it in half so that the two ends met evenly. From there, snipped off a small section at an angle, making sure to keep the angle symmetrical on both sides of the ribbon. This gave the ribbon a nice finished look, with clean edges and an equal amount of fabric on each side.
By snipping off a small piece of fabric from the center, I was able to create an even line down the middle of the ribbon when unfolded.
Additionally, this method also prevented any fraying or unraveling at the edges. The finished product had a professional look and feel, making for an ideal accent for any number of craft projects or decorations.
RELATED: 17 Unbelievable Home Organization Ideas For Small Spaces – Get Ready To Be Amazed!
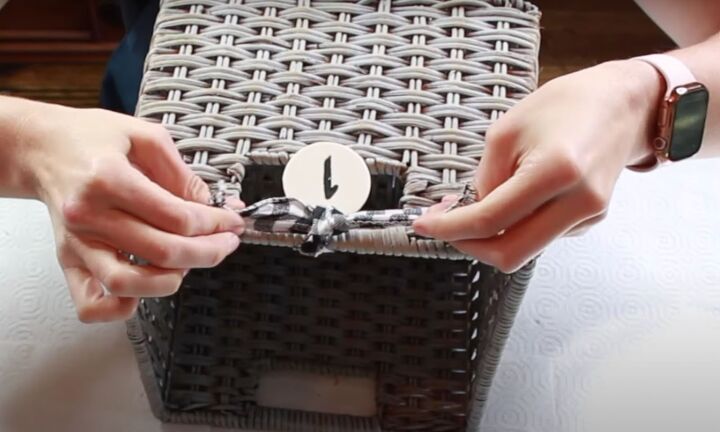
Step 7
I quickly threaded the ribbon through my tags and was pleased to find that it had wires in it, which enabled me to tie the ribbon easily around the handles of the gift baskets. It gave a finished look to the baskets so that they looked more professional and polished.
The wire in the ribbon made it easy to shape and form into a bow tie or other decorative shapes.
Additionally, I was able to make sure that the ribbons were evenly spaced on each handle, giving an overall even and balanced appearance. I was really happy with how quickly and effortlessly I could get each basket decorated with perfect-looking knots.
THE AFTER!
I had no idea how easy it would be to transform a plain faux driftwood finish DIY storage basket into something resembling Pottery Barn-style decor!
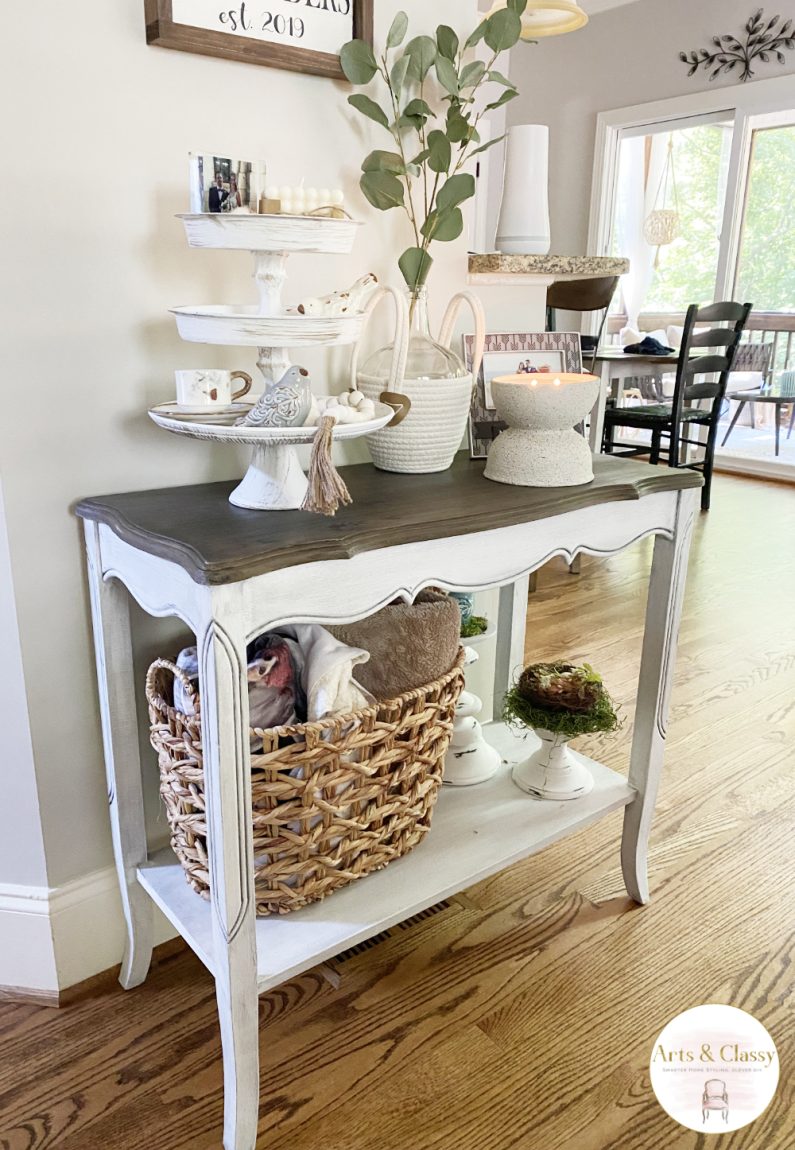
All I had to do was apply a few coats of paint and voila – I instantly had a beautiful French country-style farmhouse organizer that fits perfectly in my bathroom.
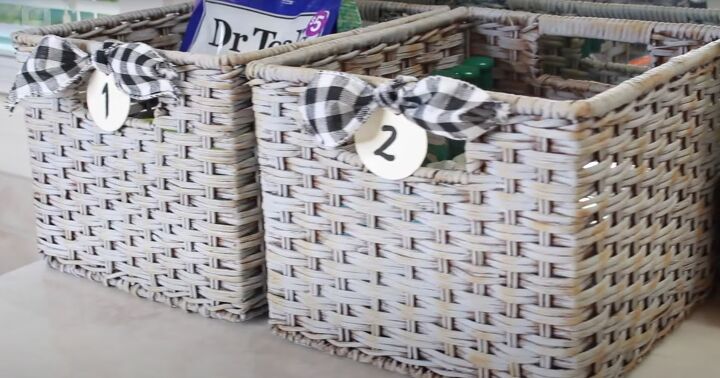
The best part is, I made this project for a fraction of the cost I’d pay if bought it at a retail store. I’m so excited about the end result and hope you are too! Hopefully, today’s project has inspired you to roll up your sleeves and embrace your own DIY project.
An aged driftwood finish can give your basket a timeless and rustic feel. With some simple supplies, you can create a unique look that you can treasure for years to come. This will create a sophisticated take on this classic style that is sure to make your home one-of-a-kind.
Make sure you are following me on Instagram, Pinterest, Hometalk, and TikTok for more ideas on how to decorate your home on a budget!
If you enjoyed this driftwood finish DIY storage basket… Check out these other tutorials and organizing tips!