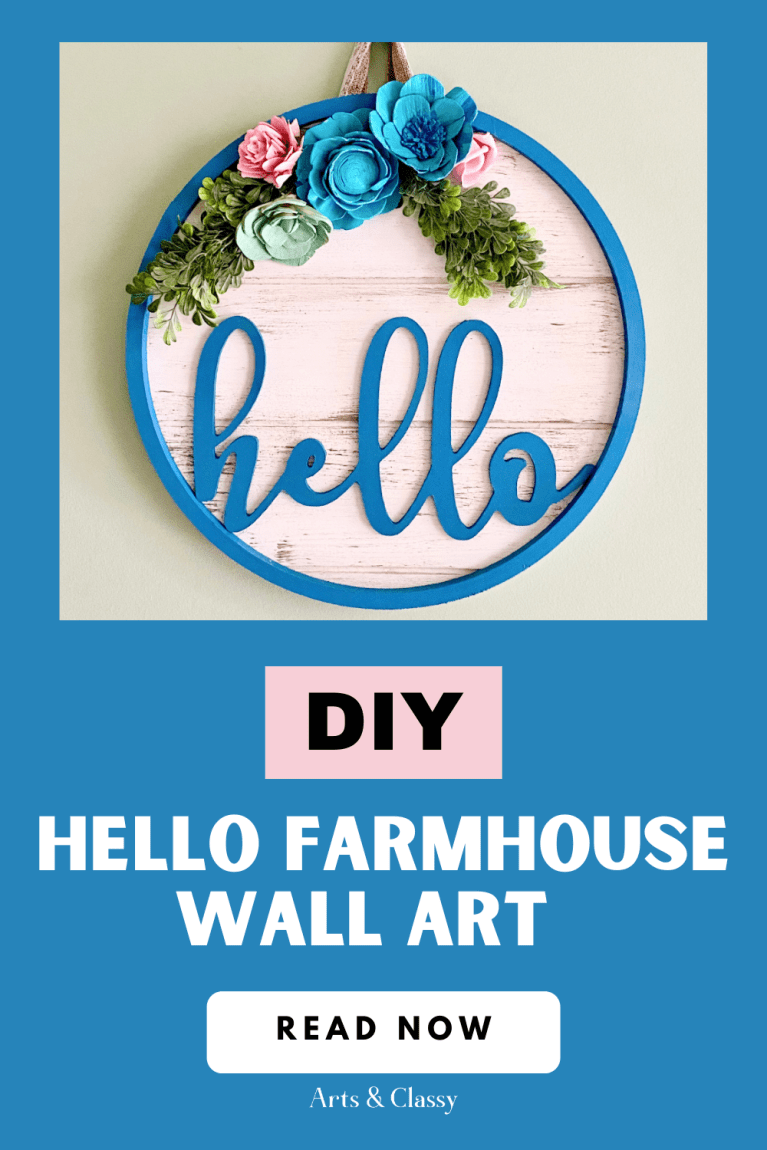
Tired of Bland Walls? Discover How to DIY Farmhouse Wall Decor
A DIY project that makes a big impact, this farmhouse wall decor will liven up any room in your home. I am very excited to share this rustic project with you and how you can make it yourself with a video tutorial.
I have really grown to love farmhouse home decor as I have gotten older.
It must be because I have always had rustic-looking furniture. My furniture is mostly antiques, hand-me-downs, and vintage thrift finds from the entirety of my life.
I don’t think I have ever been in a situation where I spent thousands of dollars on a brand new furniture piece (until Summer 2021 with my recent king-size bed purchase for my new home.) Felt pretty fancy on that day. Took me 35 years to get to that place to financially be able to afford it.
My point is that I have learned to love the patina on older furniture. The imperfections and flaws give furniture character. So like a moth to a flame, I found the rustic farmhouse niche and began to fall in love with the concept and the design ideas. The only thing is that I learned that I love a more modern take on this style.
What is the modern farmhouse style?
As I fell down the rabbit hole of all the spaces within the “farmhouse” niche, I found one that really hooked me. Modern farmhouse! Now you may be asking yourself, what actually does a modern farmhouse encompass as far as design styling? Well, I am glad you asked.
Andrea at The Cottage Market says, “While the classic farmhouse style tends to lean more on the side of warm tones and neutrals, modern farmhouse tends to invite more whites, pastels, and off-whites for a brighter look.”
With that being said, I am sharing an easy DIY farmhouse wall art decor tutorial with a modern twist! I am very excited about this one.
This is about to be one chic farmhouse look for my home and I hope you feel inspired to try it too!
This post contains some affiliate links. I may earn a small commission if you make a purchase through one of these links. See more information in my disclosure policy.
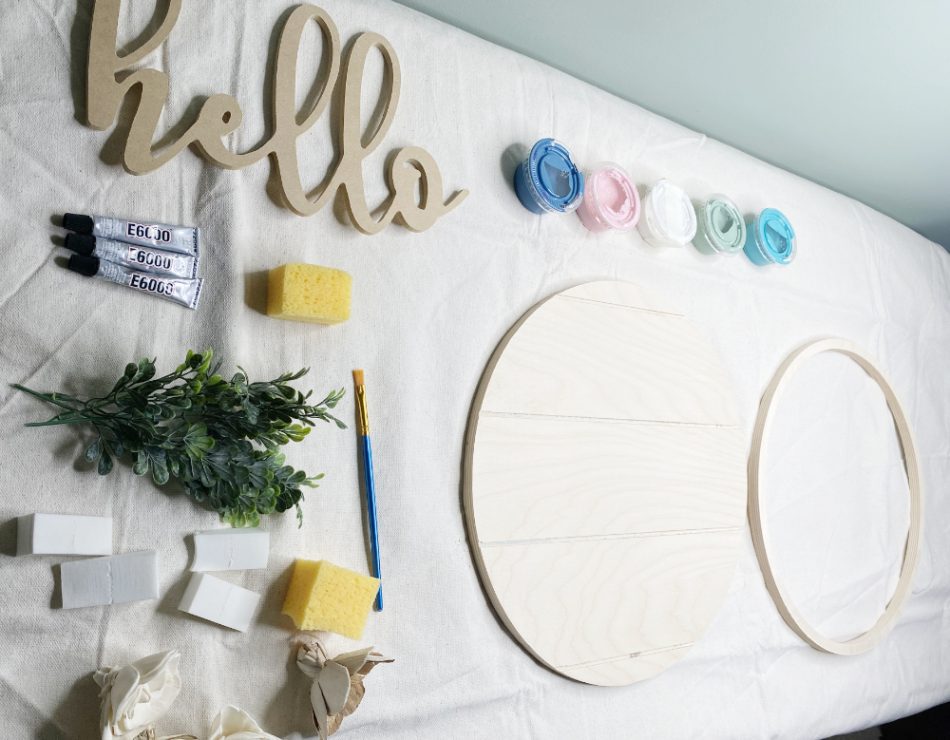
Gather supplies:
- Wood Round
- Wood Craft Hoop (same size as the wood round)
- Hello Wood Sign Cutout
- Fake Greenery
- Sola Wooden Flowers
- E6000 Glue
- Burlap Ribbon or Rope (I got mine at Dollar Tree)
- Acrylic Paint – Various Colors
- Sponges
- Artist Paint Brushes
- Water based Wood Stain
- Canvas Drop Cloth
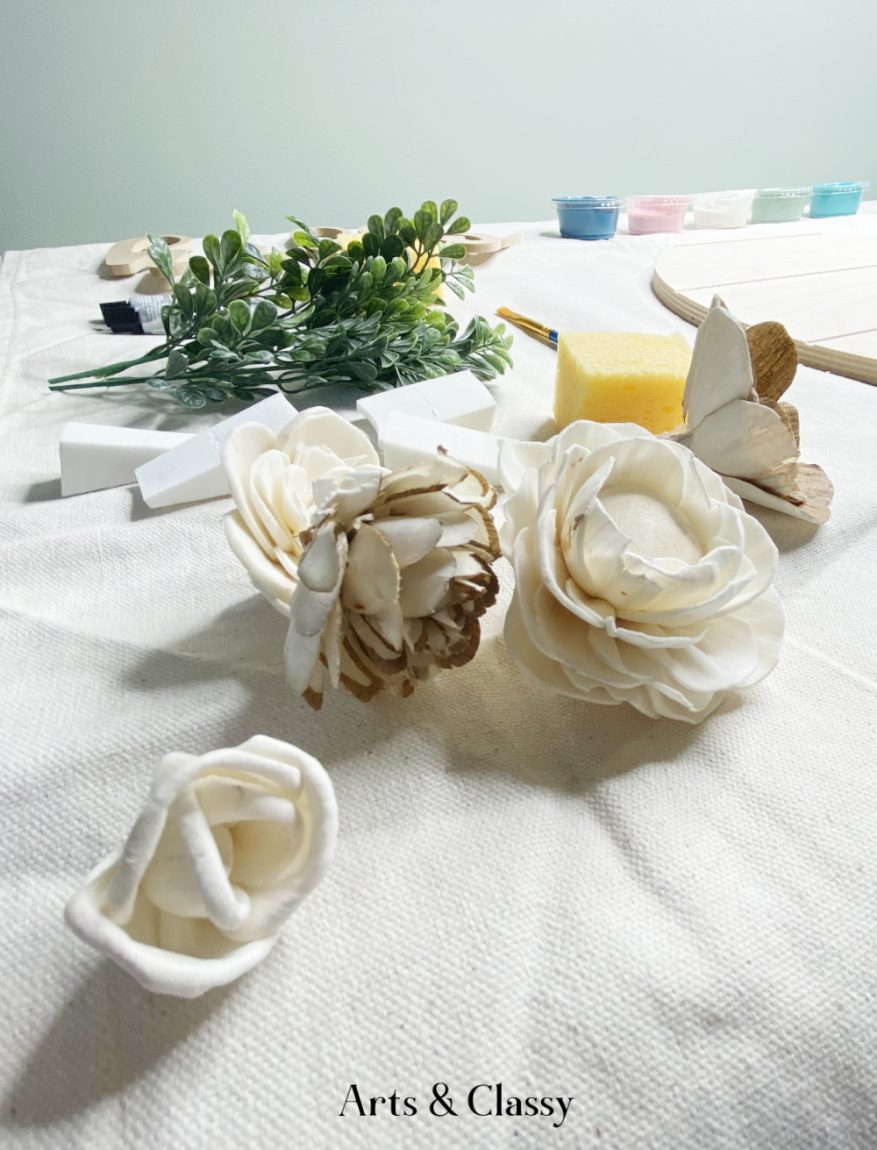
How To Make – Step 1
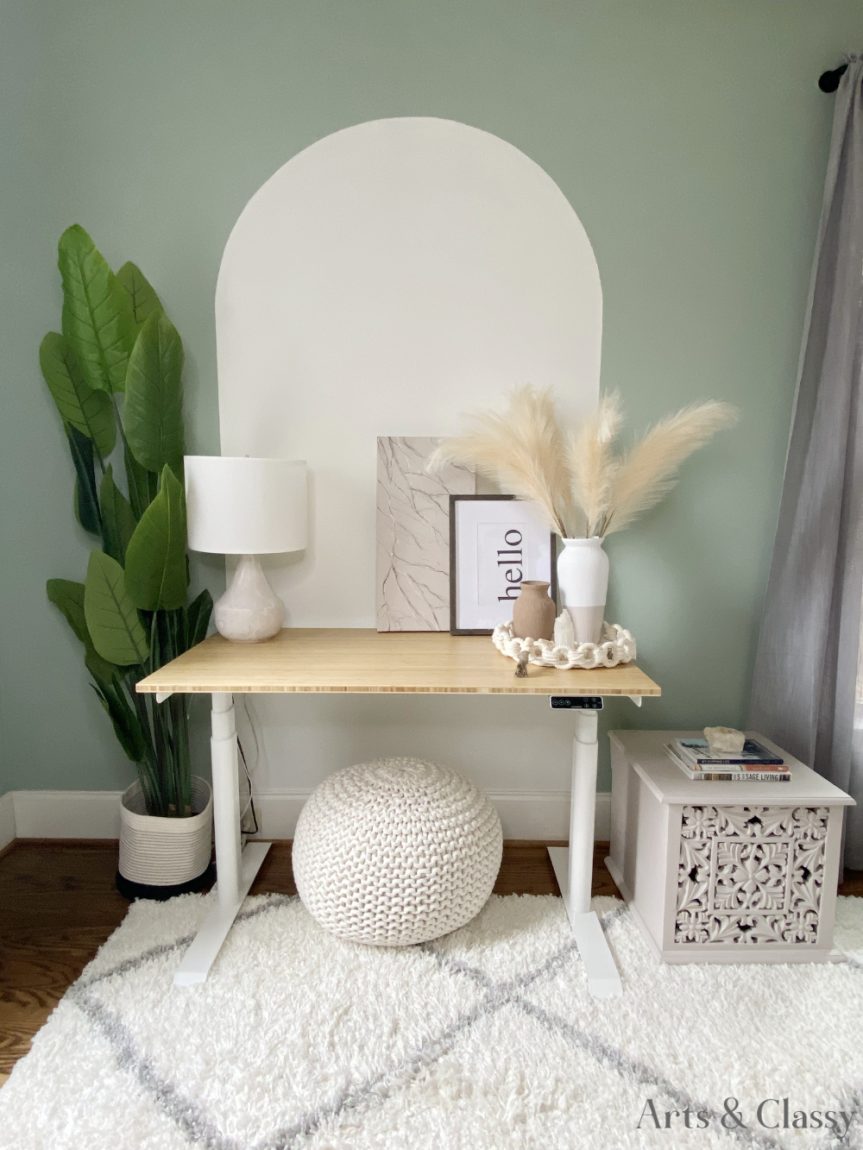
Gather all your supplies, lay them out, and make sure you have enough space to work. I use a canvas drop cloth to protect my sit/stand desk. It’s really nice being able to stand for craft projects like this one. (I hate having to go searching for supplies mid project. It wastes time and I may get distracted.)
How To Make – Step 2
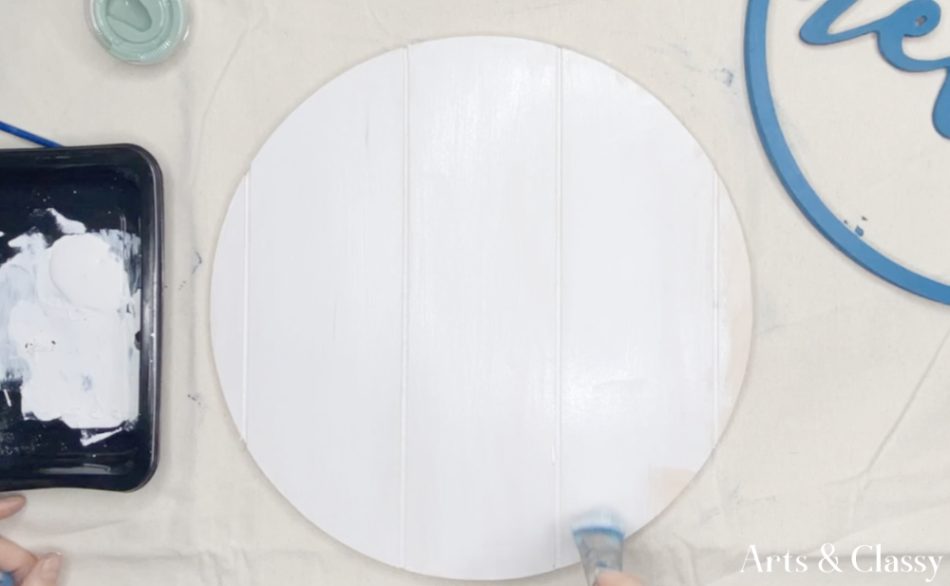
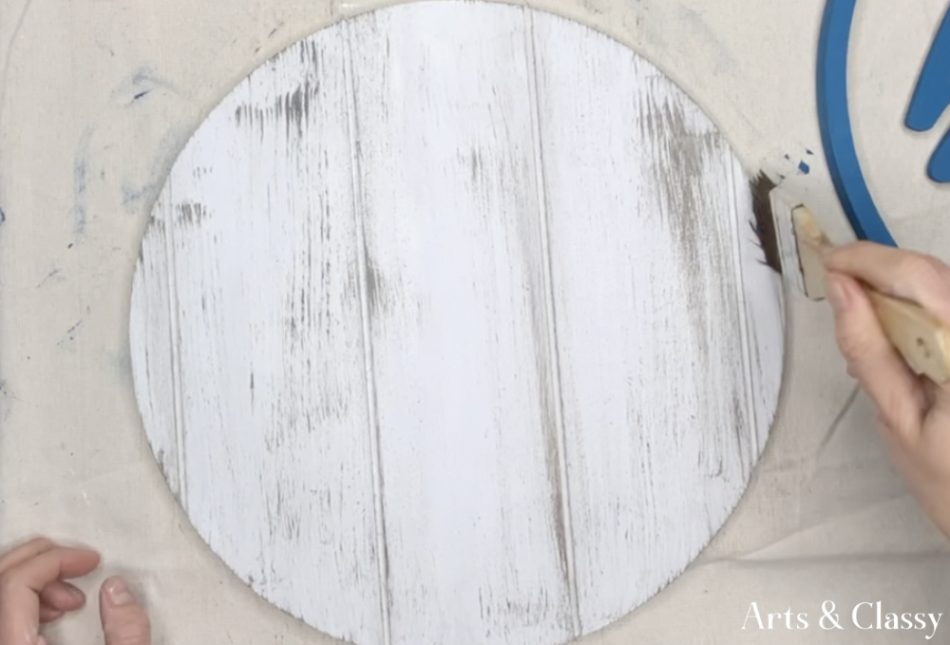
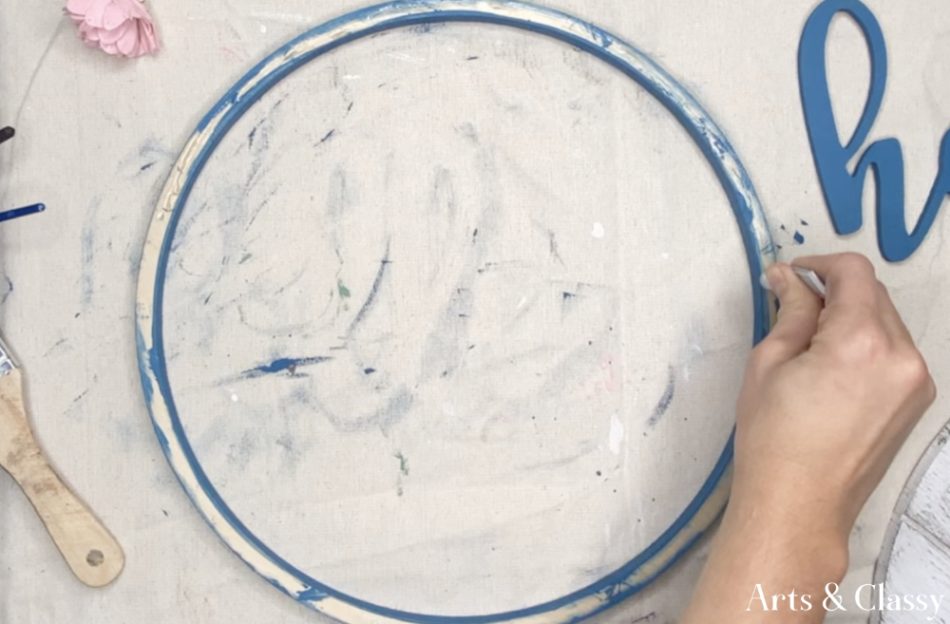
I began painting the wood trim and the wood round. I chose a beautiful blue color from my trim and wanted a nice stark contrast with a white background I envisioned.
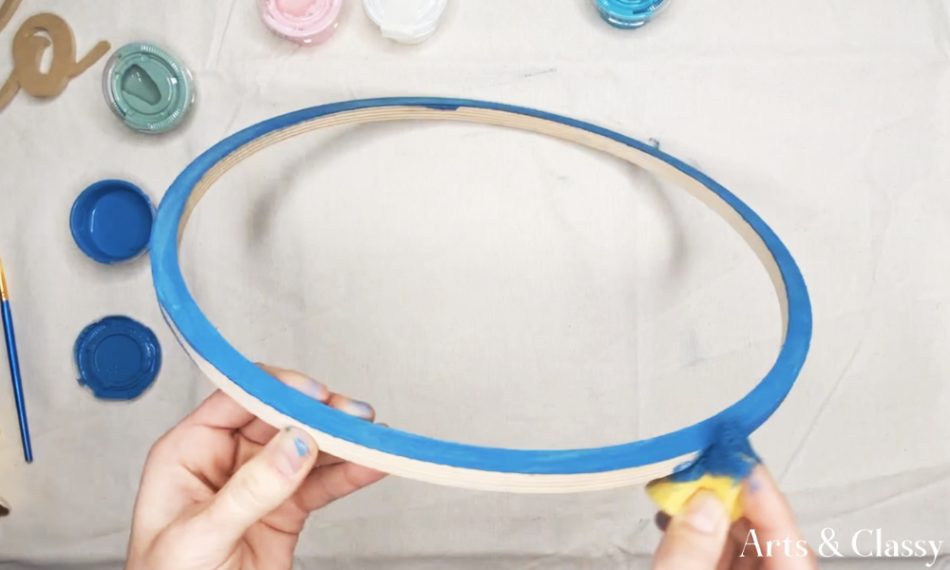
This wood round had a pallet wood look to it, so I gave it a whitewash with acrylic paint. This really helped give it a solid base to add some rustic charm.
RELATED: Get Ready to Feel the Coziness: 10 Inviting Farmhouse Decor Ideas
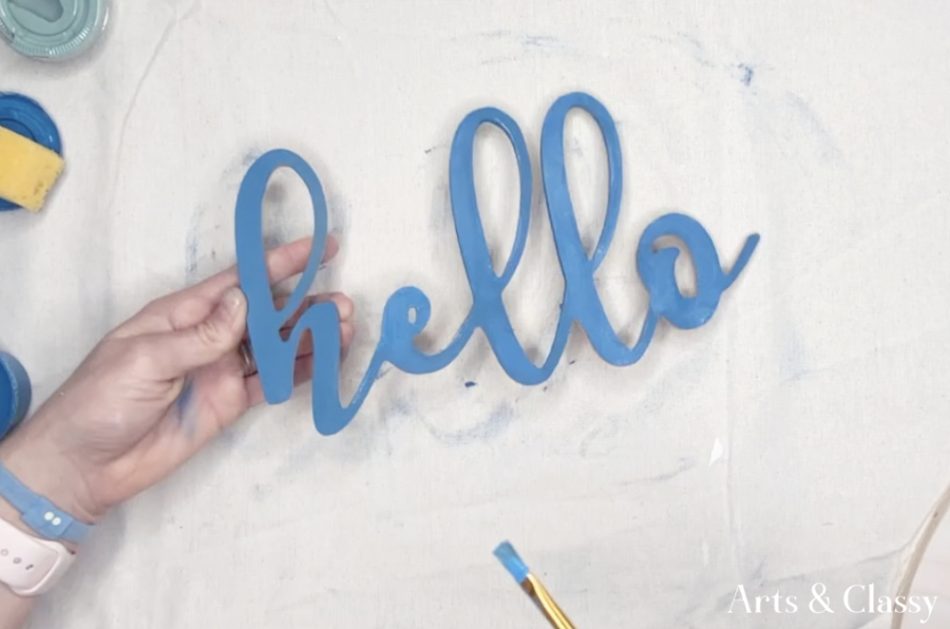
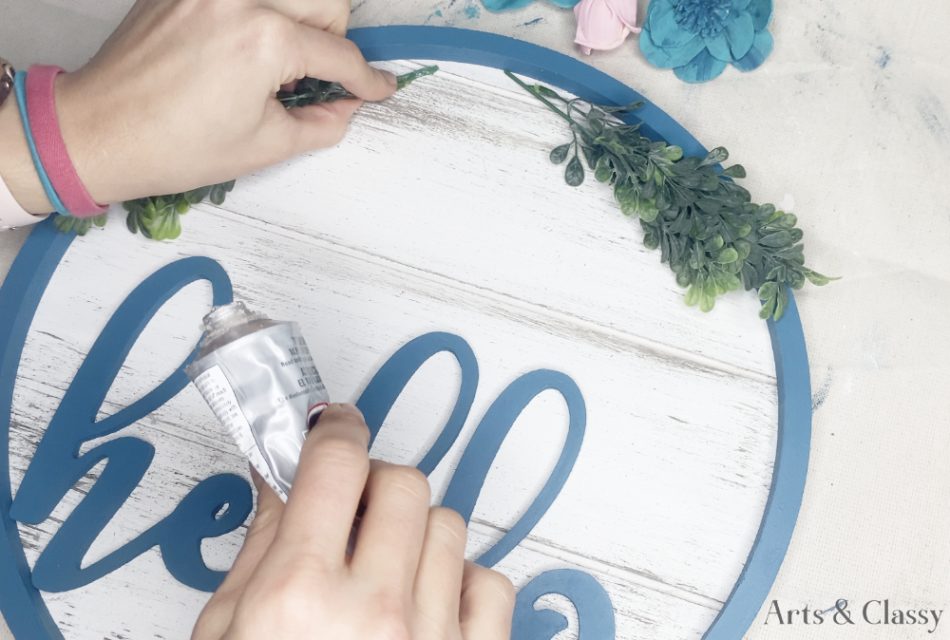
How To Make – Step 3
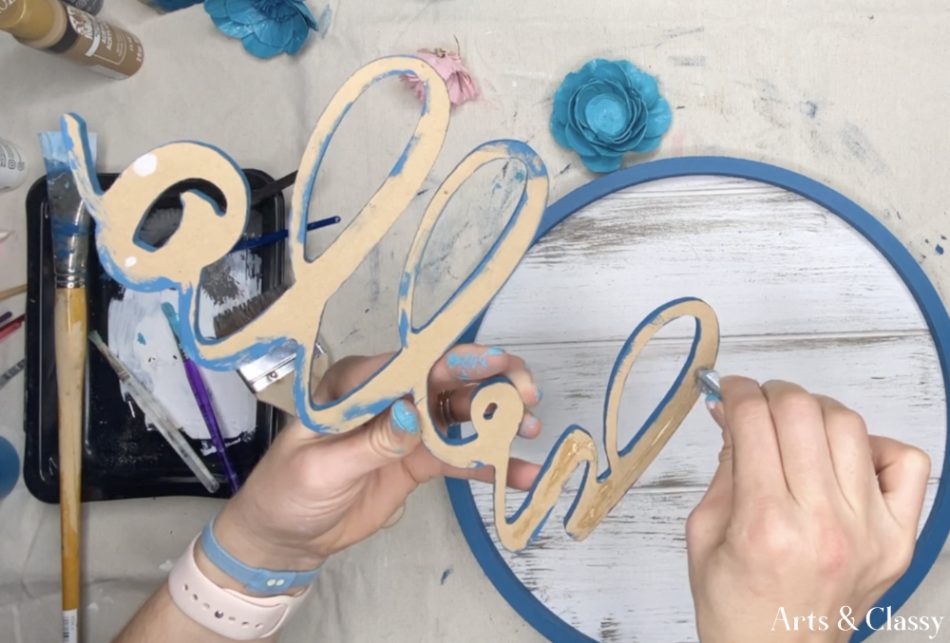
Painting the hello wood cutout was the next step for my DIY farmhouse wall decor! I decided to paint it the same blue color as the wood craft hoop trim because it would really add dimension and cohesiveness to the overall sign.
How To Make – Step 4
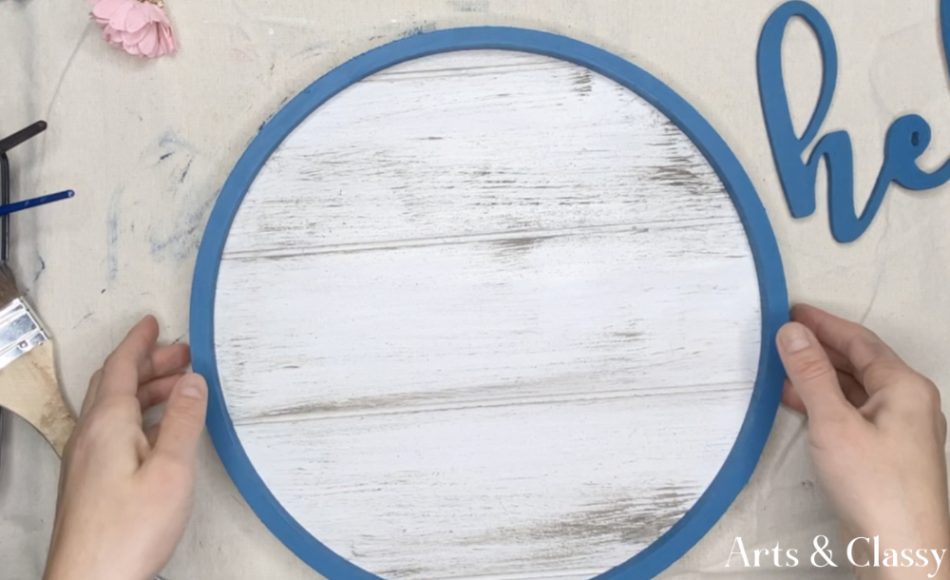
To really add a rustic barnwood look to the pallet base, I decided to use some water-based wood stain with a dry brush. I lightly brushed the stain onto the white layer of the wood board.
In my opinion, less is more because adding layers is much easier to do than trying to paint over and redo a step. I gathered this inspiration to try this step from my recent DIY Gallery Art Project.
How To Make – Step 5
This is where the vision begins to come to life! I began to assemble my pieces together. My go-to glue is E6000 clear glue. It was added on the back of the craft hoop and then placed on the round pallet wood. I let this dry overnight to make sure it had dried completely.
RELATED: Get Ready to Feel the Coziness: 10 Inviting Farmhouse Decor Ideas
How To Make – Step 6
Once my craft hoop was firmly applied to the wood round and the glue had dried, I did the same gluing to the hello wood sign cutout.
How To Make – Step 7
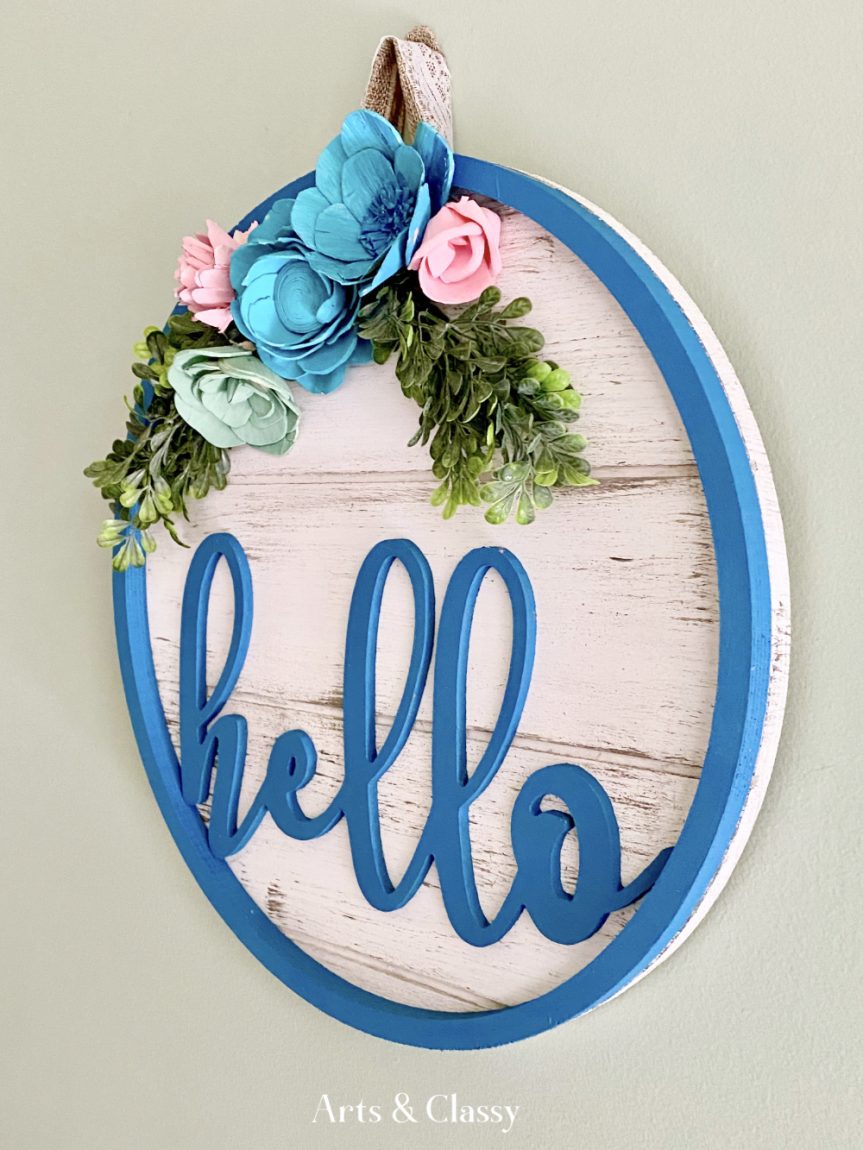
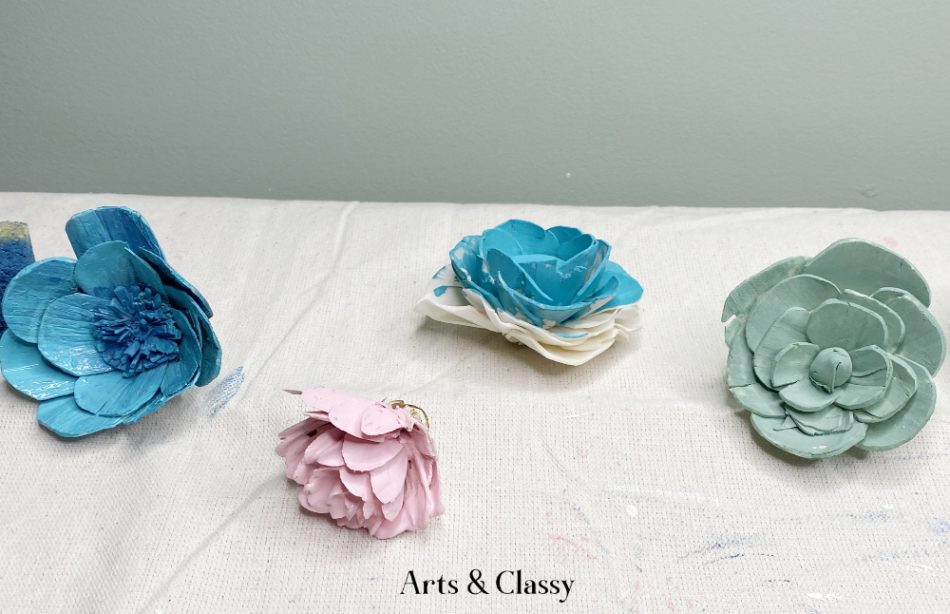
I had never painted sola wood flowers before, but I really enjoyed this step. I took my smaller artist brushes and used the acrylic paint I chose to give each flower its own personality!
Even though these are “wood,” they are very flexible and have a very soft-to-the-touch feeling. They can be a little brittle, so when handling them, you have to use care.
RELATED: Farmhouse Bedroom Bliss on a Budget: 15 Affordable Ideas
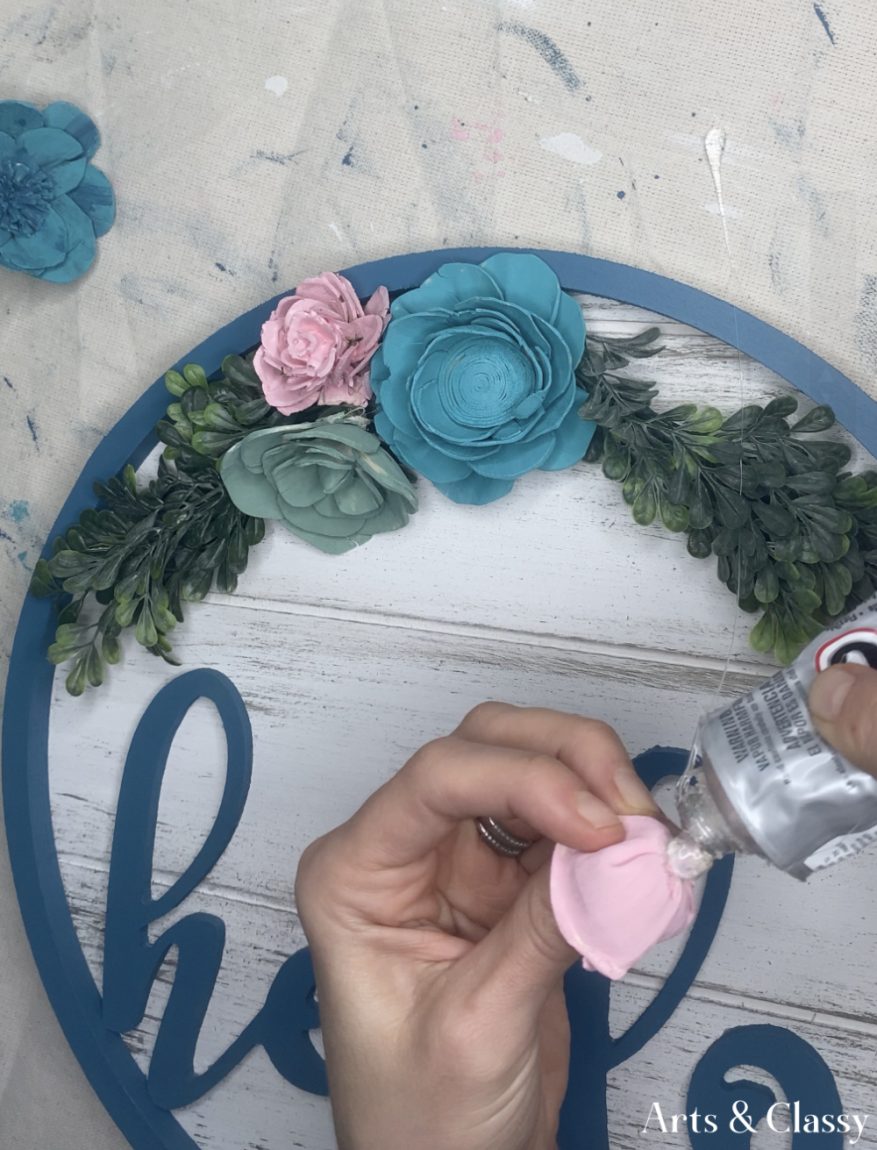
How To Make – Step 8
E6000 glue was my best friend for this step. I wanted to make sure my greenery & flowers were going to stay secure on this wall art.
I applied my 2 pieces of greenery first, and then once they were secure, I layered my flowers one at a time. E6000 is great for these types of projects but does take some time to dry completely. About 24 hours is a safe bet to make sure it’s not going to fall apart.
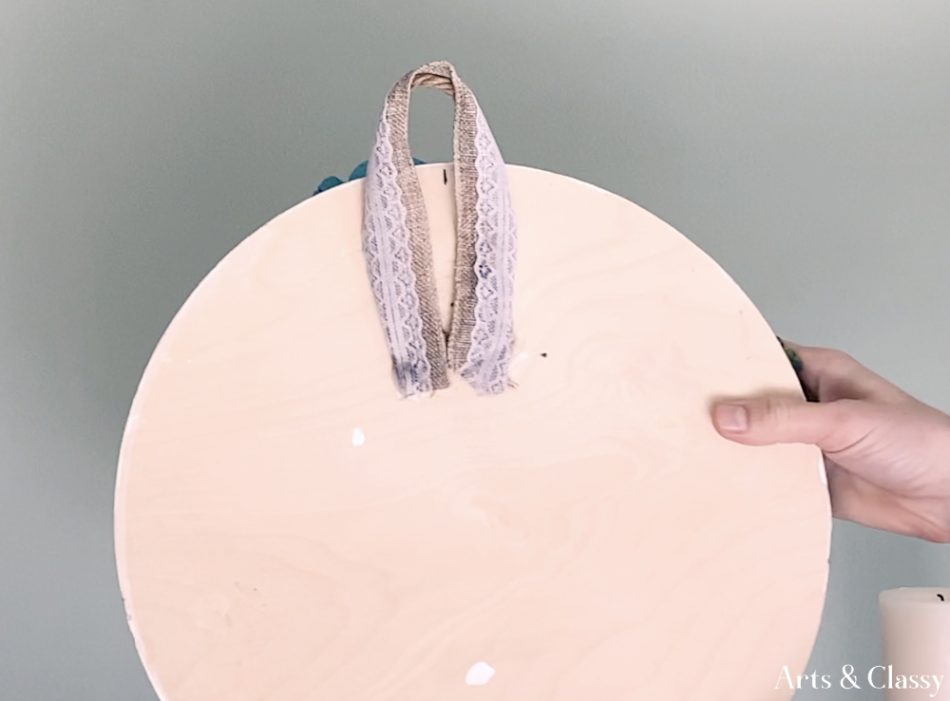
How To Make – Step 9
Next, I needed to add something to hang my art on the wall. I decided to use some rope and ribbon from the Dollar Tree and layered them on top of each other to make this a sturdy piece of art. I used a combination of E6000 glue and my hot glue gun to add these securely to the back of the sign. If this sign was heavier, then I would have used picture hangers on the back to tie the ribbon to.
Since it is light enough, the glued ribbon and rope will hold just fine if you are using a sign like this indoors. If you are using it outdoors, I would recommend using sturdier hanging hardware.
RELATED: Boho Wreath DIY: Make a Stunning Nautical Rope Wreath with a Free Beach Printable
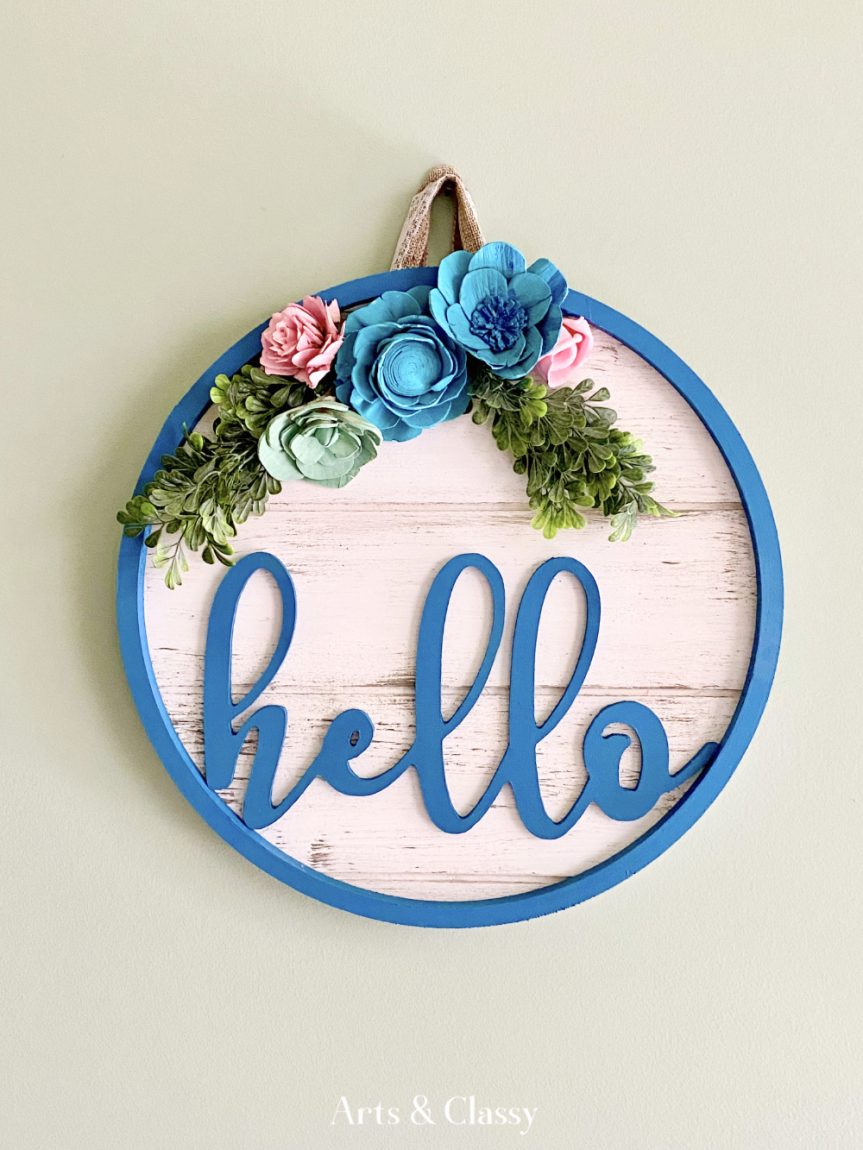
How To Make – Step 10
This is the best part! It’s time to hang this cute and easy DIY farmhouse decor on the wall. I had a nail already on my wall from my holiday wreath but found that this cute sign art looked great in my dining room.

If you are looking for more ideas to add some modern farmhouse style to your home, here are decorating ideas on a budget.
Now, I want to hear from you! What do you think of this project? Please let me know in the comments below. Would you try it? There are so many ways you can DIY farmhouse decor ideas on a modest budget.
Here are some examples and other talented creators who have DIY’d their farmhouse decor:
- Blanket ladders
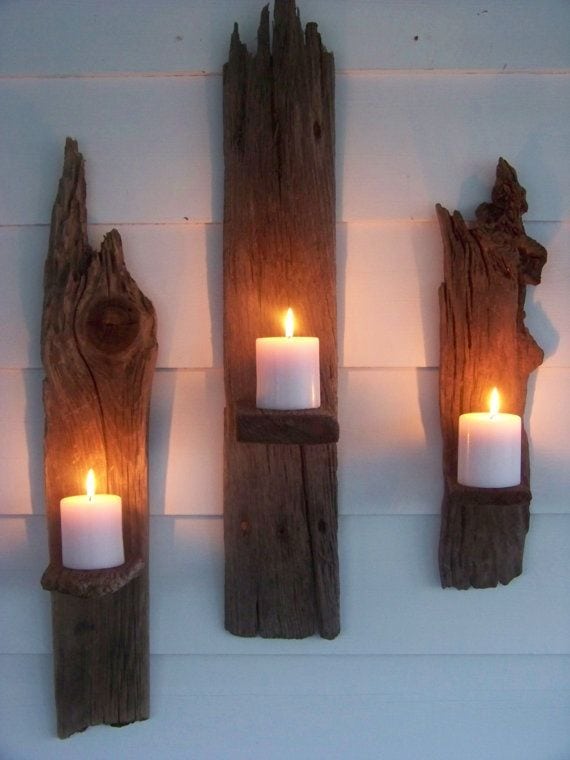
- Lanterns
- DIY Barn doors
- Reclaimed wood shelves
- Mason Jar lanterns
- DIY Gallery Art
- Furniture Flip Inspiration + Tutorials
- DIY Hello Peonies Farmhouse Wreath
- Spring Farmhouse Home Decor Accents
- Farmhouse Family Room Mood Board
- Fixer Upper Farmhouse Dining Table Tutorial
- Best Black Farmhouse Chairs
- Rustic Bathroom Storage Wicker Baskets
- Rustic Snowflakes Wall Decor
- Faux Marble Wood Round Tray
If you liked this project, you may also like