I have been non-stop trying to catch up on my life since I finished my time working on Big Brother season 15! I have entered my 4th week off and I must say, I am very proud of my progress.
I have caught up on some of my DIY projects that have been waiting for me. I was able to add some classic home décor to my
online store, read some great books and started to get my life a little more organized!
If you can believe it, I am having ANOTHER yard sale! I had one with some friends back at the end of June. From that experience, I was able to tell you all my favorite tips on throwing a successful garage/yard sale.
I have come to the realization that I might be part hoarder. Lol. I am serious ya’ll. I have SO MUCH UNNECESSARY STUFF!
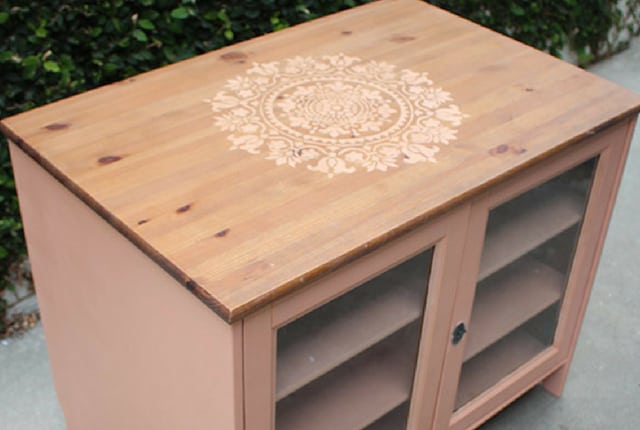
In the course of my time off, I have realized that I want to purge the excess! I don’t need all the extra STUFF around. I feel like it clutters my mind. Please enjoy this great tutorial. I hope it inspires you to create a fun project for yourself.
Back to business and why you are reading this post!
My cats always photobomb my pictures.
Meow.
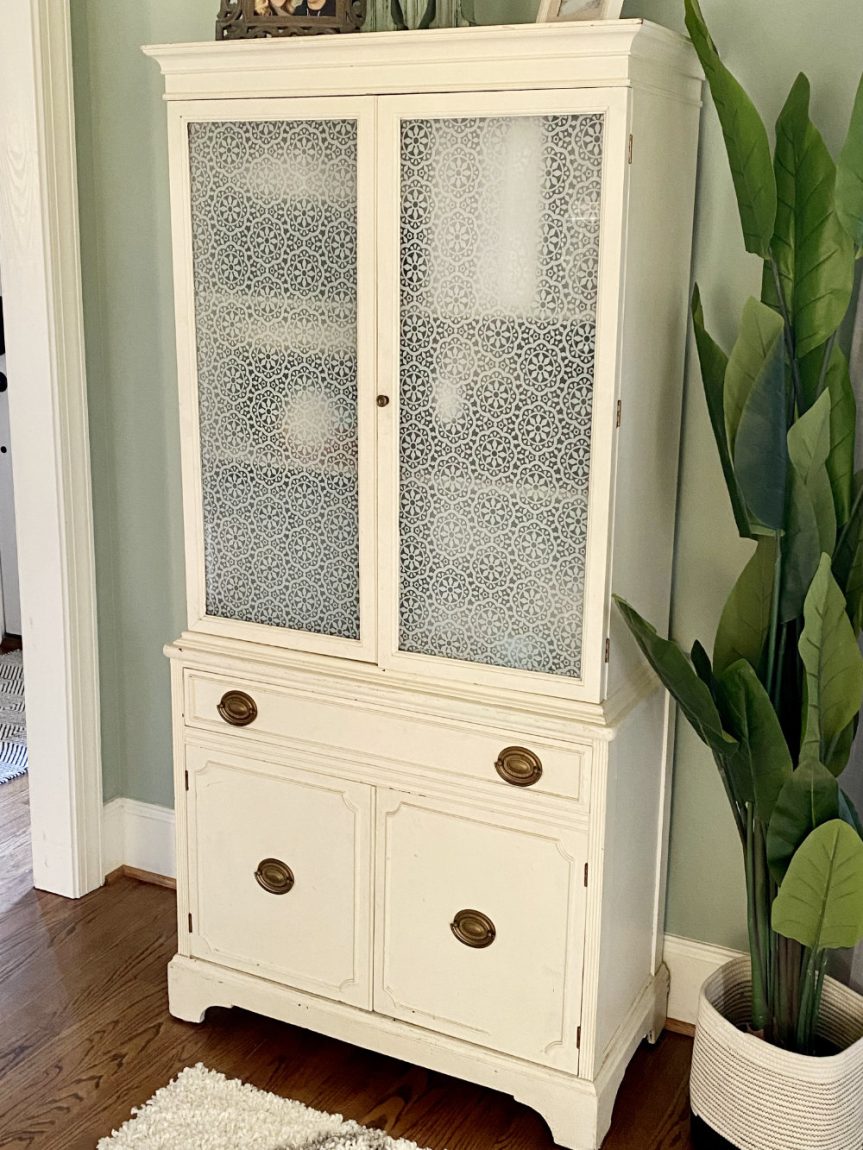
After dis-assembling the hutch, masking the glass, and removing the hardware I moved the hutch into my garage.
The first step was to sand the heck out of this hutch!
After sanding, I took wood putty and filled the imperfections that couldn’t be fixed by sanding alone.
The second step is to cover the entire piece with Kilz Oil Based Primer and Stain-blocker. This prevents any bleeding from the wood into your paint.
Let all of this dry overnight.
The third step is to start painting your piece in your chosen color in a satin finish. I went to Lowe’s and grabbed a gallon of a classic beige interior acrylic latex paint.
You may have to do a couple coats if it is a lighter color. Let this dry overnight.
The fourth step is to take your chosen hardware to install or to alter the original hardware (like I did) add little metallic gold spray and you will add some glam! I also had to clean my old hardware before I figured out what I wanted to do with it.
The fifth step is to put it ALL back together!
The sixth step was adding my wallpaper backsplash. All you need is some spray adhesive and some craft or wallpaper. Whatever you can afford.
As for how much this makeover cost me… I had some supplies already, but for the primer, paint, rollers, and drop I spent a total of $95.
In the grand scheme, that is a minimal cost for a makeover. It is even cheaper than buying a new or antique hutch. In the future I am going to go with chalk paint for my furniture projects.
Let me know if you have any questions!
Please pin and share this post if you found it valuable. If you like this makeover, check out my other DIY Tutorials!