Curbside Find: Gratitude Stencil Table Top Makeover
Follow this step-by-step stencil table top makeover and see how I transformed a curbside dining set with a gratitude stencil. How to stencil a table top and dining chairs.
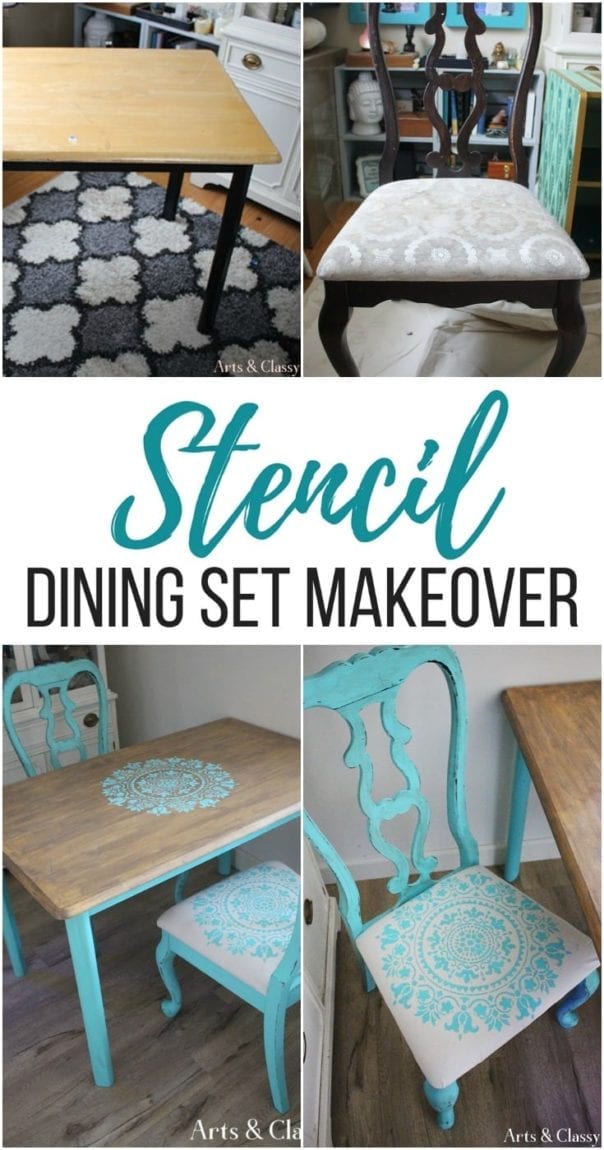
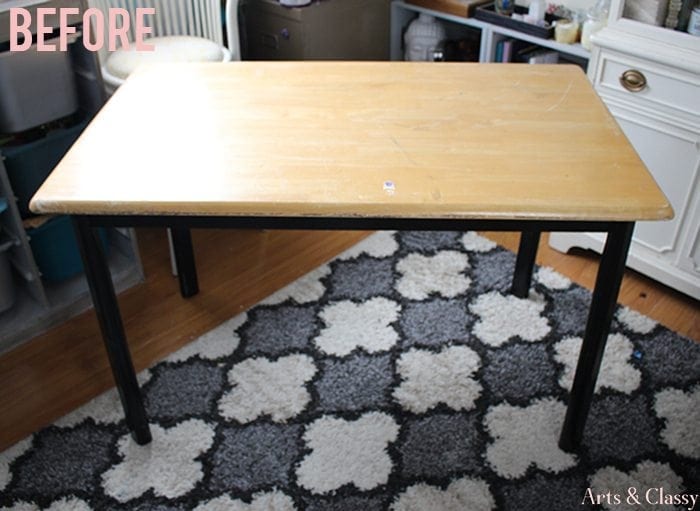
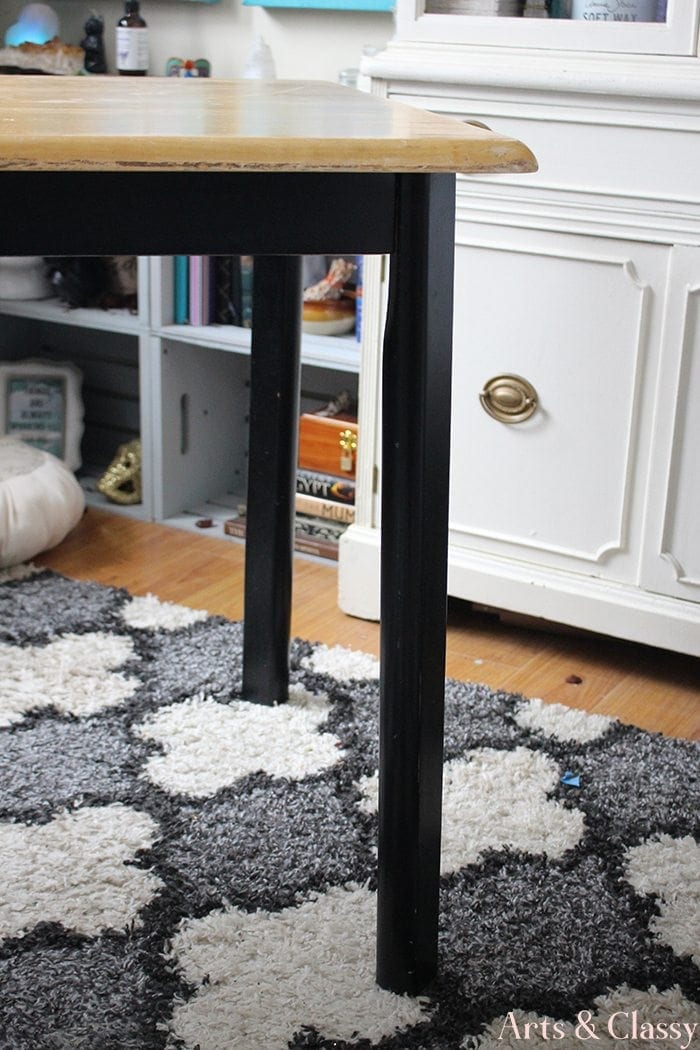
I love it when I find decent furniture on the side of the road. Today’s post is definitely a representation of that. When I was out for a walk in my old neighborhood, I walked past a table and 2 chairs on the side of the road. I wasn’t a fan of the chairs, so I decided that I would just come back for the table.
Related: I found an old TV media stand on the side of the road but still felt like it some life left to live. See how I brought is back to life in my small home LA office. Hollywood Regency Peacock Inspired Small Media Stand Makeover
Stencil Table Top Makeover
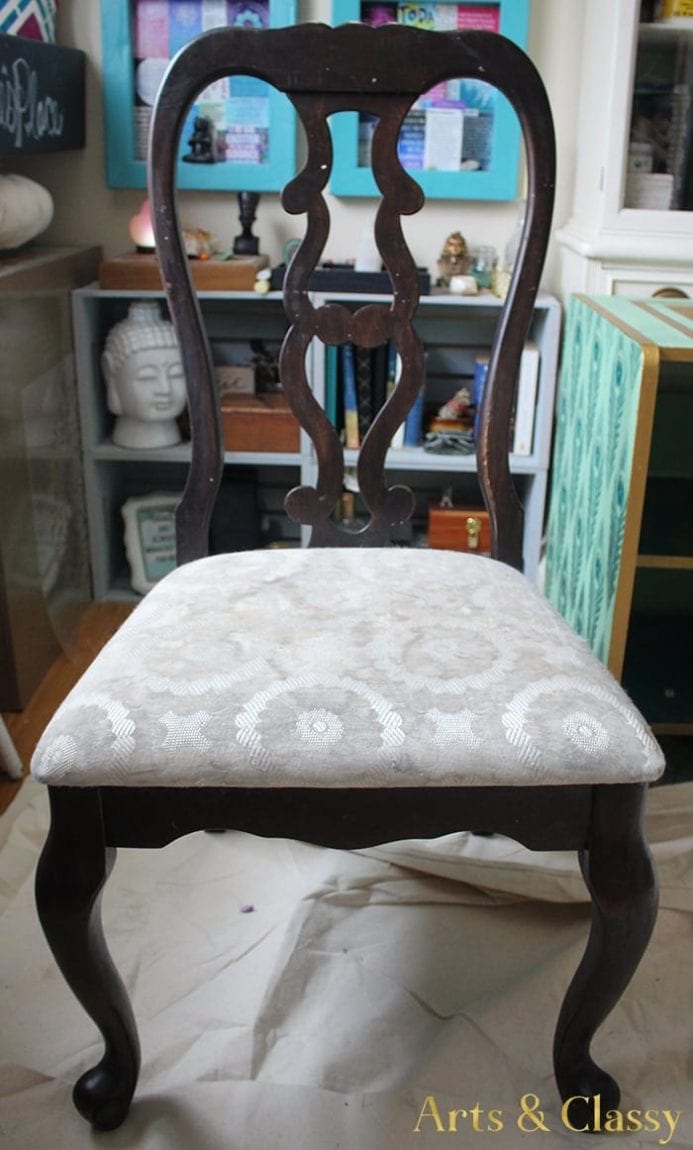
My co-worker gave me 2 Queen Anne style chairs that I thought would go perfectly with the table. I decided to GET MY STENCIL ON with all 3 pieces.
This post contains some affiliate links for your convenience. Click here to read my full disclosure policy.
Supplies I needed for this DIY furniture transformation:
- Chalk Paint
- Sandpaper
- Wood Stain – Varathane Weathered Gray & Briarsmoke
- Dark Furniture Wax and an old rag
- Woolite Wrinkle Release
- Mounting Spray
- 2 yds of blank fabric (I chose muslin)
- Frog Tape
- Gratitude Mandala Stencil – Cutting Edge Stencils
- Foam Roller
- Cardboard sheet or old towel
- Scissors
- Paint tray
- Staple puller/pliers or Flathead Screwdriver
- Upholstery Staple Gun
- Stain Pad
- Paint Brush
Tutorial: Stencil Table Top Makeover
STEP 1
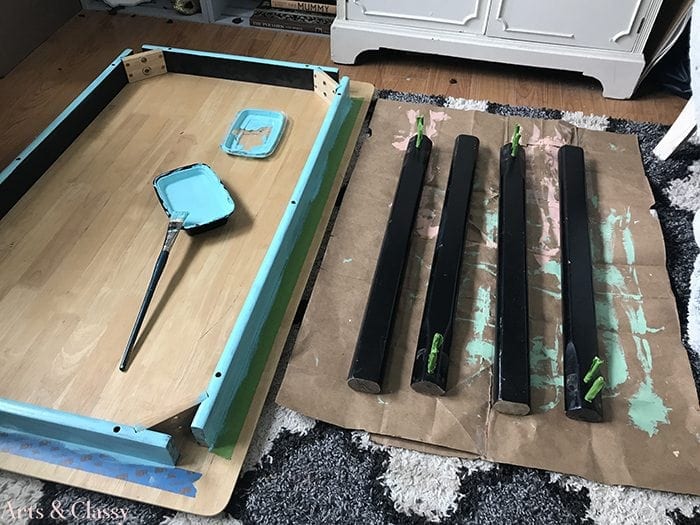
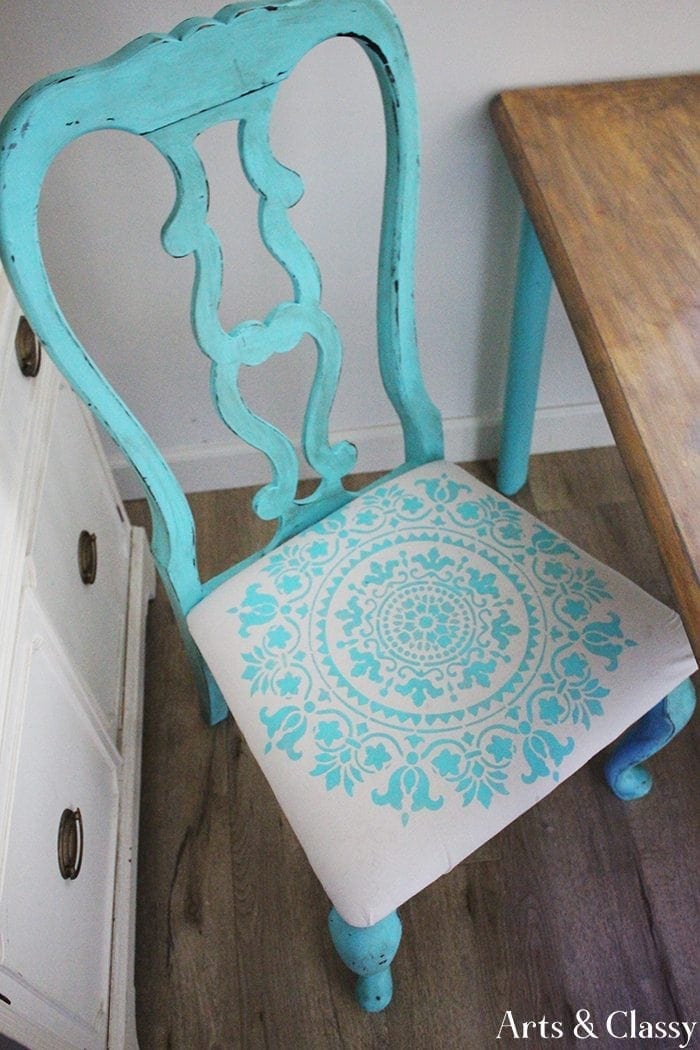
First, I disassembled the table so that I could paint the base and legs with my teal chalk paint. I started by masking it off with frog painters tape.
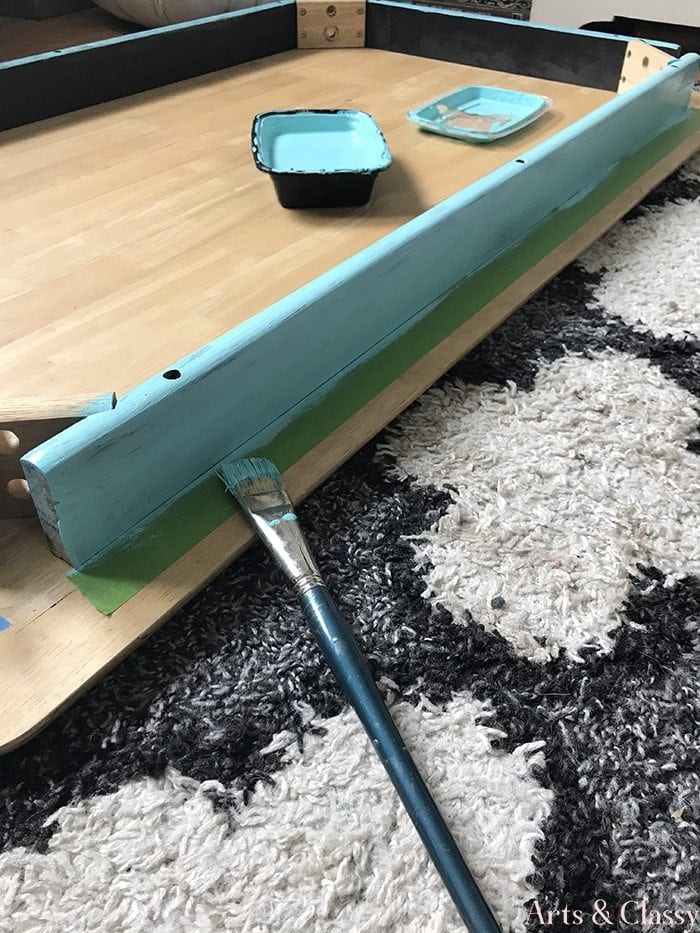
I also used my frog tape to mask off the screws on the legs of the table before painting them.
P.S. – If you love that paint color, I also used the same color on a chair I made over recently.
STEP 2
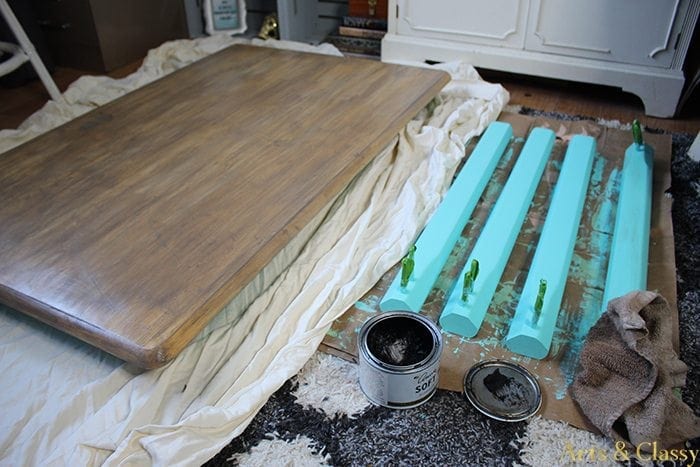
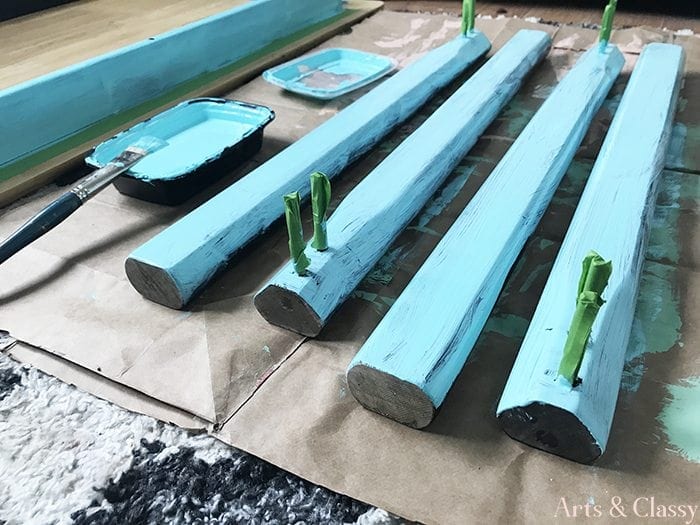
After I let the paint dry on the legs it was time to seal the paint with my dark furniture wax. For the table top, I had to sand it down to level out the surface. Then I mixed 2 different wood stains to get the look I wanted and applied with a stain sponge.
STEP 3
Next, I tackled painting the seat fabric of the chairs. I had to remove all the screws and staples from the chair seat before I removed the old grungy fabric. Then I pulled out my scissors, mounting spray, and the Gratitude Mandala stencil to secure it to my fabric.

 STEP 4
Once the stencil was secure, I used my foam roller to apply the chalk paint. My method to apply the paint was to stay light.
*HOT TIP* don’t pack the paint on the roller.
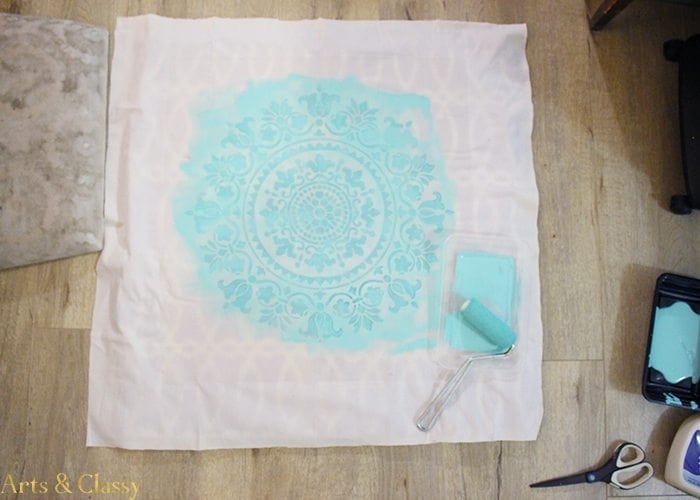
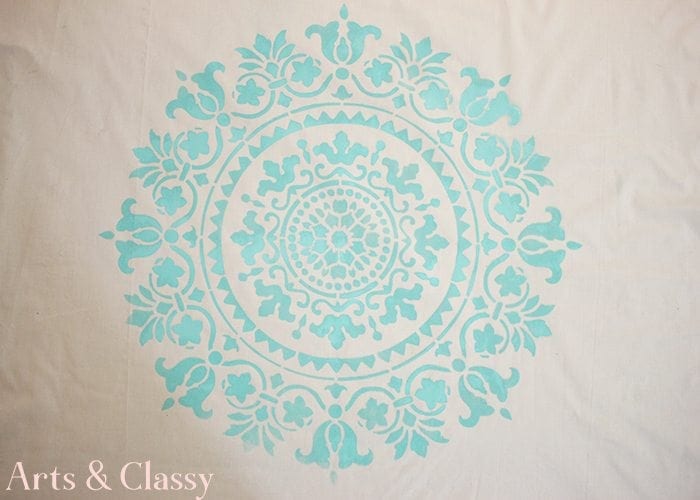
I left the stencil on the fabric while the paint dried before I removed it. Then moved on to the next.
STEP 5
I painted the frames of both chairs with the same chalk paint. When the paint dried, I took dark wax to seal the paint. Then I went back and sanded down the frame to age it. I wanted there to be a Betina to it. Once both seats covers dried, I was able to reupholster the seats of the chairs with my staple gun.
STEP 6
Finally, I put the table back together and used the same stencil to complete this set. I used the mounting spray again to secure it on the table top, and I used the foam roller for this part too. Same rules apply.
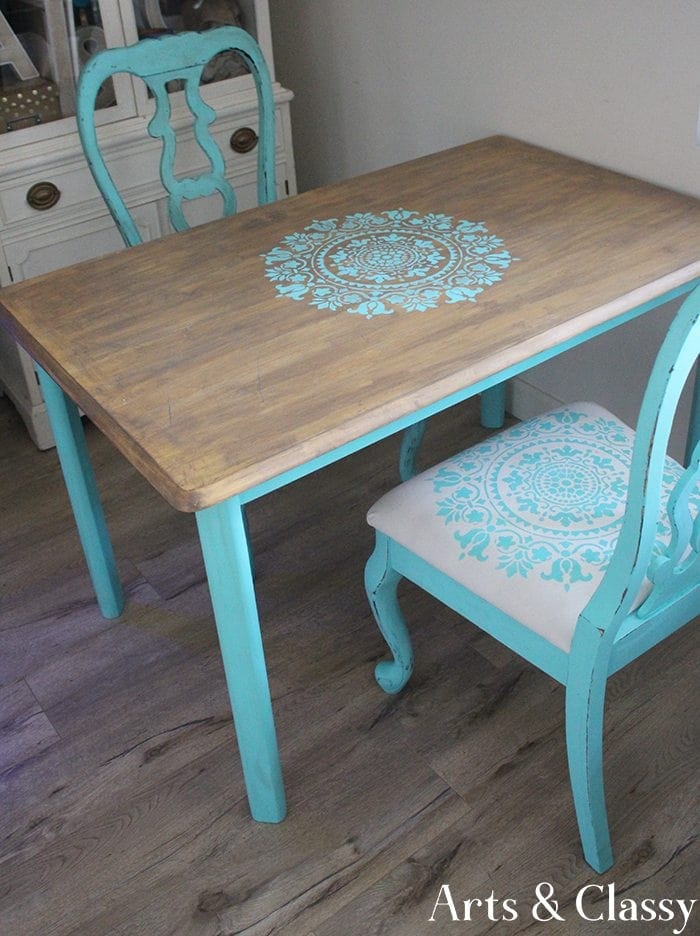
Once it dried, I was able to dress it up in my little dining area space. I did start using this as more of mini office space. I love this table. It’s a perfect size.
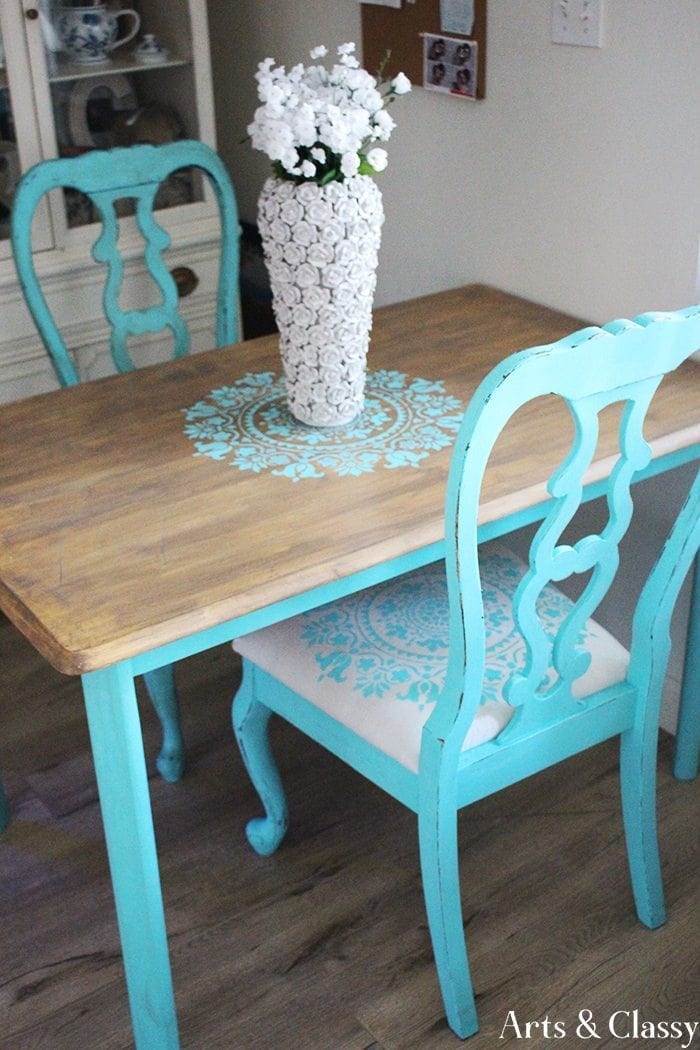
I love this table and I am so happy with how it turned out. It’s simple but pretty and calming. What did you think of this stencil tabletop makeover? Let me know in the comments below.
If you like this project, you may also like:
- Finding Furniture For Free – Curbside DIY Furniture Makeovers
- Coastal Shabby Chic Wood Chair Furniture Makeover
- DIY Projects: Nesting Tables Makeover + Tutorial
- DIY Projects: UGLY End Tables Get a Chic Makeover + Tutorial
- How To Express Gratitude This Year On A Budget
- Gratitude Mandala Stenciled Cabinet Makeover
- Curbside Furniture Pickup: Nightstand Makeover


The makeover look great! Love the style and color you used for the makeover, beautiful!
Thank you Diana!!!
The makeover look great! Love the style and color you used for the makeover, beautiful!
Thank you Diana!!!