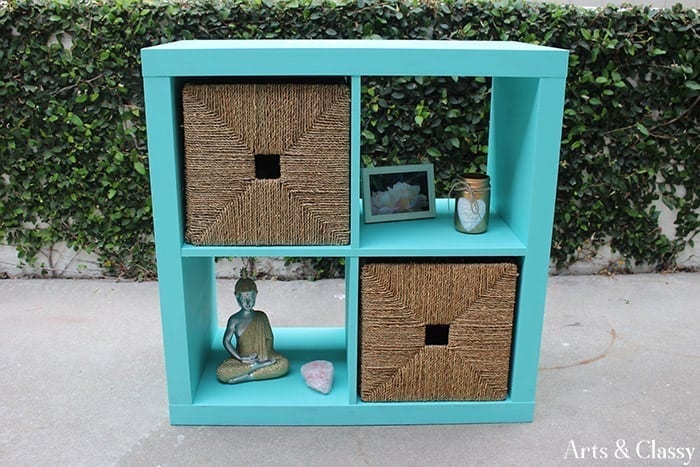
Ikea Hack Cube Storage Unit Makeover
If you have been following the blog for awhile now, you know how much I love a free furniture find! Especially when it is fun like an Ikea hack. Those are some of my favorite types of furniture flips. I am lucky to live in an area where a lot of nice furniture pieces (with little to no damage) get put out on the curb. It is kinda crazy.
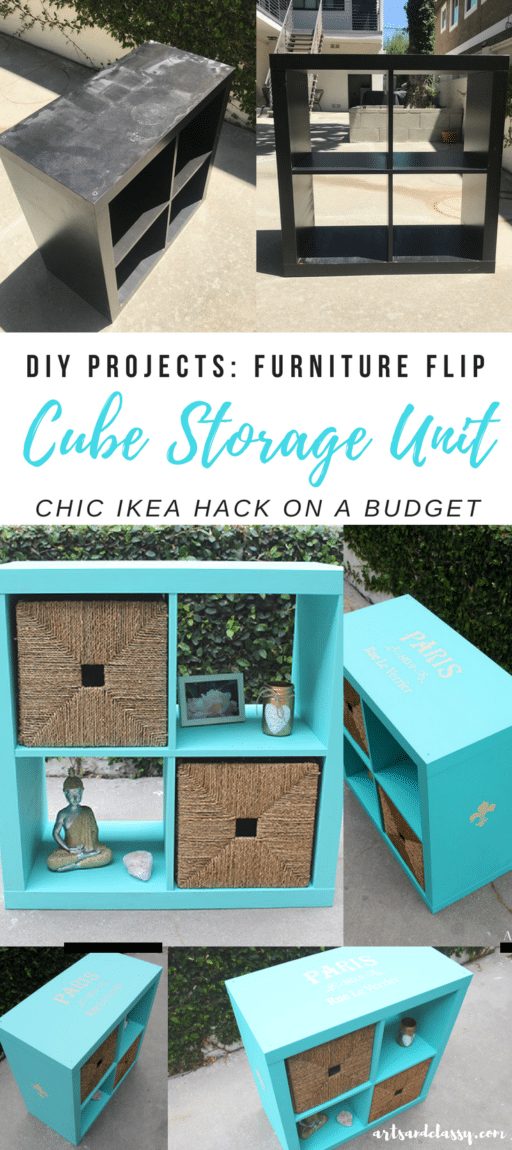
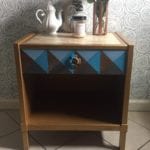
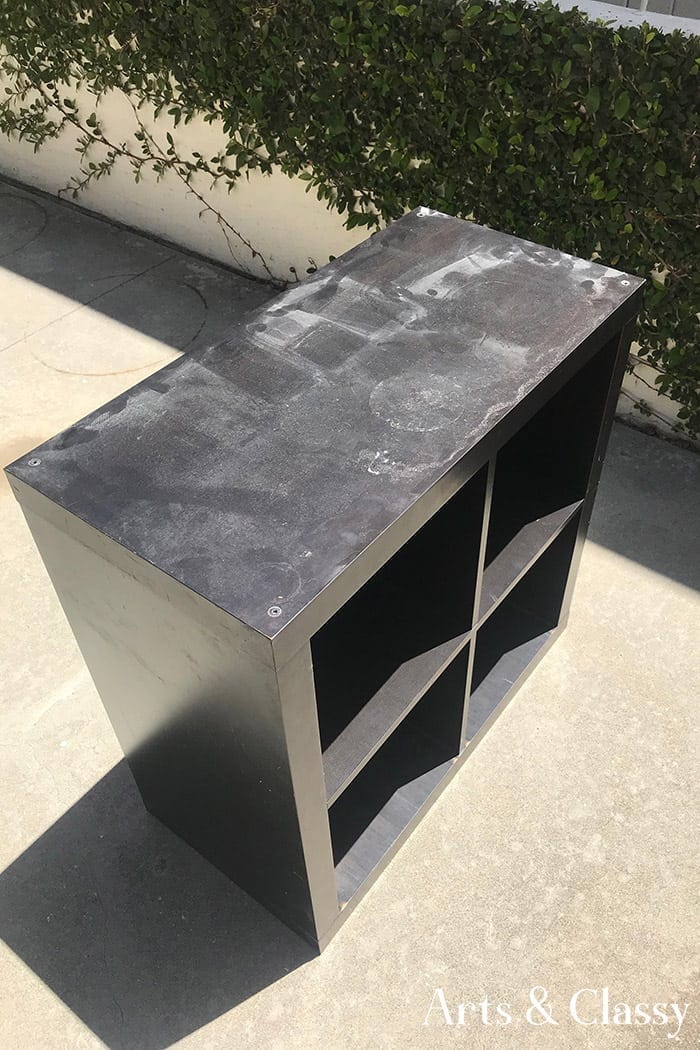
I didn’t have to go far for the project I am showing you today. I went out to my recycling bins and someone from my building who had moved put a few pieces out there. I realized this is a cube storage unit from IKEA. I love a good Ikea hack to make something so generic more unique and personal.
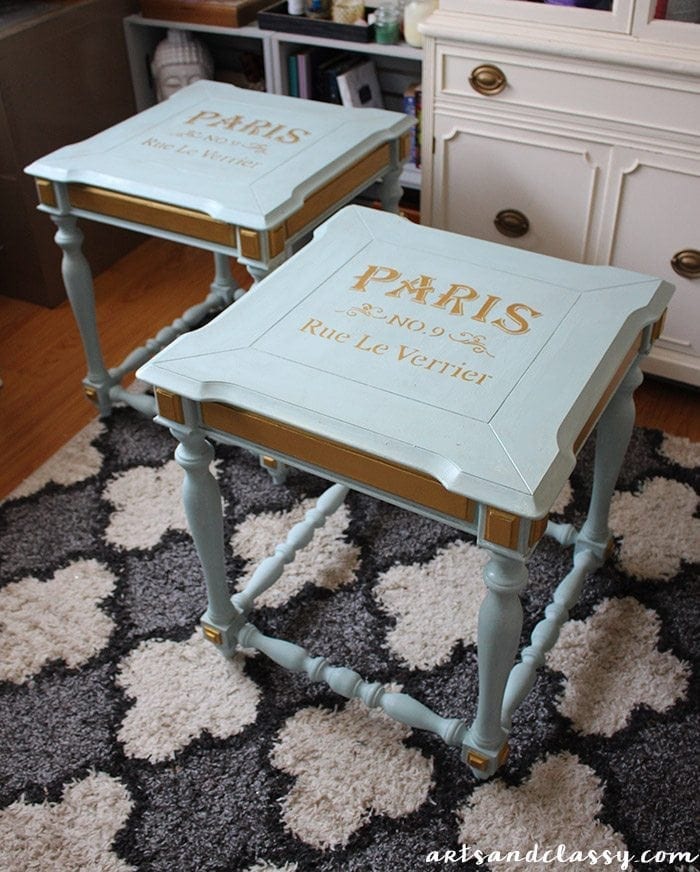
This piece was a quick and easy one. I made my DIY chalk paint recipe and mixed it with some Behr latex paint that I have used on previous furniture projects like…
*This post contains affiliate links. Please refer to my disclosure policy for more information.
The supplies I used
- Behr Interior Eggshell Enamel in the color “Hidden Sea Glass”
- Behr Ultra Flat Matte Enamel in the color “Golden Pastel”
- Paris stencil from Deco Art (The stencil I have has been discontinued but here is a similar one.)
- Fluer de lis stencil from Cutting Edge Stencils
- Stencil rollers by Cutting Edge Stencils
- Frog Tape
- Daddy Van’s Lavender Furniture Wax
Step 1
Clean the cube unit. It was super dusty. I did this with a rag and some Lysol.
Step 2
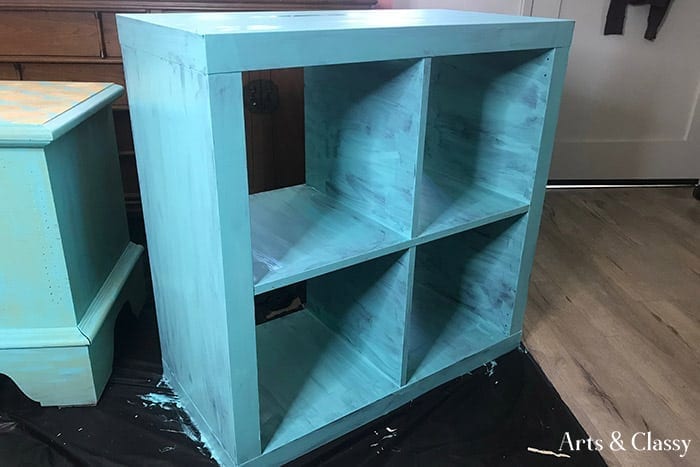
I mixed my DIY chalk paint recipe and stirred into the Behr hidden sea glass paint.
Step 3
I started painting the entire piece. It took a couple coats but it ended up looking great. I started applying the paint with a brush but realized that the roller was a better method and went on more evenly. I wait for each layer to dry before adding another.
 Step 4
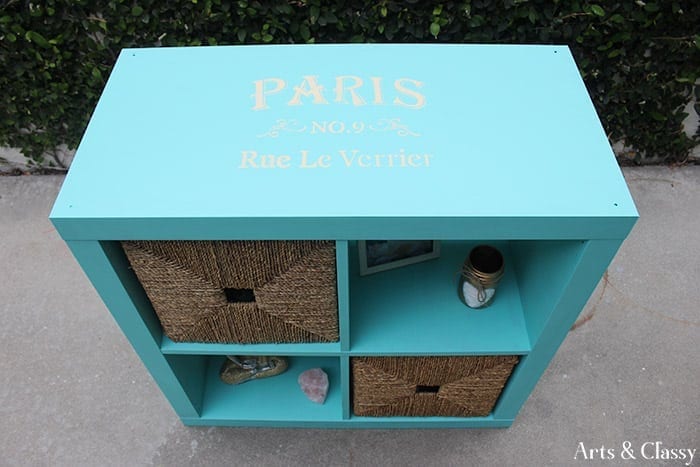
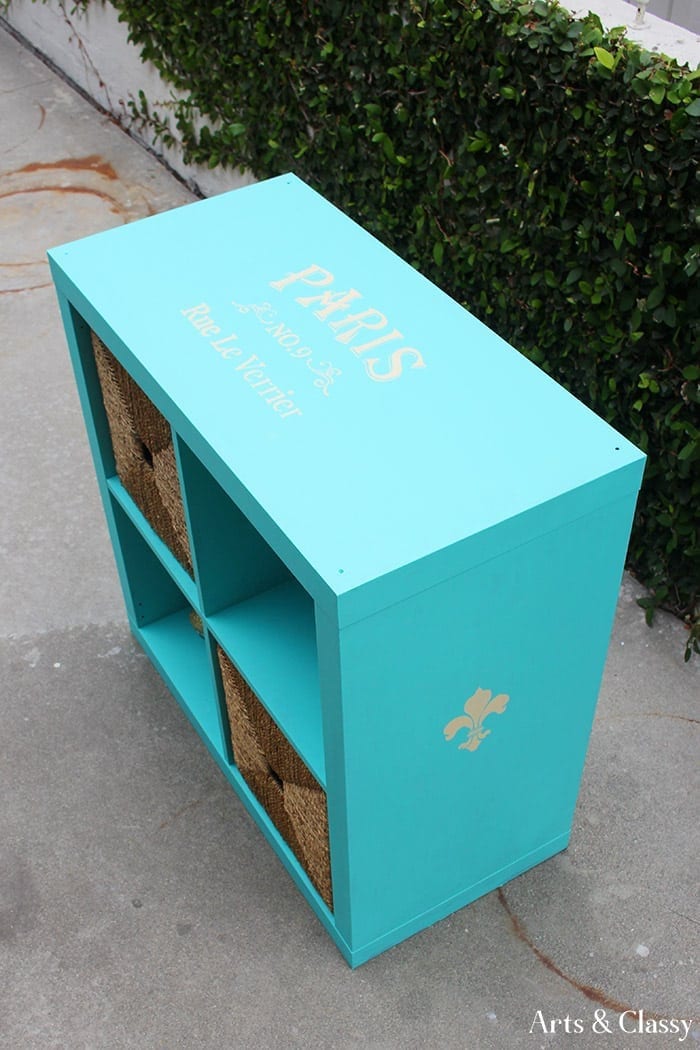
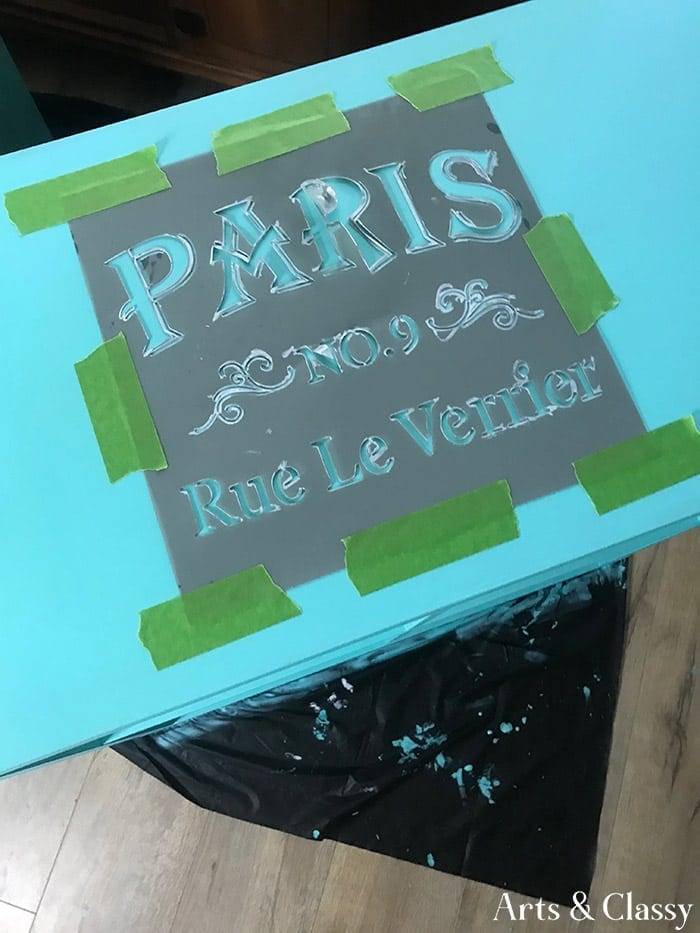
After the whole piece dried, I decided on the placement of my stencils.
Step 5
I used my Behr paint in Golden Pastel to apply the stencil with a small foam paint roller. I applied this paint lightly and did a few layers. I did have to go back with the hidden sea glass color to clean up some areas where paint had spilled under the stencil. This is why I recommend applying light layers to avoid that from happening.
 Step 6
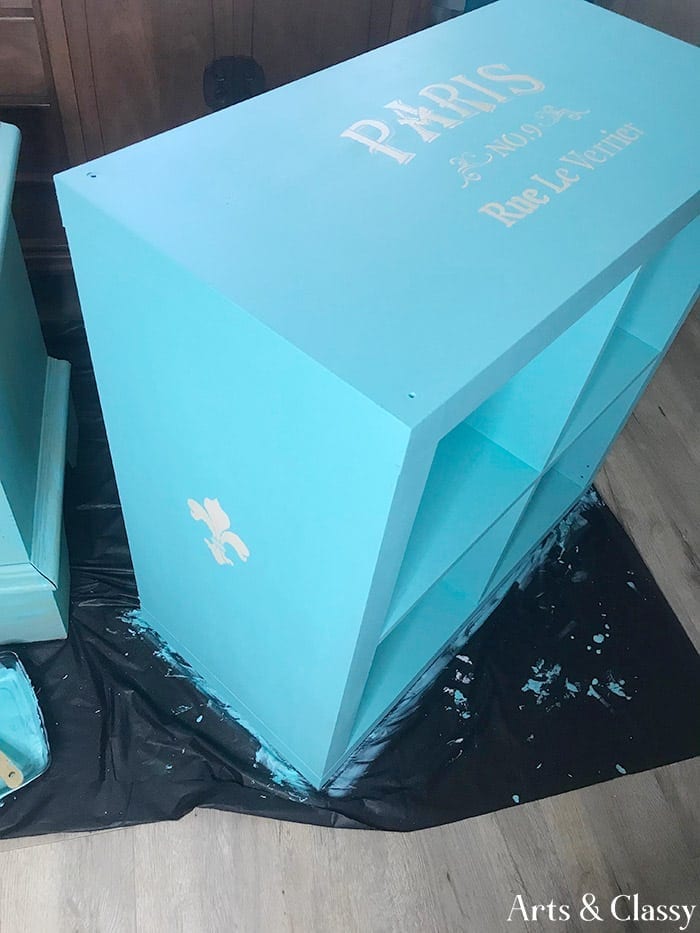
I left the whole piece dry which didn’t take long. After that, I used a rag and furniture wax to seal and protect the paint.
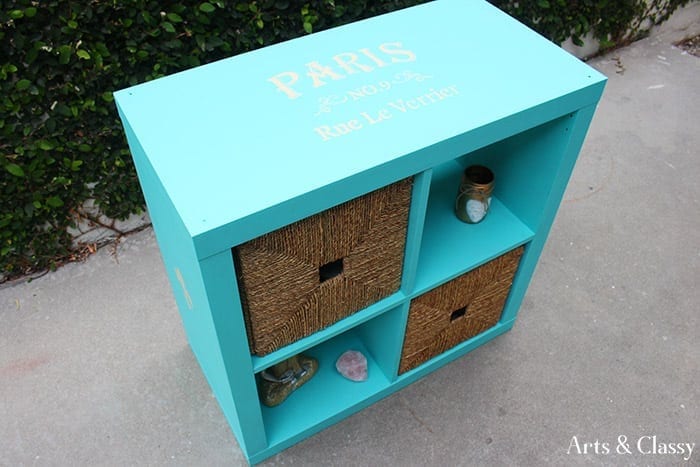
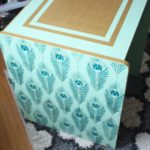
This is the final result? This project literally took me only a couple of hours to complete. The chalk paint dries quickly thank goodness.
I would love to hear what you think of this project in the comments below. If you are local to the Southern California area, this piece is for sale!

 Step 4
 Step 6