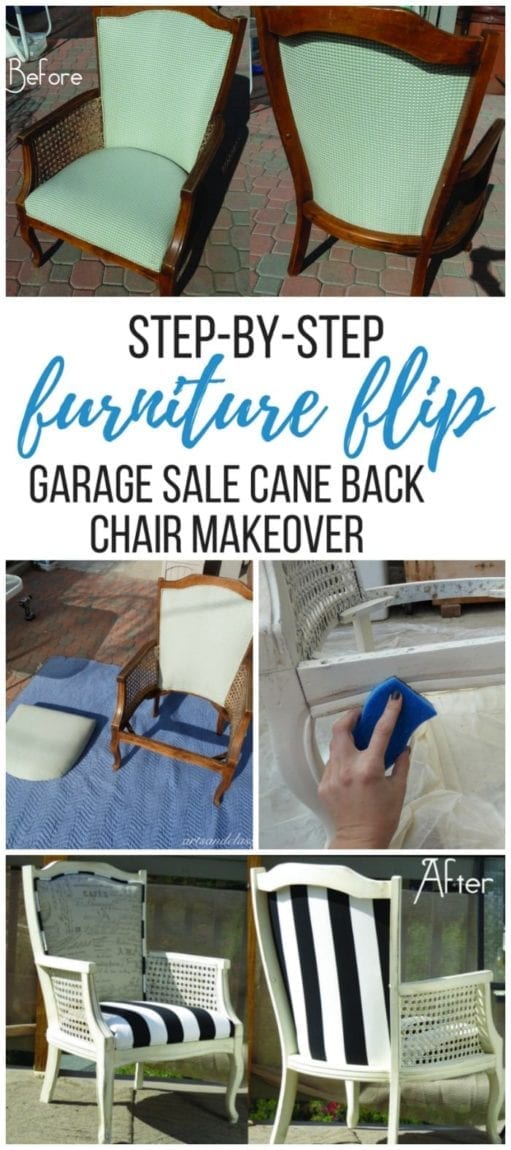
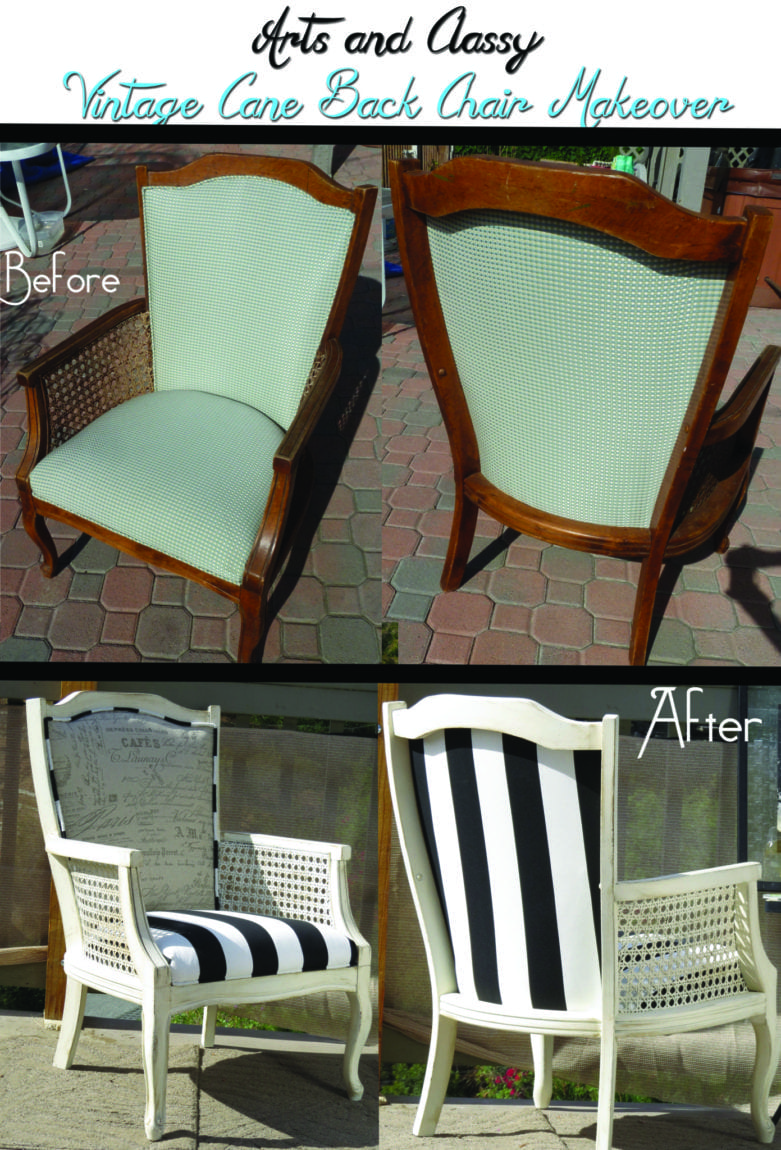
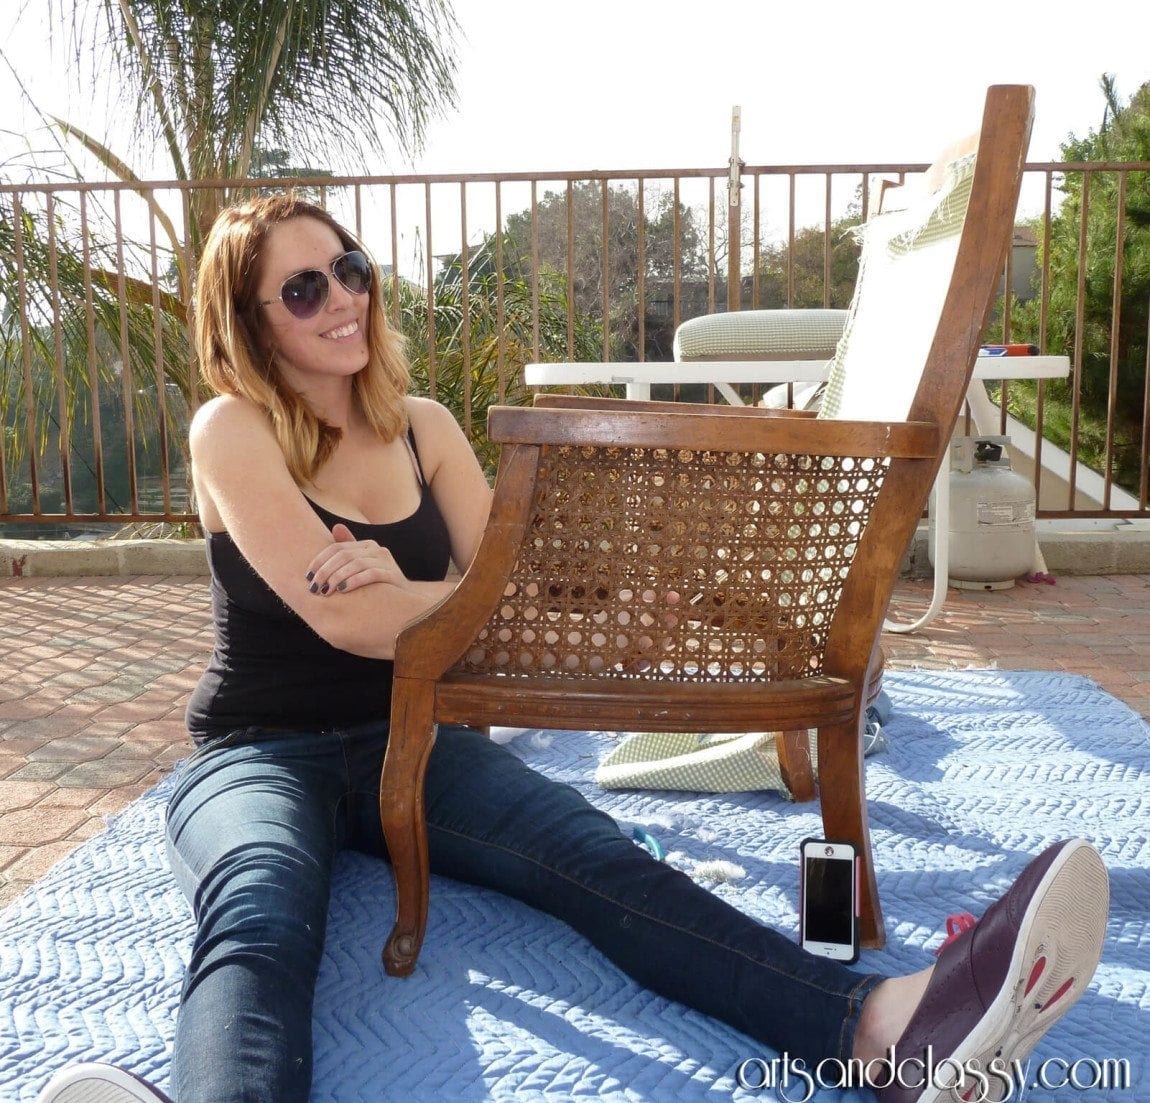
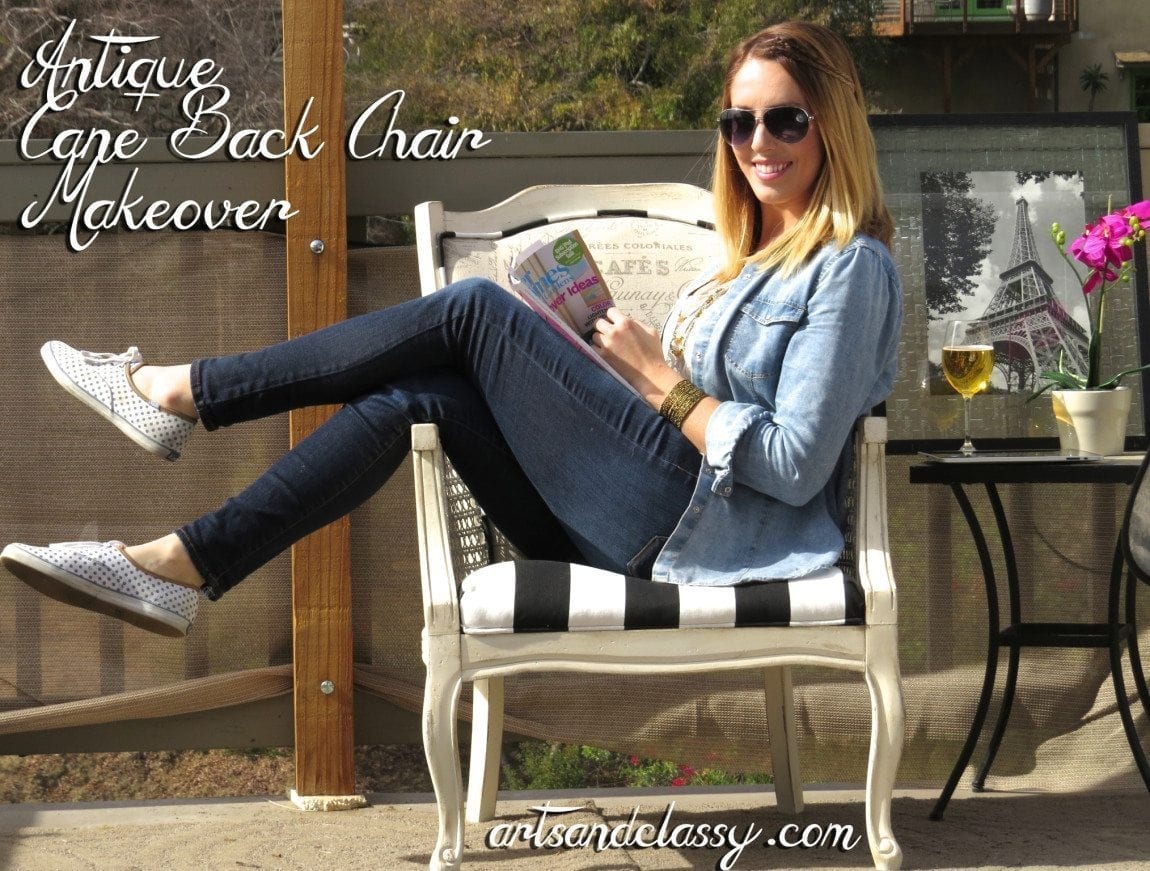
DIY Tutorial: Cane Back Chair Makeover in 10 Steps
I wanted to share with you the step by step tutorial on this lovely Cane Back Chair project I did. This is by far my favorite project I have tackled yet, and I am excited to share with you the step by step process.
This post contains some affiliate links for your convenience. Click here to read my full disclosure policy.
The Total Cost of this Makeover:
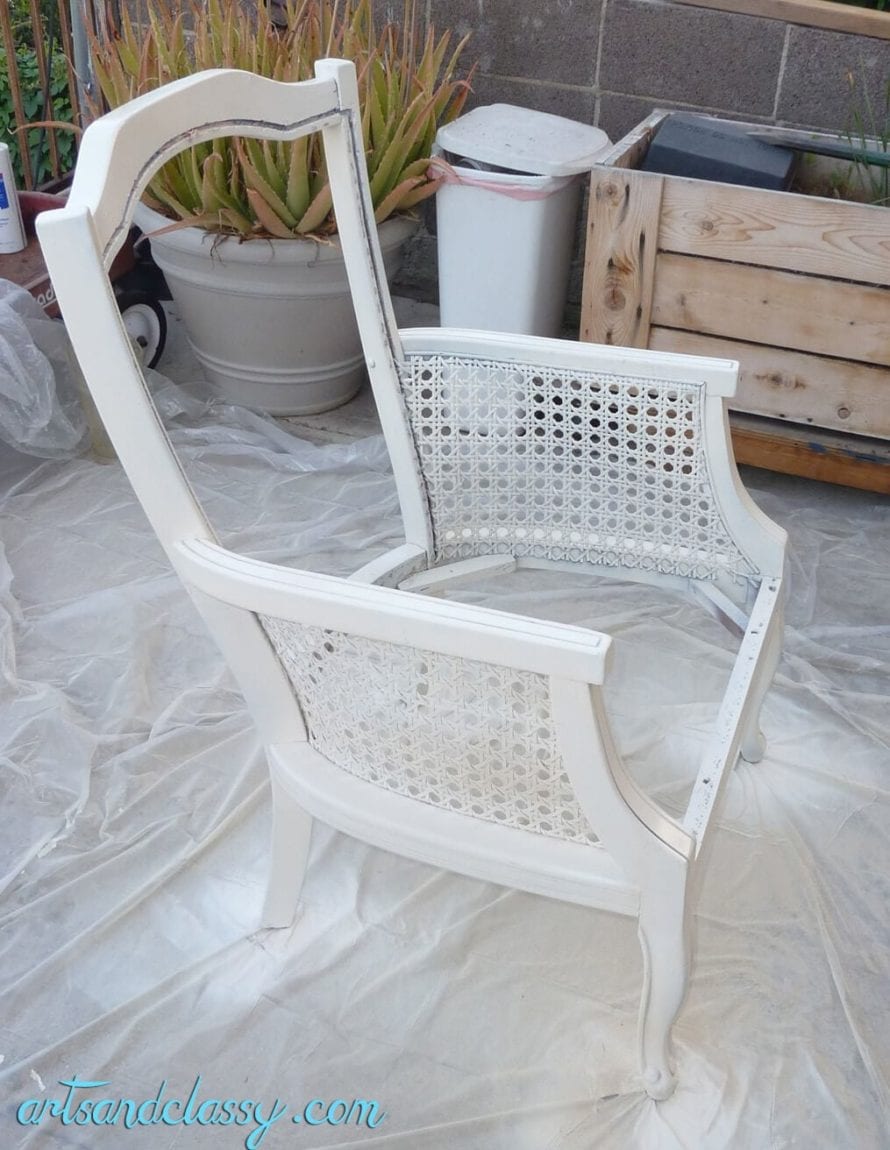
- Cane back chair – $15 at a yard sale
- Fabric – $52.21 (I purchased extra fabric in case anything went horribly wrong, but I learned that 1 yd of each fabric was enough.) at $11 a yd for the striped fabric and $12.95 a yard for the Paris fabric, I say I made out nicely with extra fabric for other projects. 🙂
- Spray Paint– $13.50 purchased at Home Depot
- Supplies – $0 (luckily I had all of it in stock already)
Total Cost: $80.71 HELLO!? Do you even realize how much this chair would be marked up at a retailers? This is such a bargain!
I saw some beautiful chairs similar to this at the fabric stores I checked out going for $400-$500 a piece.
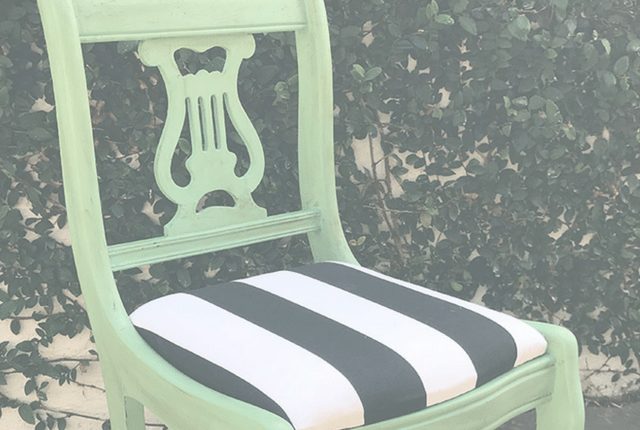
Related: Do you love the stripe fabric? I also used it in this Lyre-back chair makeover!
Supplies Needed for this Cane Back Chair Makeover
Gather your materials. I have provided links to these items for your convenience to purchase online. 🙂 There is also a program where you can sign up for a 30-day free trial and get FREE 2-day shipping on these items! How amazing is that? Just click here.
Here are the supplies (or similar ones) that I used to make this cane back chair a reality:
Step-by-Step Tutorial: Cane Back Chair Makeover
Step 1
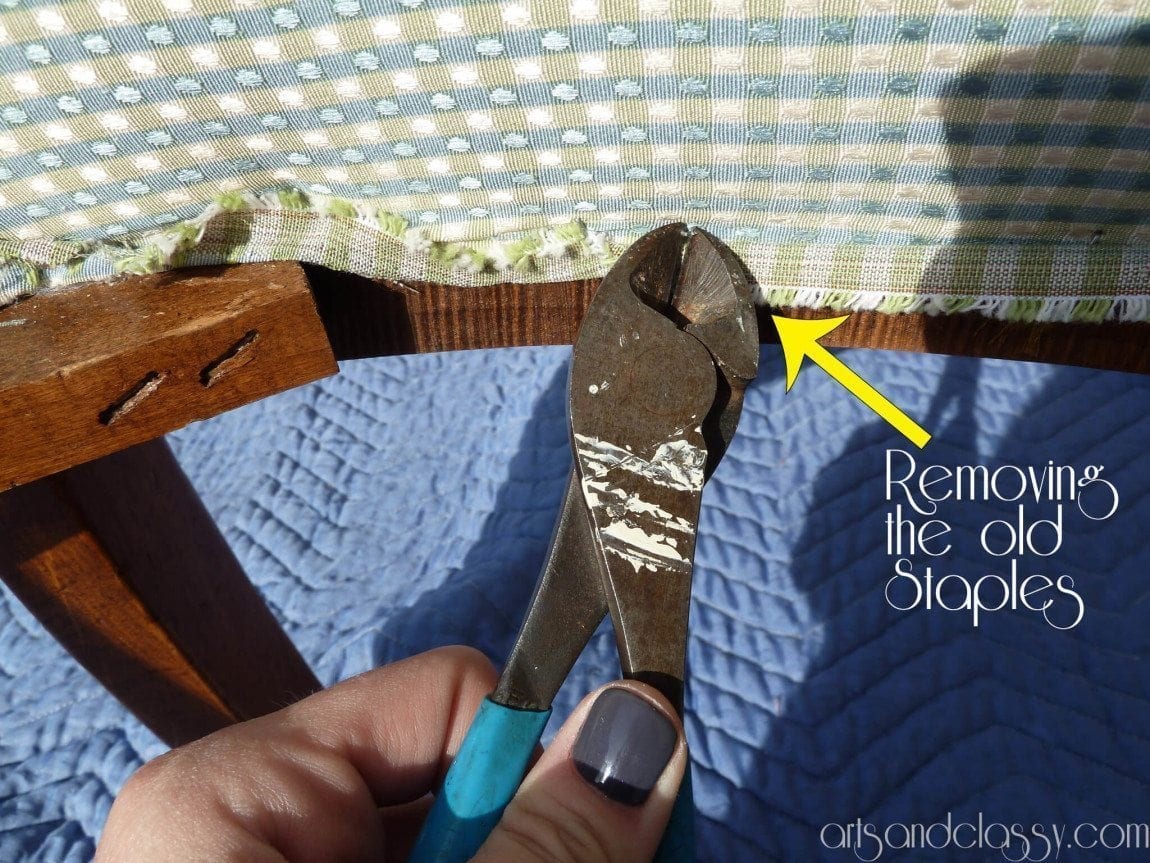
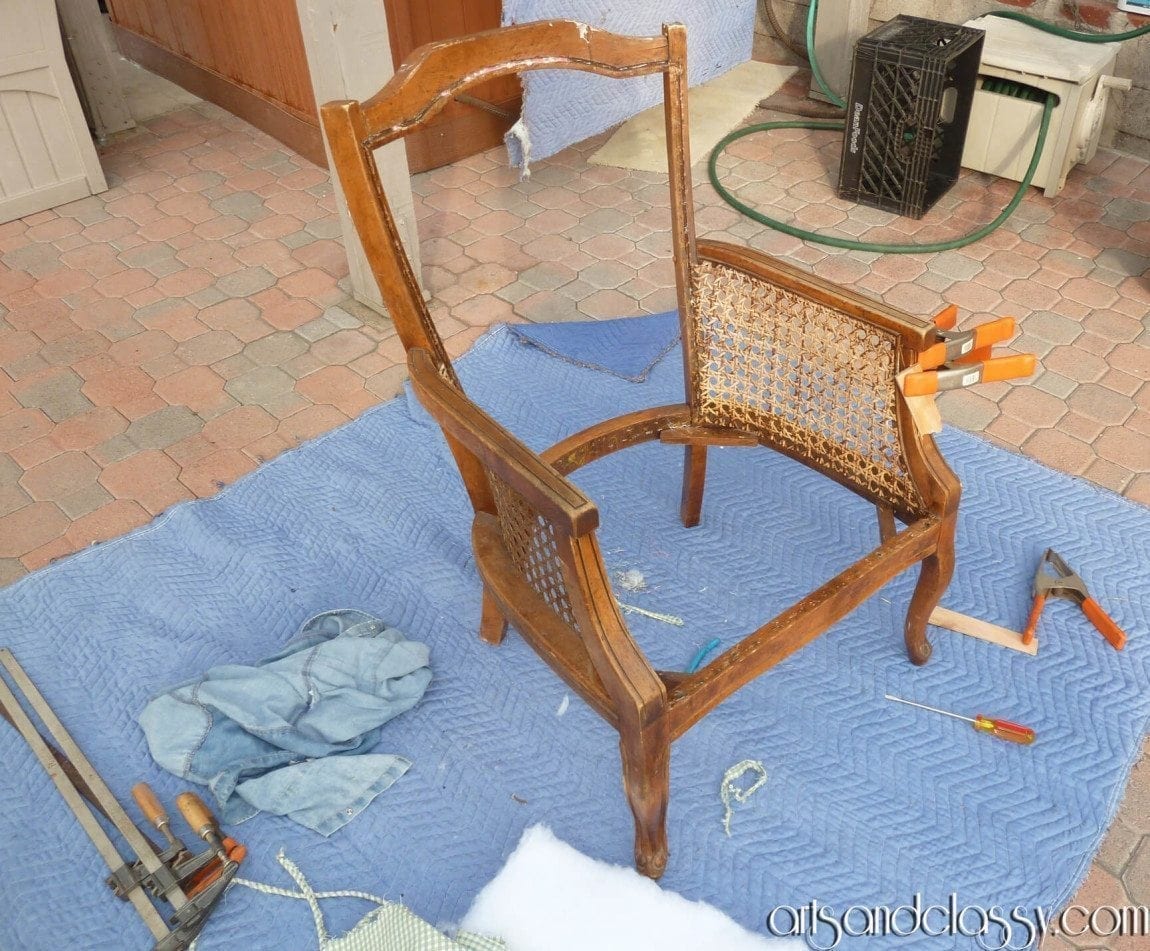
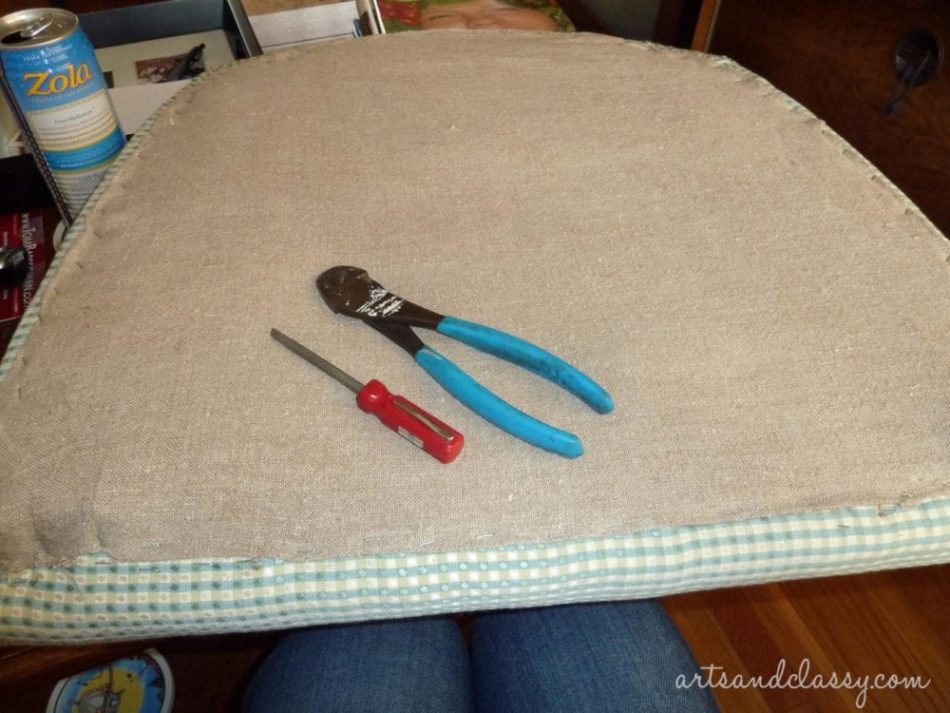
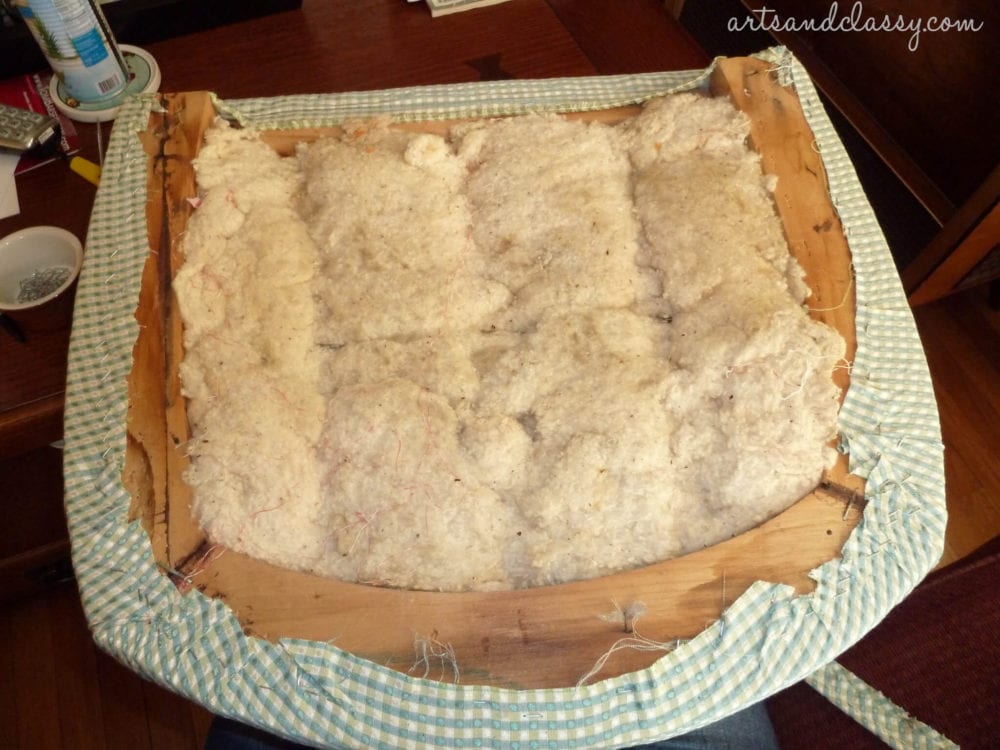
The most arduous task… removing the seat cushion and previous upholstery and staples.
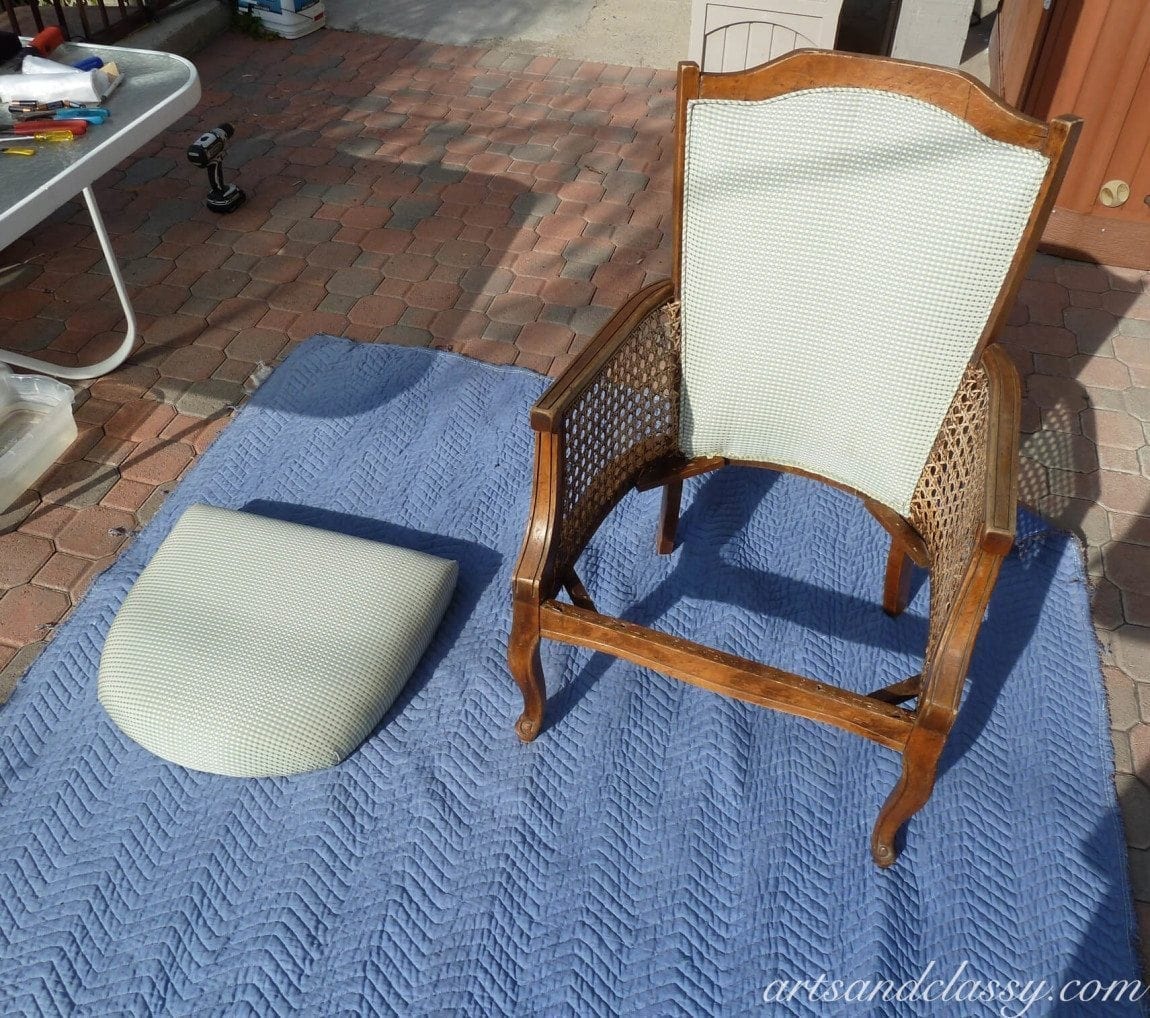
This step took me the longest and I have a nice big bruise on the back of my right arm from pulling stubborn staples too hard and hitting my arm on the frame of the chair. What can I say… I suffer for my art. lol.
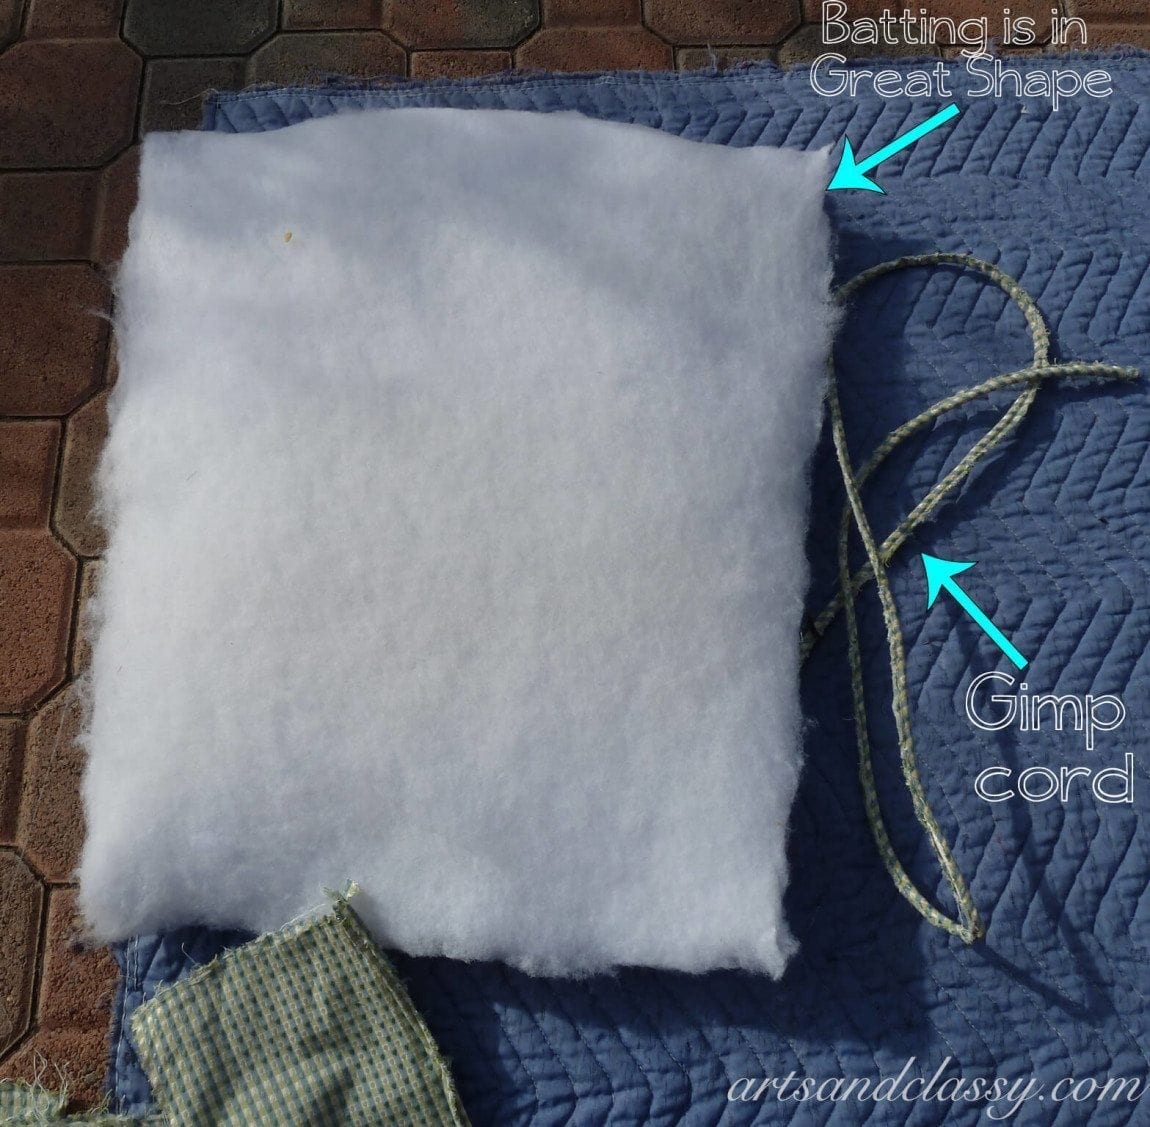
Also, the batting was in such great shape, that I didn’t have to replace it. If you have to replace yours, please check out this Batting to purchase.
Step 2
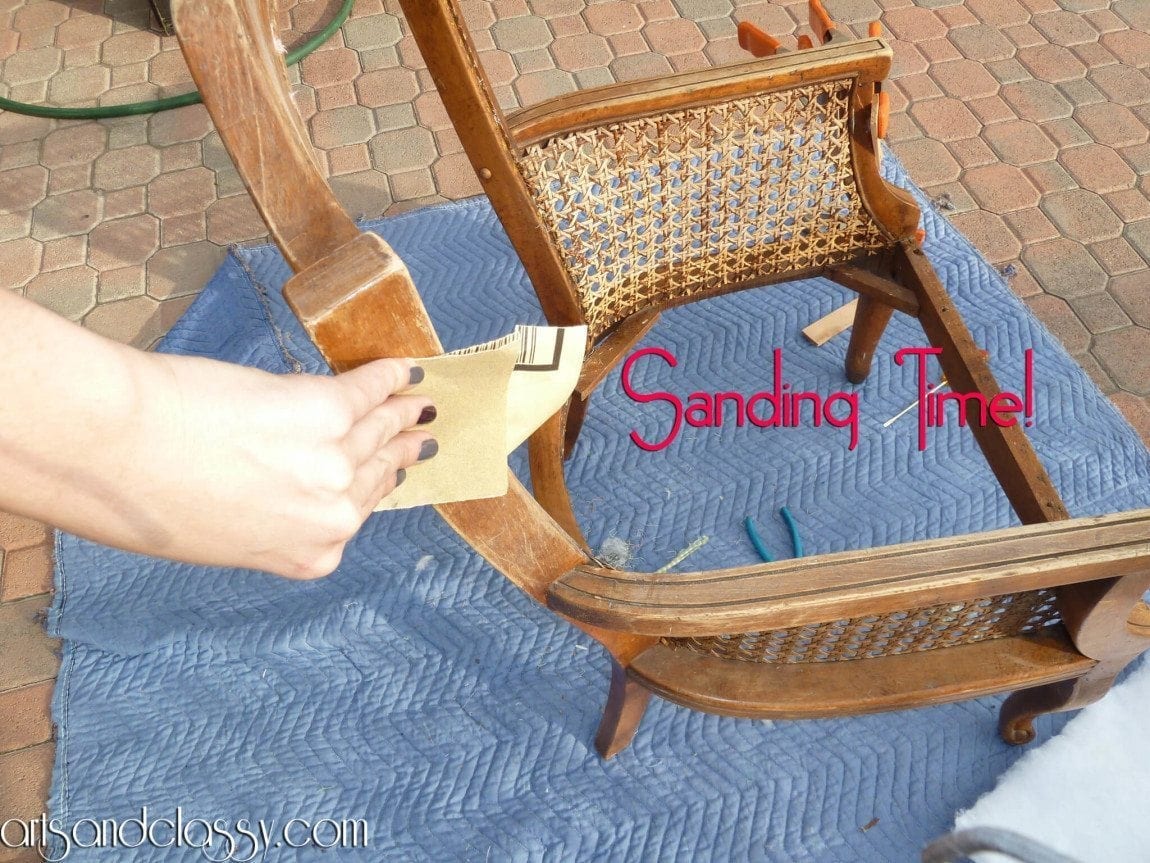
Sanding and fixing any imperfections in the frame. As I was removing the staples, I discovered and couple cracks in the frame. Not to worry…nothing a little wood glue and clamp can’t fix.
Step 3
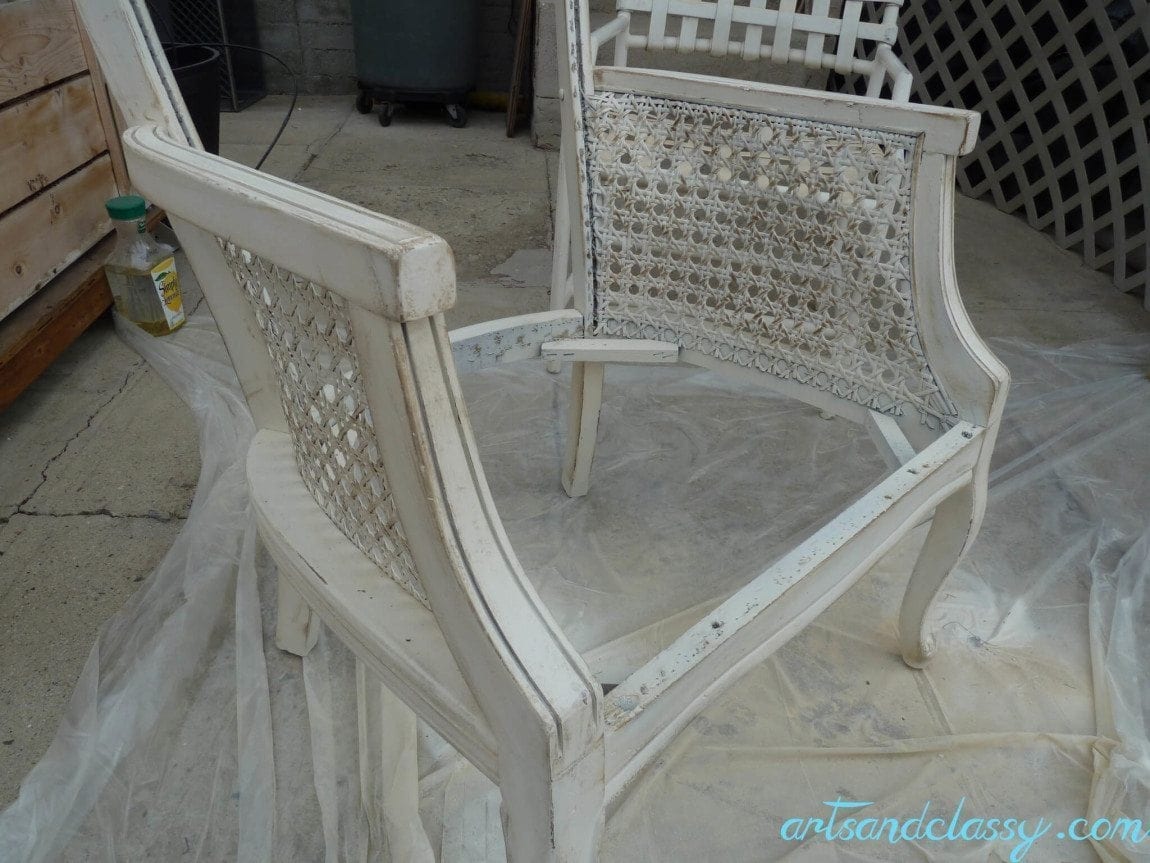
Primer and Paint time!! Once you are finished sanding the frame and fixing the imperfections, make sure to put down your drop cloth to protect the area around where you are painting from over spray.
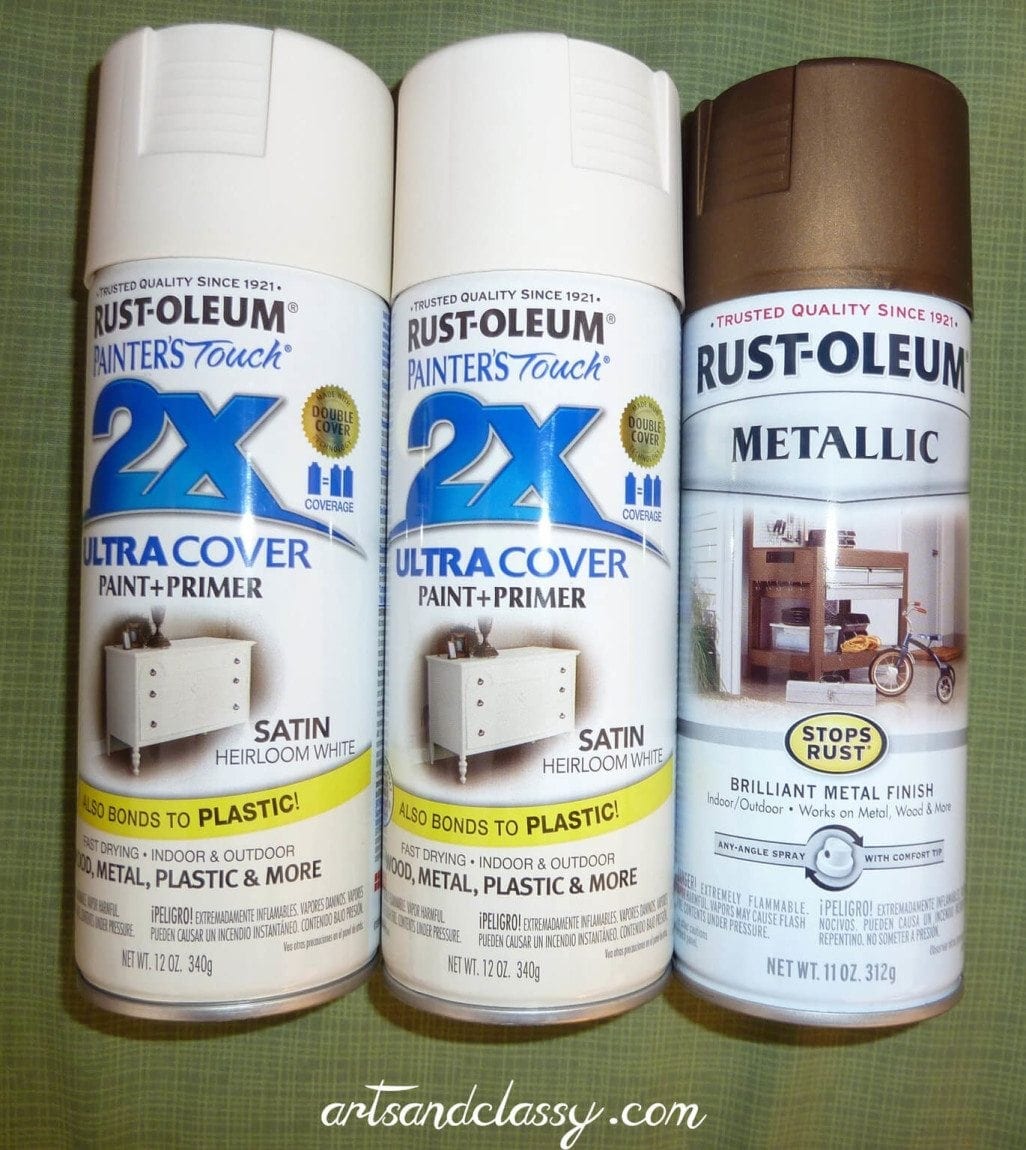
As I said above, I purchased my chosen color spray paint and it just to happened to be a paint and primer in one. This eliminated one step for me and I am so grateful! My chair pretty much used up two cans of this lovely Heirloom White color.
Make sure to spray from about 10-15 inches from the frame and spray in back and forth strokes to prevent dripping. I used one can all at once for the first coat and then let it cure overnight before applying the next layer.
Step 4
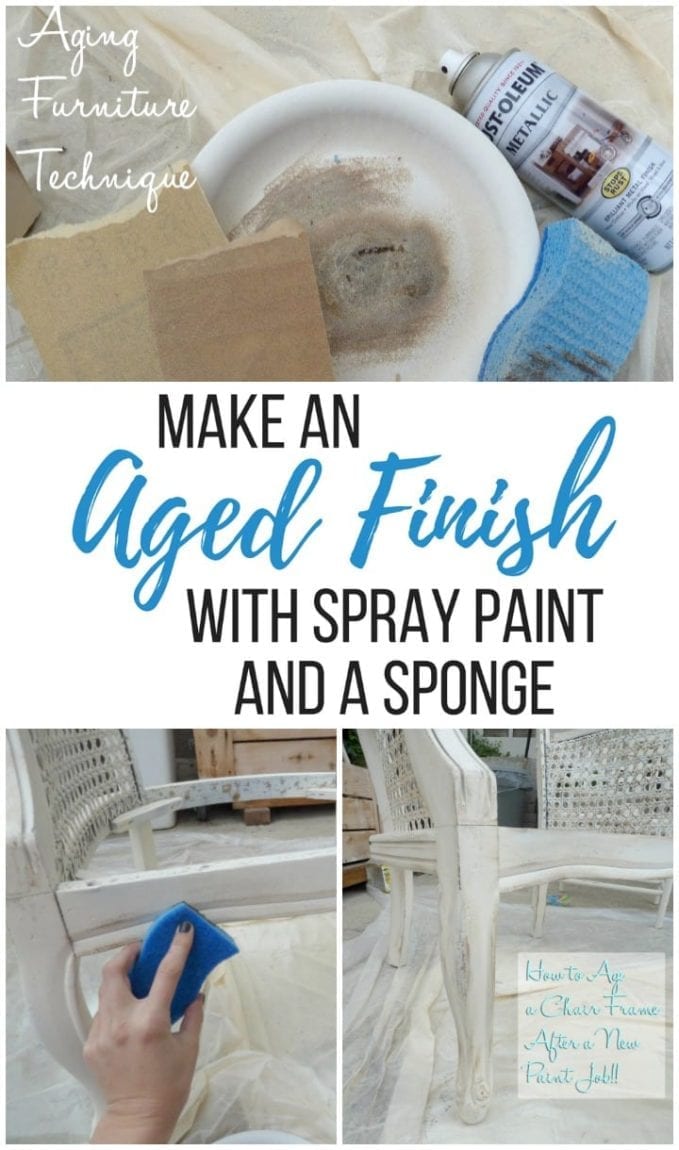
Aging the frame once you have painted it. I tend to use my artist brain for this one, and I like to wing it at times to see if my ideas will work. I was so right on the money on this one too. Grateful! This is where you will use the antique gold spray paint, sponge, and sandpaper.
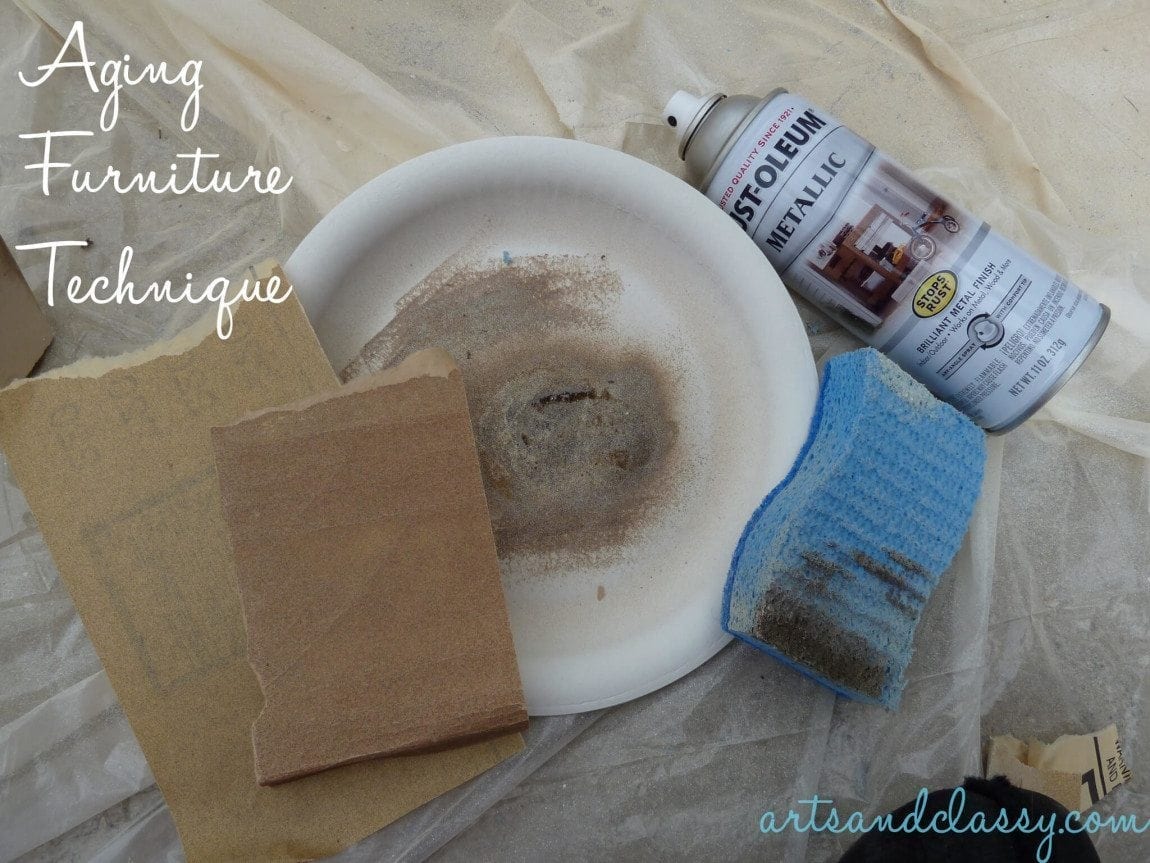
I started on the front of the chair. I took a paper plate and sprayed the paint on it. Then I dabbed the sponge in the paint. Make sure to blot a little on the plate first before applying it to the chair. You will then run the sponge along the frame in the chosen spots you chose to age it.
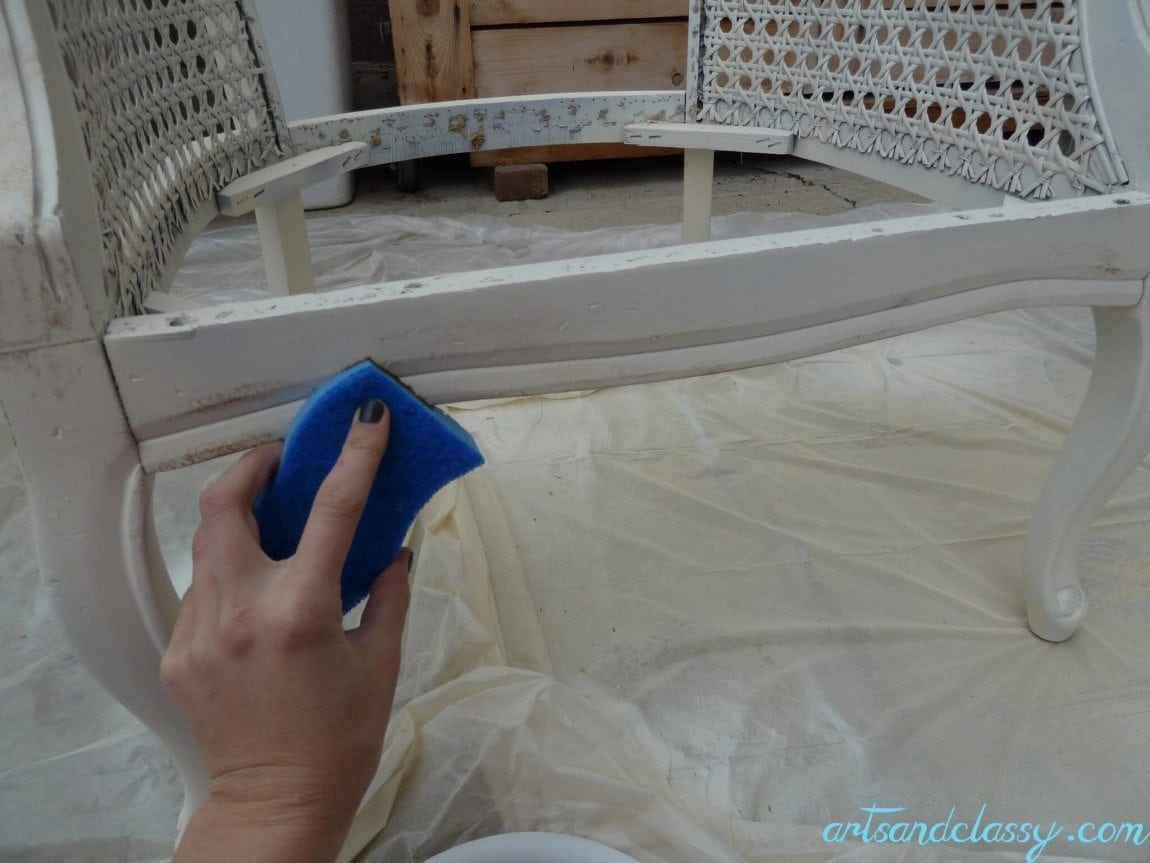
Afterward, I added a little extra aging by using some sandpaper to rub on the corners and in the areas where maybe the gold paint was applied too much. This part took little to no time to dry. I immediately began re-upholstering after I made my way around the entire frame.
Step 5
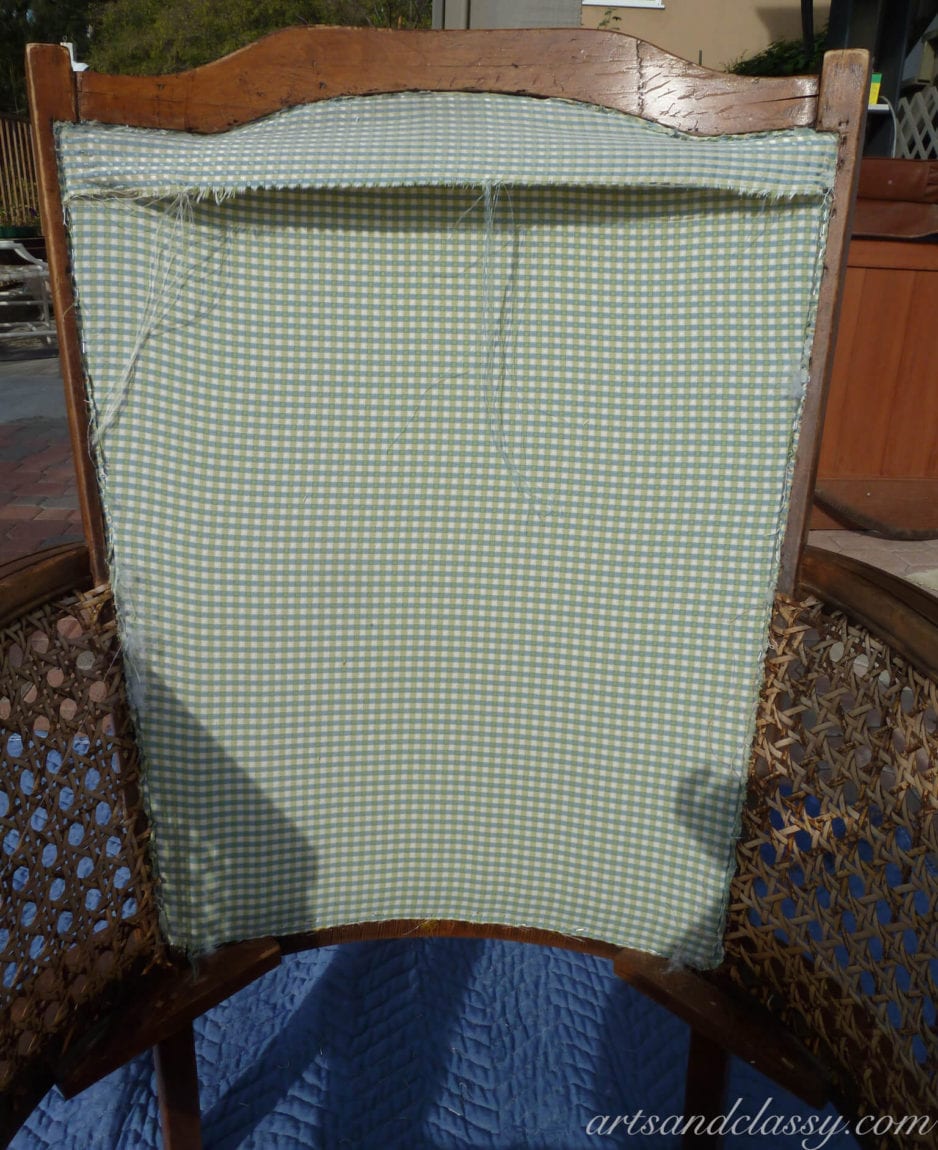
Let the Re-Upholstering Begin!! I found the most amazing fabric in Downtown LA. I feel so lucky since I really didn’t want to have to revamp my idea. This step was actually easier than I thought it would have been. I began with the Striped fabric that would show on the back of the chair. *Advice to you* start from the bottom and work your way up. This method helped achieve the stretched-tight look I was trying to achieve.
Once that was complete, you will place the batting on top of this back layer.
You will then take your front fabric and apply it over the batting and begin the staple it into place. This side was a little tricky. The method that worked best for me was to staple the top and the bottom, then work your way outward, stretching the fabric to the look your desire.

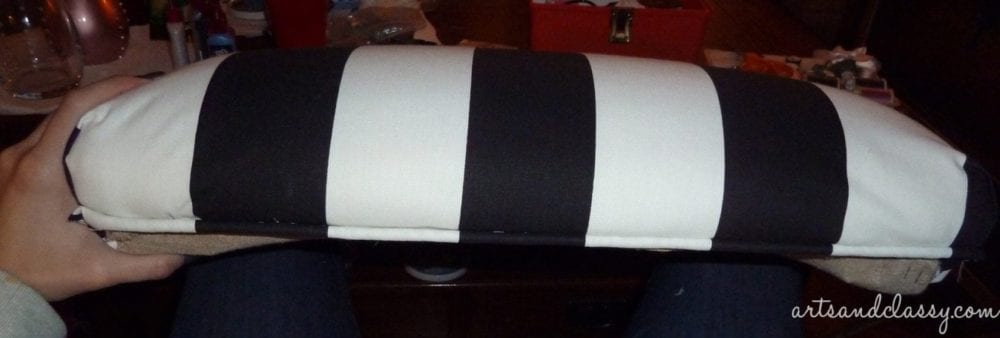
Step 6
Covering the Seat Cushion. This felt like a whole different step, where I had to remove the staples and precious upholstery.
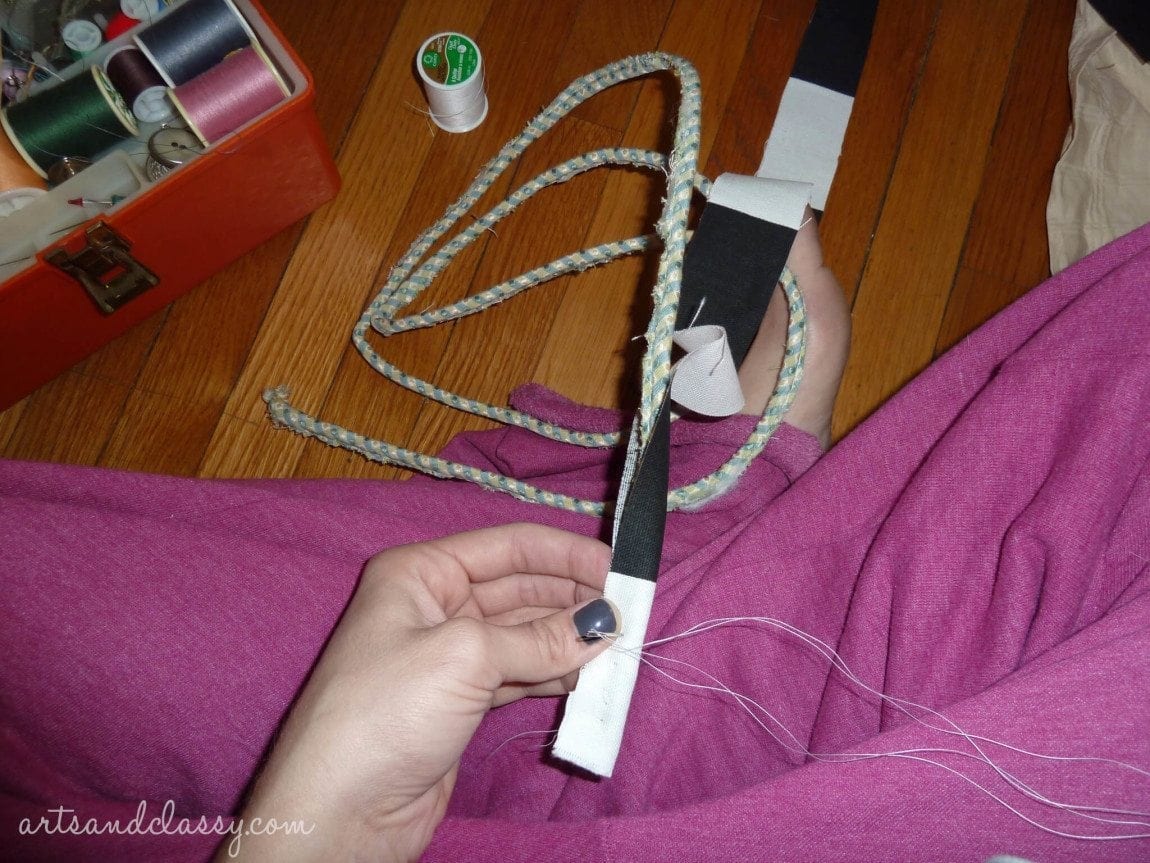
I also have to recover and sew the gimp accent piece and apply it just under the cushion. before re-attaching it to the frame. This chair appeared to have been professionally upholstered last time, which made it super easy to recover. It was nice, clean, and cohesive. Made my job easier.
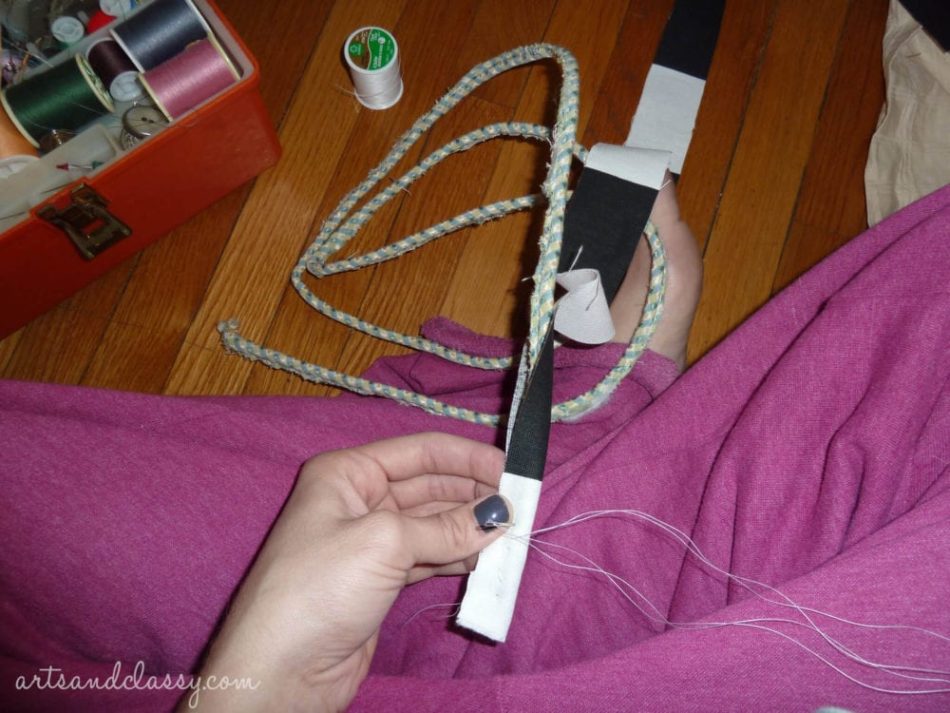
Step 7
Re-covering the gimp accent piece and adhering to the front of the chair back. This is where you will get to use your hot glue gun. It was a last-minute choice to use the striped fabric for this project, but I thought it would be a fun and nice twist to tie in the stripes all around. You will begin by cutting your fabric and sewing the fabric around the gimp, which was super easy to do. You will trim the excess fabric on the back and take your hot glue gun to apply a small amount to the back of the gimp. work your way around the trim to make sure you cover all the staples.
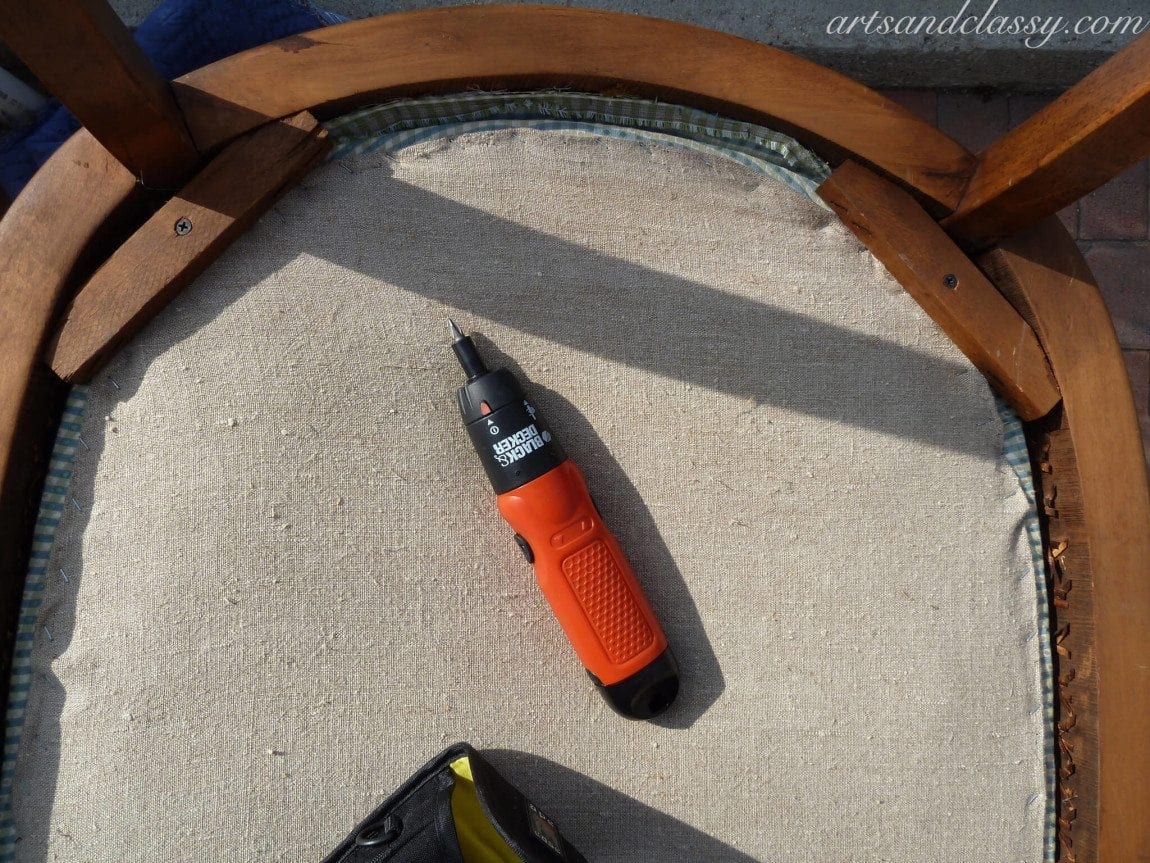
Step 8
Put the re-covered cushion back on the frame! Mine just took a couple of screws to secure it on the frame. A power drill was my best friend. You just know it’s more secure than using a plain old screwdriver.
Step 9
ENJOY YOUR MASTERPIECE! I know I am!
I hope you found this tutorial easy to understand!
If you have any questions or want to share your makeover, either comment below or email me at artsandclassy@gmail.com. I would LOVE to see your projects before and after. And hey, I if I receive submissions I will showcase them on my blog on Fridays!
To create and submit and I will share!
This project was not hard, just a little time-consuming. My project took me 2 days to complete, and I had a blast doing it! I hope you do too. Get out there and make beautiful things. 🙂
Also, please subscribe to my blog to see future DIY tutorials and design-on-a-dime advice!
[convertkit form=5016936]

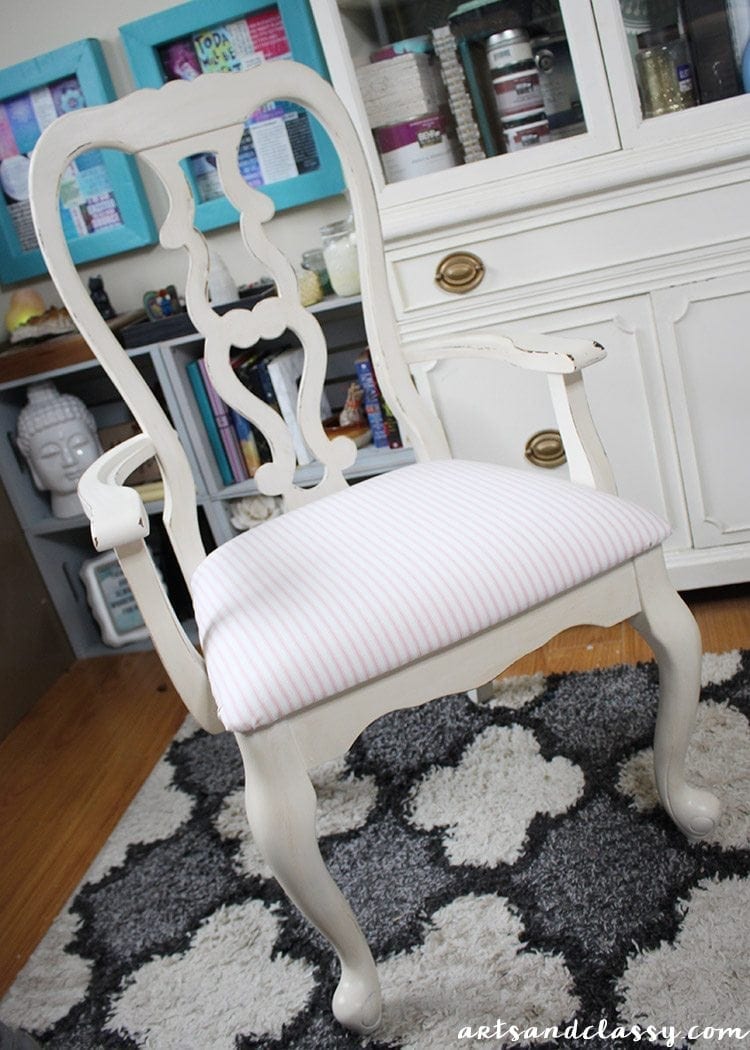
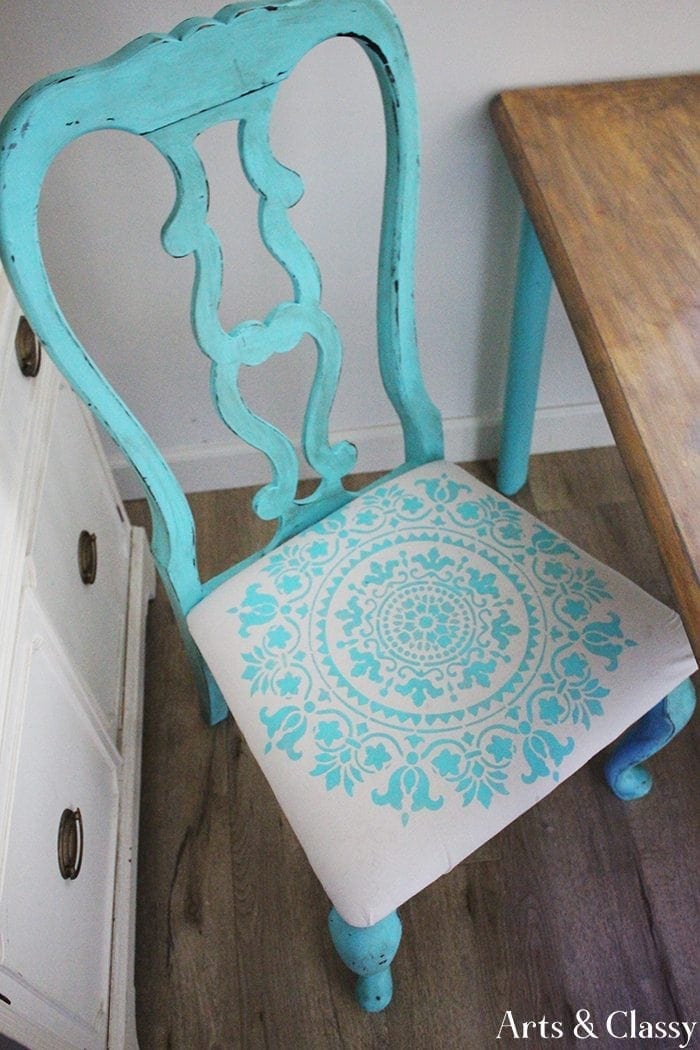
Do you want more furniture flip inspiration? Here are a few more chair makeovers I think you’ll love: