DIY Holiday Ornament Project Tutorial
This DIY Holiday Ornament post is brought to you by *Plaid Crafts – Mod Podge Pearl & FolkArt Multi-Surface Paint and Blueprint Social. The opinions are my own.
I love the holiday season. It brings out a craftier side of me (if you can believe that to be possible.) I just love sitting in my dimly lit apartment with candles around, in a robe, while crafting and blogging all day. That is a perfect workday in my book!!
Today I wanted to share with you an awesome DIY Holiday Ornament tutorial that I created.
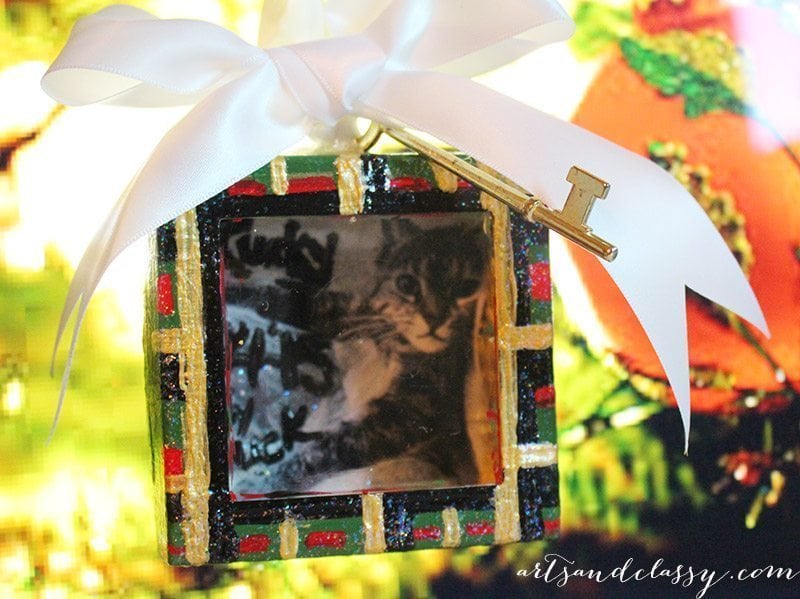
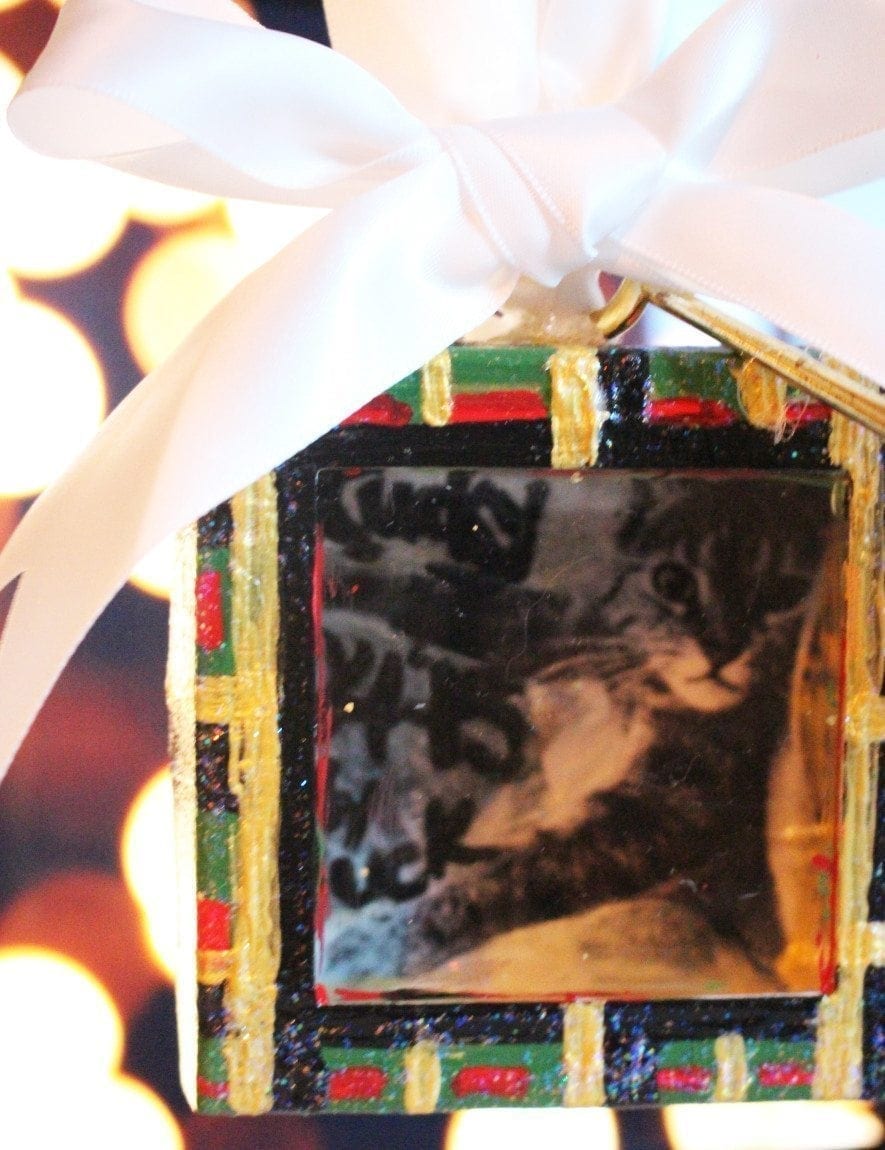
I made this ornament in honor of my kitty, Lucky, who recently passed away last week. I miss her very much. As a memento to her life, I decided to incorporate her sweet face in my project!
I believe that the best DIY holiday ornament projects on trees are the ones that are made and/or are personal. I think this creates a more homey feel to your space with personal touches all around.
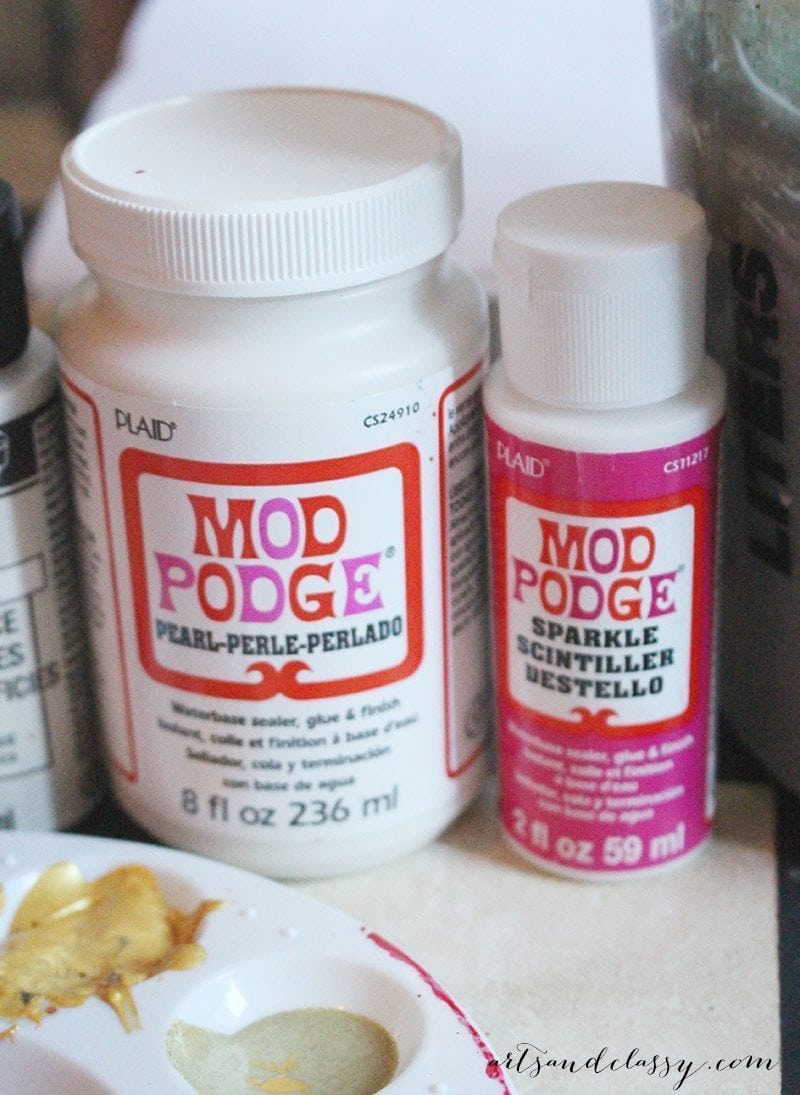
To help make this a really special project, I decided to add a touch of heaven by adding Mod Podge – Pearl to my ornament to give Lucky’s image a little more iridescence along with some awesome FolkArt® Multi-Surface paint.
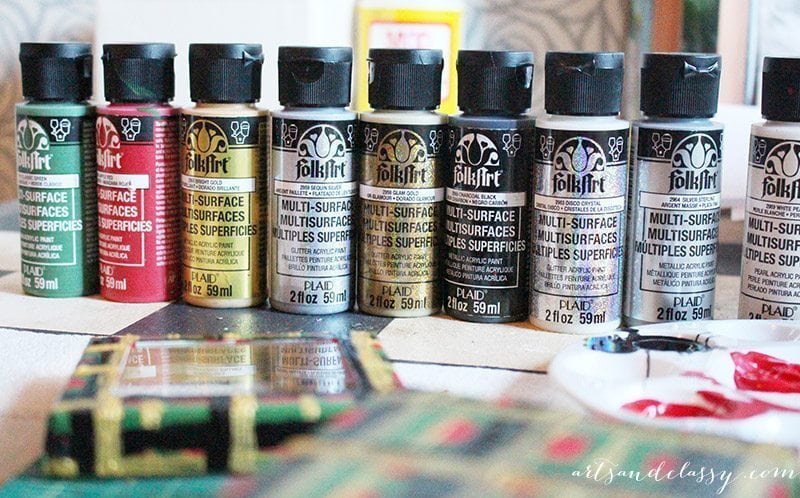
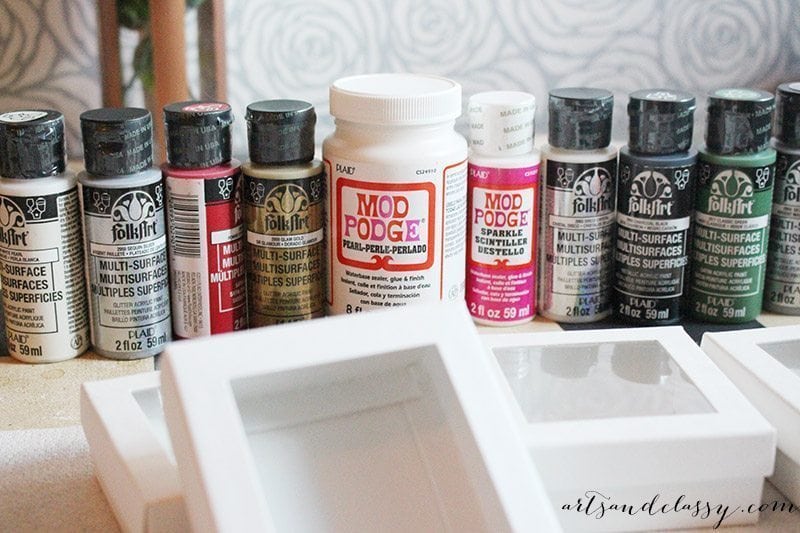
Supplies that I used for this project:
- Mod Podge – Pearl
- Mod Podge – Matte
- Mod Podge – Sparkle
- FolkArt® Multi-Surface Paint
- An array of artist paintbrushes in various sizes.
- Gift Box with a transparent window in the lid
- Scissors
- Satin Ribbon
- Tacky Glue
- Metal Key
- Paper
- Printer
- Hot Glue Gun
- Hot Glue Sticks
STEP 1
I began by painting the entire box red. This took a couple of coats. This paint seems to work best with a few layers of paint.
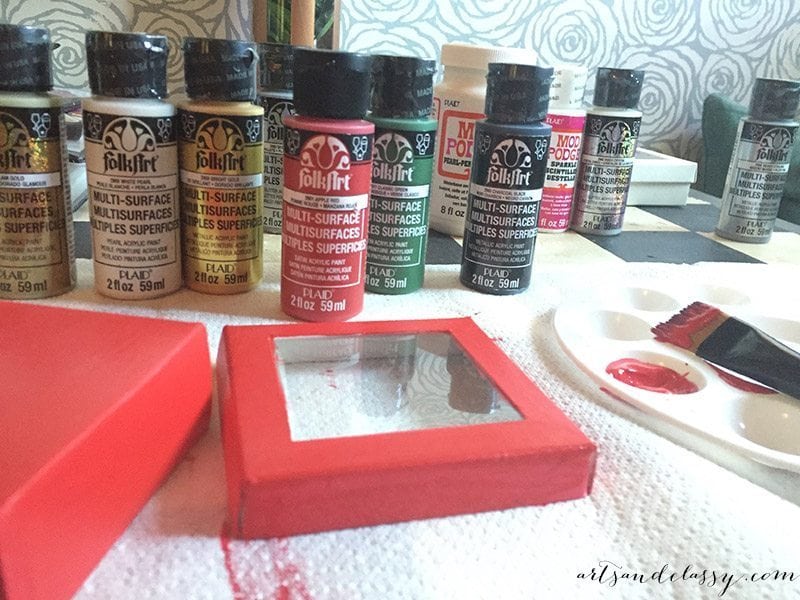
FolkArt® has a patented, self-sealing formula that offers superior coverage for fewer coats and quicker drying times.
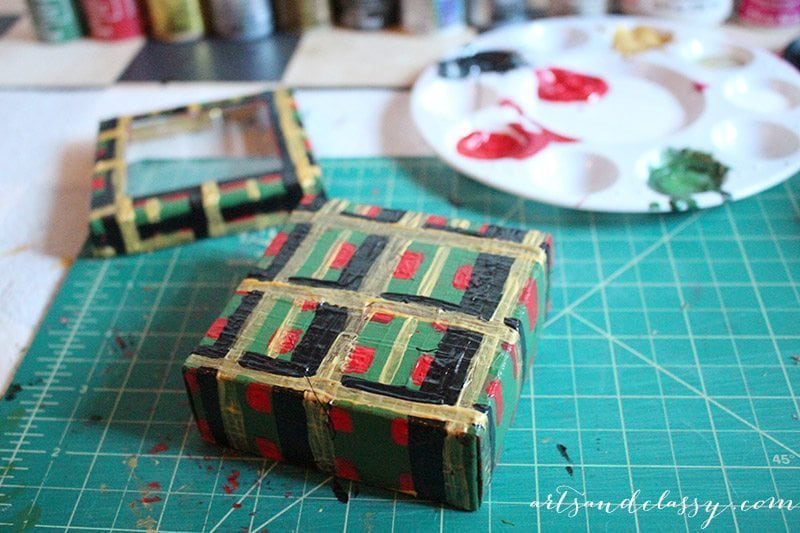
STEP 2
Then to create a holiday feel I decided to paint semi-thick green stripes.
STEP 3
After letting those layers of paint dry, I added a thinner black striped pattern over the green and red.
I really feel that plaid is best translated with paint by emphasizing the multiple layers.
STEP 4
I picked one of my favorite photos of my girl Lucky and resized it in photoshop to fit 3.14″x3.14″. Then I printed the image on plain white paper and cut it to size. I used the matte Mod Podge to adhere the photo to the bottom of the box.
I used one layer of the matte Mod Podge to seal the image. I love how easy it is to use.
If you don’t know what Mod Podge is used for, here is some info for you.
Mod Podge is the original all-in-one sealer, glue, and finish. It is perfect for wood, paper, fabric and other porous surfaces, such as terra cotta, plastic foam, and candles, it’s quick and easy to use.
As a glue, it dries clear and holds tight. Non-toxic with a soap and water clean up makes it great for kids’ crafts.
As a sealer, it protects acrylic paints, stains, decoupage, and fabric. No crafter should be without it.
I took the Mod Podge Pearl to cover the area around my cat in the image. I wanted to emphasize Lucky in the photo by blurring out the background with this awesome product! It also adds a little shine to the photo and dries within 15-20 mins. This product gives a pearlescent topcoat. You can use it to create a mother-of-pearl effect.
STEP 5
I used the Mod Podge sparkle to seal the entire paint job of the box. After, I lined the interior of the lid with tacky glue to adhere to the lid and the bottom of the box together.
STEP 6
I took my ribbon and created a bow and loop for my ornament to hang on my tree. I tied the loop ribbon to a metal key that I wanted to put at the top of the ornament. Lucky holds a key to my heart forever.
STEP 7
I took my hot glue gun and glued the loop ribbon to the top of the assembled ornament. I also hot glued the bow to the knot of the loop. Let it dry and Ta-dah! DIY Holiday ornament project complete!
I hung it on my Christmas tree. This is my first Christmas without this girl in about 9 years. I am happy I can look at her every day and smile.
Learn more about Plaid Crafts on social media!
- Pinterest: https://www.pinterest.com/plaidcrafts/
- Facebook: https://www.facebook.com/InspiredByPlaid
- Instagram: http://instagram.com/plaidcrafts/
- Plaid Website:
If you liked this DIY holiday ornament project, you may also like:
- Make your Season Sparkle with This Holiday DIY
- 5 Simple Christmas Holiday Decoration Ideas
- Creative Ways to Build Christmas Trees in Small Apartments