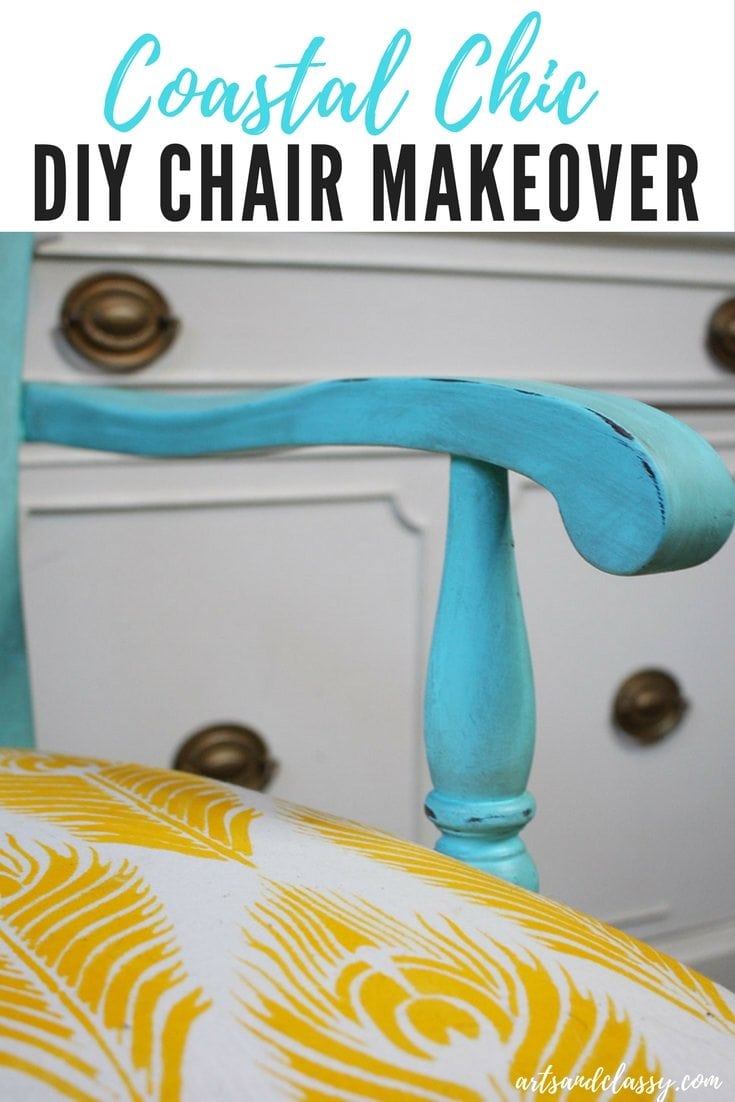
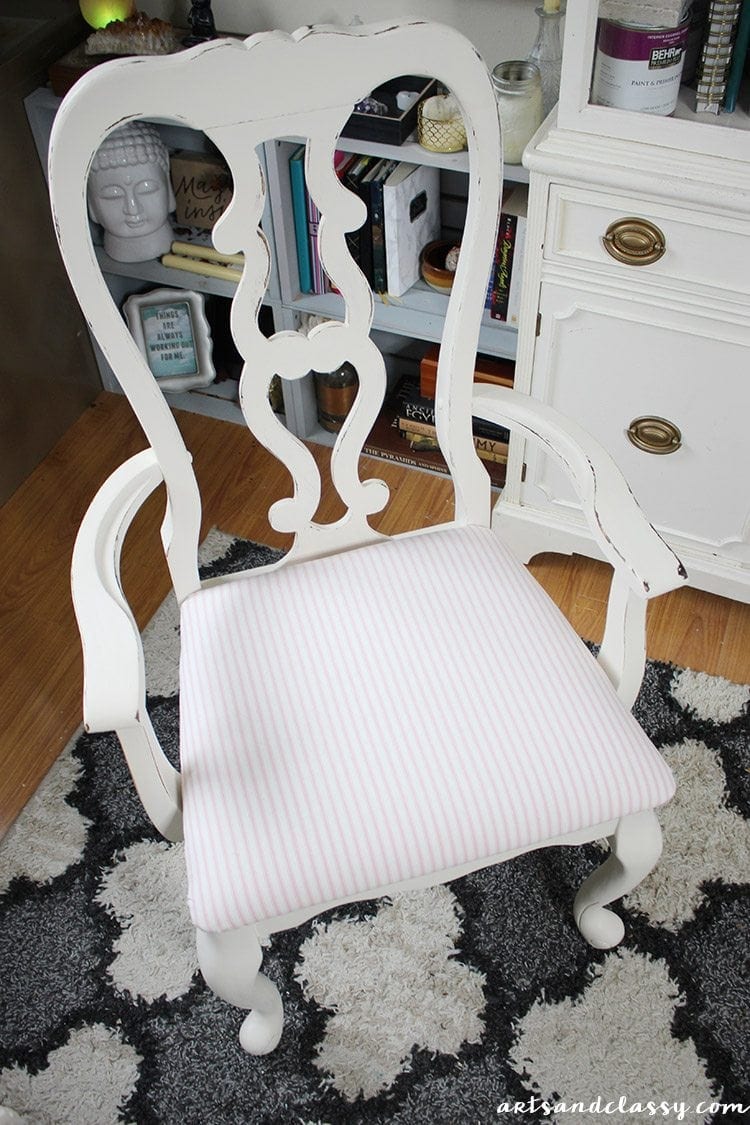
Chalk Painted Furniture Steps – Chair Makeover
Check out this project that I recently completed! A friend of mine gave me this lovely wood antique dining chair and I knew I could make it look amazing again. I love sharing Chalk painted furniture steps on all the projects I work on.
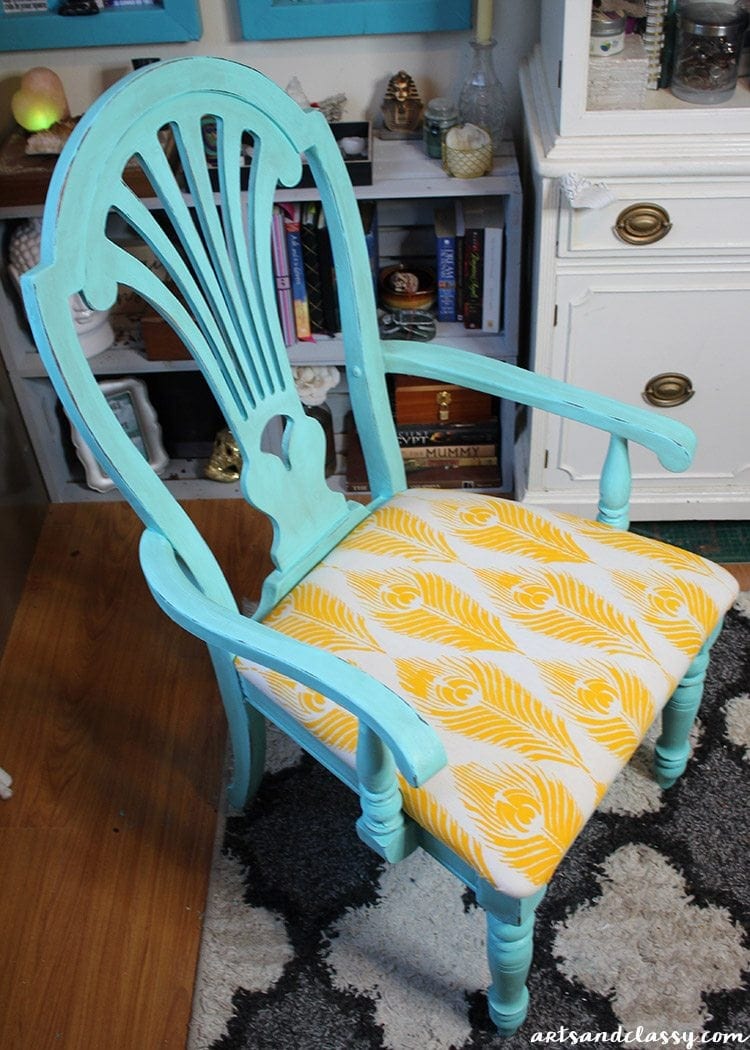
A shabby chic wood chair makeover seemed like the right creative direction.
I had recently made over a Queen Anne dining chair that turned out beautifully and sold quickly! It makes me so happy to know that the pieces I flip are in demand. In fact, the chair that I am sharing with you today has ALREADY SOLD! It sold a day before this makeover tutorial went live.
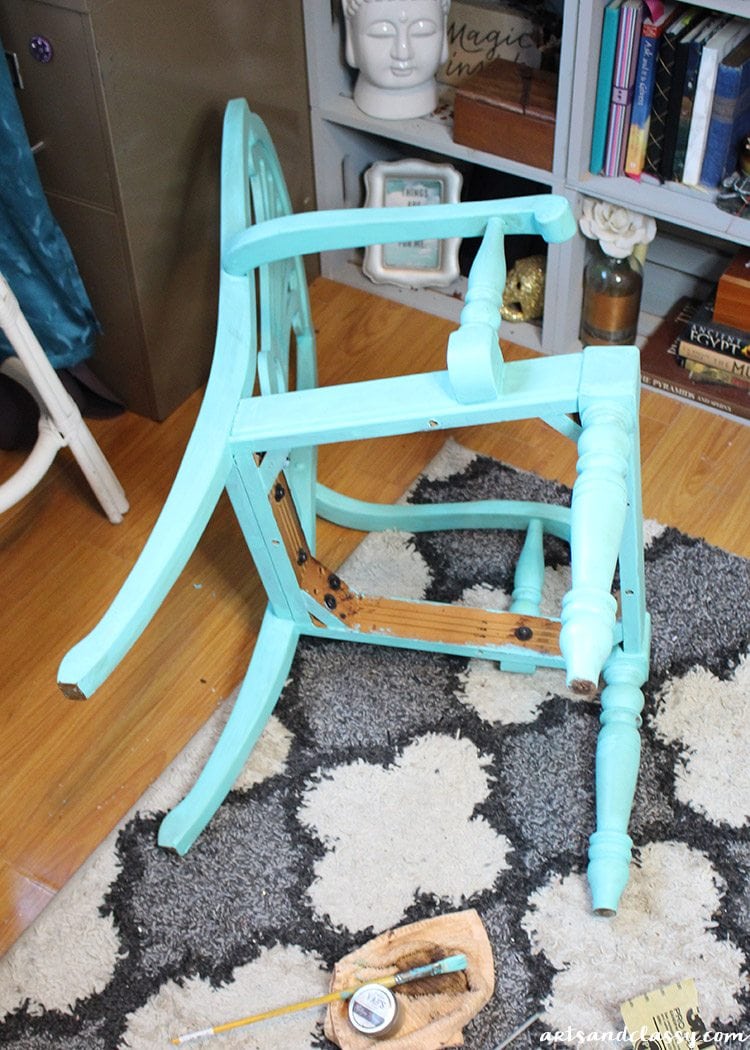
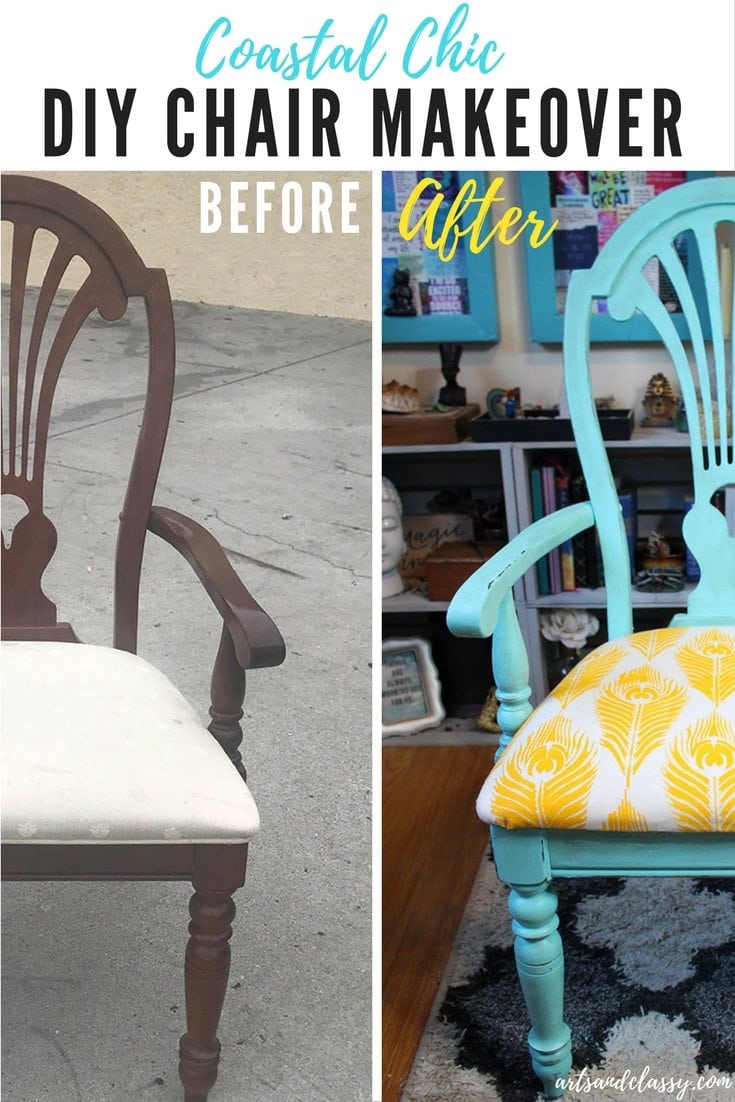
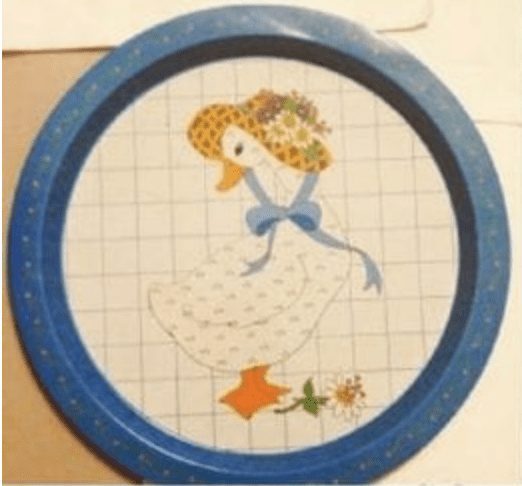
Here are the before photos of this chair.
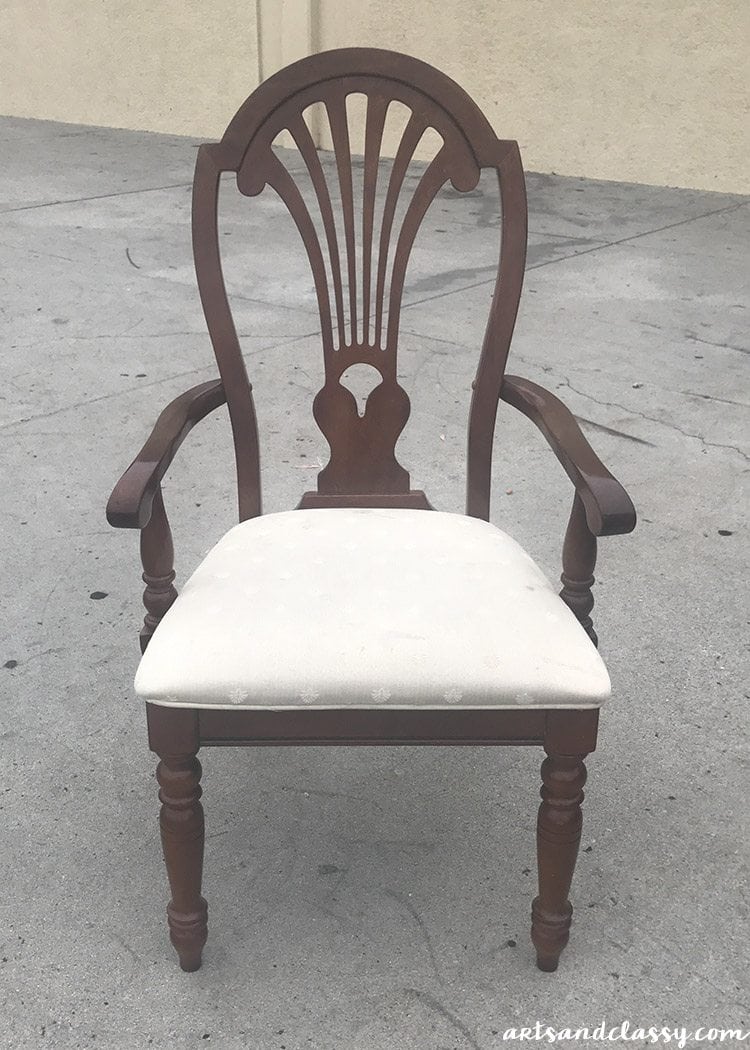
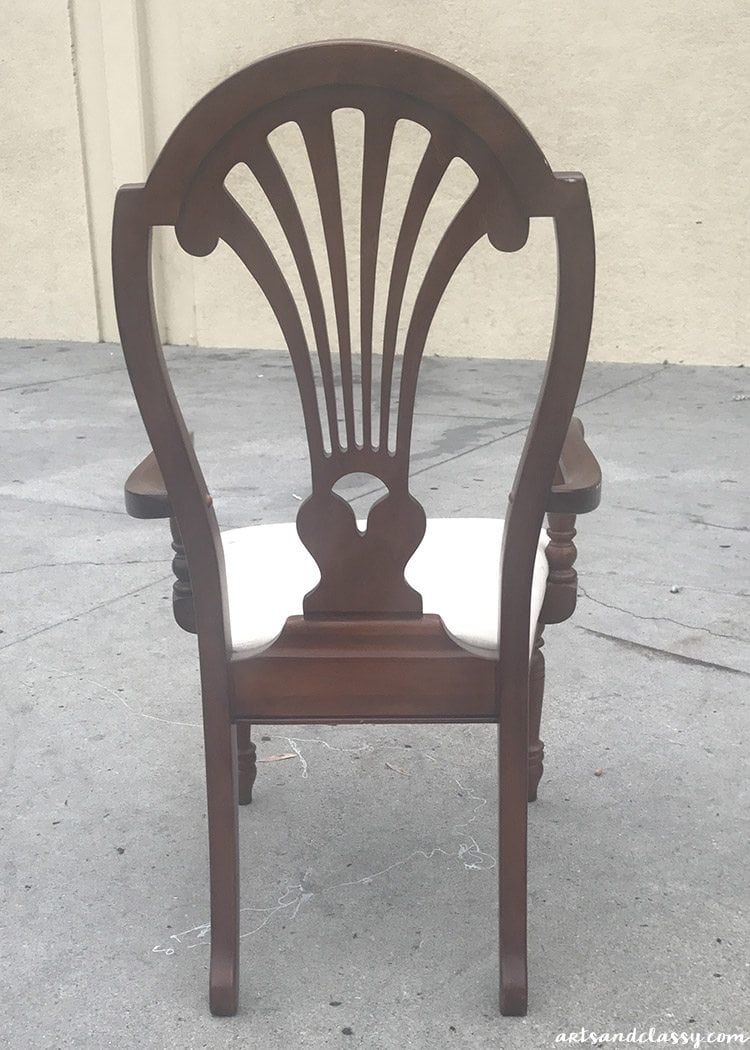
Let’s get started on these DIY Chalk painted furniture steps for this chair makeover.
The supplies I used…
- Peacock feather stencil from Cutting Edge Stencils
- Stencil foam roller
- Plastic tray
- Textile paint – Goldenrod
- DIY Chalk Paint – Here is my recipe for DIY chalk paint. I used Behr Interior Enamel Latex paint – “Hidden Sea Glass”
- Paintbrush
- Paint stirring stick
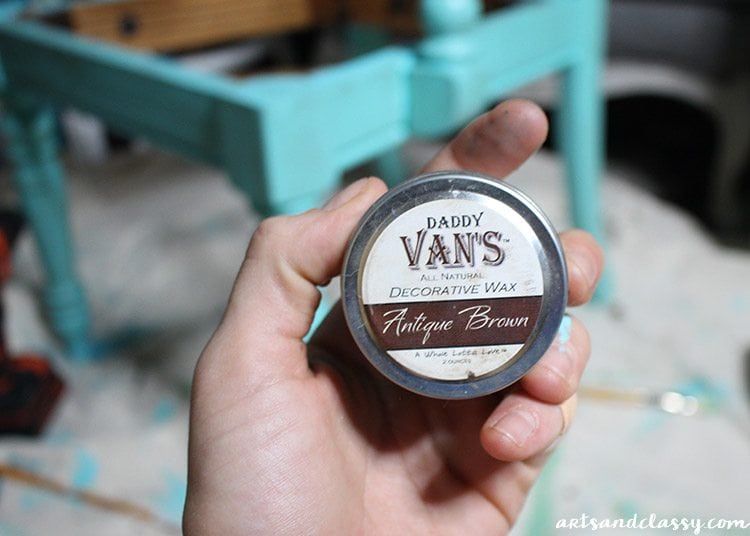
- Daddy Van’s decorative wax in Antique Brown
- Rag or towel
- Upholstery staple gun + staples
- Small flathead screwdriver
- Needlenose pliers
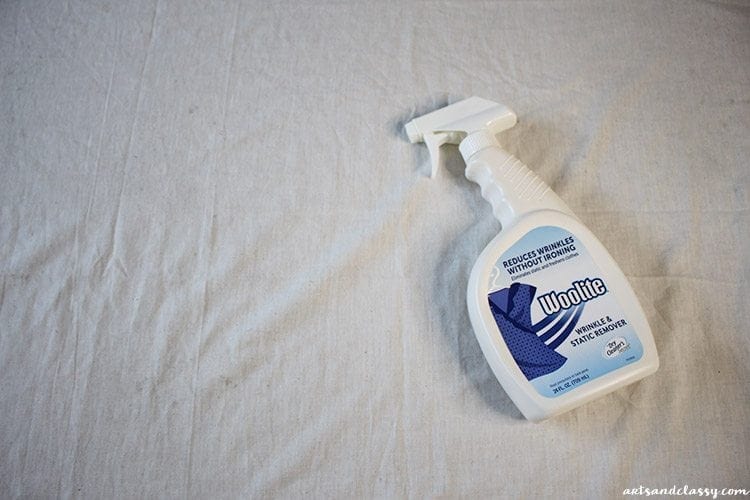
- Wrinkle release spray
- Muslin fabric
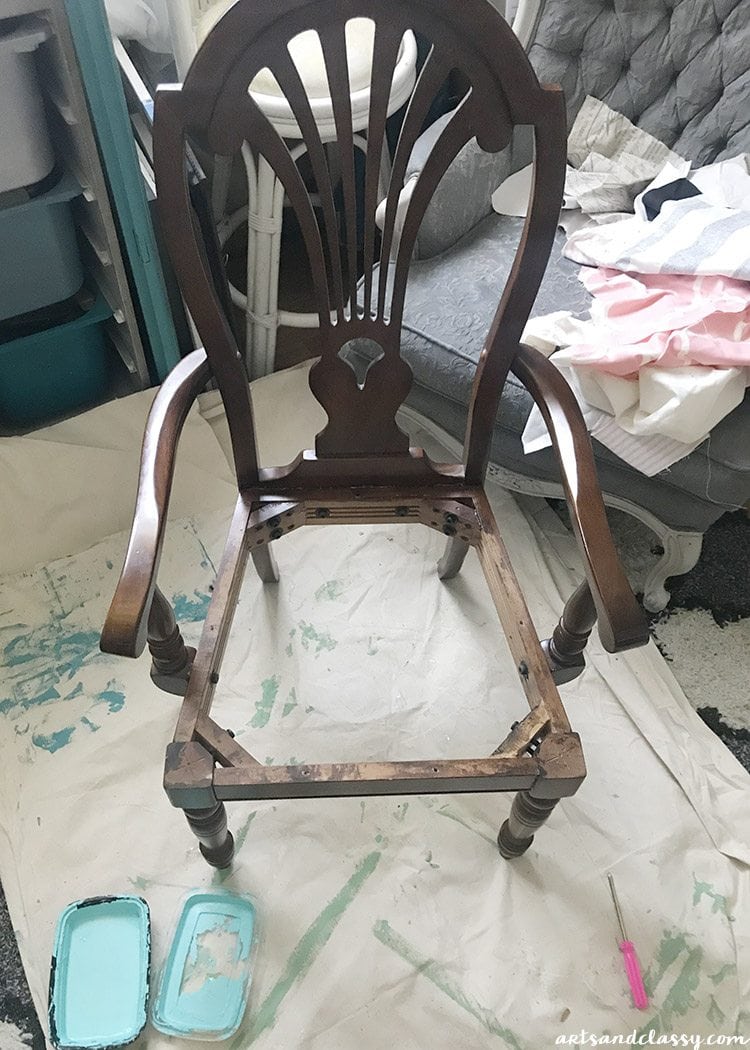
STEP 1
I had to disassemble the chair entirely. I removed the upholstered seat and wiped it down to remove dirt and dust. I mixed my chalk paint recipe with my Hidden Sea Glass latex paint.
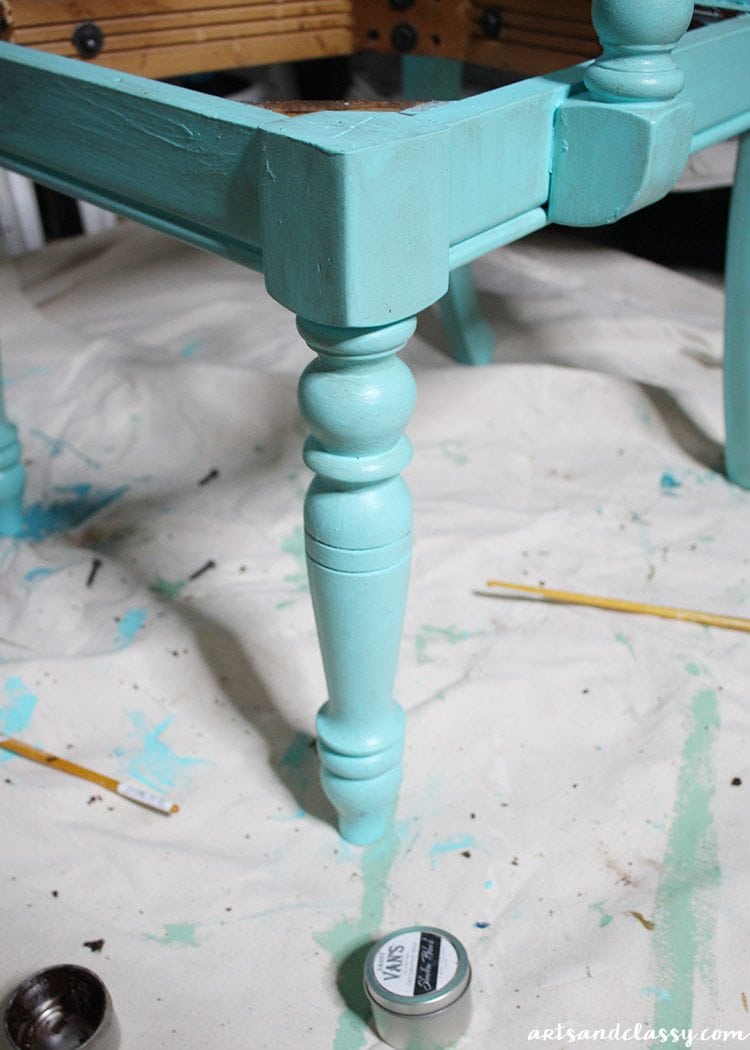
STEP 2
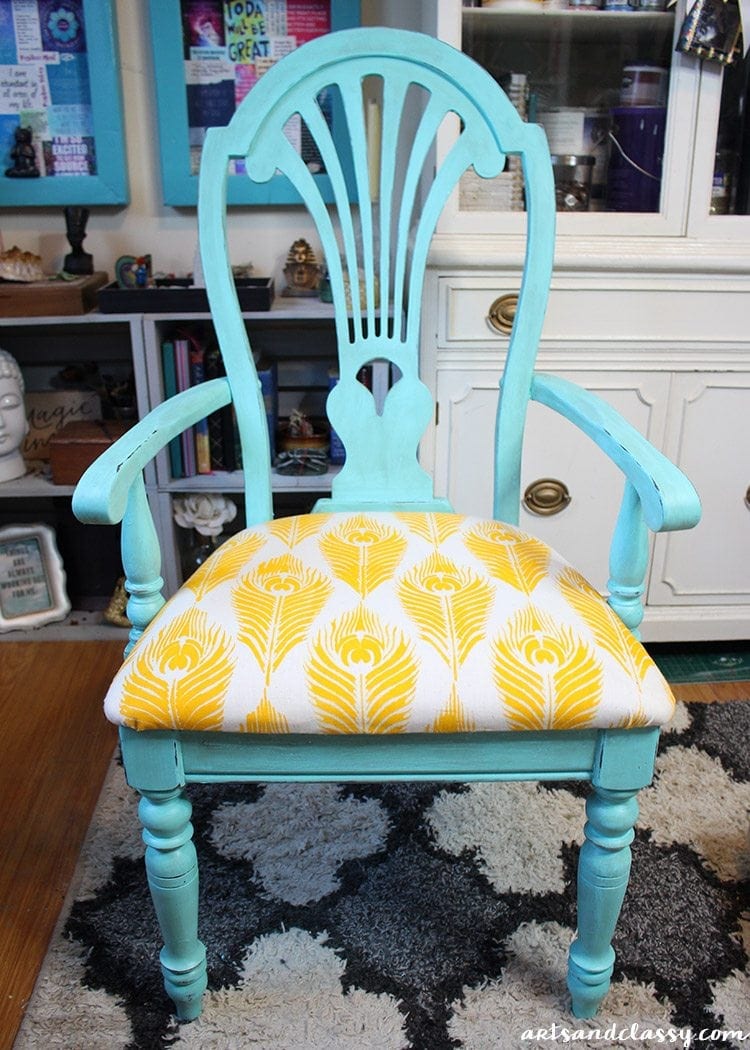
I painted a few layers of my mixed chalk paint on the frame of the chair. I was still deciding what I wanted to do with the cushion of this chair.
STEP 3
After I let the paint dry, I took out a rag and my Daddy Van’s decorative wax in Antique Brown.
STEP 4
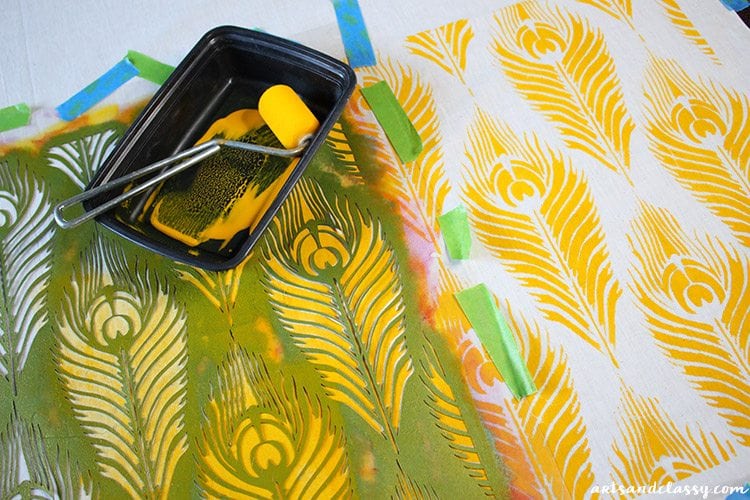
When I figured out what I wanted to do with some extra fabric I had in my supply stock, I wasn’t sure how it was going to turn out. Sometimes you have to gamble with DIY projects. I pulled my Peacock feather stencil that I used on a recent nesting table project from Cutting Edge Stencils.
I used Woolite wrinkle release to remove the creases in the fabric before taping the fabric down to a flat surface.
I lined up my Peacock stencil and taped it down to keep it in place. I used my small stencil foam roller to apply the goldenrod textile paint to the fabric. I suggest starting light for the first coat before applying more pressure to the application.
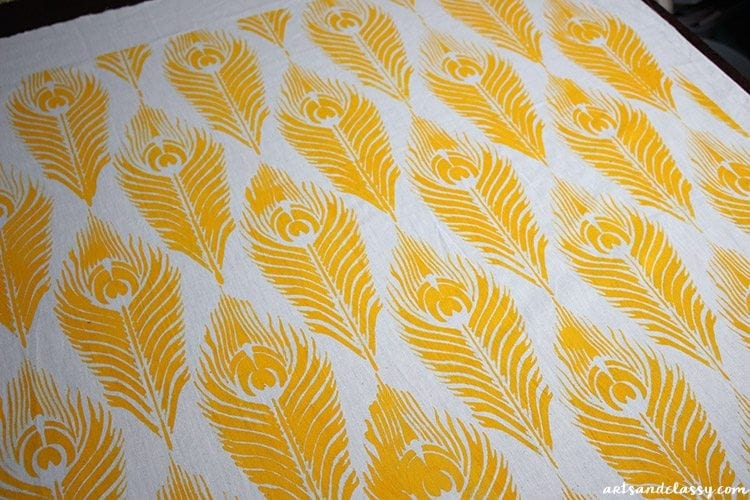
After a couple of coats, I was happy with the color of the feathers.
Once the paint on the fabric dried, I reupholstered the cushion/seat of the chair. My staple gun was very handy for this step. 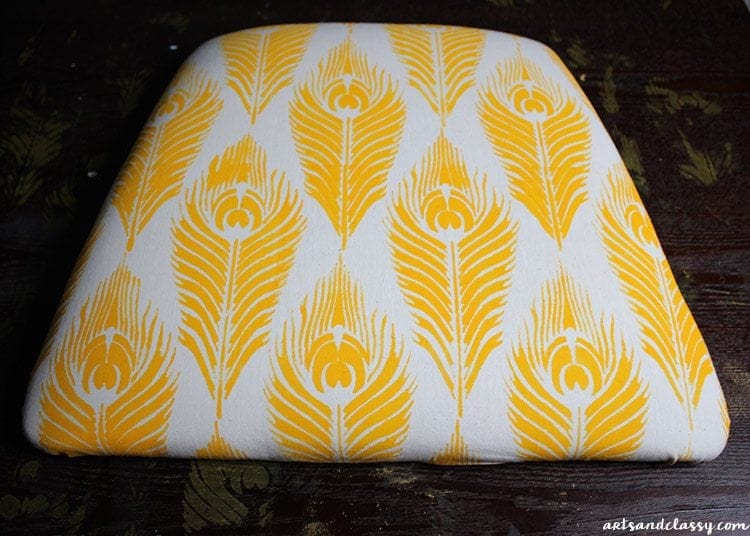
Here is a link to a video of the fabric stenciling process. What do you think of the finished product of the fabric? I am pretty pleased with how it turned out. It’s always nice with what you picture in your mind comes out better in person!
STEP 5
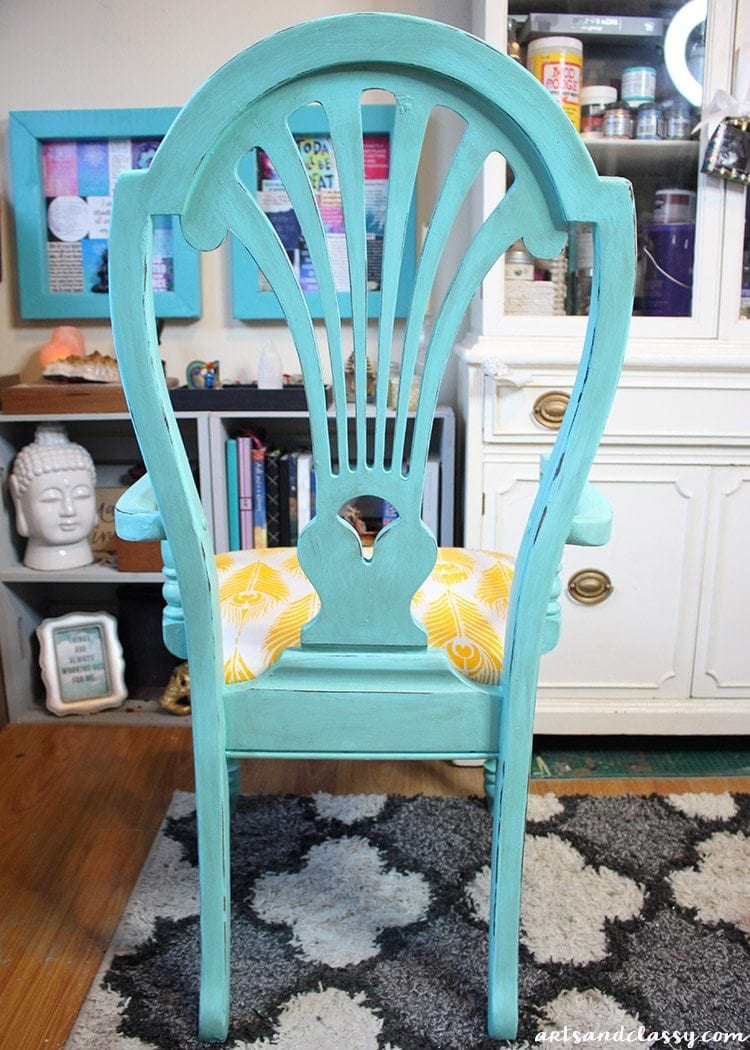
I used sandpaper to age down the paint job and give it more of that Shabby chic look. Last, I had to reassemble the seat to the frame once the wax dried.
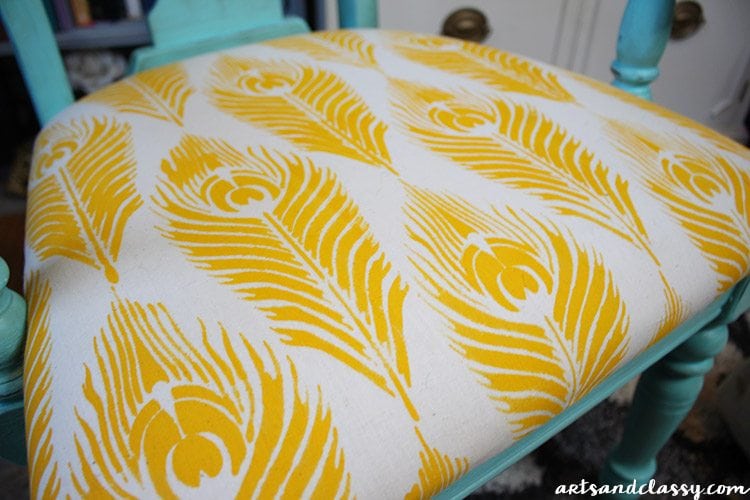
What do you think of the after? I think this project surprised me. I didn’t think it was going to look as good as it did! I think this Coastal Shabby chic wood chair would be the perfect addition to…
- a vanity in a bedroom or a large closet.
- home office as a desk chair.
- in a small living room etc.
- The list goes on!

What do you think of these chalk painted furniture steps for this chair makeover? Let me know in the comments below!
If you like this project, please make sure to share it on Pinterest! Pin now…do/read later.
 Have a great one! Until next time. BTW… if you have been visiting me for a while now… then why you have become a subscriber yet? I thought we were friends?
Make sure you subscribe via the form to my newsletter below.

The chair looks so much better after you did the makeover! I love the pattern and the colors that you picked for it too. I always prefer colorful anything when it comes to decor and furniture!
Thank you so much Jocelyn!!! I am so happy you love playing with colors like I do! 🙂 You rock!
Great work, the chair is looking more beautiful after the makeover. Good decision of choosing yellow color for feathers.
The final result is amazing! Awesome job you did there, congrats!