Gratitude Mandala Stenciled Cabinet Makeover
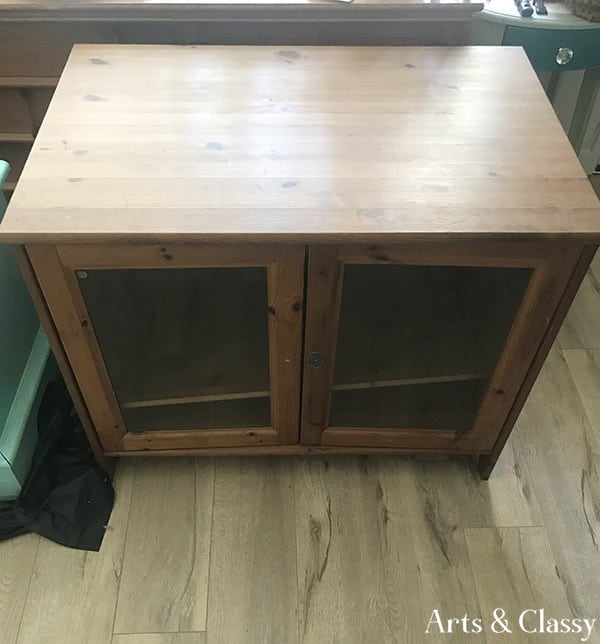
I’m back for more Makeover Monday furniture flipping fun! Check out my latest furniture project that I flipped. I found a media cabinet on the side of the road in great condition. I am grateful for my hatchback car because it allows me to fit a lot of random furniture piece that I find. This piece was easy to load and transport back to my place to start gathering inspiration to transform it into something really beautiful. Check out the following tutorial for this gratitude mandala stenciled Cabinet makeover!!
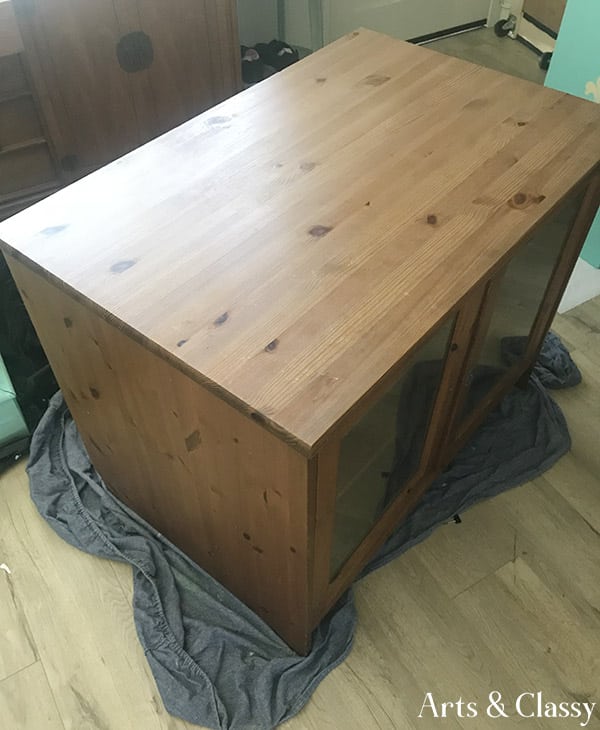
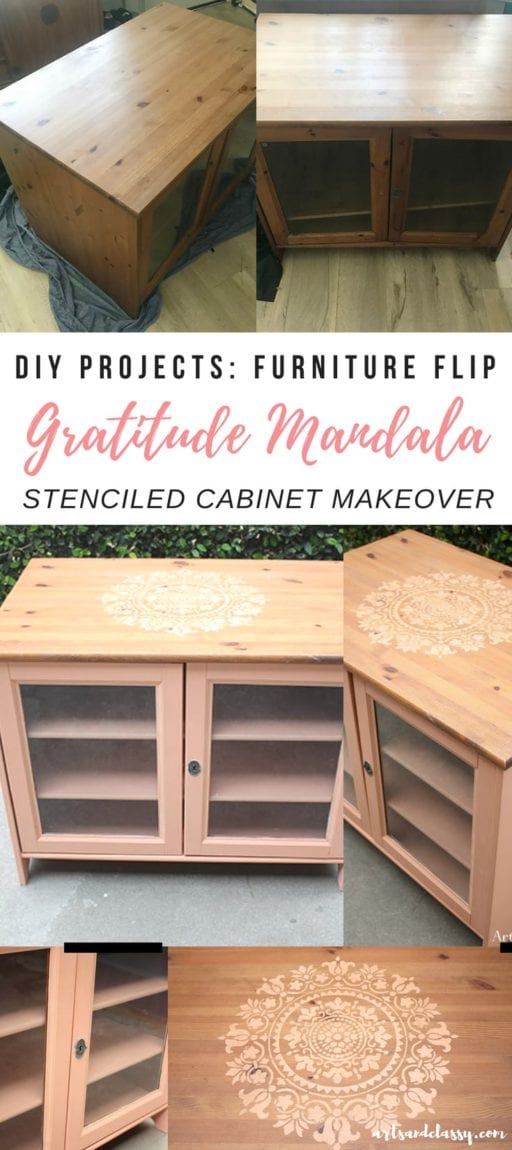
This is the BEFORE photo of the cabinet I found…
I used supplies I already had for this mandala stenciled cabinet makeover If you didn’t already know this about me, then you will learn that I love stenciling furniture projects. I think they turn out looking pretty cool and they are 100% unique.
*This post contains affiliate links. Please refer to my disclosure policy for more information.
On to this DIY furniture flip project…
The supplies I used for this DIY project:
- Gratitude Mandala Stencil 18″ diameter by Cutting Edge Stencils
- Behr Paint – Interior Eggshell Enamel – Color: California Coral
- Plaster of Paris and warm water (to make my DIY chalk paint recipe)
- Paint foam roller by Cutting Edge Stencils
- Plastic tray – small (I like using those small black take-out containers)
- Painters tape 2″
- Polycrylic
- Daddy Van’s Lavender Furniture Wax
STEP 1
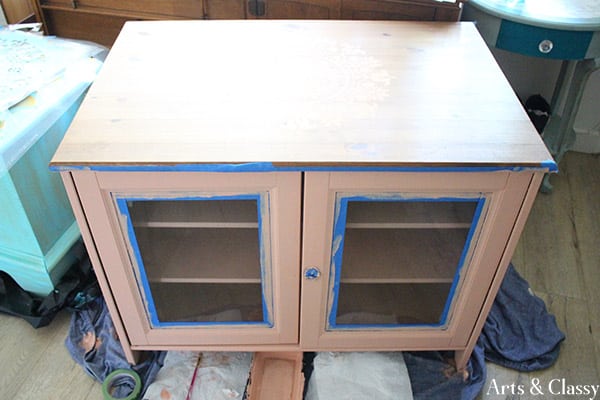
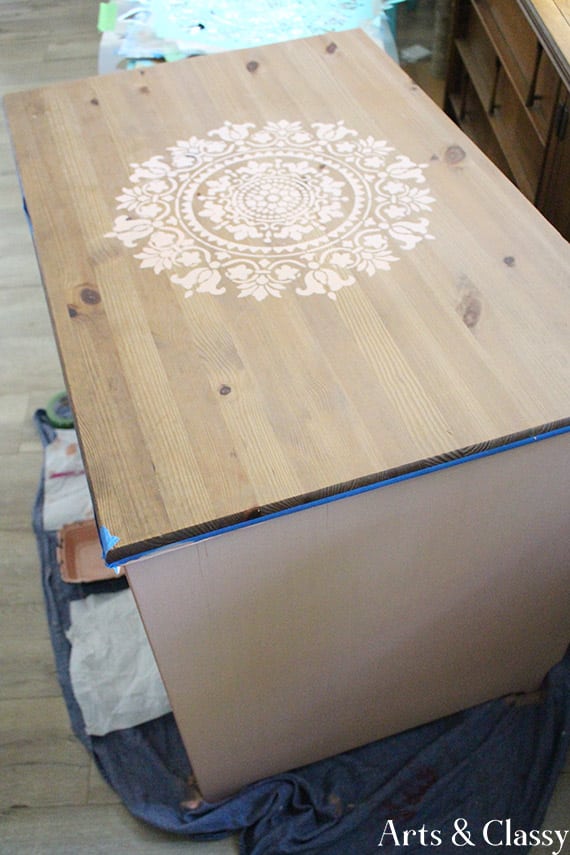
I used painters tape to mask off the glass and to protect the top. I wanted to leave it natural and then add the Gratitude Mandala stencil on top of it.
STEP 2
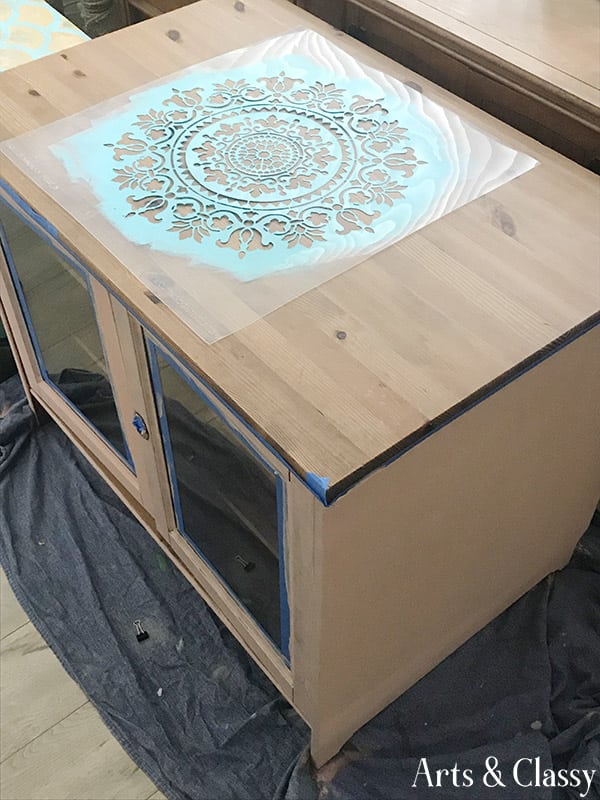
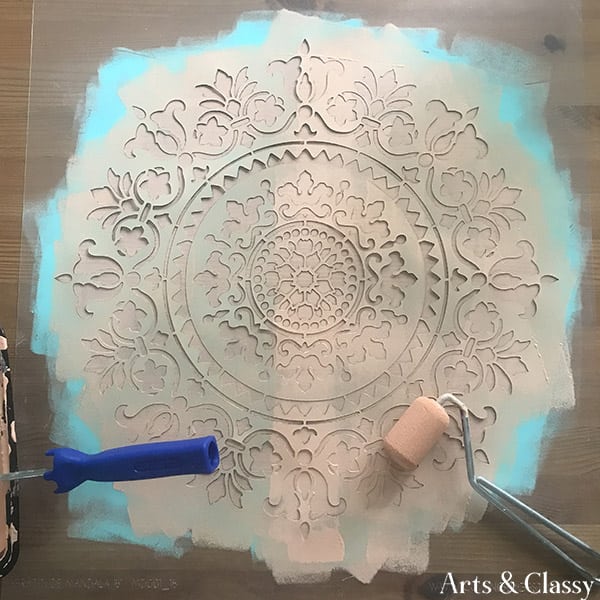
After I painted the sides, doors, and the shelves… I figured out the placement of the mandala stencil and secured it with painters tape on the edges.
STEP 3
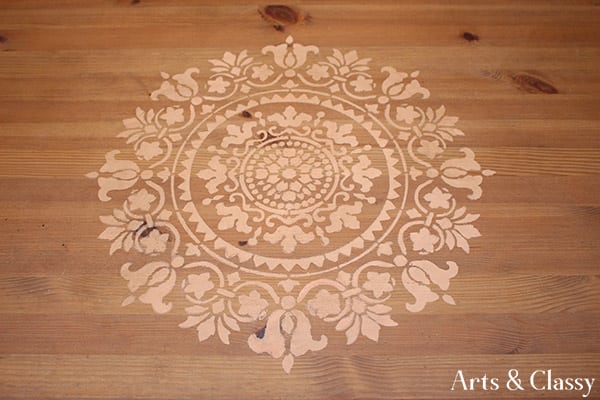
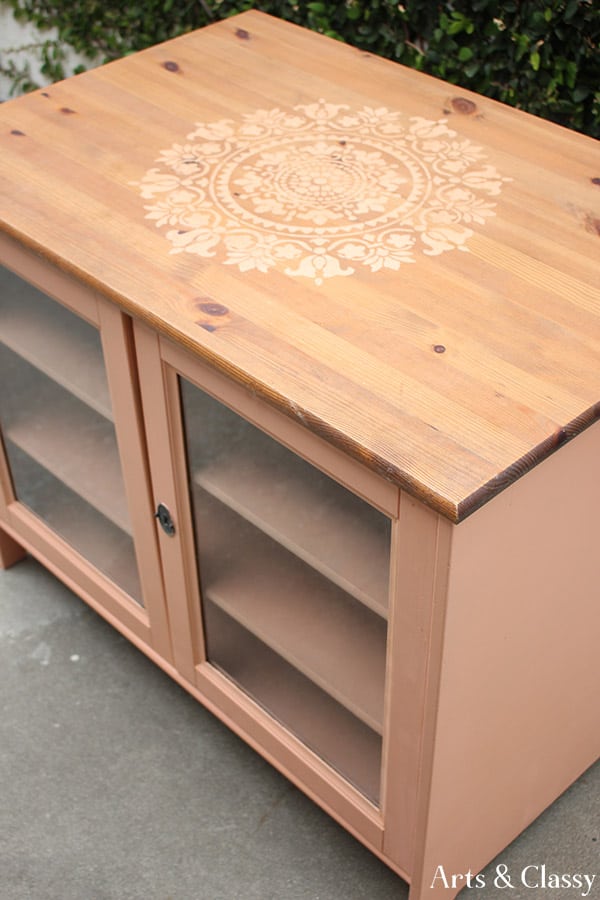
I used the same color I painted on the rest of the cabinet for the mandala to make it pop. I applied it with a small foam roller painting on each layer lightly so the paint wouldn’t spill out underneath.
STEP 4
I allowed the layers of paint to dry as I removed the painter’s tape. I used the same foam roller to apply Polycrylic to seal this paint job.
Once that was dry, I used furniture wax and a rag to protect the paint job. I used circular motions to apply the wax. This piece was a simple project but I am always amazed at how a little paint can transform a furniture piece.
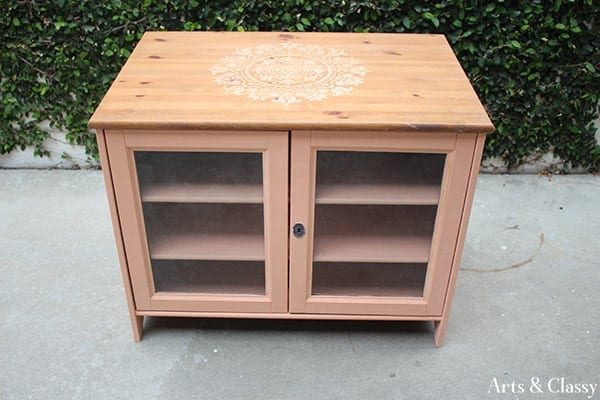
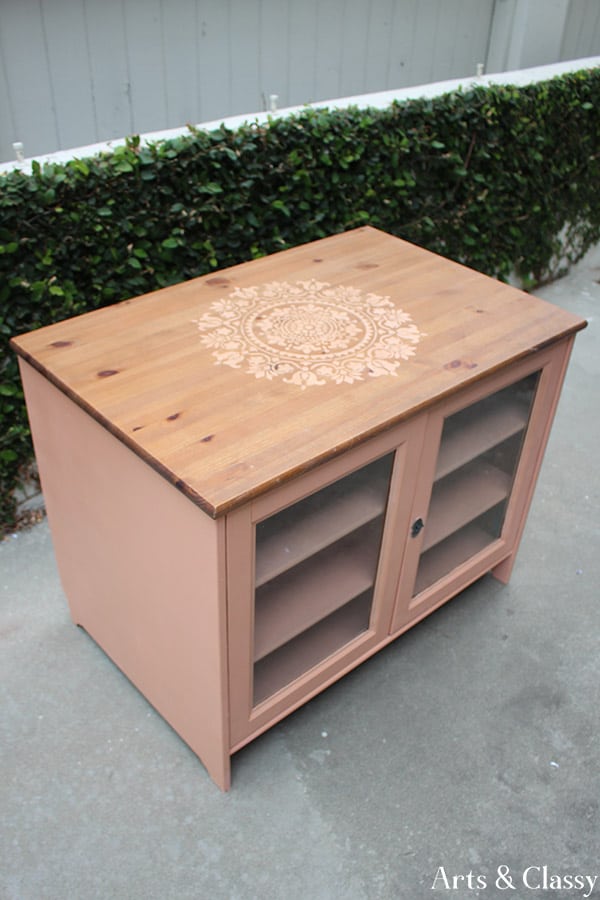
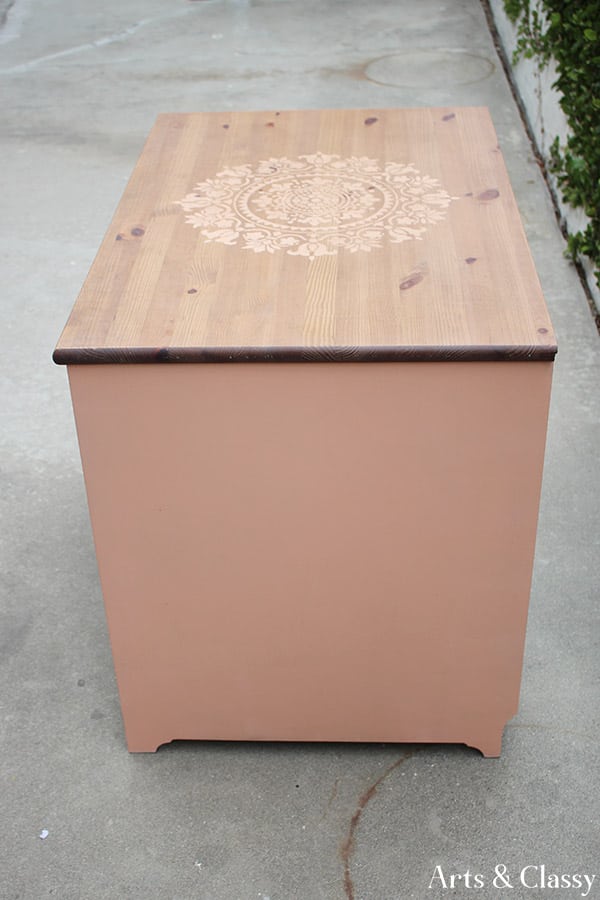
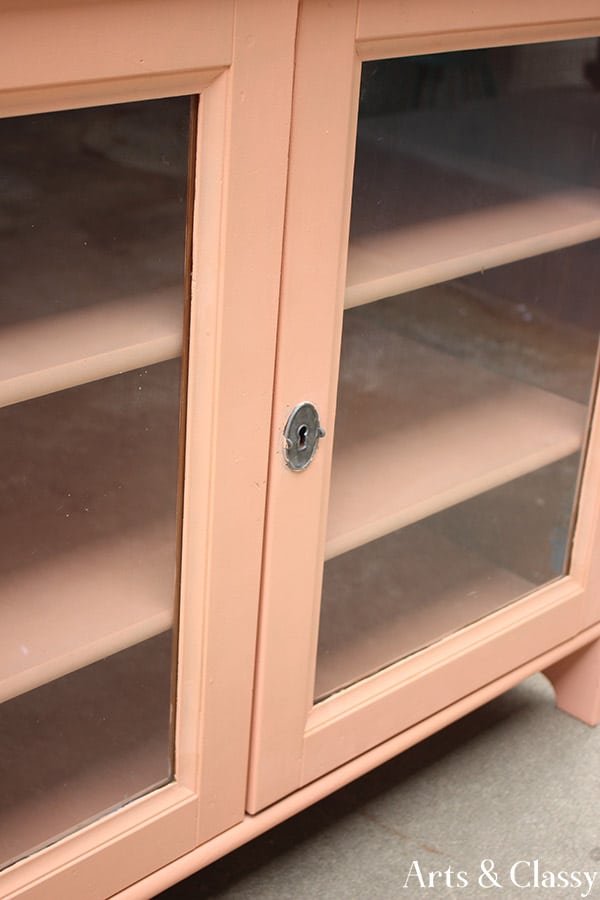
Check out the AFTER!
Isn’t it pretty? I really love this piece and I had a buyer for it pretty quickly. She said she would be using it to store shoes for her grandkids when they come over so all of their stuff wouldn’t be all over her entryway. I love hearing how people want to use the furniture I bring back to life.
If you liked this project, you may also like:
Until next time ya’ll. Have a beautiful day!
If you liked this project, please comment below and PIN IT to your boards on Pinterest.

