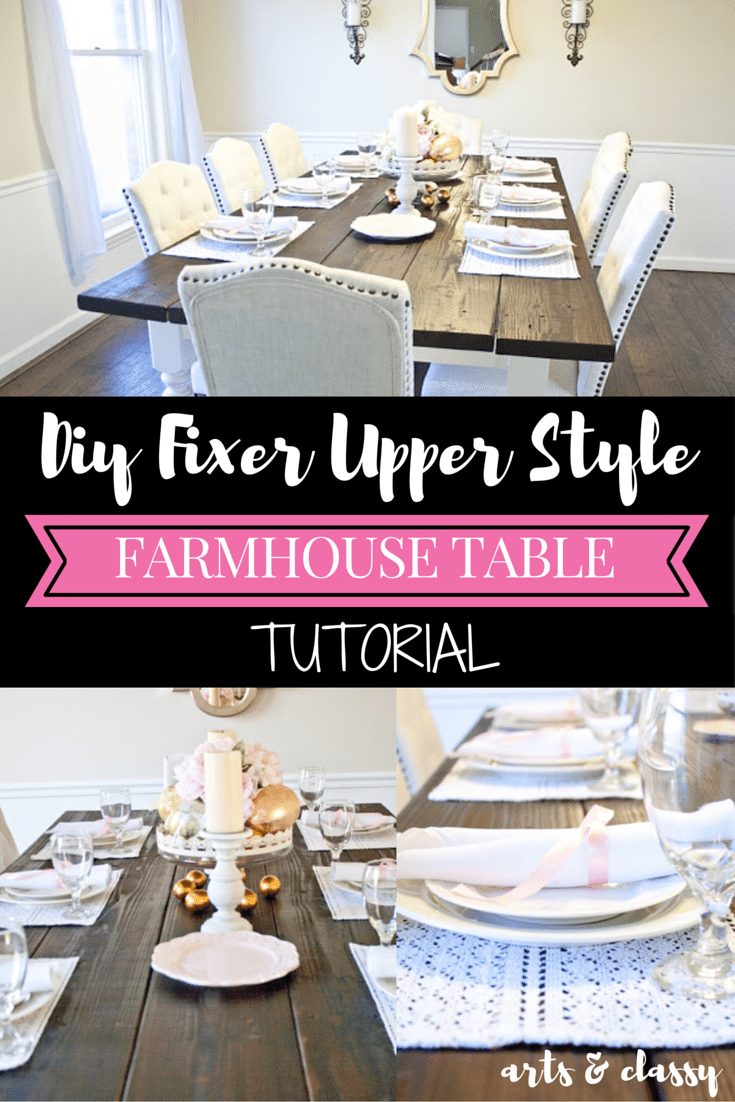
Unleash Your Inner Joanna Gaines: DIY Farmhouse Table Tutorial
Do you know the home-style dream of Joanna Gaines? The beautiful, rustic farmhouse style look screams home-sweet home. Well, you don’t have to be an HGTV star to own a farmhouse table of your own and make your house look magazine-ready. With this DIY farmhouse kitchen table tutorial, you can get Joanna Gaines to look for a fraction of the price. From choosing the perfect wood to adding the finishing touches, you’ll be able to build a rustic piece of furniture without breaking the bank.
So if you’re ready to transcend mundane furniture and make your house feel home-style dreamy, let’s get started with this farmhouse table design!
Hey There. My name is Kelsie, I’m the Author, creator, and designer over at KelsieStanfill.com. I thought I’d begin by saying how incredibly excited I am to be here at Arts and Classy. Something you should know about me is that I am incredibly picky… why do you need to know this you ask? Because that is pretty much the reason behind my blog, in a roundabout way. I like things done “just so”. My husband and I were looking for a new home last summer and it was insanely difficult to find what I wanted.
The homes in the area we live in are extremely old, the town was a town before it was part of America… Yea… So finding a home that was built in the 90s is considered NEW. YIKES. So we got the idea in our heads that we were going to do our own little “fixer-upper,” {Side note, we were 2 months into our fixer-upper before someone finally introduced me to the show “Fixer Upper,” – we don’t have cable so we miss a lot. Can I just say, JoAnna Gains is my spirit animal?
Anyway… I digress. That leads me to the here and now. My husband and I are currently neck deep in this crazy world of transforming our 1985 home into my “fancy farmhouse.”
One of the projects I was MOST excited about was this gorgeous, beginner-friendly custom DIY farmhouse table. And I am beyond excited to share it with you here at Arts and Classy.

This project has been one I have been itching to do for so SO long. Until this house, I have never had a “formal” dining room OR a dining room big enough for a table this size. The moment our offer was accepted on this home, I knew exactly what was going to fill that room. But first, I had to paint it, and we had to replace the floor. (there was carpet in there, I did not want carpet in my dining room). So we put ourselves to work.
The week before Easter the table still wasn’t done, which was beginning to panic me a little. I was hosting an Easter dinner. For the first time EVER. Without this table being built, all I had was a small, square, 4-person table in our breakfast nook. My husband sensed my anxiety and panic and he set to work each night after the girls would go to sleep.
We originally wanted to use the plans from decorandthedog.net, you can see the plans here. However, it wasn’t quite as large as I was hoping for, and the legs were WAY more expensive than I wanted to spend. We ended up spending less than $150 total for the entire table, including the stain, instead of spending $77-$115+ PER LEG. These are our adapted plans for the table, a little larger table, and a substantially cheaper option.
Here is the DIY farmhouse table plans for this dining room table DIY project with rustic charm.
Material List
**Everything except the legs was purchased at Home Depot.
- 4 Table legs (We used these from Lowes, we did have to cut the bottom 4-5” off because the table was too high, but it was a substantially cheaper option at just $25 per leg, literally a fraction of the cost.)
- 3 – 1″x4″x8′ lumber
- 3 – 2″x4″x8′ lumber
- 5 – 2″x8″x8′ (Their plans originally called for 1”x7”x8” but we wanted a thicker table top.)
- Clamps
- Wood Glue
- 1 1/4-inch pocket holes screws
- 1 5/8″ Brad nails (if using shiplap barn boards)
- orbital sander
- grit sandpaper
- wood screws
- Power drill
- Braces
Cut List
- 1″x4″ (Apron boards)
Instructions
- Attach the 1″x4″s to the legs using pocket hole screws and wood glue, offsetting 3/8″ back from the front/sides of the leg tops.
- Assembling the table is easiest done on the floor or workbench if you have one large enough (we used our garage) it is easiest to assemble it upside down.
- Starting from the leg, mark 10.5″, 25.5″, 40.5″, 55.5″, and 70.5″ on the long 1″x4″
- Using these marks, attach the 2″x4″s to the 1″x4″
1) Making cuts and building the frame
On the first board you are attaching the tabletop, determine the top of the board and then flip it over. Mark the board using the drawing below. You need a mark of 2″ from the end and 1″ from the side. Flip the board back over and place it on top of the table matching up the marks with the top corner of the table legs. We used screws to just screw the top of the table on, the original plans said to use a brad nailer, it really is up to you.


2) Sand down the top of your table until it is a nice and smooth surface.
Once this was done, we (called a friend, because I’m a weakling) moved the table into the dining room and placed it on some drop cloths.
3) Painting and Staining
We decided to paint it IN the dining room to save the table from being dented or scratched during moving it which might remove paint or stain.


I am in LOVE with my new farmhouse table, and the possibilities for decorating are endless. I have included a few pictures of the table decorated for Easter dinner, and I am just itching to be able to decorate it for Thanksgiving and CHRISTMAS. Sorry, got a little excited there.


Above everything, I would just say, DON’T be afraid of this farmhouse dining table project. I am probably in the minority here, but home projects do not scare me. However, this one, in particular, was not difficult, and it is so fun being able to showcase a custom piece of furniture in our home that we will love and cherish forever.
In fact, for our anniversary this year, my husband is getting a piece of wood for the table engraved with our name and anniversary on it.
The farmhouse dining table plans are so much more than just a place to stuff your face. It is where the family comes together, memories are made, stories are shared, and love is the main course. This custom-made, love, table is the perfect addition.
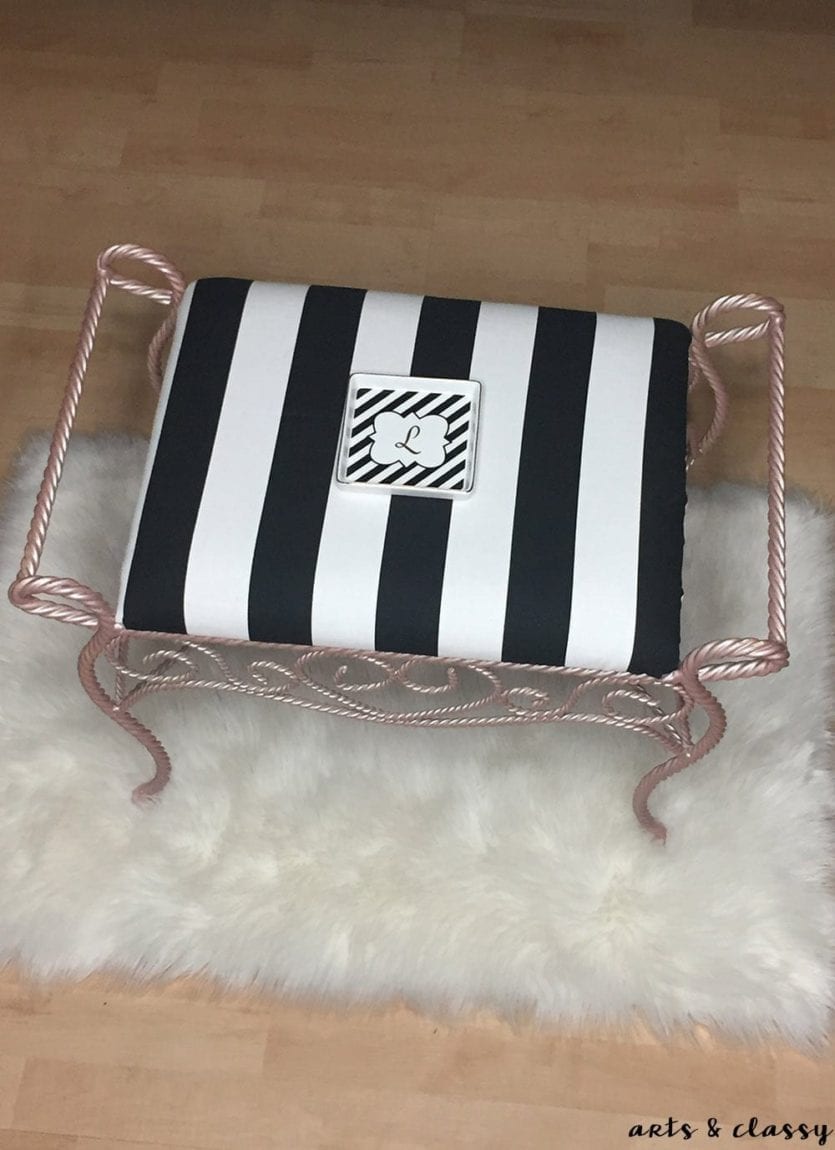
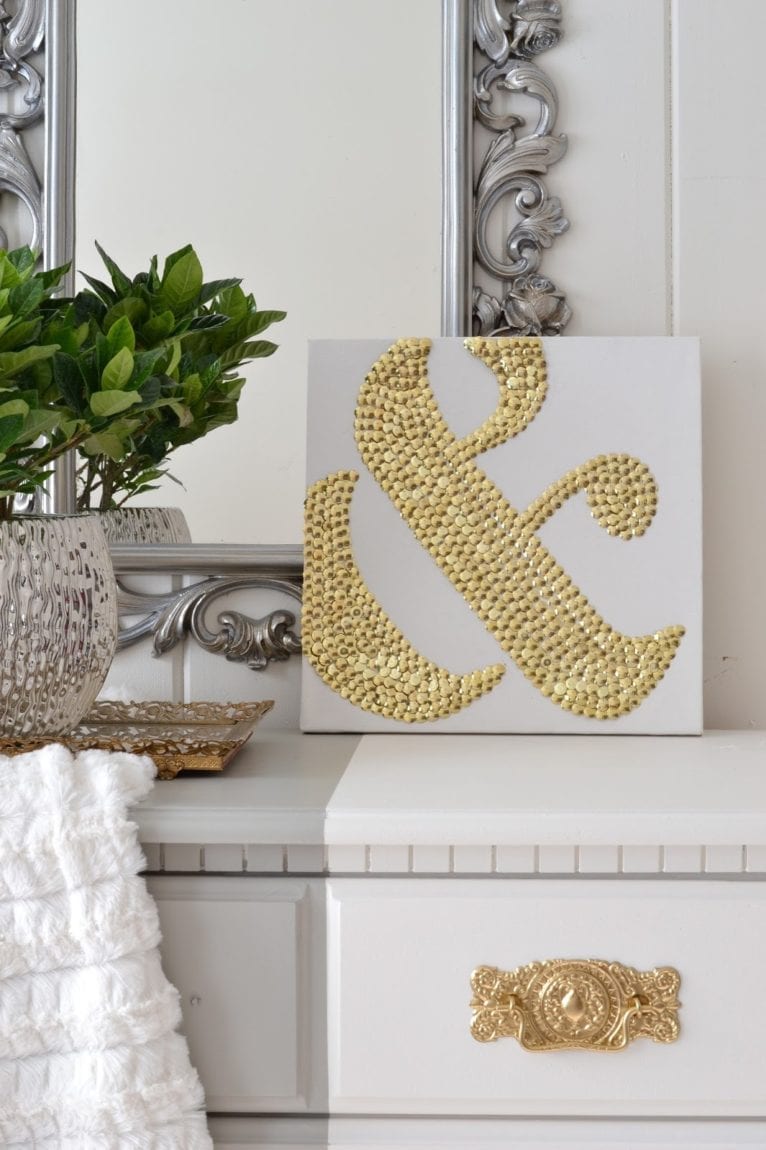
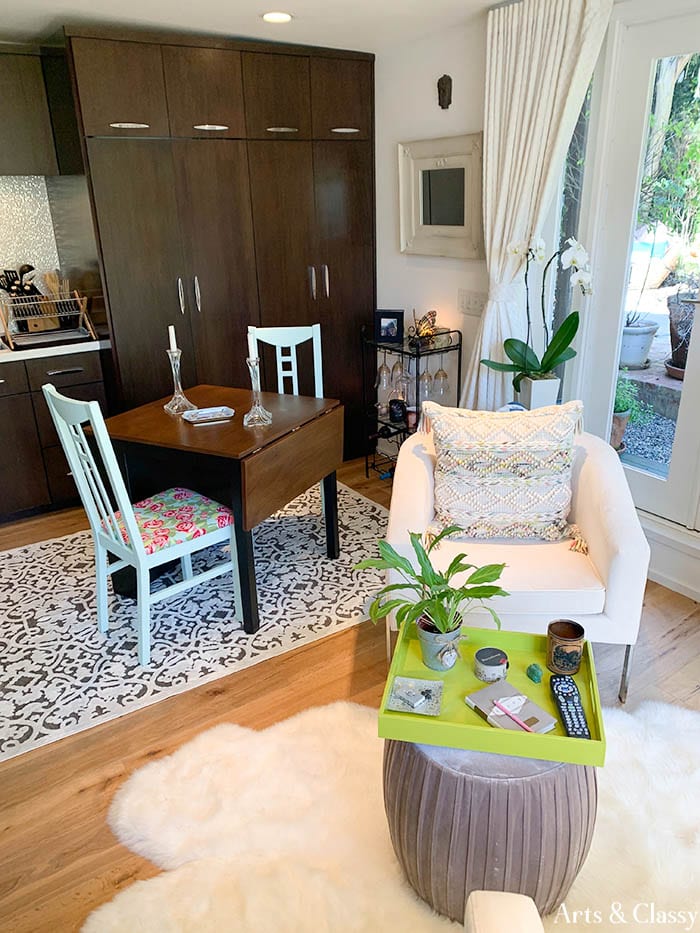
If you liked this rustic farmhouse table project, you might also like these other posts and farmhouse decor:


I wish you all the luck, and as always, please do not hesitate to ask me questions. XOXO


Where did you purchase your chairs for the dining room?
Hello! I found out from Kelsie that the ones she purchased are out of stock from wayfair.com however, she did find a similar chair… http://fave.co/1VMBJf7. I hope this helps!