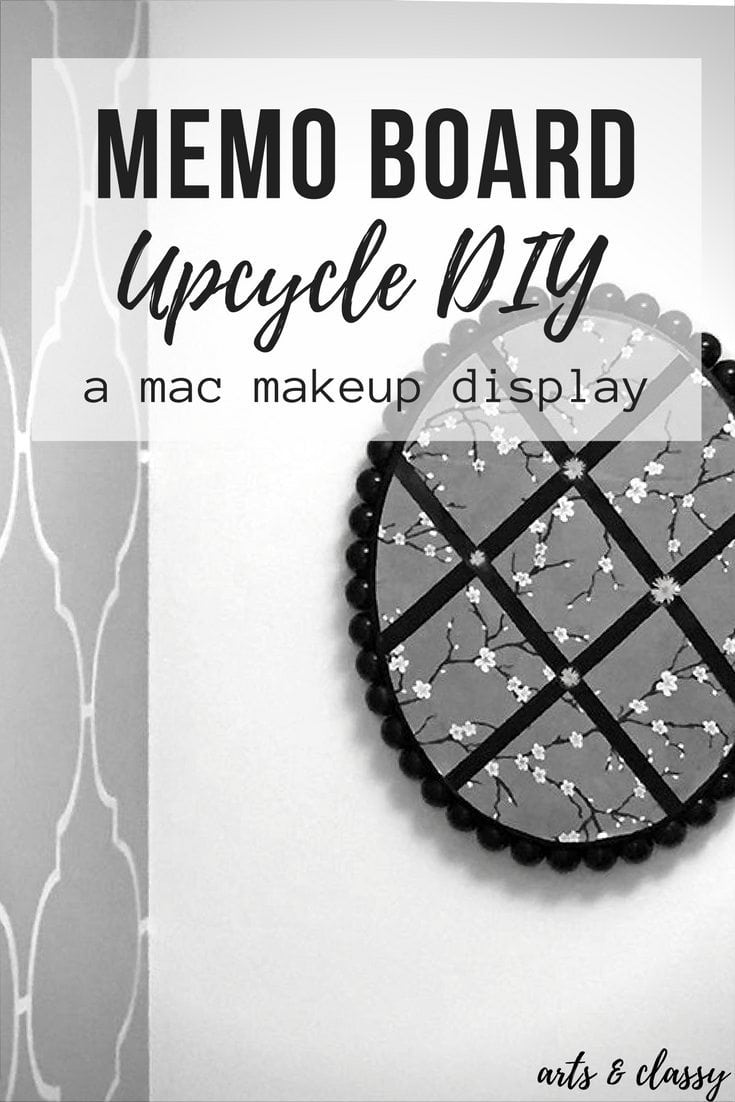
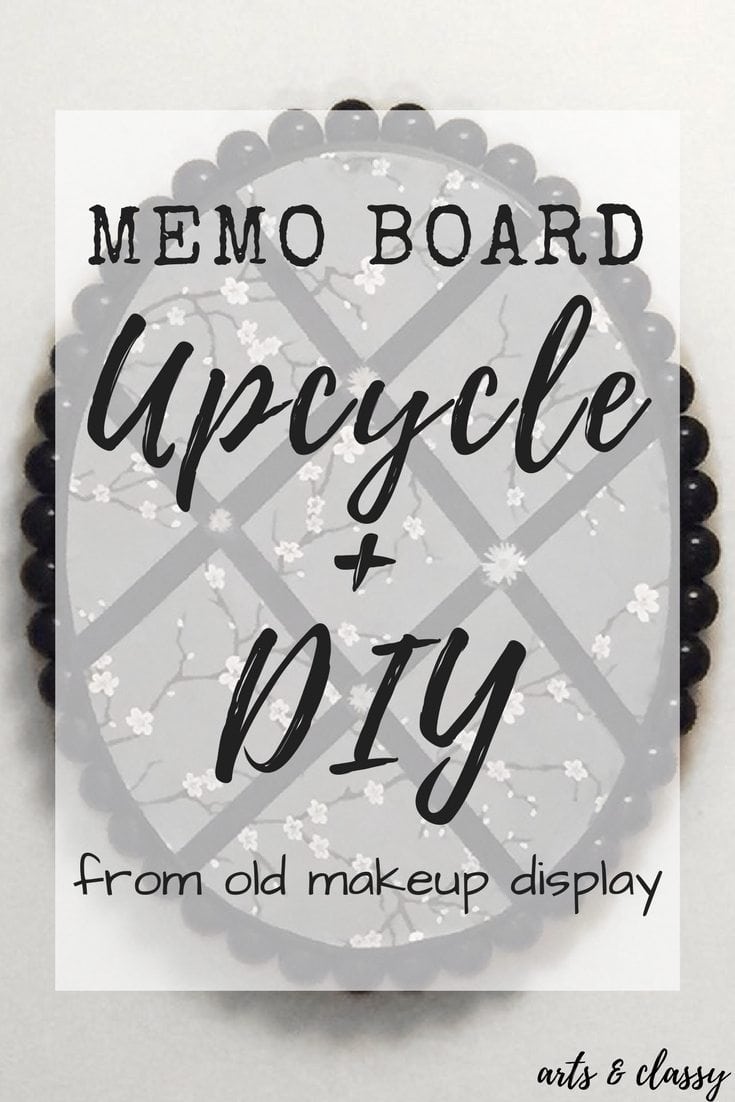
DIY Memo Board Ideas – An Inspiration Upcycle Project
I am a huge fan of re-purposing items to give them a new use and a new look. Improvising is a huge element in the equation. For these memo board ideas, I stumbled upon this makeup display that was being tossed from the company MAC Cosmetics.
I immediately knew this item had potential when it was given to me. I decided I wanted to make a memo/inspiration board from this piece for my bedroom.
This post contains some affiliate links. I may earn a small commission if you make a purchase through one of these links. See more information in my full disclosure policy.
But what would I do with it?
I know I wanted to incorporate it into my bedroom makeover in some way, but where to start?
I took about a week to brainstorm, surf Pinterest, and dream up some amazing ideas to do with this piece.
Then I had that AH HAH moment! I knew that I wanted something in my bedroom to post, hang photos, and write positive affirmations on to help me get through my day-to-day routines.
A memo board seemed like a logical choice.
I knew the overall shape that I wanted…but it would require deconstructing this display to hopefully figure out how to reinvent it.
This makeover cost me absolutely nothing because I had all my supplies in stock in my amazing office/workspace.
Supplies that I used to accomplish this memo board ideas makeover:
- memo board
- scrapbooking paper
- black ribbon or washi tape
- stickers
- stapler
- hot glue gun
- hot glue
- foam core board
- xacto knife
Here is where the tutorial begins…
Step 1
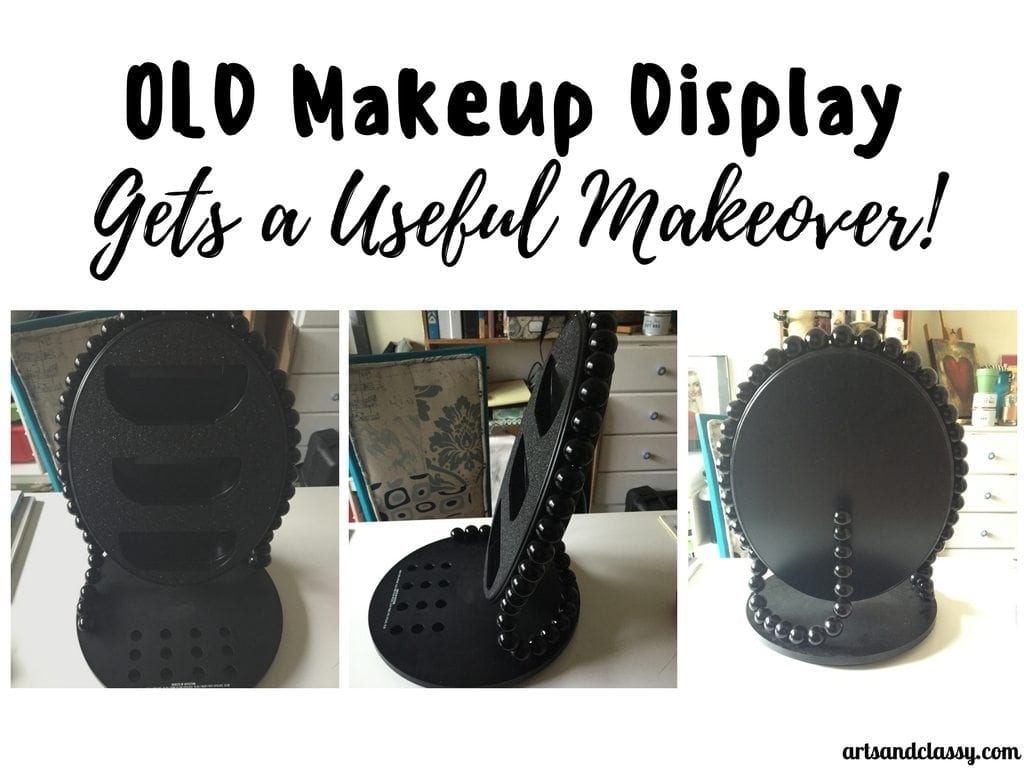
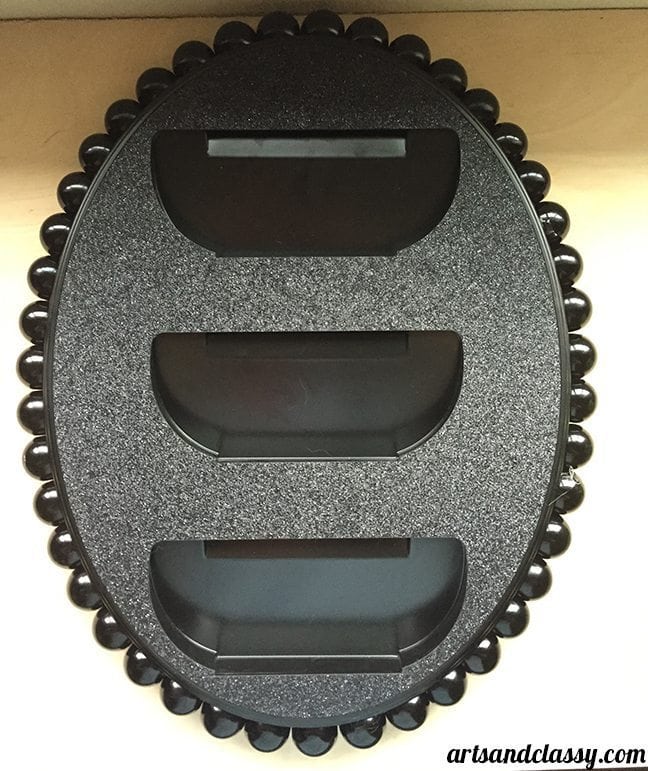
I had to figure out the best way to deconstruct this piece.
I had to remove the round base from the oval top piece by unscrewing it.
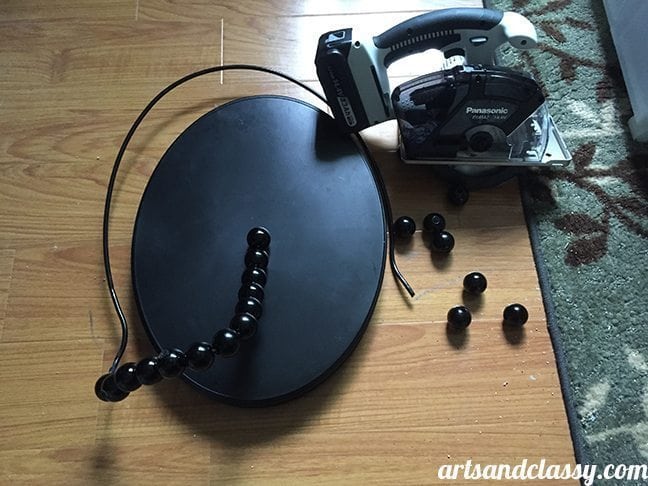
Then I had to un-string the large beads from the entire display which assisted in keeping the display upright. This is where my metal-cutting circular saw came into play.
The metal rod encased by larger beads had to be cut with my handy dandy saw. It was really easy to do actually! (Another safety reminder – Please make sure to use close-toed shoes and safety glasses to stay safe while using the saw.)
Step 2
Once the metal rod was cut, it was easy to un-string the beads all the way around the top portion of the display.
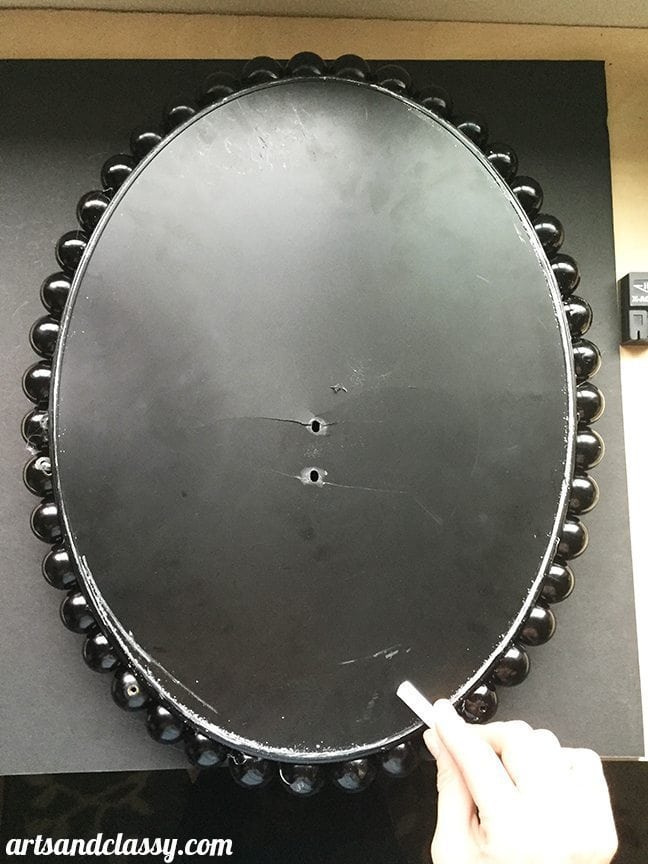
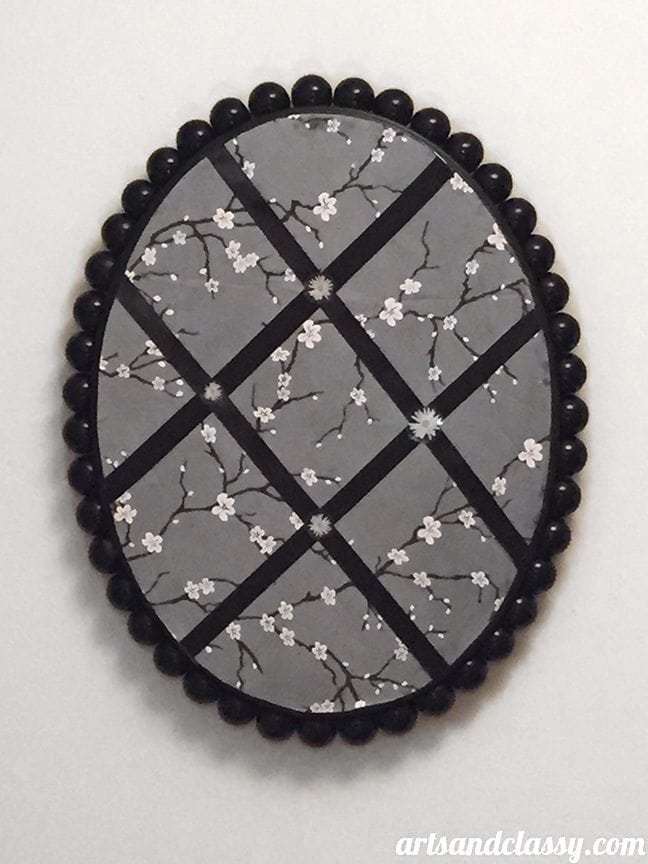
Step 3
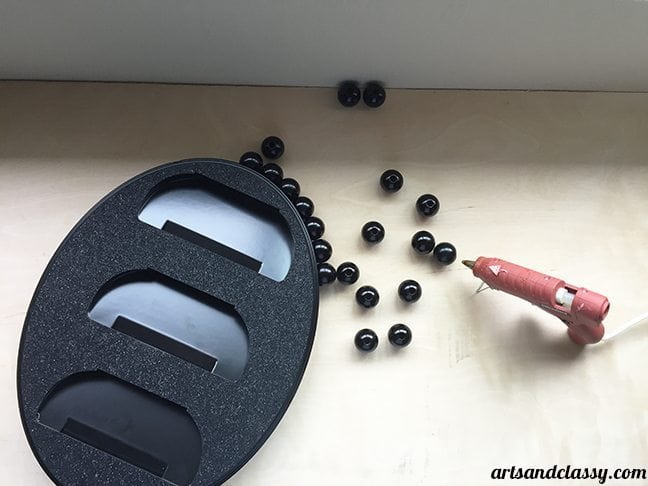
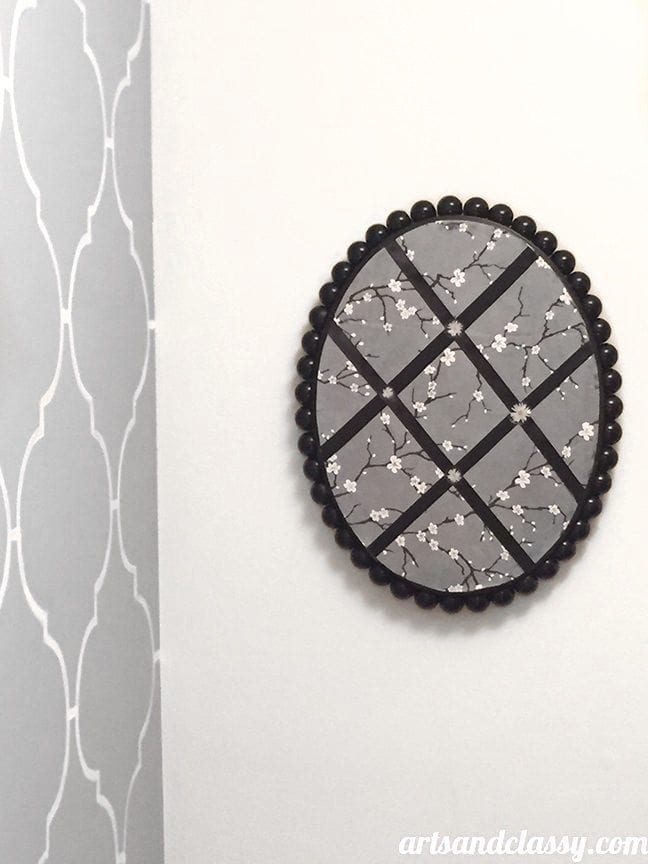
When the display was completely taken apart to the degree that I wanted, the reconstruction began. I used my hot glue gun to re-attach the beads to the circumference of the oval shape.

Step 4
Once dried and secured, I traced the back of the oval shape with white chalk so that I could transfer the shape to the piece of black foam core. This technique worked really well to get the dimensions correct and to keep the cuts clean.
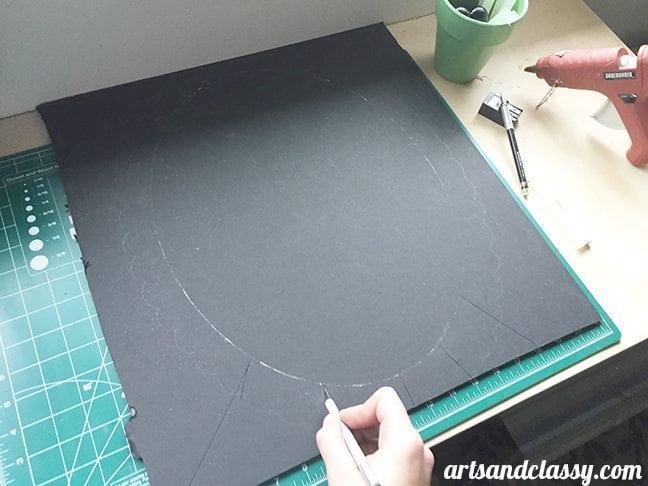
Step 5
Cut out the shape with your Xacto knife on the foam core board.
Step 6
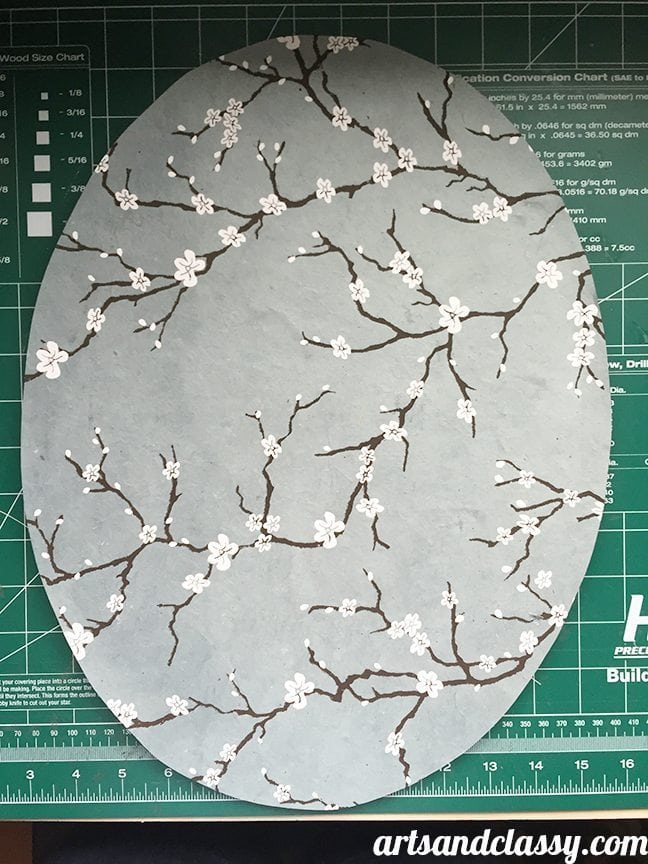
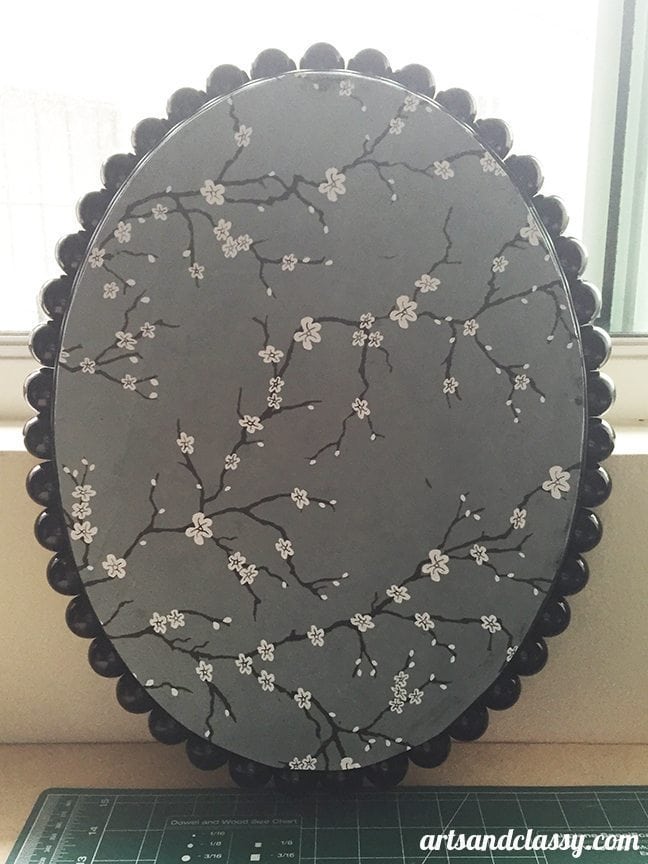
I decided I wanted to dress this piece up a little.
I used some leftover Japanese cherry blossom decorative paper from Paper Source from a commercial I did about a year ago.
Step 7
I cut the Japanese cherry blossom paper to the shape of the foam core board and glued it together.
Step 8
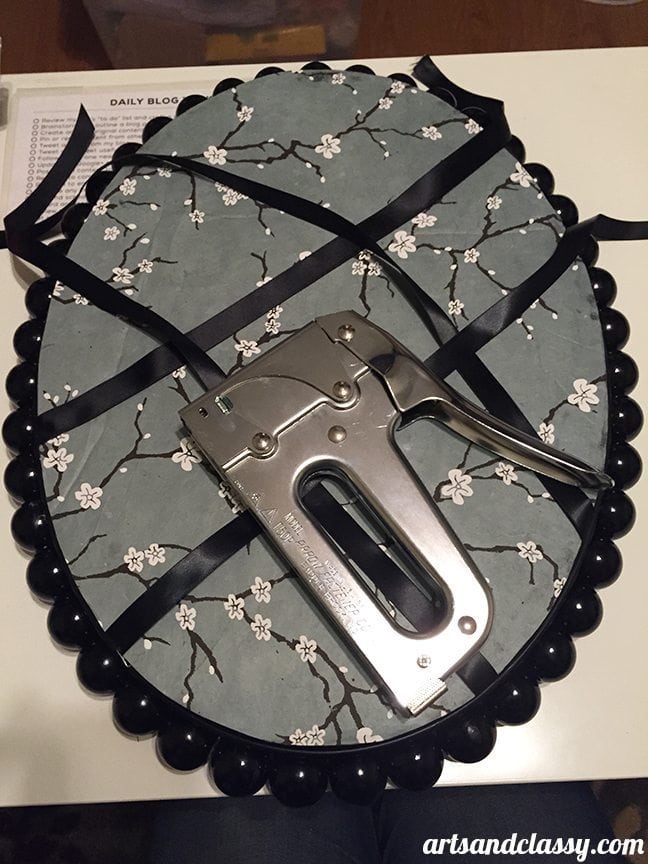
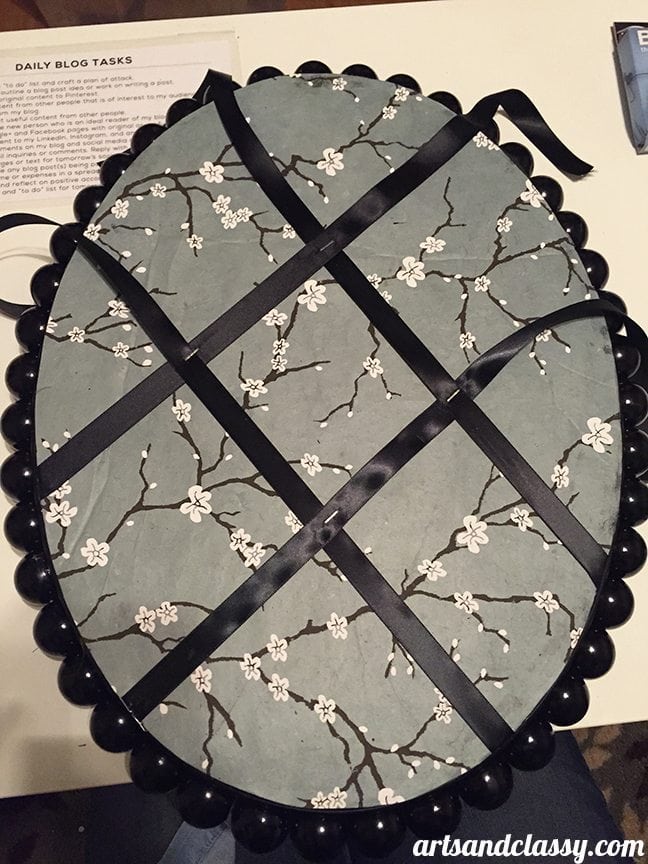
I pulled out my pretty satin black ribbon and attached to the back the oval foam core shape with tacky glue and staples.
I made sure to pull the ribbon as tight as I could so that the board secures images or notes that I want to attach to it.
Step 9
I glued the foam core board to the display and put weight on it while it dried. I made sure to give it about a couple of hours to completely dry.
Step 10
Once dry, I used a hammer, nail, and some butyl tape to hang and secure my fancy new memo board to the wall in my bedroom! I love how it came out and the creativity it took to get there.
I thoroughly enjoy doing projects like this one. What do you think of this project? Would you ever try something similar?
Get creative! Re-purpose something that is someone else’s trash. Turn it into a treasure of yours!
If you like these memo board ideas, you will love the other projects in my bedroom makeover edition.

If you found this post helpful, please share it with your audience on Pinterest! I would appreciate it.

You are truly an artist! It’s so beautiful. Congratulations.
Jane, your feedback means so much! Thank you.
Being an full time working artist/blogger is my dream, and I feel so grateful there are awesome people like YOU out there that appreciate what I am doing. 🙂
Wow, I am truly blown away by how you made this over! And, I just love the beaded edge! Who would have known MAC had such treasures besides makeup?!
Thank you Carrie! I am very pleased with how it came out. I am sure you understand how you can dream something up and the finished product doesn’t look anything like you imagined. I have been lucky… this one came out exactly how I envisioned it (more or less). 🙂 Thank you for the feedback!
Wow! This is just amazing! I love the outside beading and what you did with something that MAC would have otherwise thrown away!