The 5 Most Sophisticated DIY Crafts You Must Try
Try one of these sophisticated projects that will impress your friends and family. No need to limit them to your home: Some of them will make great gifts, too.

1. Etched Ceramic Mug

Create a collection of your own favorite coffee mugs by etching them. Here’s what you will need:
- Ceramic mug
- Sandblaster
- Stencil
- Marker
- Sharp knife
1. Look for an adhesive stencil at your craft store. Place it on your mug and use the marker to sketch out the design you want.
2. Take the sharp knife and cut out the design on the stencil.
3. After cutting out that design, make sure the stencil is secure by taping it to the mug. Take your sandblaster, which are actually not that hard to find if you know where to look, and place the nozzle over the design and blast it over the stenciled area. You should be able to see a shade of white highlighting the design you drew on the mug. This craft requires you to use your brave, artistic and creative side by stepping out of your comfort zone and using some tools you may not normally try. Once you give it a shot, you will want to etch everything!
2. Lace Lanterns

These doily lanterns are gorgeous. You will need:
- A big, round balloon
- Old doilies or small, lace tablecloths
- Wallpaper glue or mod podge
- A piece of string
- LED lightbulb
- Pendant light cord
- Needle with white thread
1. Blow up the balloon and tie it. Take the doilies and cover the balloon with them. You can find cheap lace doilies at a flea market or at a fabric store. When you cover the balloon, make sure the doilies overlap, then paint on the wallpaper glue or mod podge. Overlapping the doilies makes the material sturdier in the end.
2. Hang the covered balloon by a string to dry overnight. Pop the balloon with a needle. It should easily fall away from the doilies and you’ll be left with a hollow, lace ball.
3. Tear a hole in the top of the doily ball. It should be big enough for you to fit the LED lightbulb inside. Take out the remains of the balloon, attach the LED light to the pendant light cord and place it inside the doily ball.
4. Take your needle and thread and sew up the tear. Hang your new lace lantern.
3. Furry Wine Bags

These wine bags – along with a bottle of wine – would make the perfect housewarming gift or hostess gift. Here’s what you’ll need:
- Piece of faux fur, about a 15×15 inch square
- Hot glue gun
- Leather string
- Stapler
- Piece of felt
1. Fold the square of fake fur in half, furry side in, and pin the edges together. Staple the long edges and turn the tube of fabric right side out.
2. Next, take your piece of felt and trace a circle that’s a little bit bigger than the bottom of your wine bottle onto the felt. Cut it out.
3. Hot glue the edges of the felt to the inside of the fur fabric, so that the tube has a bottom. Glue down the top edge of the fur fabric tube so that you can’t see the inside of it. This just makes it look a little more put together.
4. Place your bottle of wine inside the bag and tie it off with your leather string to finish it off.
4. DIY Mercury Glass Votives
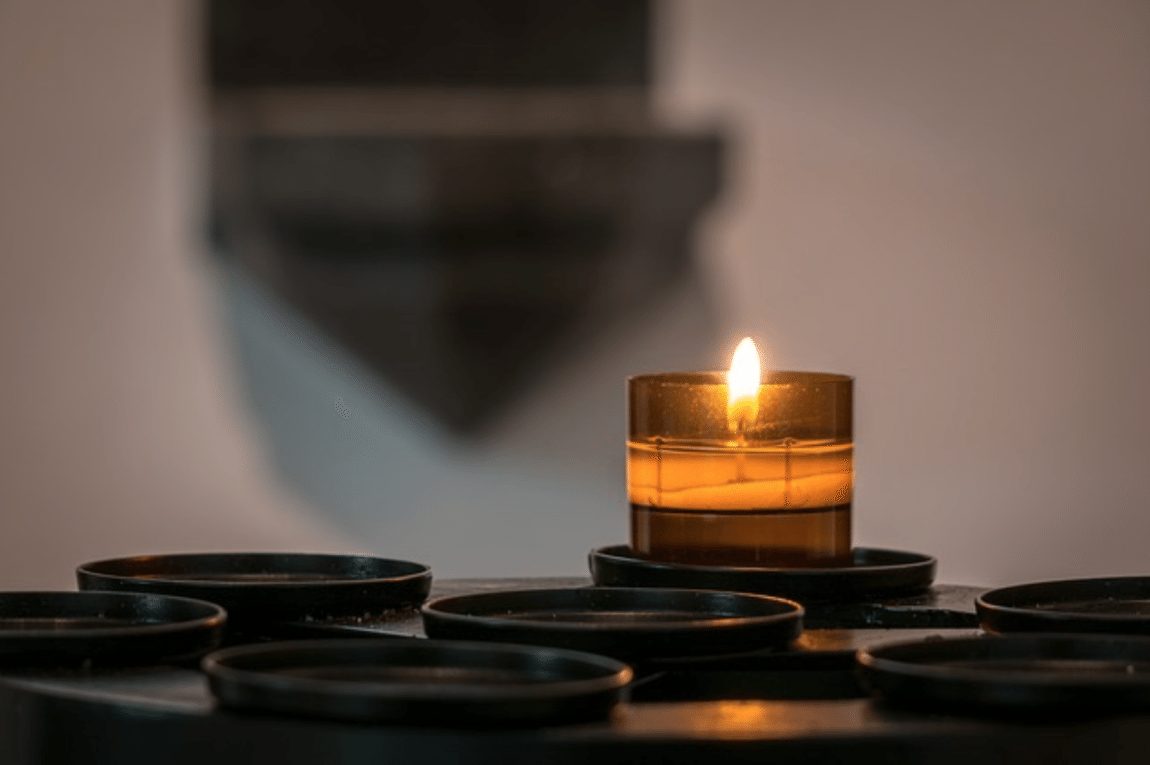
You can easily buy glass votives, but it’s more fun to make them yourself! You will need:
- Krylon’s Looking Glass spray paint
- Glass votives
- A spray bottle of 50 percent water and 50 percent white vinegar
- A rag
- Gold craft paint
1. Spray the inside of the glass votives with the Looking Glass spray paint, then immediately spray the inside with the water and vinegar solution. Let dry for 20 minutes, then repeat.
2. After it dries the second time, take your rag and wipe the inside of the glass. Bits of the paint should come off on the rag.
3. Take the gold craft paint and dab over the areas where the Looking Glass spray paint came off. This will create a gold, mottled effect. Let dry. Stick a tea light in your votive and you’re done.
5. Reupholstered Dining Room Chair

This project will transform your dining room. Here’s what you need to complete it:
- A thrift store wooden chair with a seat cushion
- Spray paint
- Sandpaper
- Staple gun
- Scissors
- Screwdriver
- Sheet of cotton fabric
1. Use the screwdriver to take apart the chair.
2. Sand down the wooden chair and then spray paint it with whatever color you want. Sanding the wood makes the paint stick.
3. Lay the cotton fabric upside down and place the seat cushion on top, upside down. Fold the edges of the fabric over the seat cushion and staple the edges. Make sure it’s smooth. When the chair is dry, reassemble the seat.