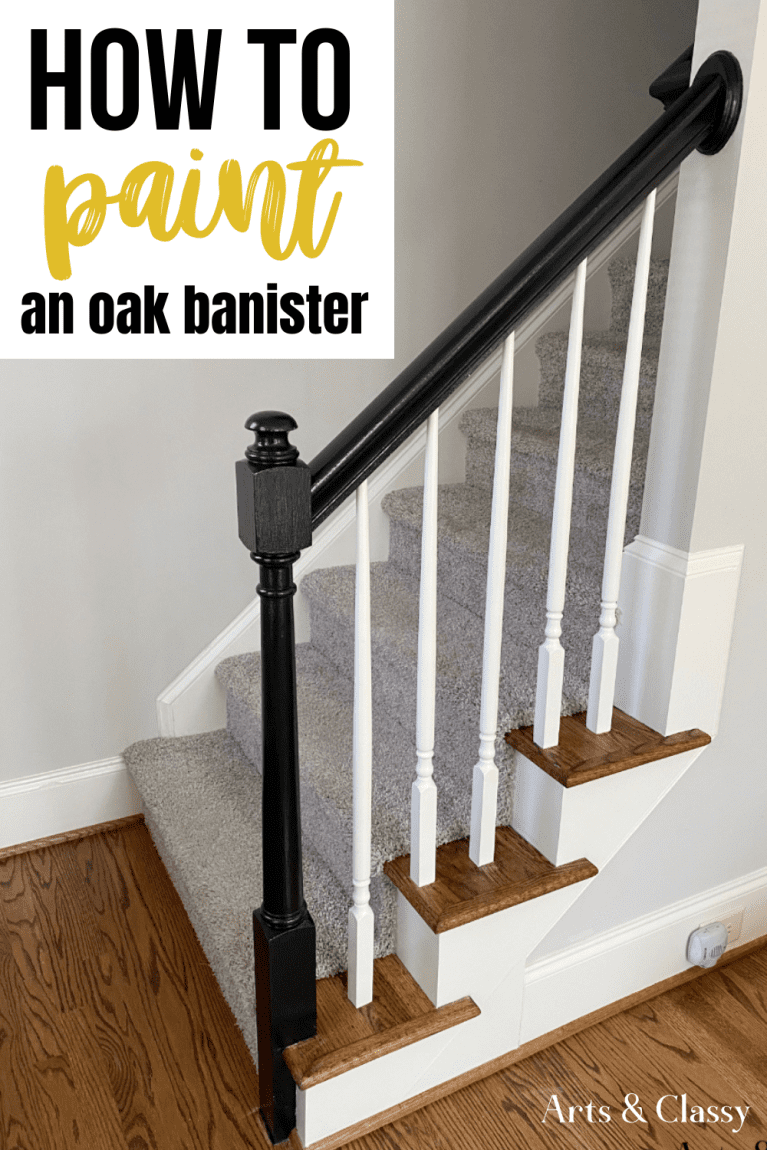
Incredible DIY Upgrade: How to Easily Paint Your Stair Railing and Banister Black
If your home is anything like mine, you’ve needed a paint job for a while now. Check out this tutorial on painting my stair railing black. This DIY project was a simple solution and the first big project I did for the new home that my husband and I bought in mid-2021.
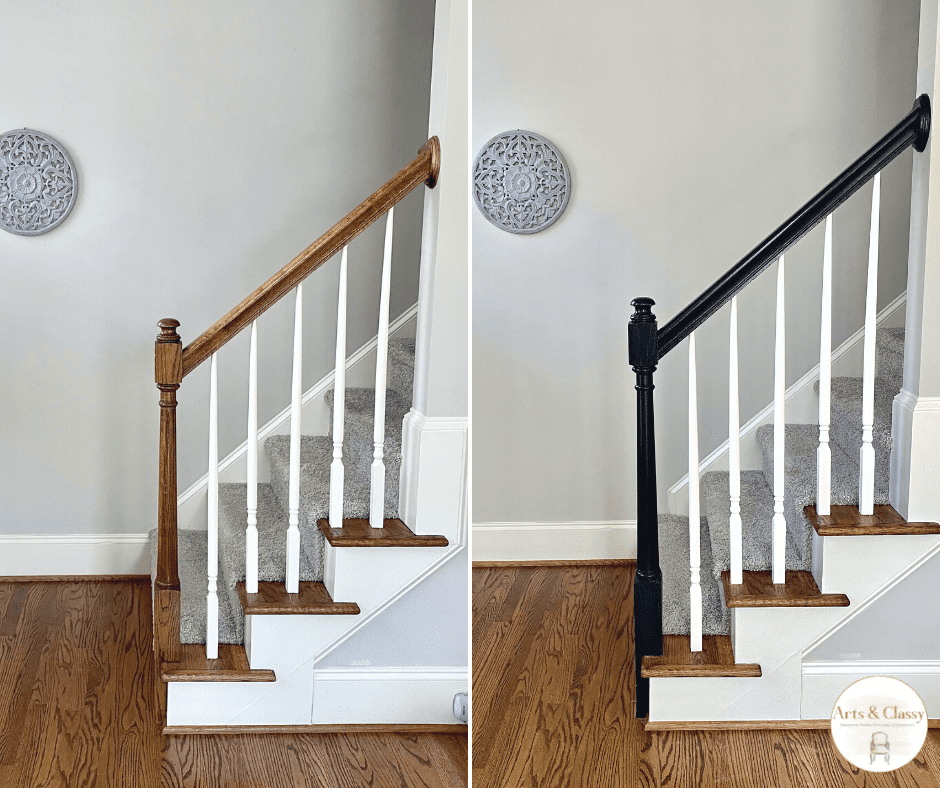
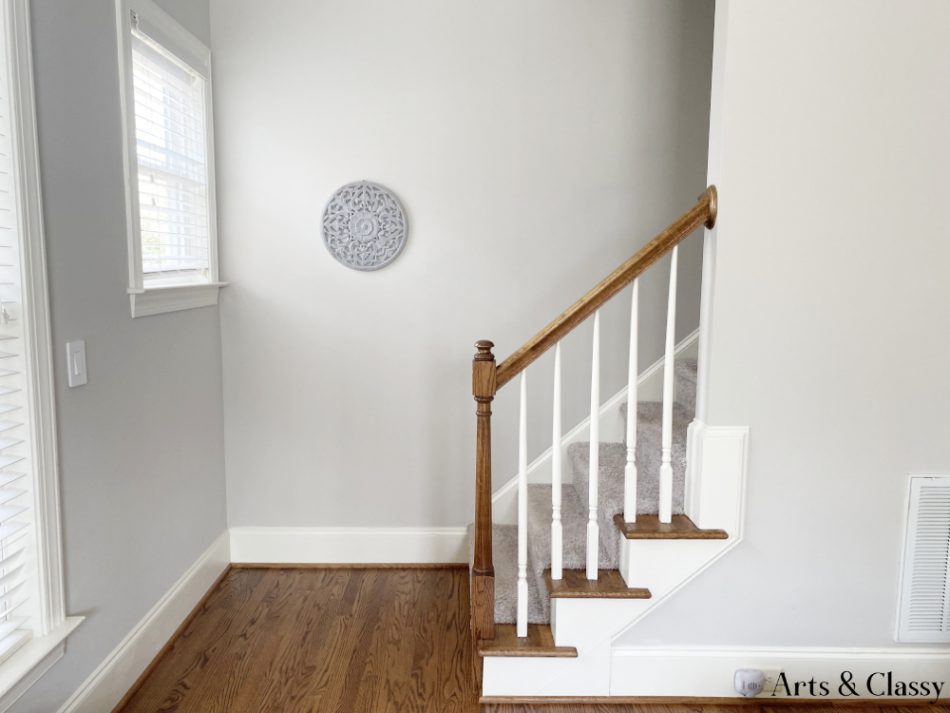
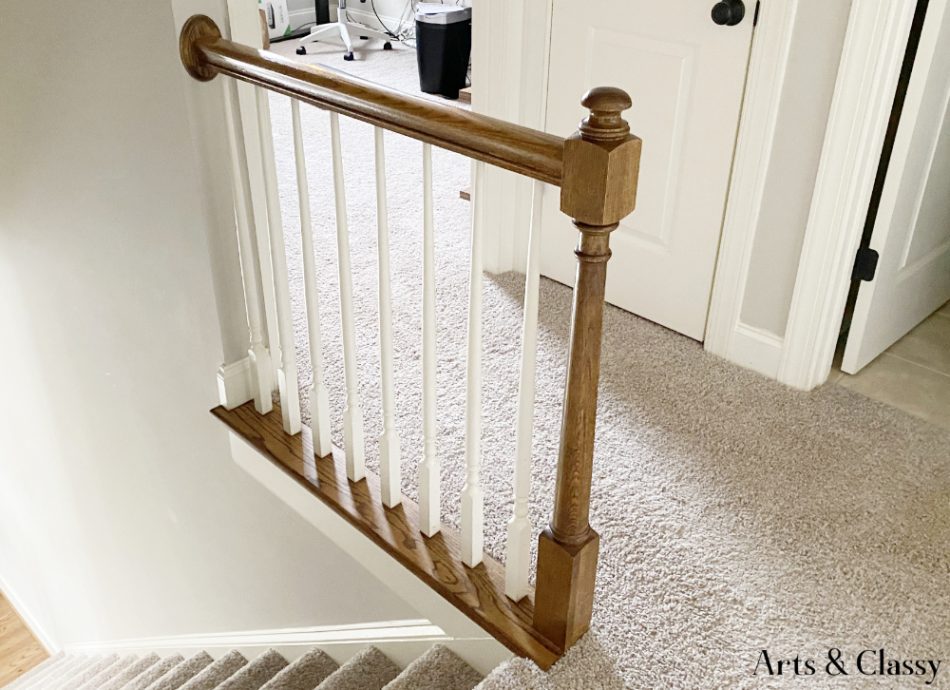
Now I know there are some people out there who really love the oak wood finish.I am not hating on that, but this banister and railing had a very early 2000s vibe to them. The modern farmhouse style was my inspiration, and adding a modern finish to this wood railing and banister was my goal.
I have seen some other talented bloggers doing something similar in their homes. My friend Jeanette inspired me with her banister makeover in her home.
Key Takeaways
- This article outlines a DIY project for painting stair railing black, inspired by modern farmhouse style. The process includes preparing the surface, applying primer, painting the railing, and finishing with a top coat.
- Key tips include allowing the primer to dry completely and paying attention to small details during painting. Using the right materials like sanding blocks, primer, and specific black paint ensures a lasting finish.
- After painting, enjoy the updated look of your staircase and consider sharing your thoughts in the comments.
This post contains some affiliate links. I may earn a small commission if you purchase through one of these links. See more information in my disclosure policy.
Supply List
What paint to use to paint the banister black? See all the materials you will need for this project!
- Sanding Block
- Sandpaper (Grits from 80-120)
- Canvas Drop Cloths
- Delicate Surface Frog Tape
- Blue Painters Tape – masking tape
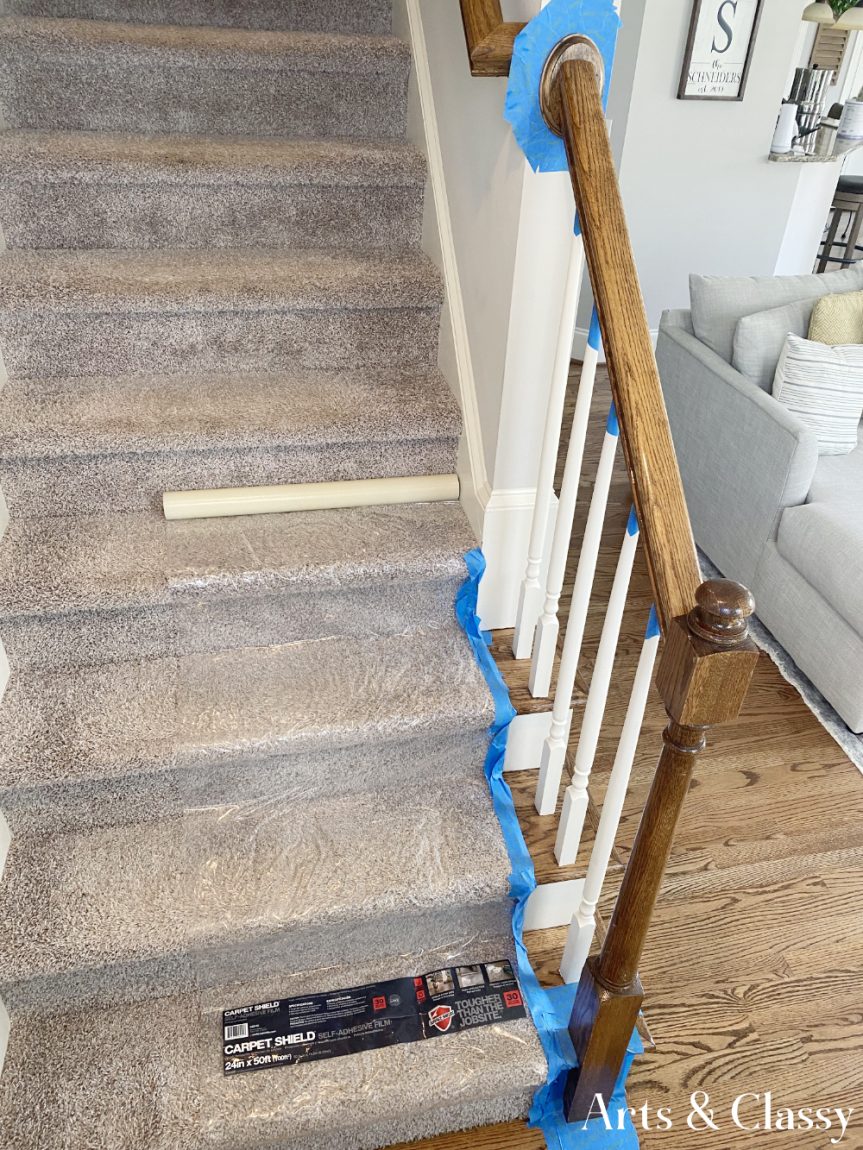
- Carpet Shield Protector
- Foam Roller – Small
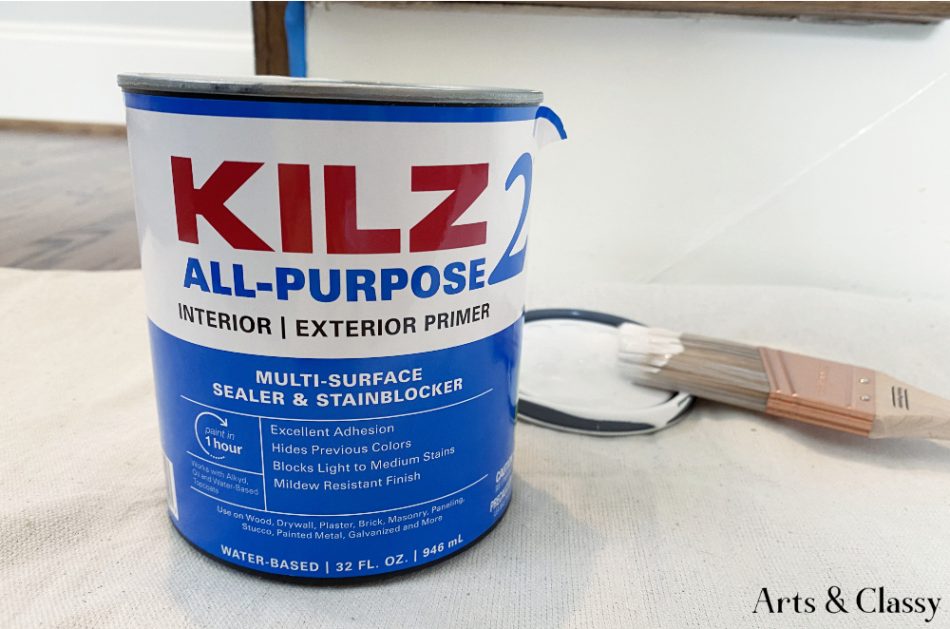
- Kilz Primer in a white color.
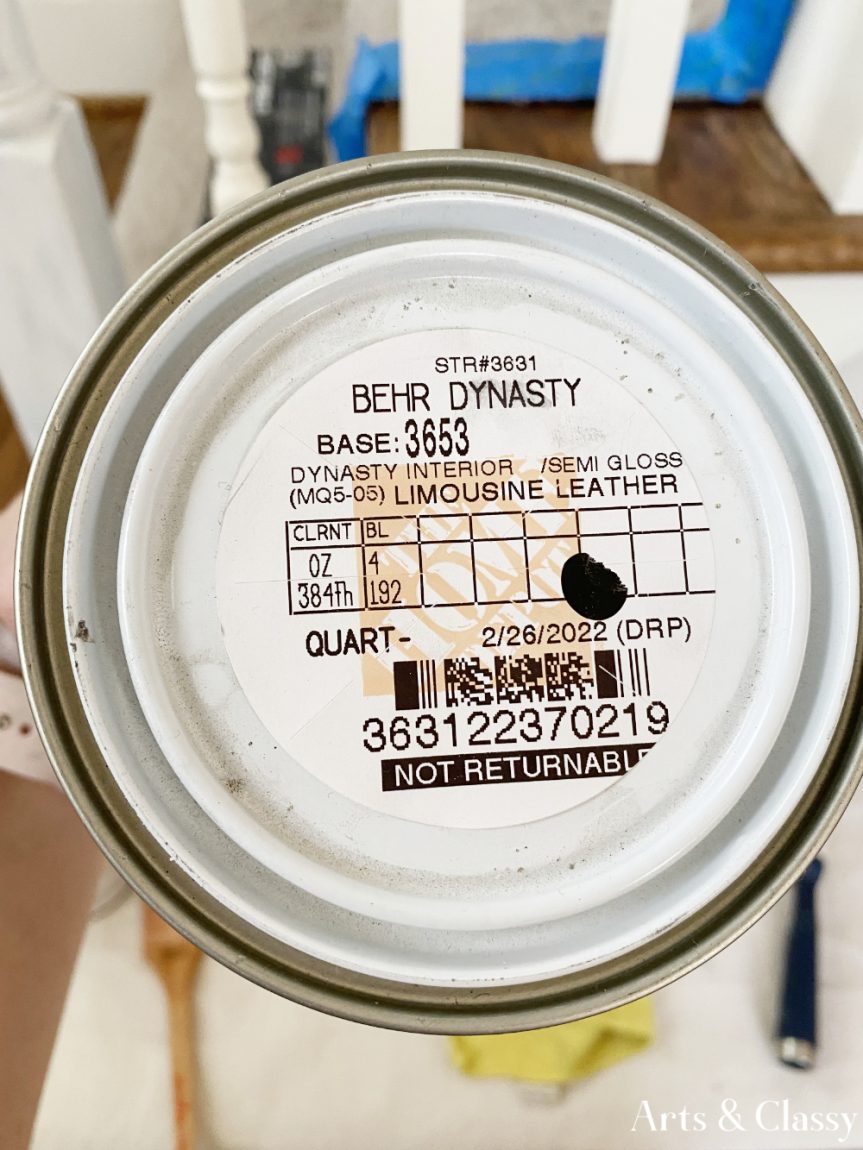
- Behr Paint Enamel – Paint color “Leather Limousine” You can get it at Home Depot. I got a semi-gloss paint for this project.
- Angled Paint Brushes
- Paint container cup
- Varathane Gloss Finish Clear Polyurethane
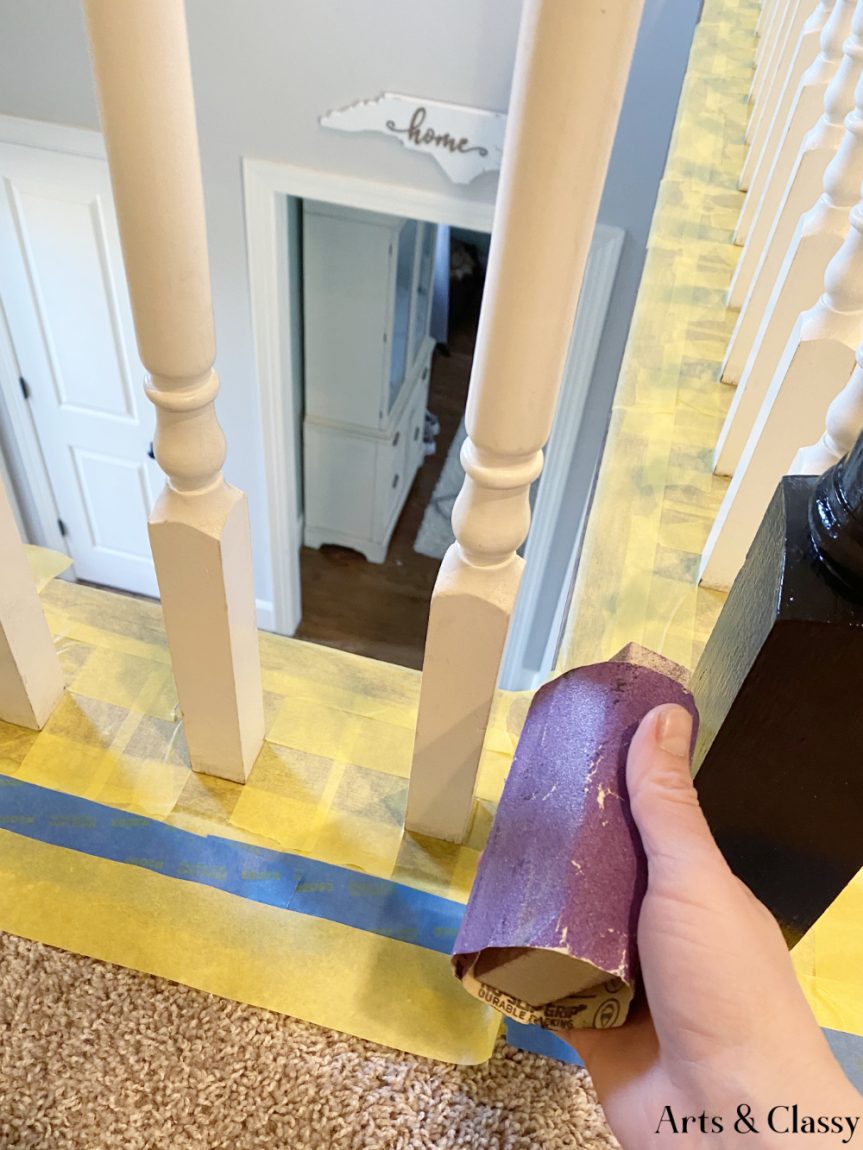
1. Prepare Your Surface
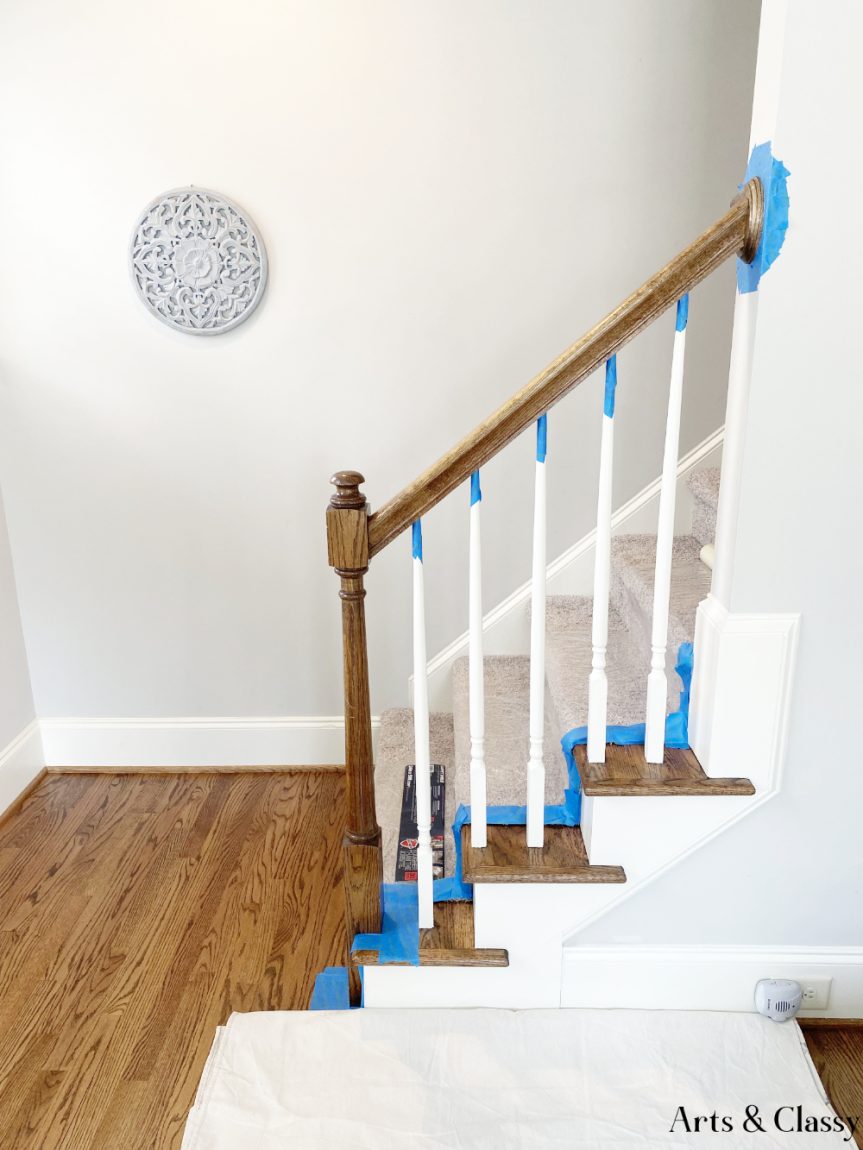
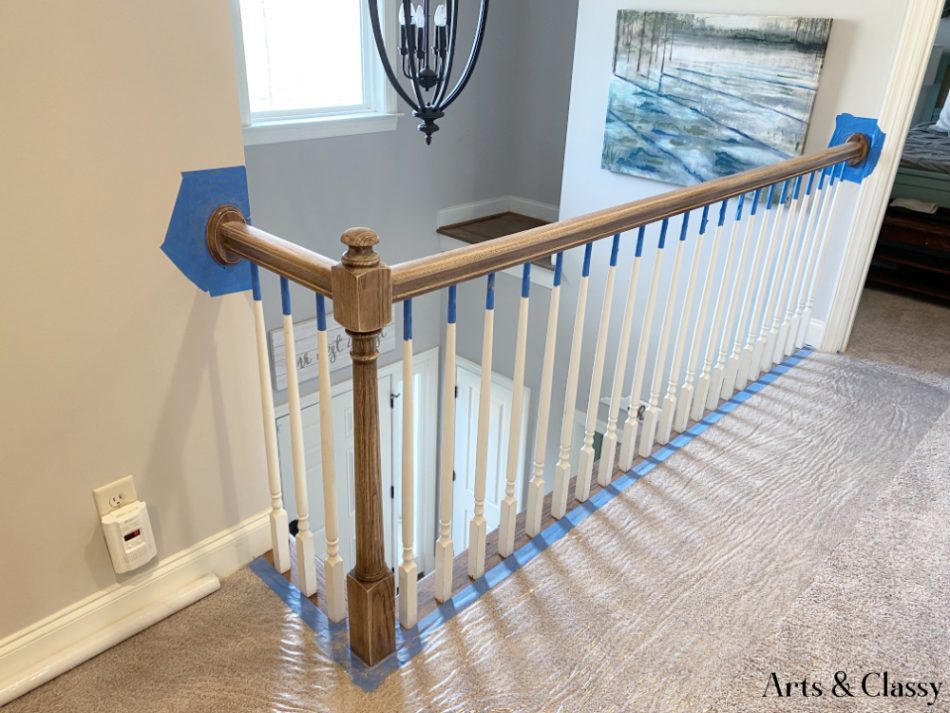
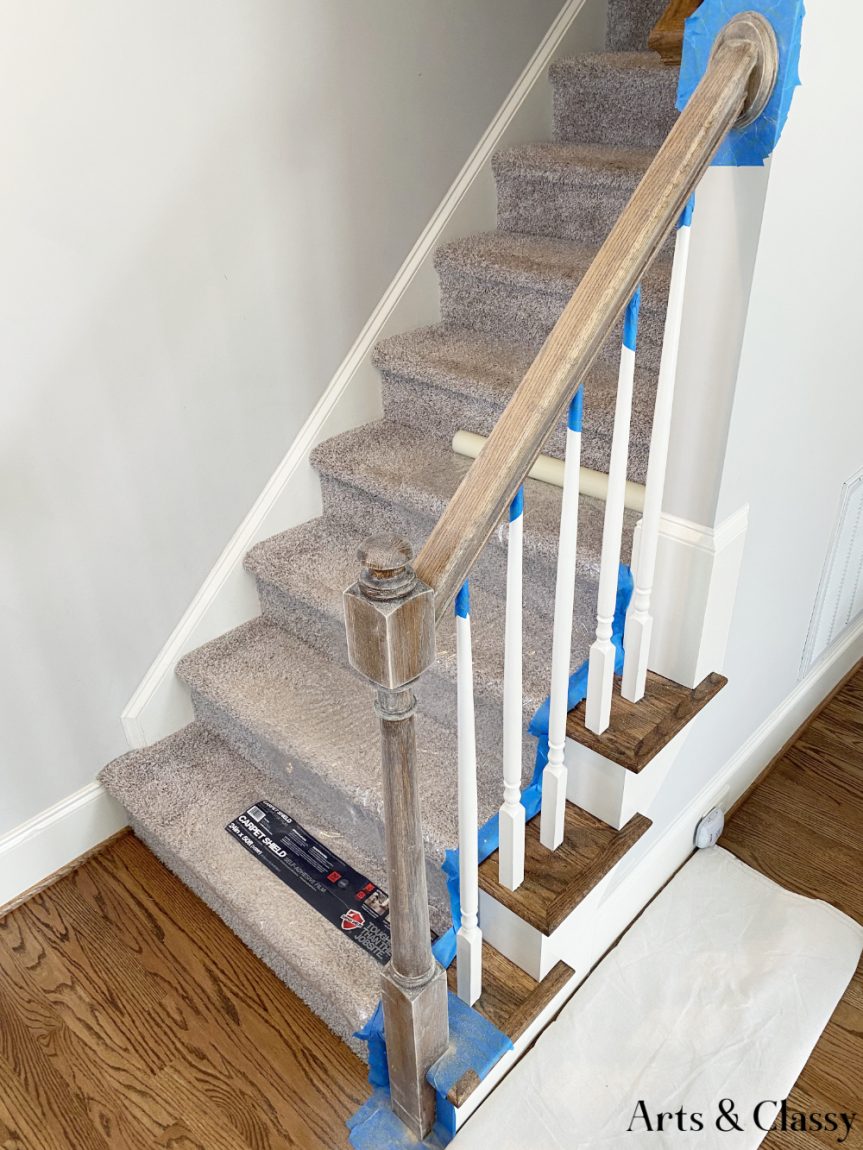
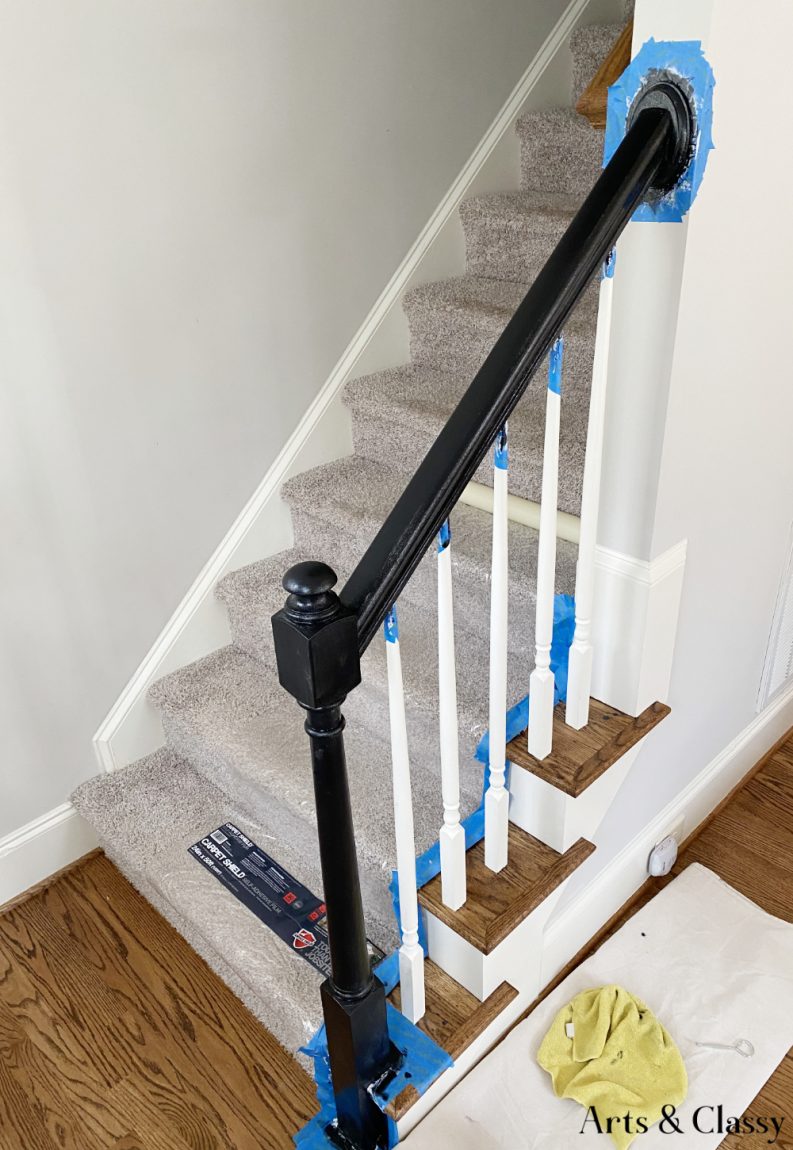
Start by using your masking tape to shield the space that you don’t want to paint and make a mess. Sometimes prepping a space for painting takes longer than the painting itself but will save you time with debris and paint spatter that comes with the process.
For my banister and stair rail, there was a gloss finish on the wood and I wanted to rough up the surface a bit before I added my new look to it. This is where I broke out my sandpaper sanding block and got to light sanding the surface a bit.
I started with my 80-grit sandpaper and worked my way to about 100 grit. I didn’t use a power sander. Instead, I just hand-sanded the oak banister surface a bit.
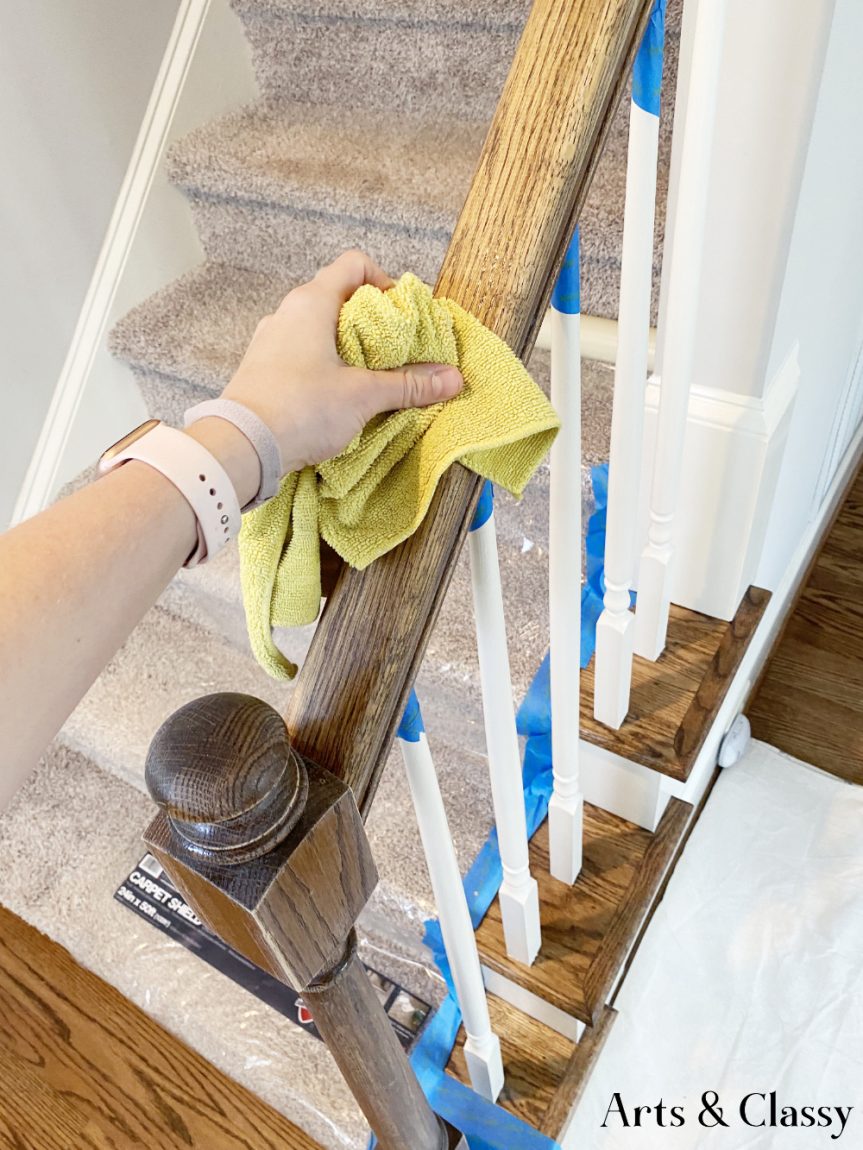
When painting any area in your home you want to follow some steps in preparing the surfaces that you will be painting. This includes cleaning the surface and making sure it is free of dust, dirt, or any grime.
After you and cleaned the surface lay out your drop cloths and add painter’s tape to mask the areas you don’t want to paint.
If you are doing this in your home, then you may want to use a power sander if your stair handrails have been previously painted OR if they are in bad shape. If you find significant damage or nicks on the wood surface, then using wood filler would be a good thing to do before sanding.
RELATED: AN EASY TO FOLLOW STEP BY STEP GUIDE TO MAKING A PEDESTAL BOWL
2. Paint on Primer
Prep work is never my favorite even though it’s probably the most important step. If you don’t prep well, the rest of the process crumbles. I was excited to start painting part of the handrails on my staircase!
I love using Kilz as my go-to primer of choice due to it being a stain blocker and primer in one. It’s super durable and since the handrails are used quite often, I wanted it to hold up over time.
I used an angled paint brush to apply my first coat of primer and ended up applying about 2 coats of brush strokes.
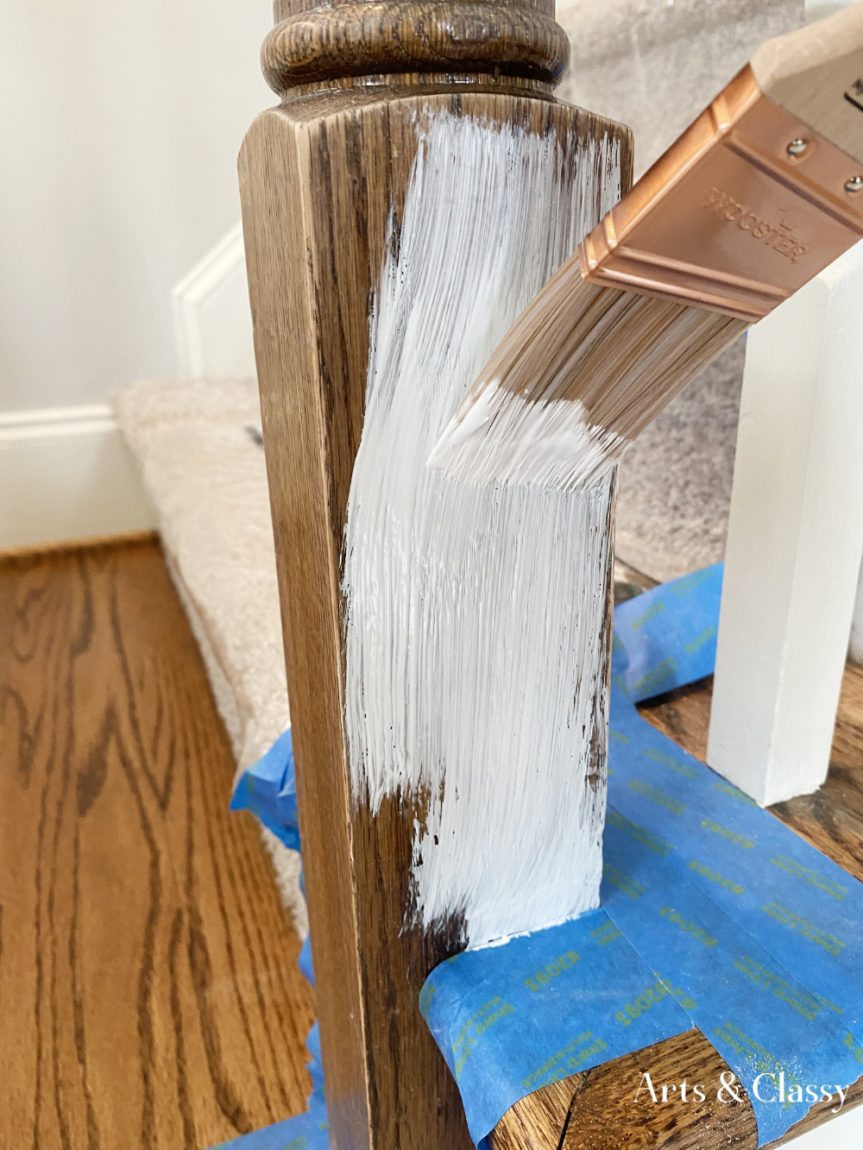
*Painting Tips #1* – Make sure to allow the primer to completely dry before applying the next coat. Otherwise, it will remove the layers you previously painted.
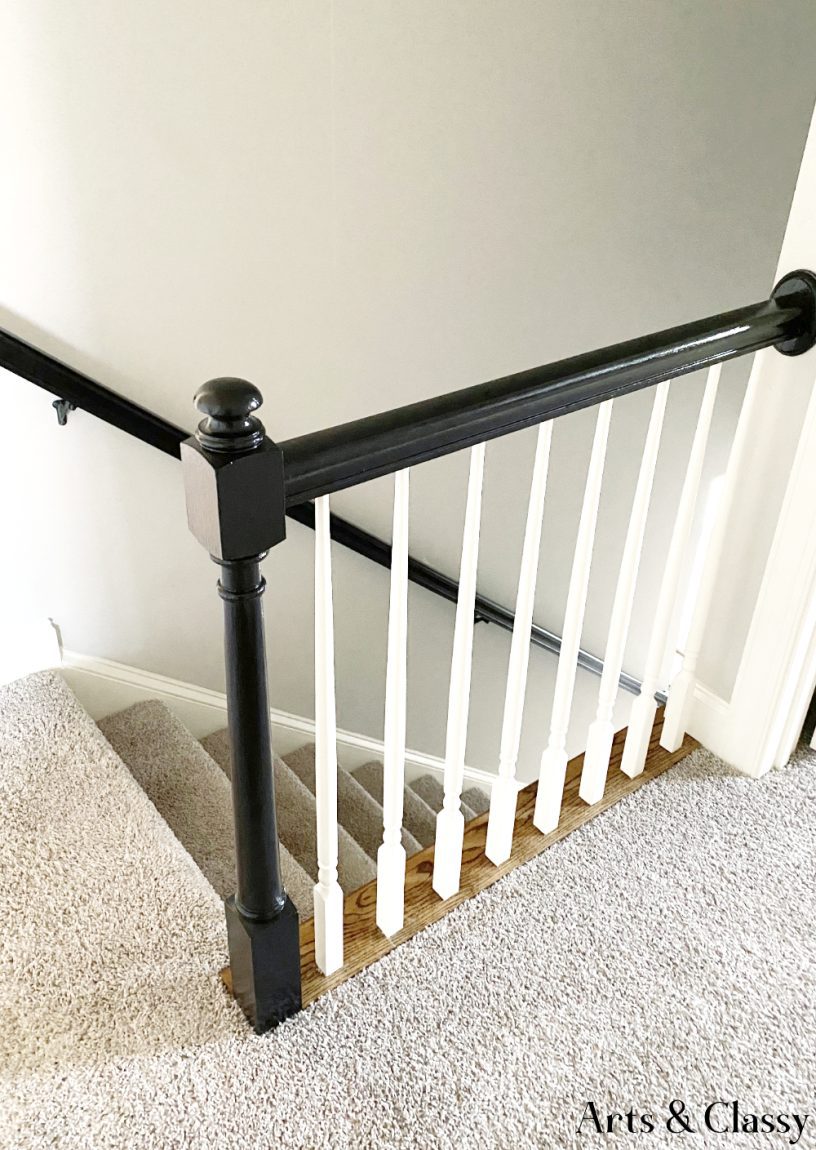
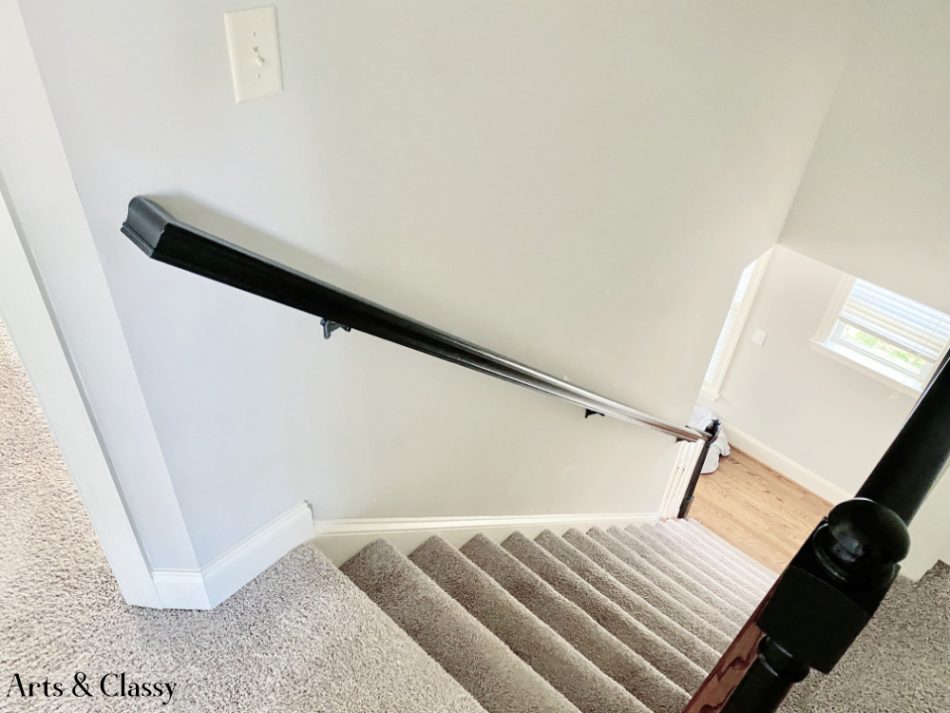
3. Paint Your Railing Black
I was so excited to start painting my stair railings black! There were so many shades of black to choose from, but I chose the color “Limousine Leather” black paint from the brand Behr.
This paint color has a little bit of a warmer tone to it. The semi-gloss finish was my choice because the higher the gloss you will see fewer and fewer imperfections and the paint will last longer. Especially, for high-traffic areas!
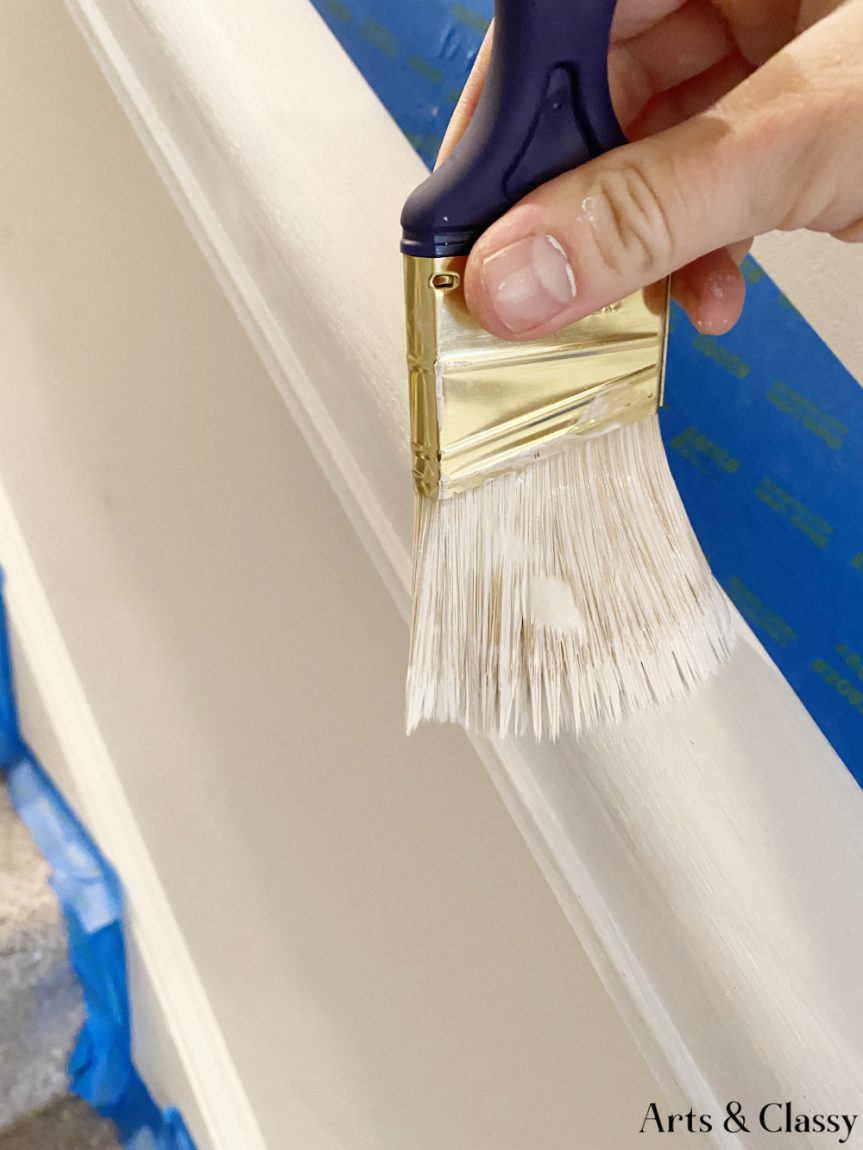
I like applying this fresh coat of paint with a smaller foam roller. Minimizing the texture of the black paint as much as possible was my goal. I wanted to apply even coats, even if it took longer to build to give this stairway a new life.
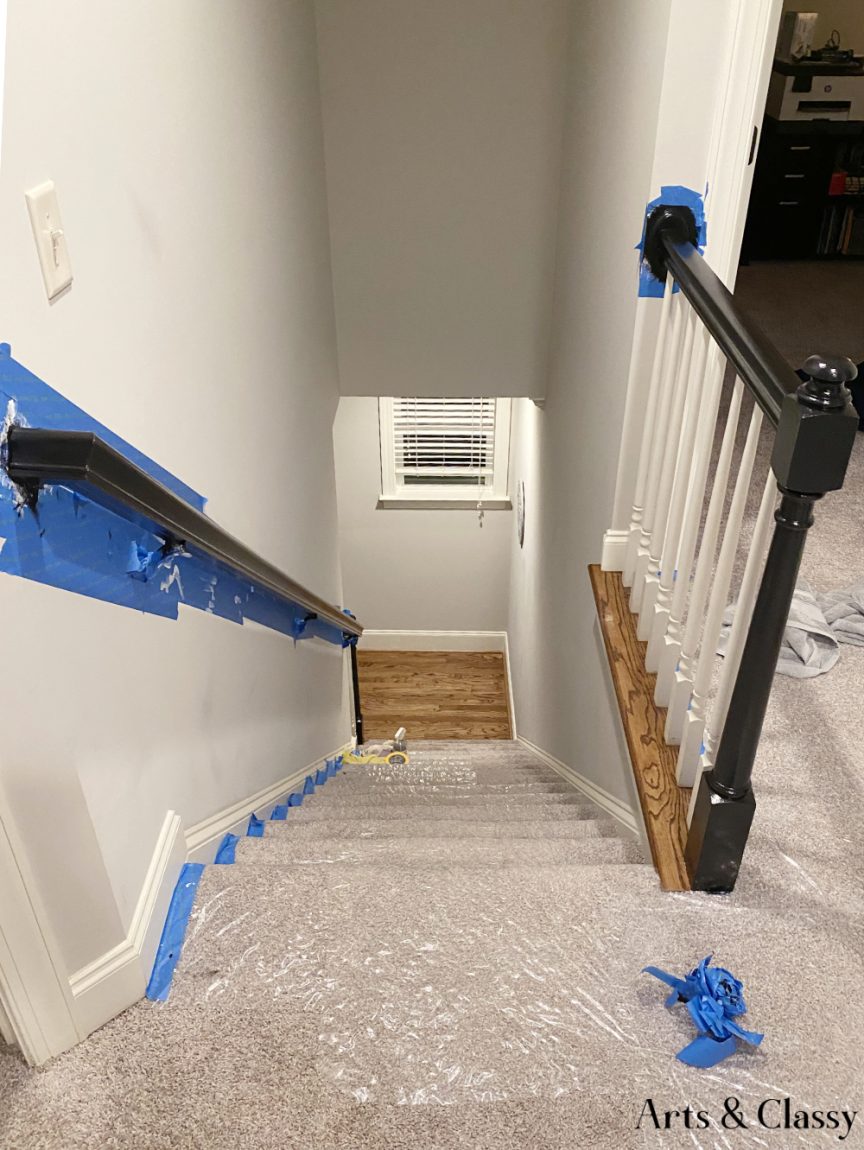
I was able to apply most of the black paint with my roller. My angled brush came in handy for the underside of the stair rails and other small crevices.
This stair railings painting process took about 2-3 coats to make sure I had full coverage.
4. Paint The Stair Spindles
Being the ADHD-er that I am, once I was wrapping up the painting of the railing, I noticed that the spindles looked kinda dingy. I have no idea the last time these spindles got some love, so I decided to make this the second part of this project.

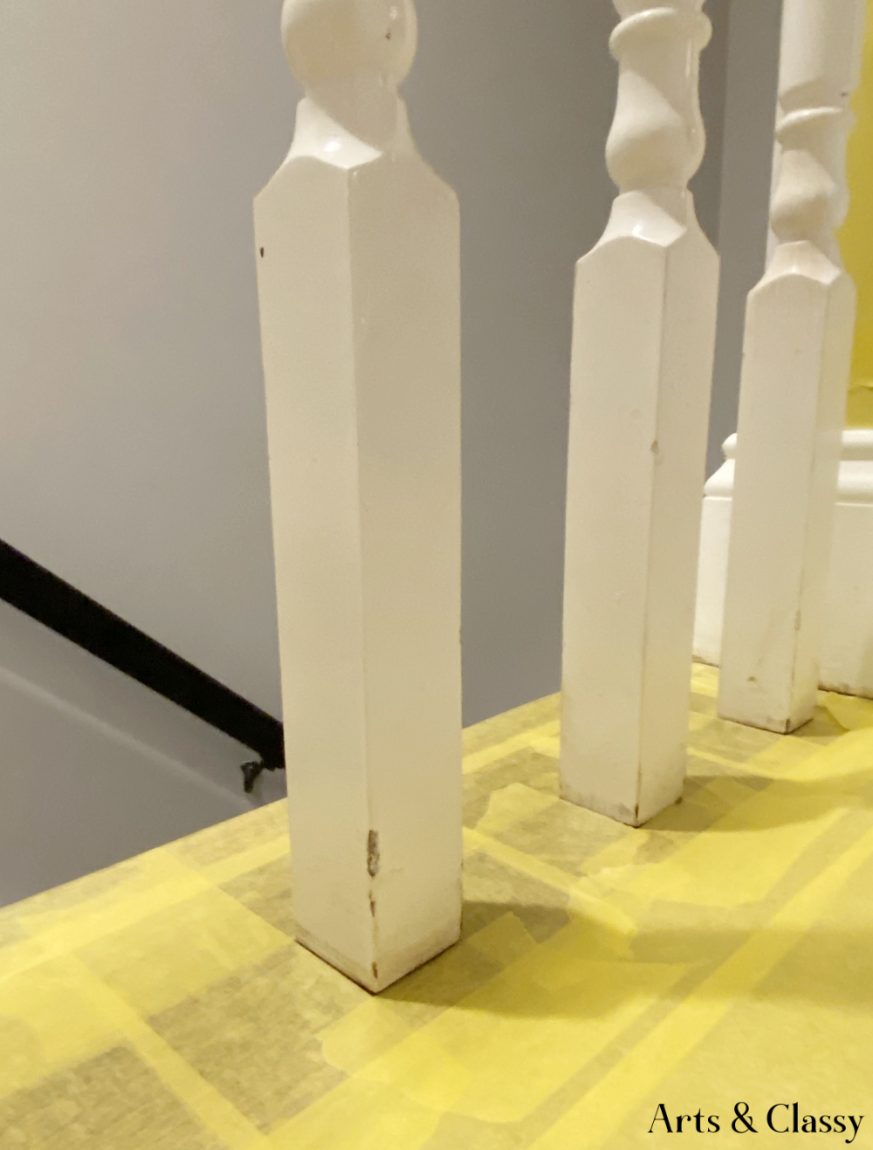
There were nicks in the spindles that I wanted to fill with wood filler. I allowed plenty of time for the wood putty to dry before moving on to the sanding step.
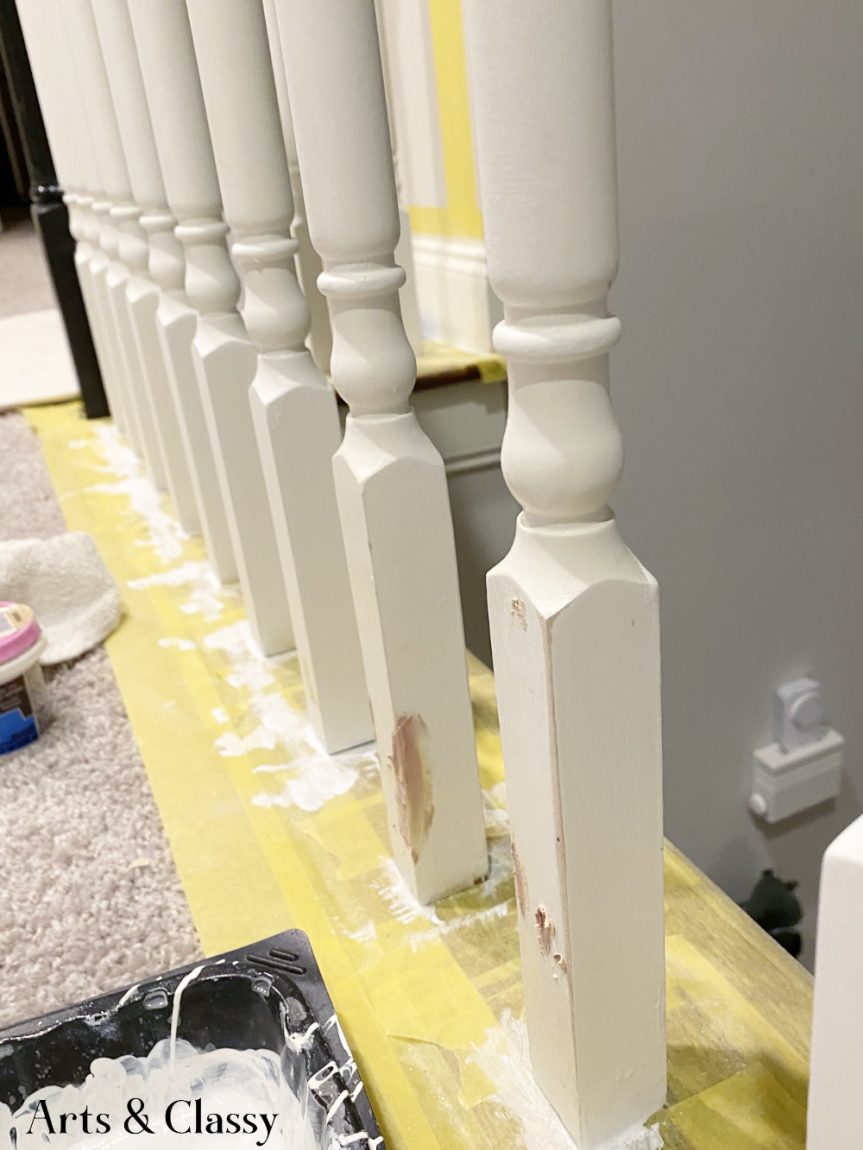
The process was similar for this step. Sanding, priming, painting. We had some leftover paint from the sellers of our house that seemed like the same color these spindles were originally painted.
*Painting Tips #2 – The details matter. Spend extra time addressing the smaller details. Painting is such a process that it makes more sense to handle it now rather than overlooking it.
5. Adding Top Coat
The last step of this project was to add a gloss top coat to protect the paint from chipping or getting scuffed. I used a Varathane poly gloss clear coat. I did about 2 coats of this protective finish and allowed it to dry overnight.
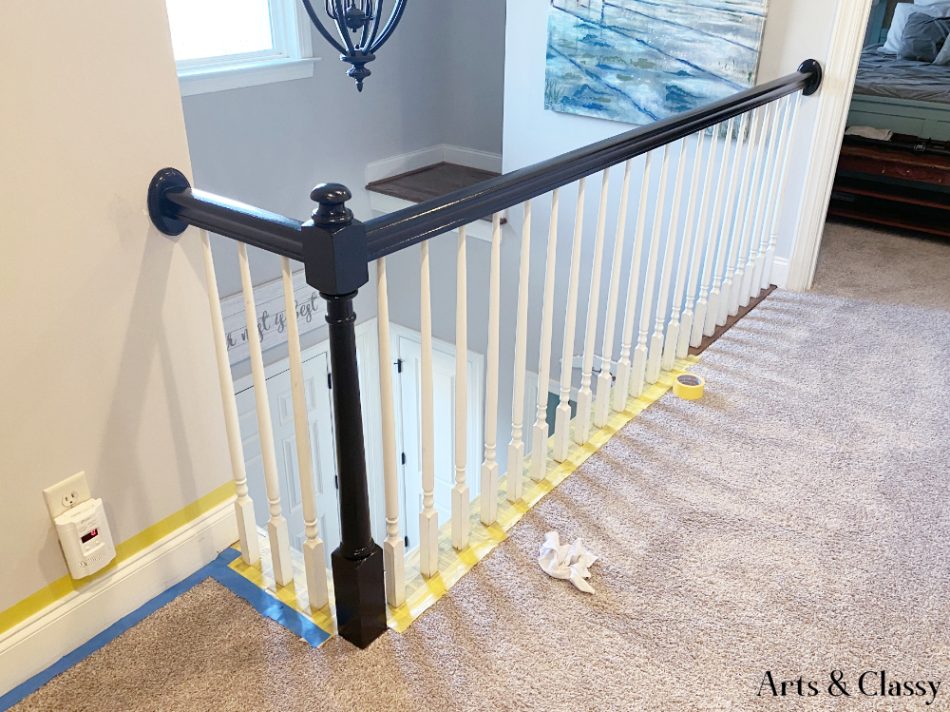
6. Enjoy The After!
Once the top coat dries, you can kick back and enjoy the fruits of your labor. This project exceeded my expectations. I am so happy with the finished result.
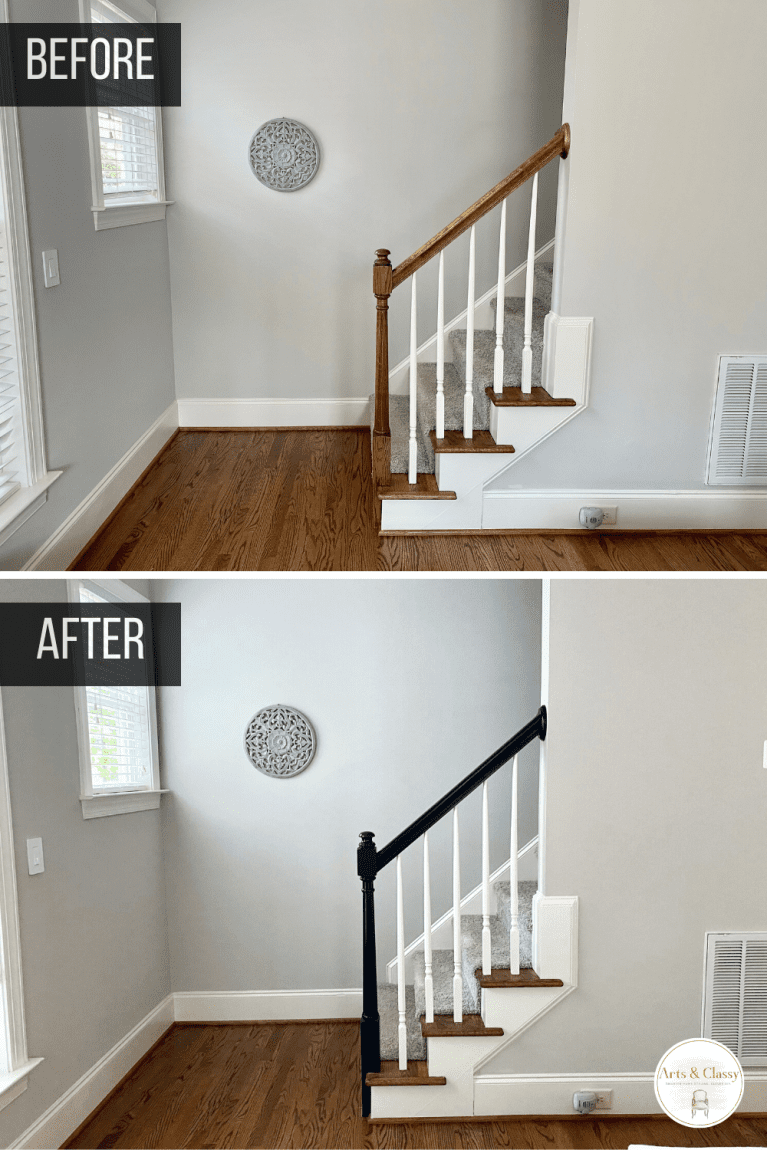
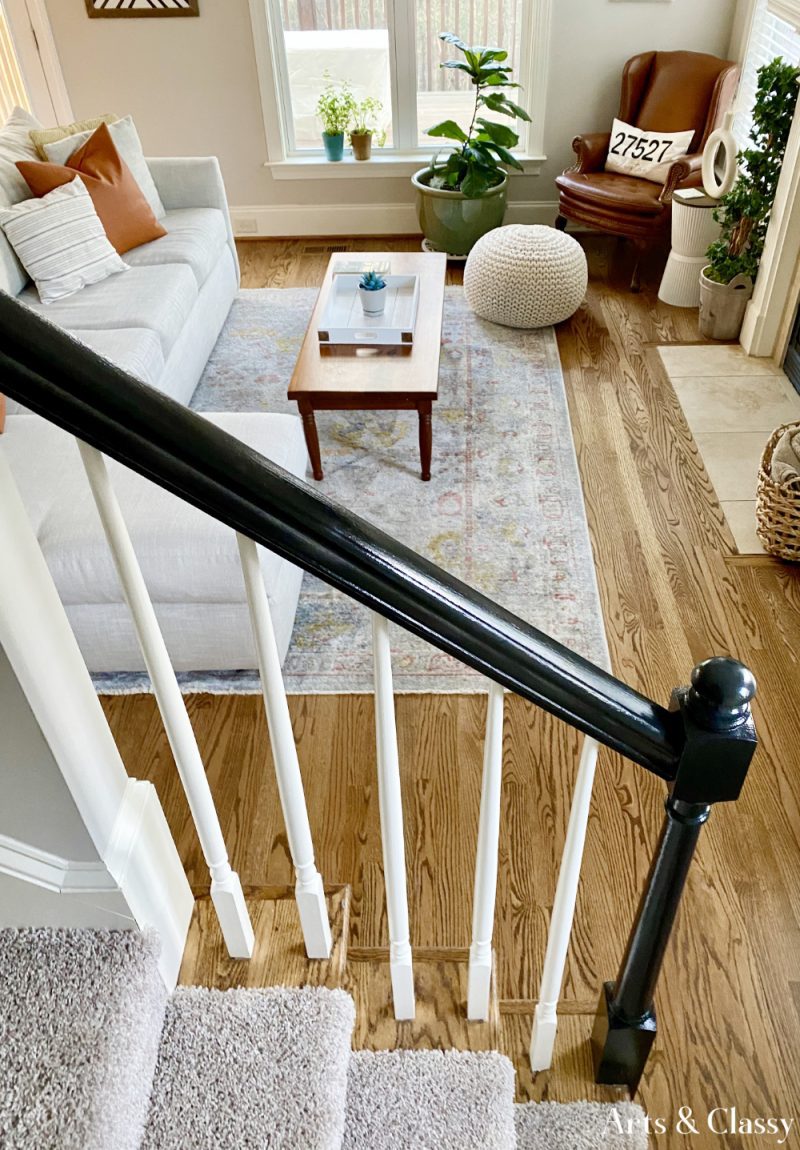
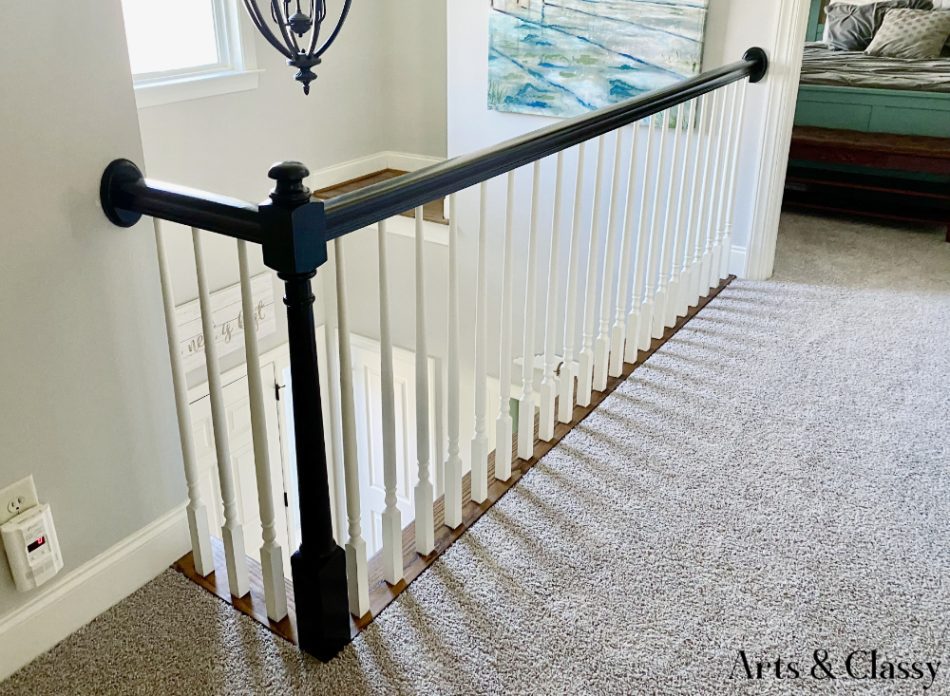
When painting the stair rail black, there might be some fear attached to that kind of contrast, but I feel this helped me modernize this feature in my home.
I love the modern farmhouse style! What did you think of this new paint makeover?
If you have any questions or want to share what you think, please leave them in the comments below.

FEATURED ON