Let’s Paint the Perfect Farmhouse Table – And Have Fun Doing It!
I have been working on so many furniture flip projects recently, and I am excited to share my recent Farmhouse painted wood side table tutorial with you today! Painting furniture is my favorite form of meditation and my creative outlet. I always love a good painting project.
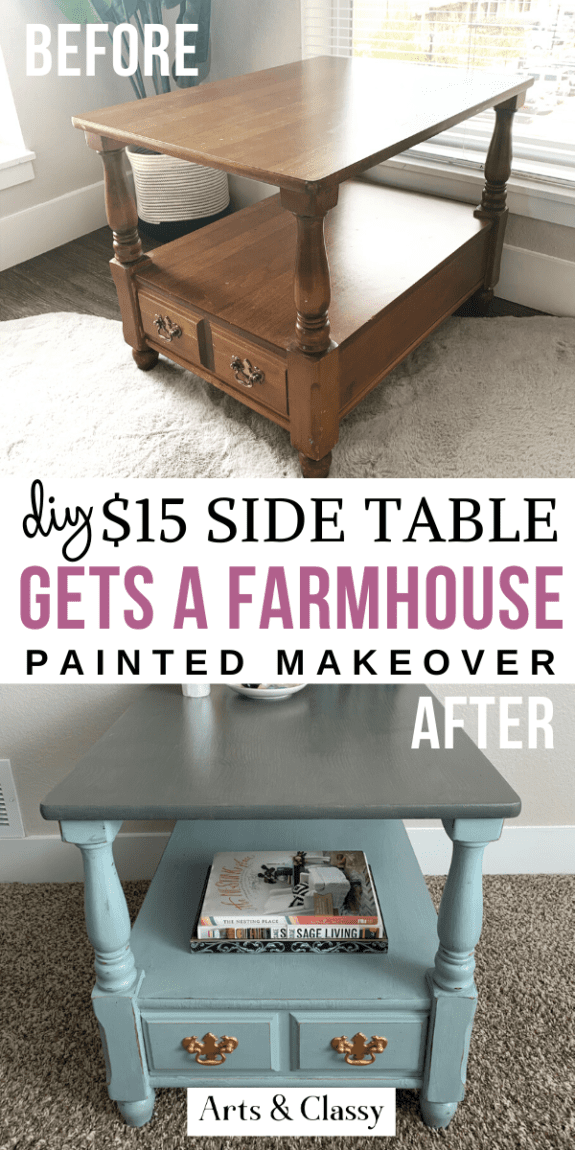
This table was discovered on the app OfferUp for $30. I was able to talk the seller down to $15. The pick-up went smoothly, and I was able to pay with my Venmo app! I love when sellers and buyers have Venmo. It makes things easier, especially not having to add more contact with a cash transaction during a pandemic.
How do I get the farmhouse look on my furniture?
If you want to create a cozy, rustic look for your home should look no further than farmhouse decor! Reclaimed wood and weathered antiques give off that rustic vibe, so opt for neutral colors like beige, cream, or gray – don’t worry, it doesn’t have to be all white! To give furniture that farmhouse feel, add light colors for a subtle yet comforting look.
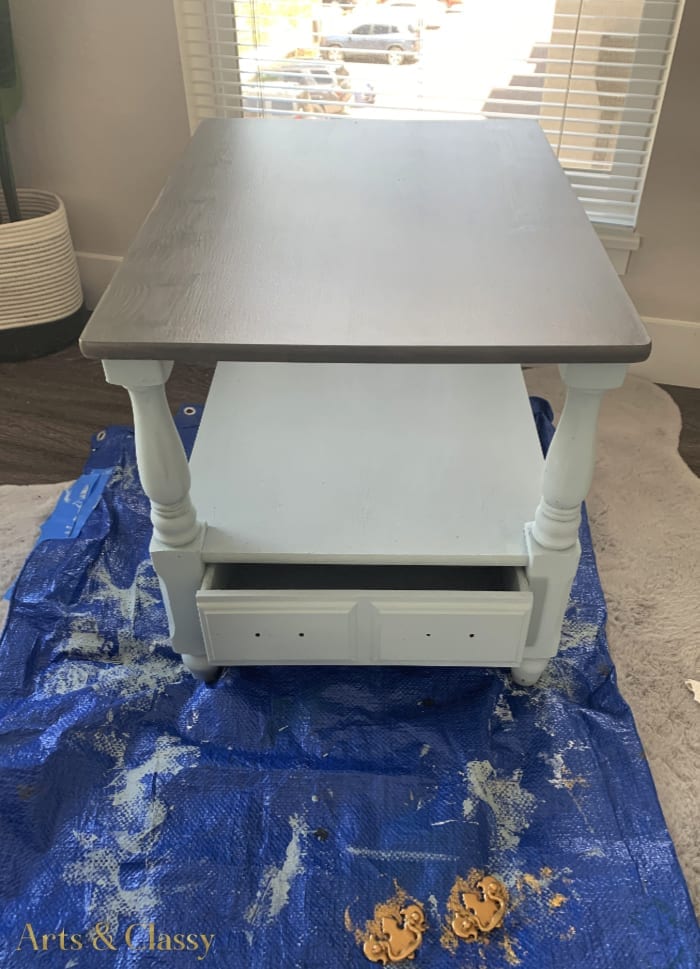
Here is the Before of this table! I am excited to share the supplies I used and the AFTER photos!

*This post contains affiliate links*
Check out all the supplies used for this painted wood side table project:
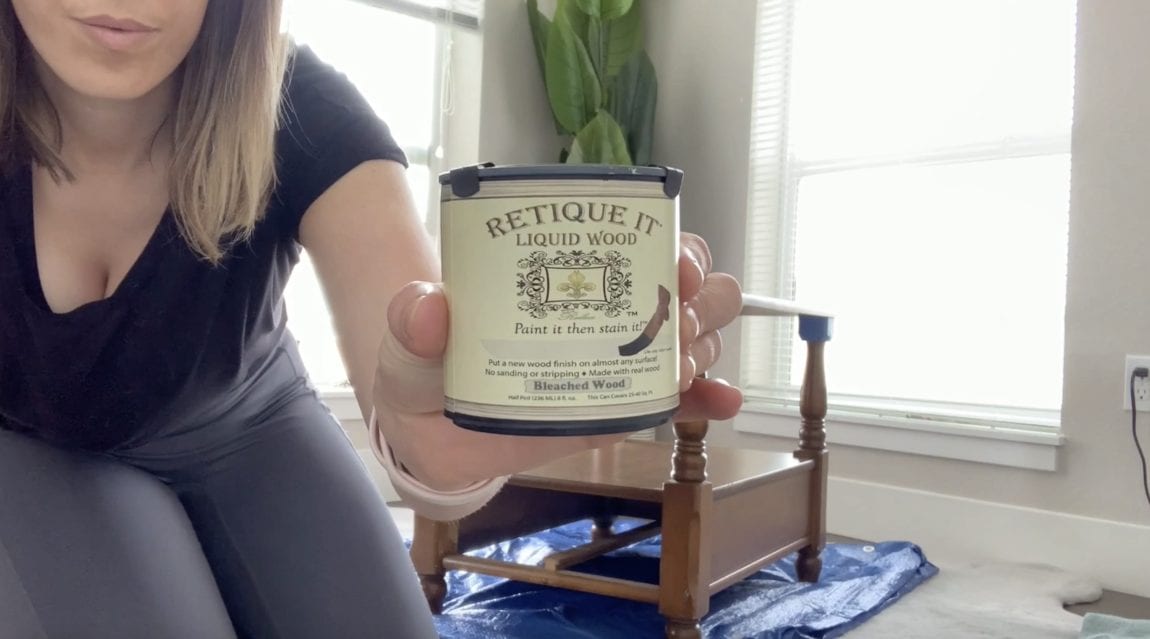
- Retique it, liquid-bleached wood
- Weathered Wood Gel Stain
- Wood Grain Tool
- Chalk paint – Vintage
- Acrylic (artist) paint – white
- Paintbrush
- Retique it polyurethane satin finish – clear
- Artist paint brushes (assorted sizes)
- Metallic Gold Acrylic Paint
- Painters Tape
- Flathead screwdriver, Microfiber towel and Cleaning surface spray
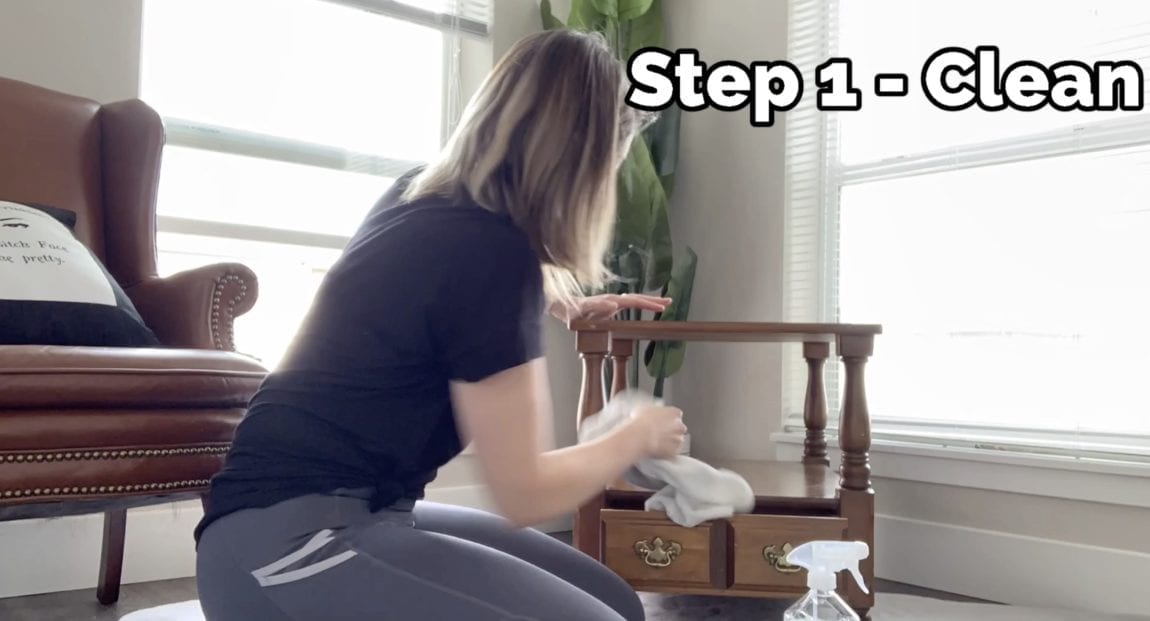
Step 1 – Clean and wipe down the table
Clean and wipe down the table. I use a multipurpose cleaner and a microfiber towel for this step.
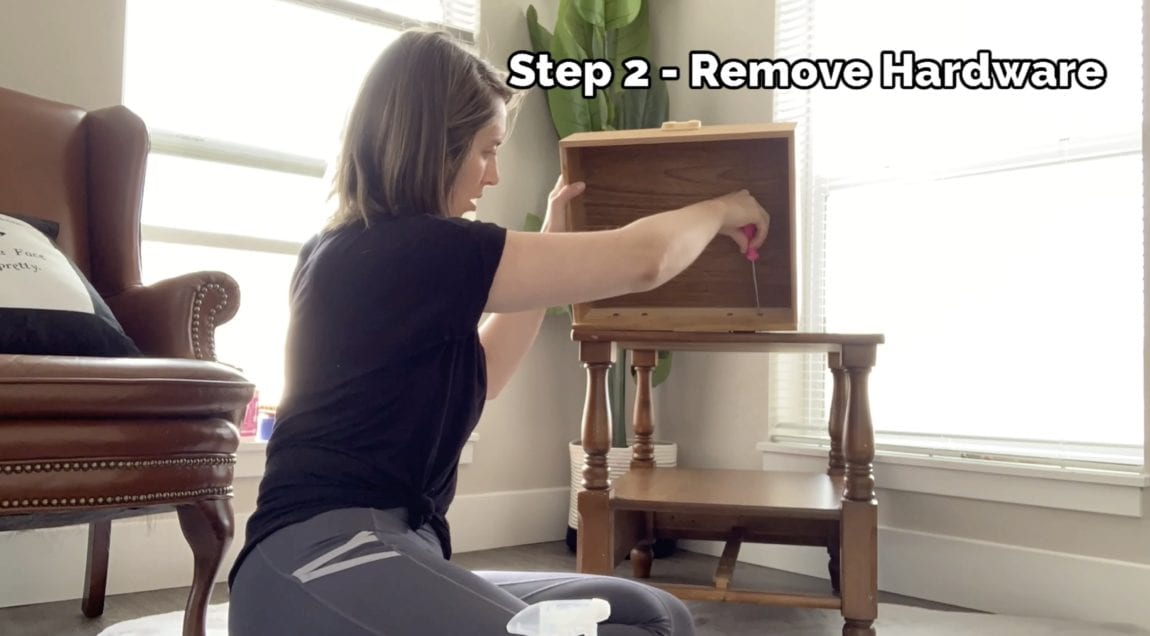
Step 2 – Remove hardware
Remove the hardware from the table. I needed a flathead screwdriver for this step. Once I removed the furniture pulls, I put them in a bowl to keep everything together.
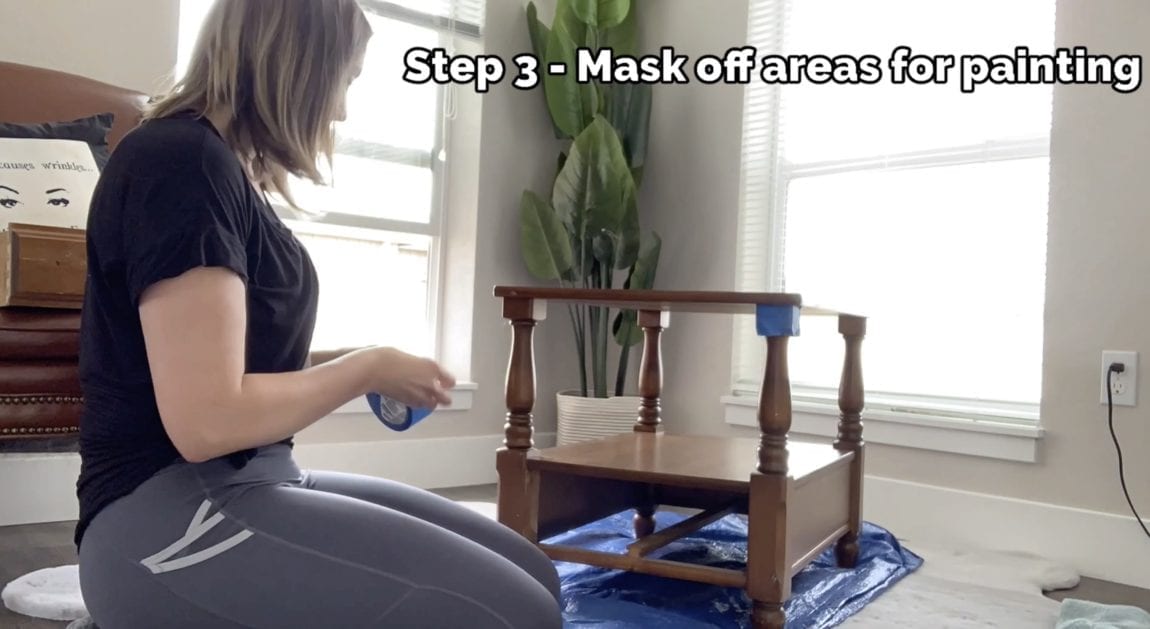
Step 3 – Masking with tape
Mask off areas before I begin painting. I typically will use 1″ painter’s tape for most of my projects. It’s easy to remove and won’t damage the furniture’s surface.
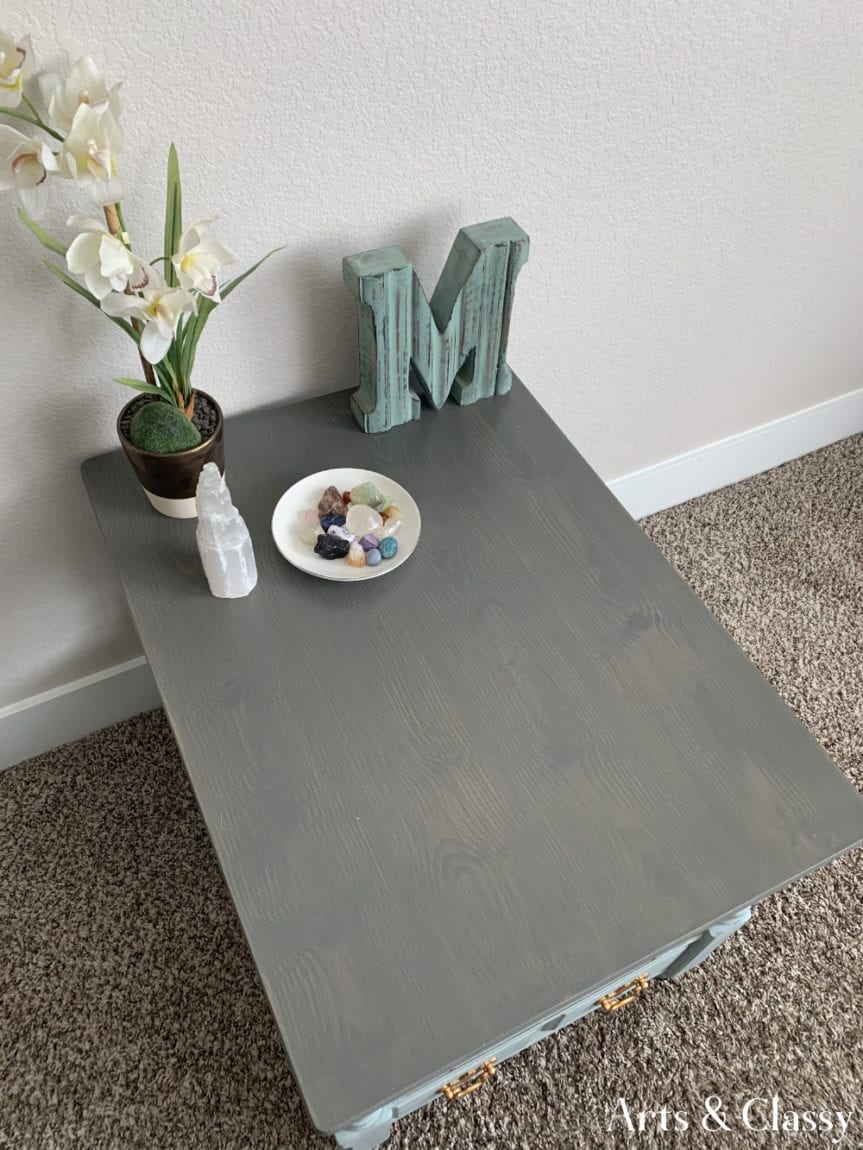
I used Retique It Liquid Wood paint in the Bleached Wood finish for the tabletop.
Step 4 – First coat of liquid wood paint
Paint liquid wood paint 1st coat on the surface of the tabletop.

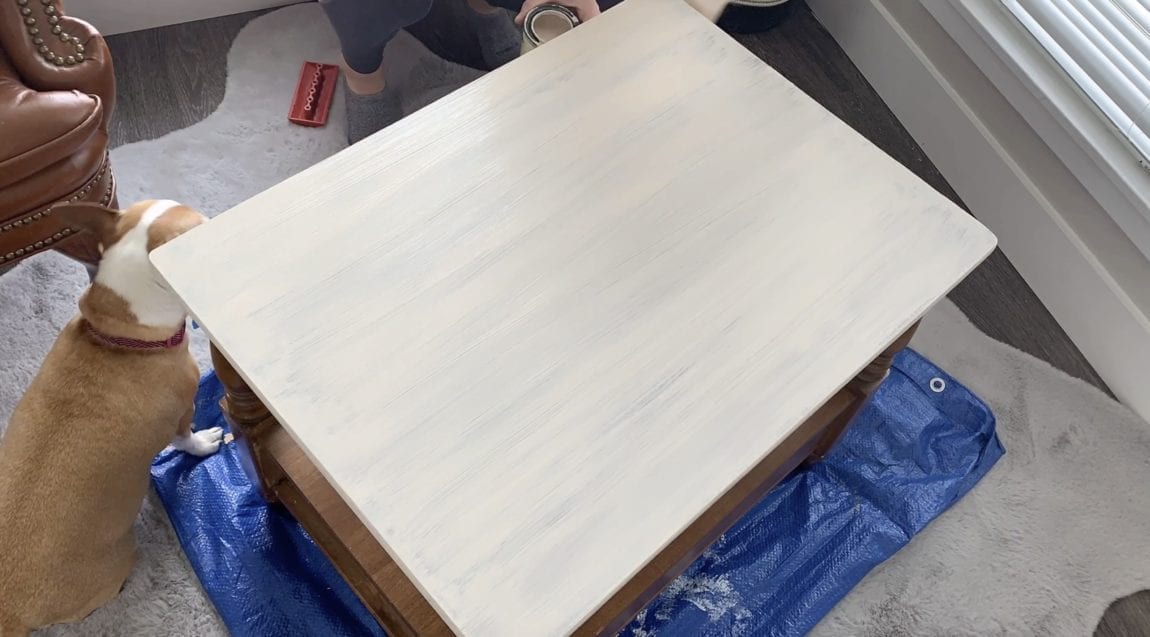
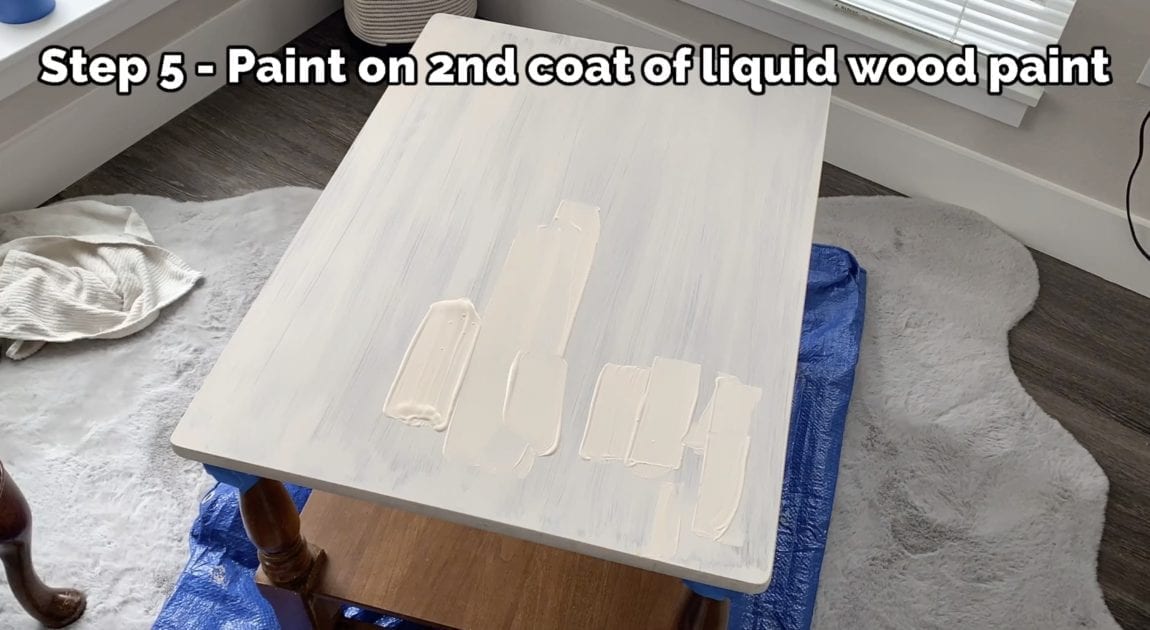
Step 5 – Second coat of liquid wood paint
Paint 2nd coat of liquid wood paint. I did this once the first layer was completely dry. It takes approximately 45 minutes to 1 hour for the paint to dry completely.
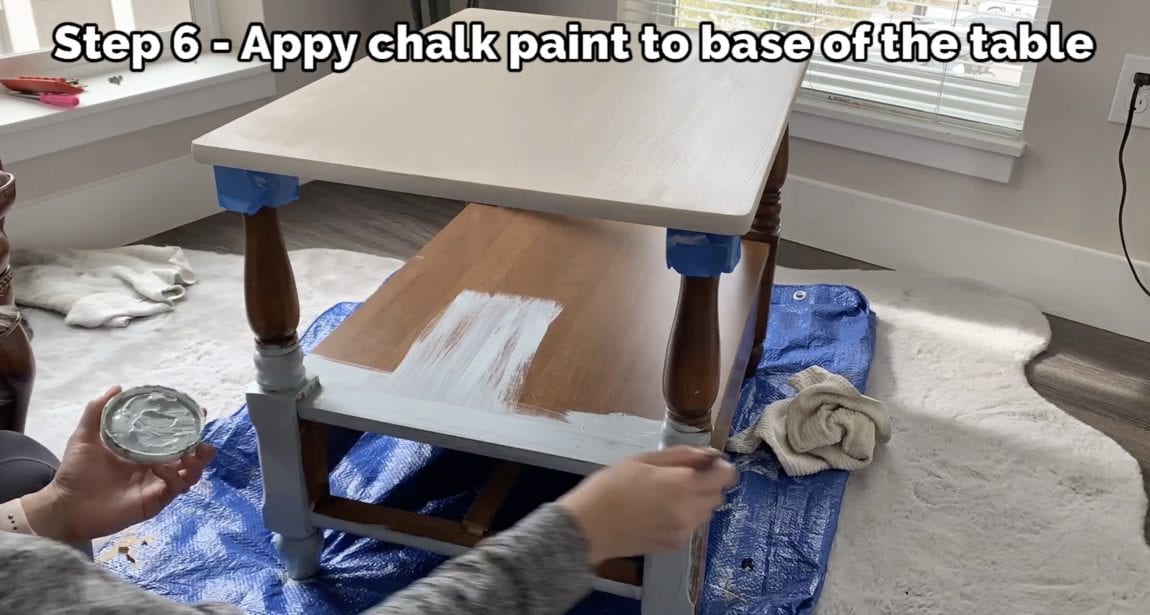
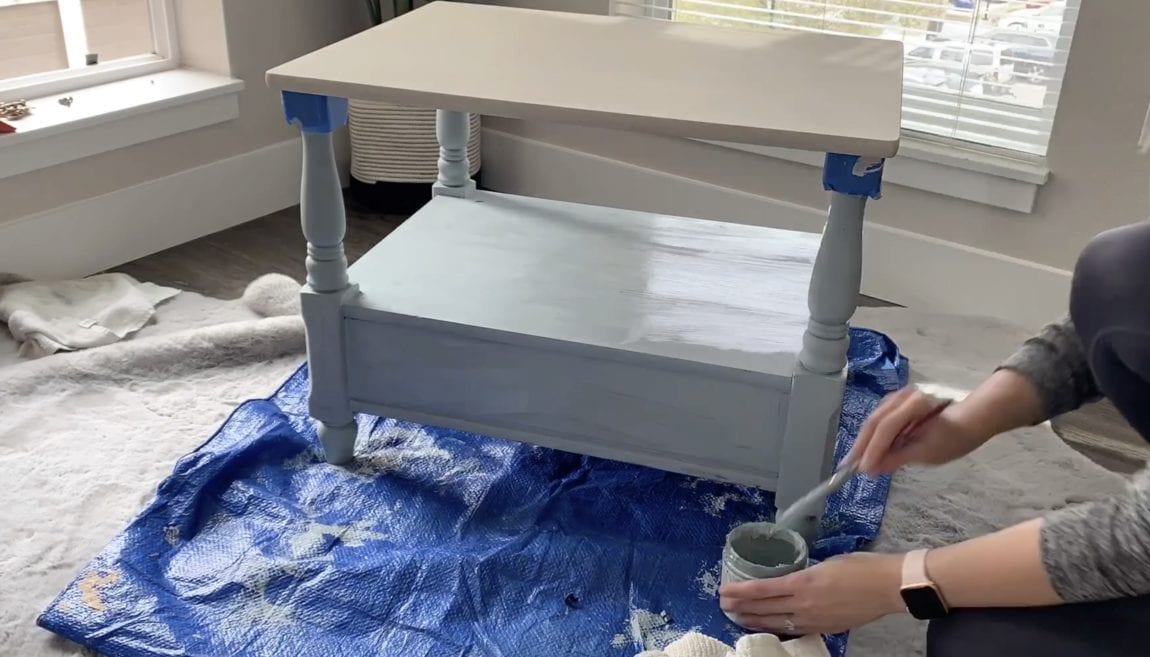
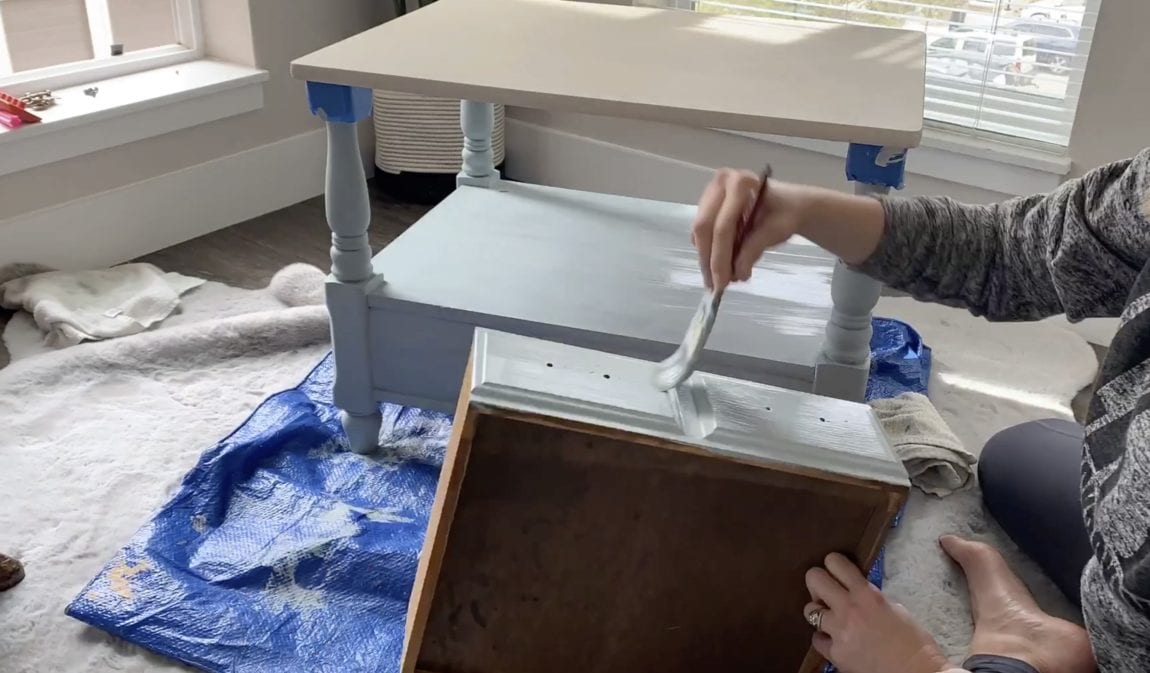
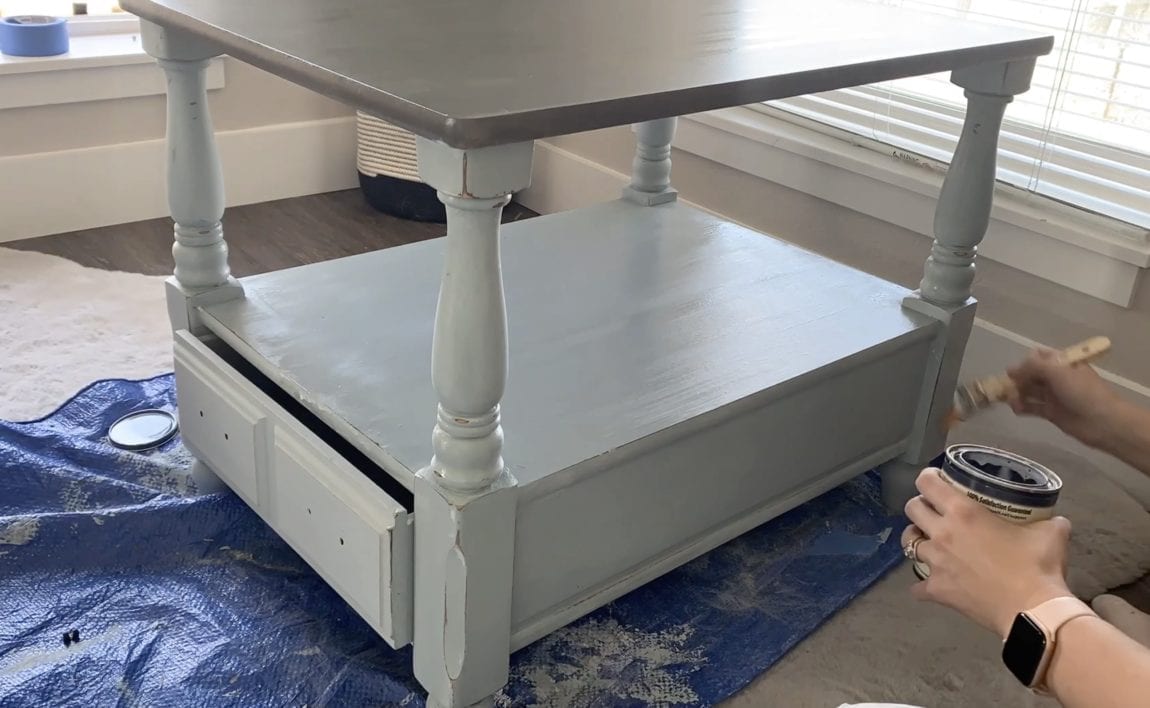
Step 6 – Apply chalk paint to the rest of the table
While I was waiting for the 2nd layer of paint to dry on the tabletop, I began painting the table base.
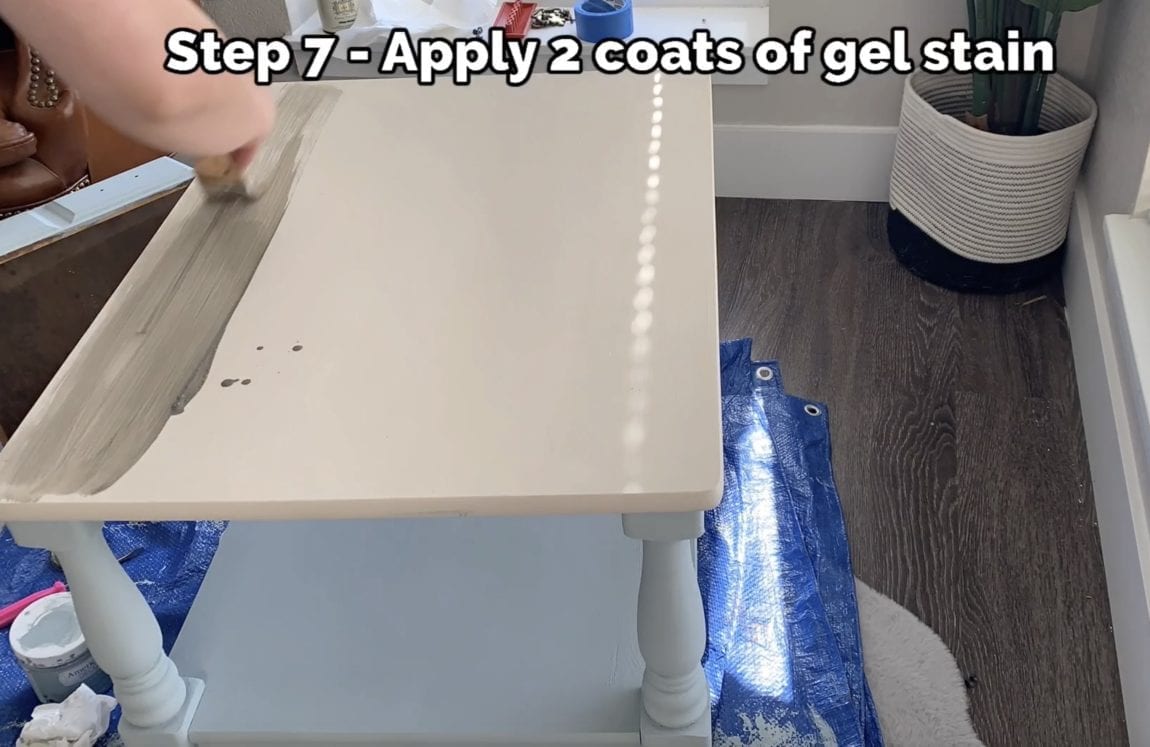
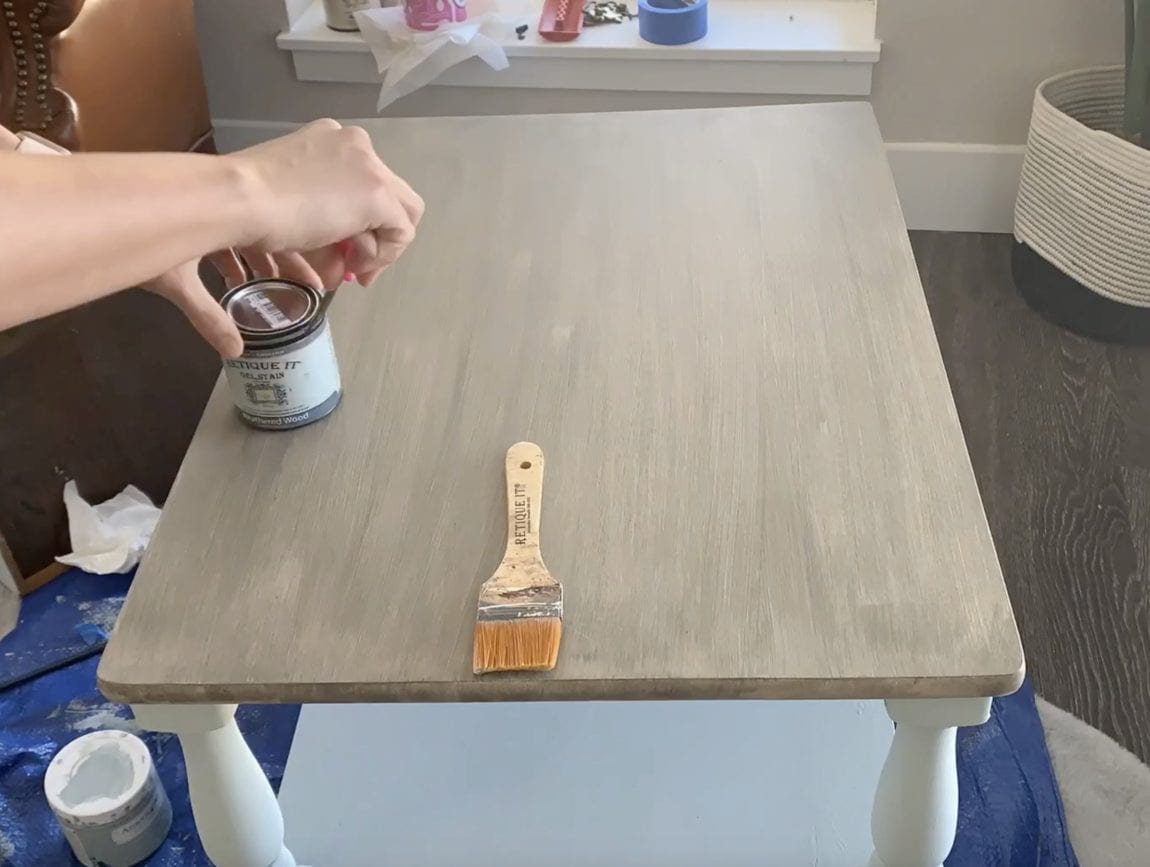
Step 7 – Apply 2 coats of Weathered Wood Gel Stain.
After the tabletop dried for at least 2 hours, I was able to add the stain. The first couple of coats were applied with my paintbrush.
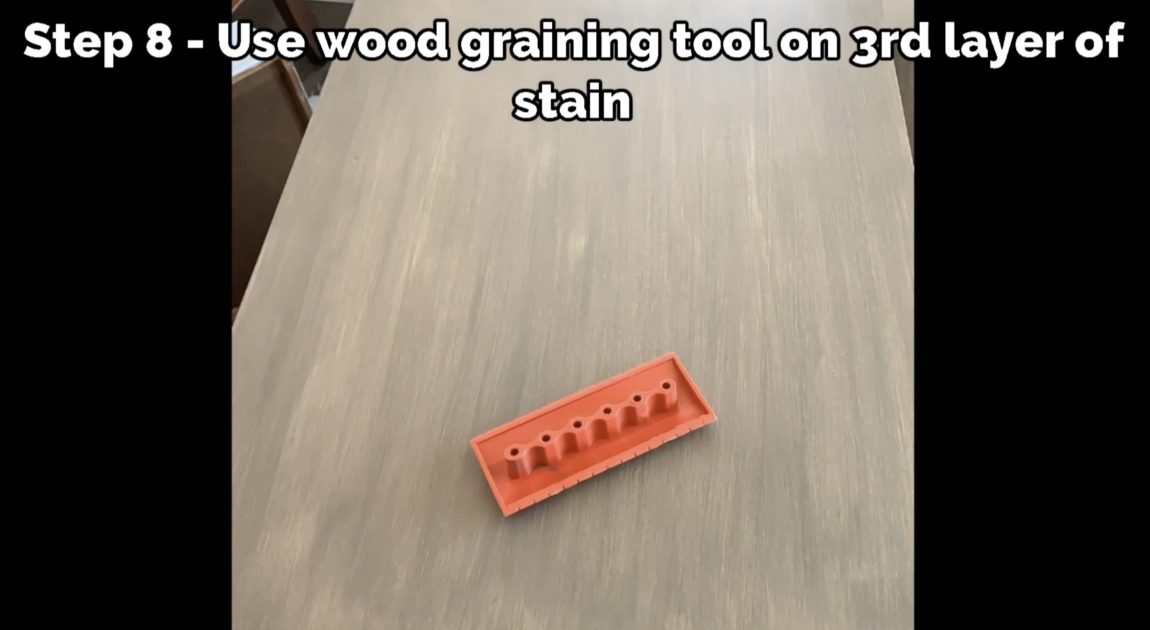
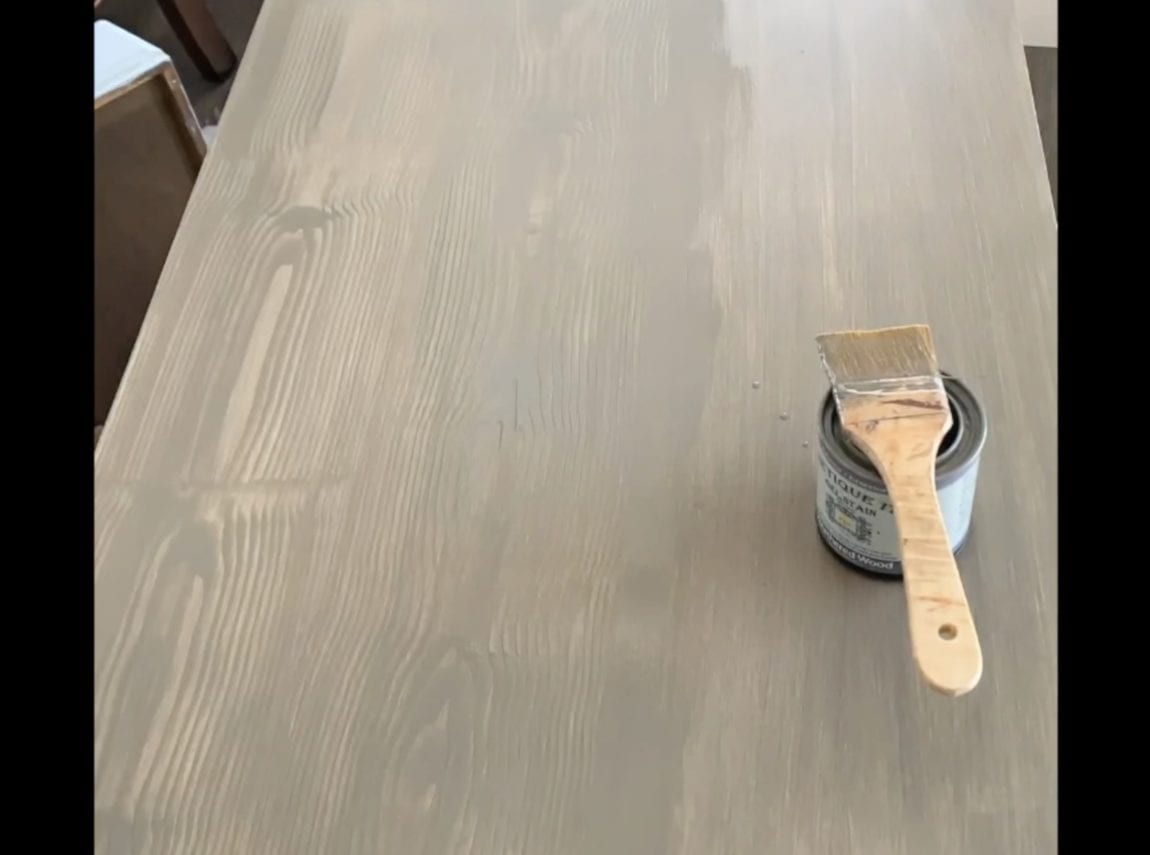
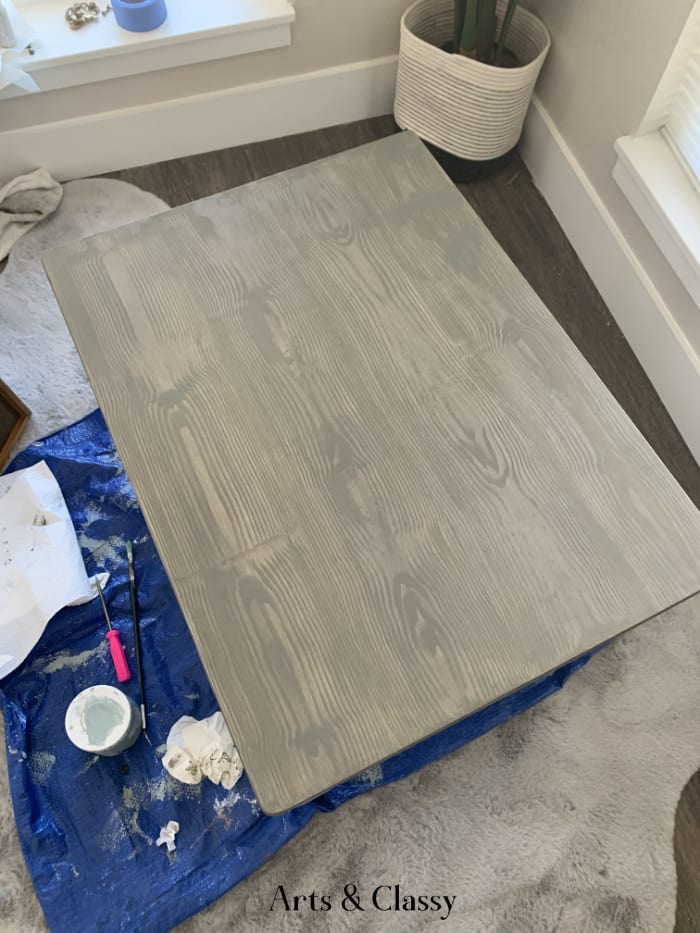
Step 8 – Use a Wood Graining Tool
Apply 3rd coat of gel stain and use the wood-graining tool
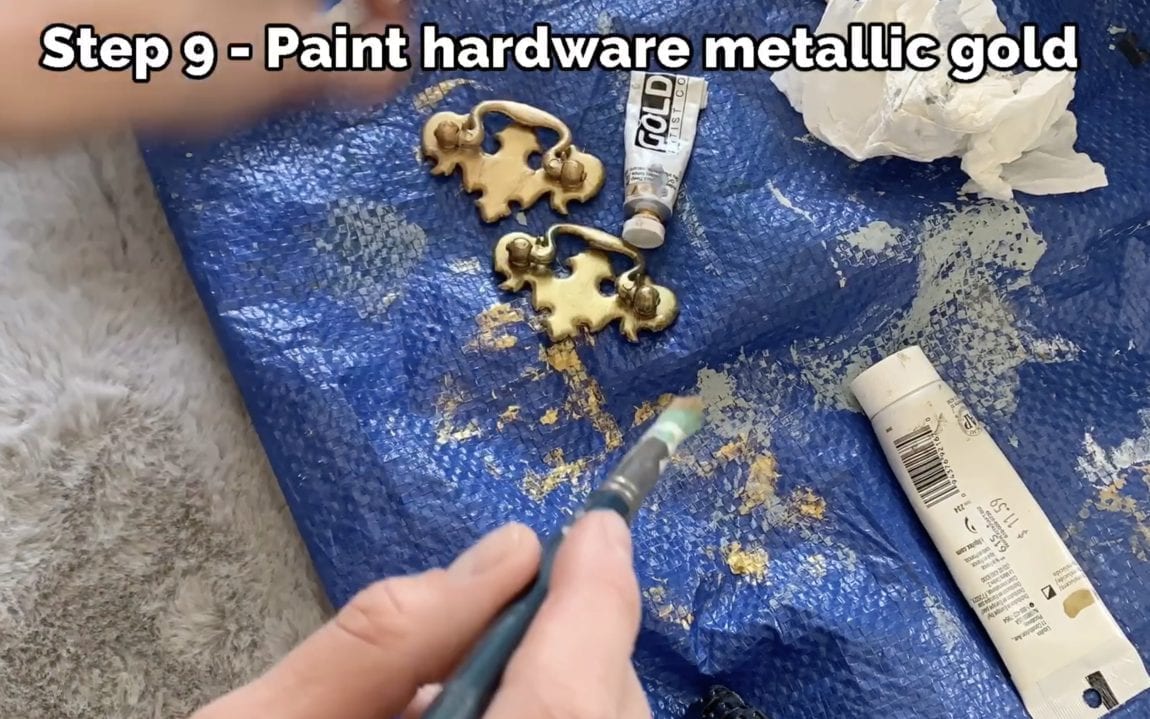
Step 9 – Paint hardware gold!
Paint hardware metallic gold. Sometimes I will replace old hardware, but with this painted wood side table project, I thought giving the current hardware a touch of glam would be a better idea.
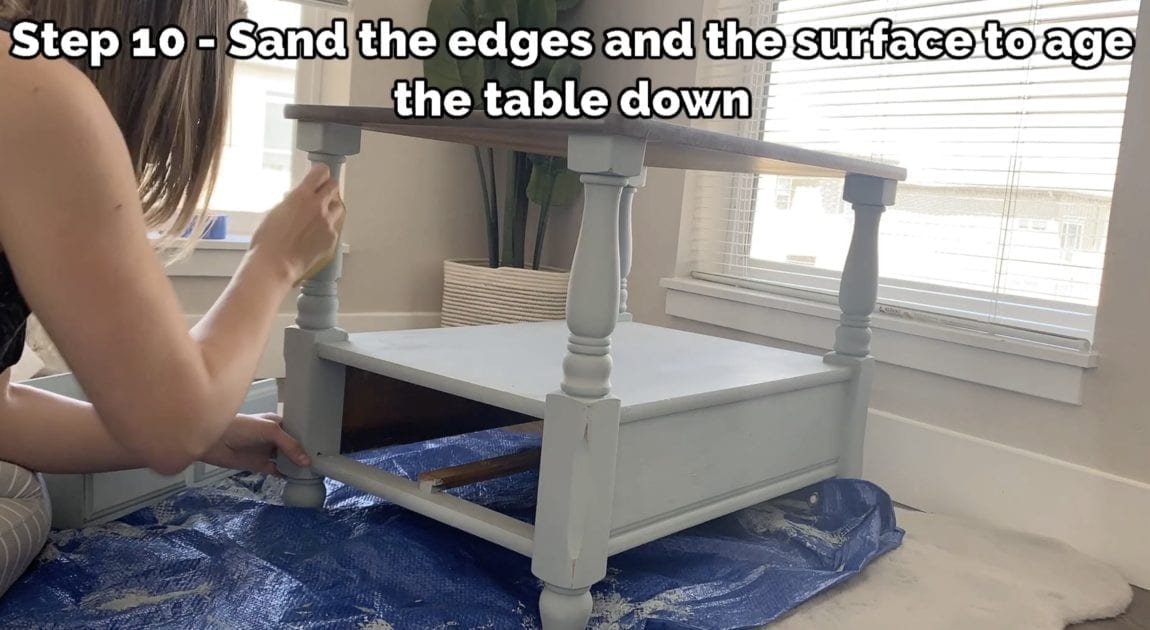
Step 10 – Sand the edges to add a weathered look
Sand all the edges and the table surface to age the table and give it a rustic look.
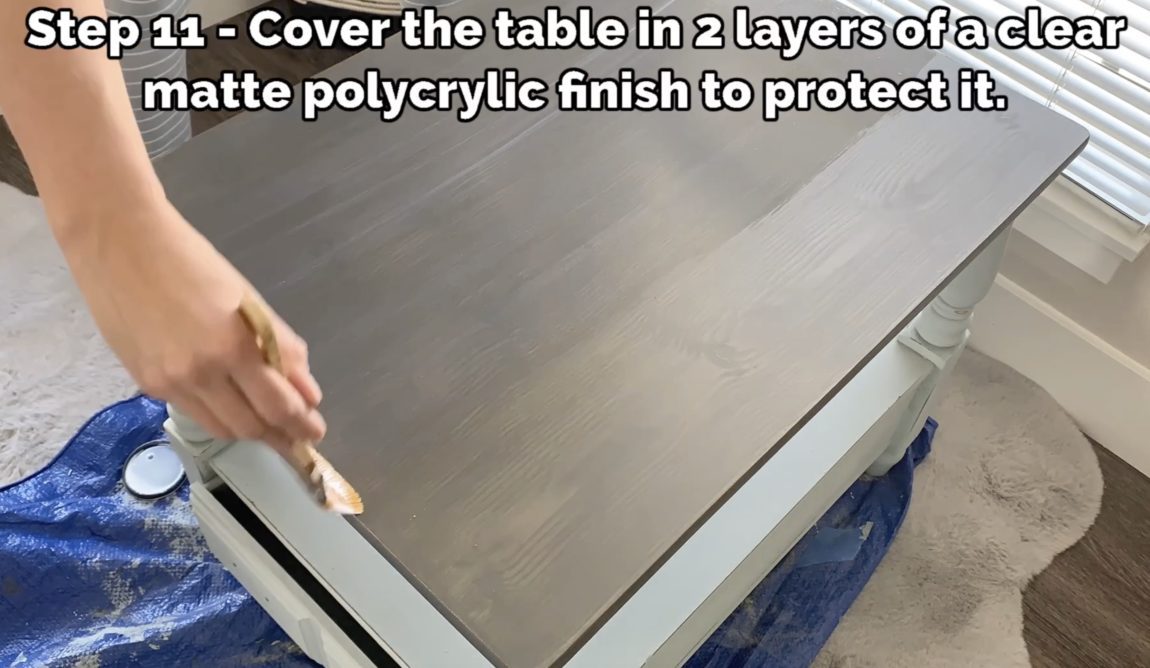
Step 11 – Add a clear top coat
Cover the table in 2 layers of clear coat to protect it from damage or wear and tear.
Step 12 – Finish painting the hardware
Finished painting the last coat of paint on the hardware.

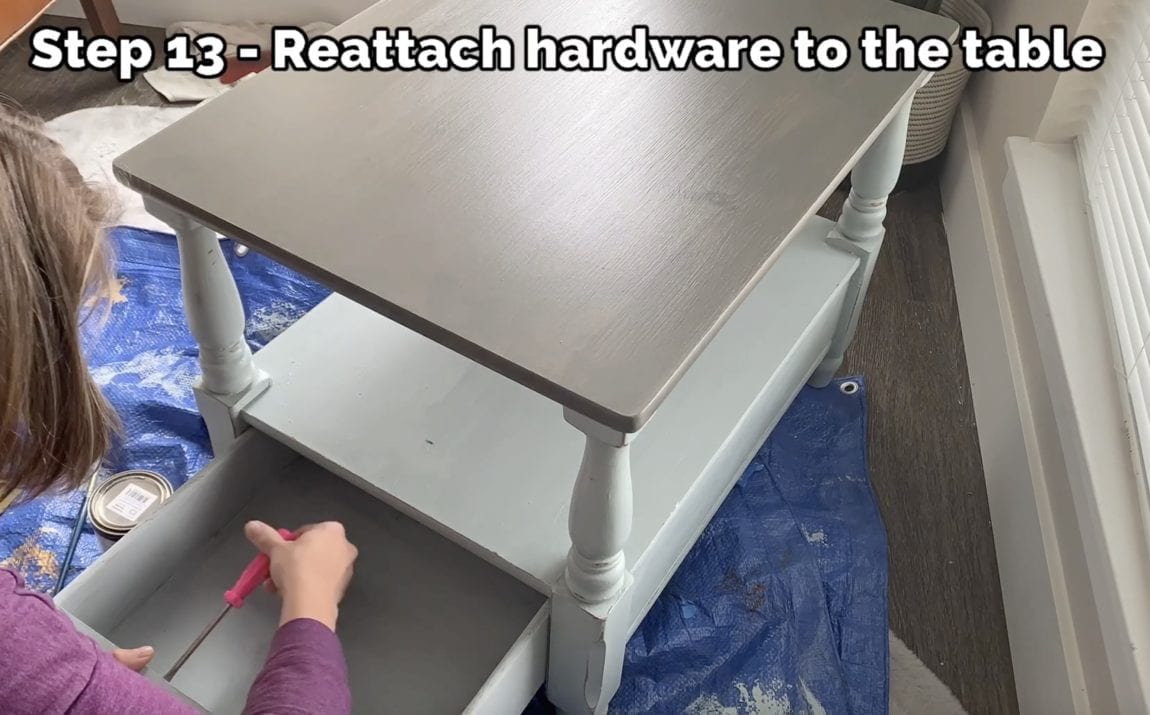
Step 13 – Reattach the hardware
Put the hardware to the furniture and place it in the perfect spot in your home or sell it on places like Facebook Marketplace!
If you are more of a video tutorial person, I definitely recommend checking out the video below from my YouTube Channel. Make sure to subscribe so you don’t miss future projects.
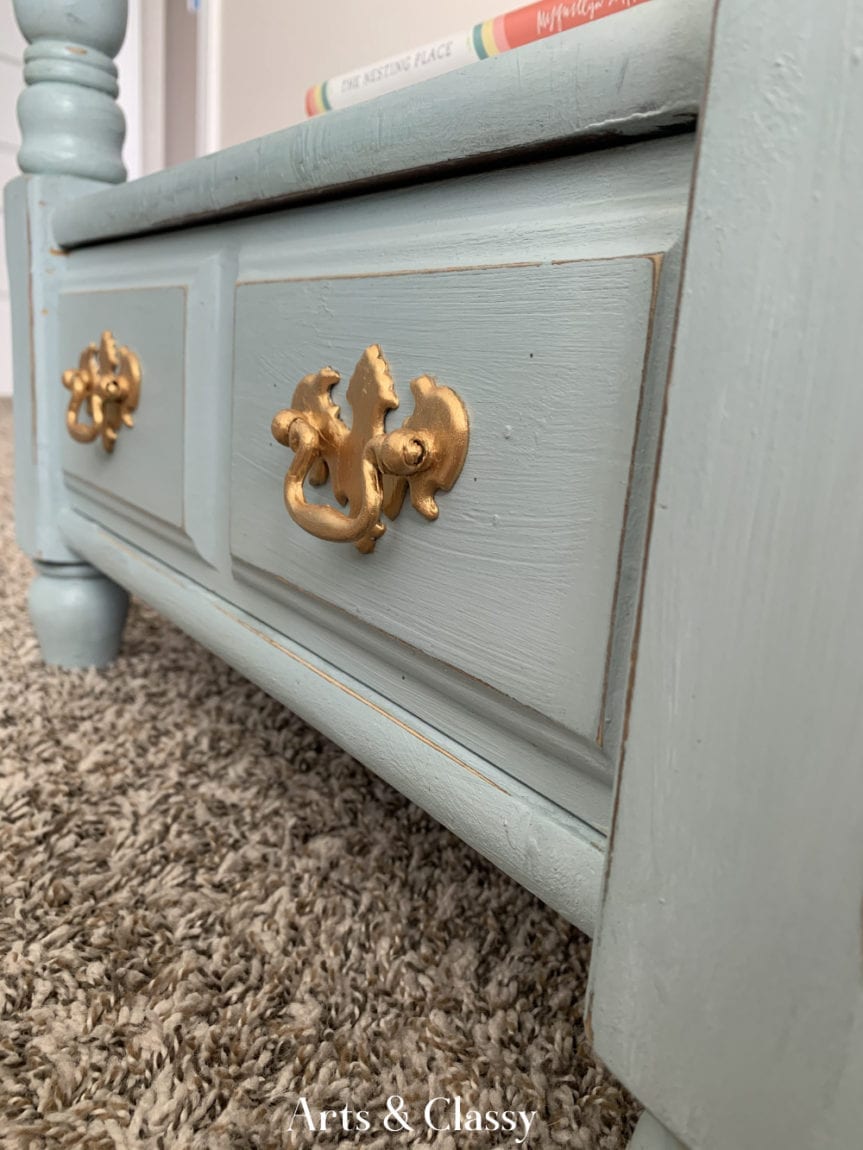
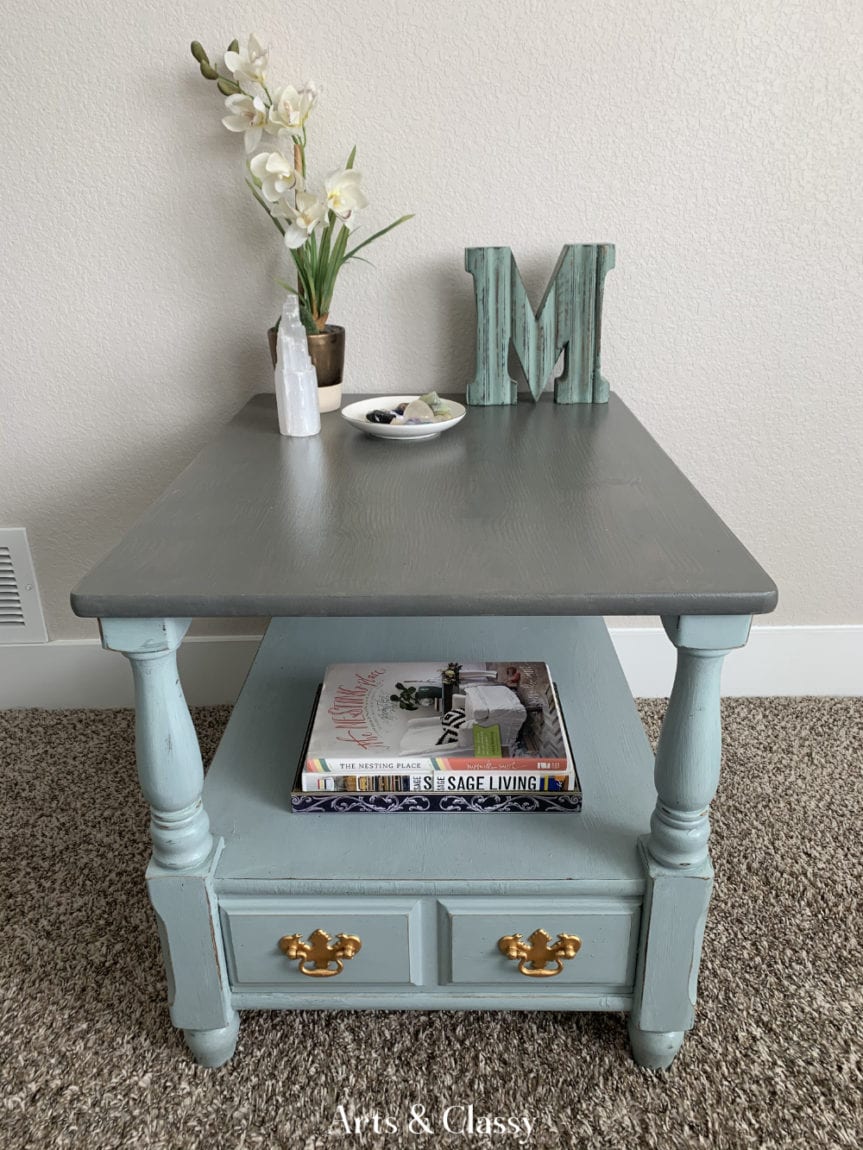
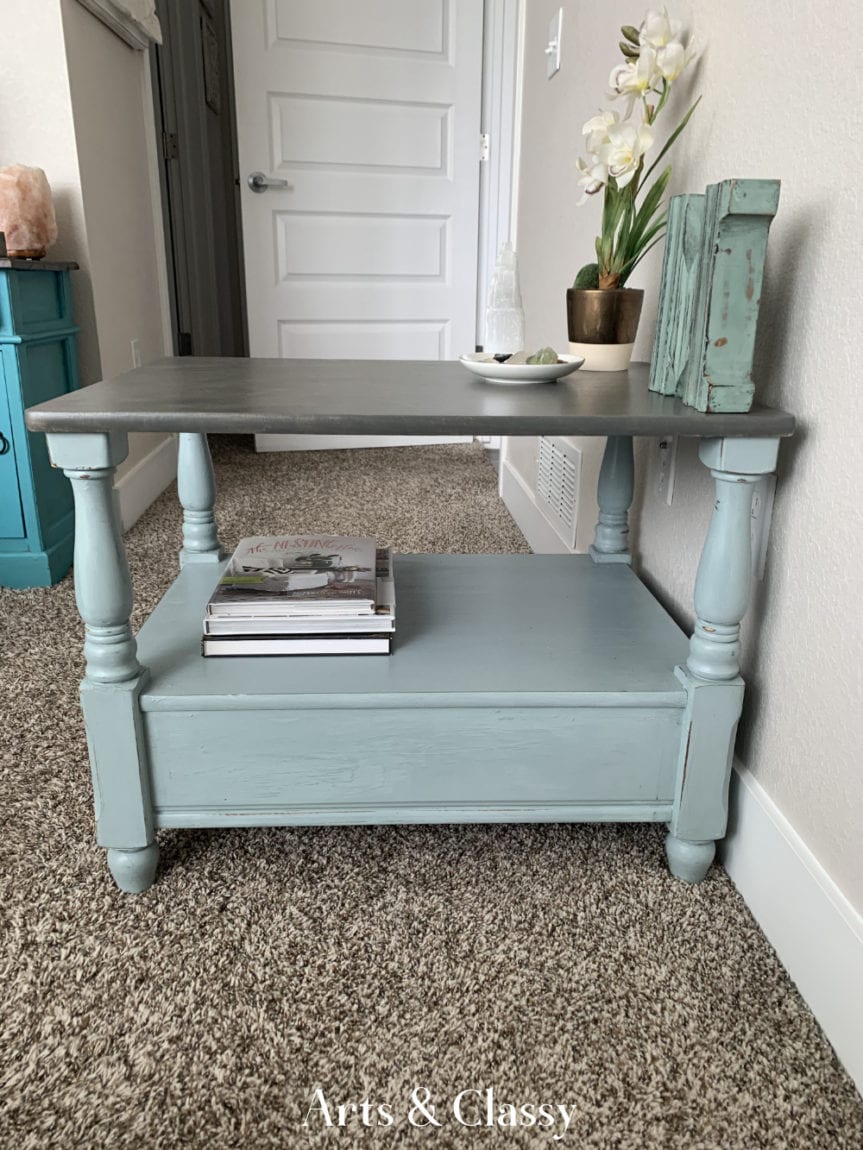
And that is how this painted wood side table got a chic and glam makeover. It didn’t require a lot of time and I am so happy with how this project turned out!!
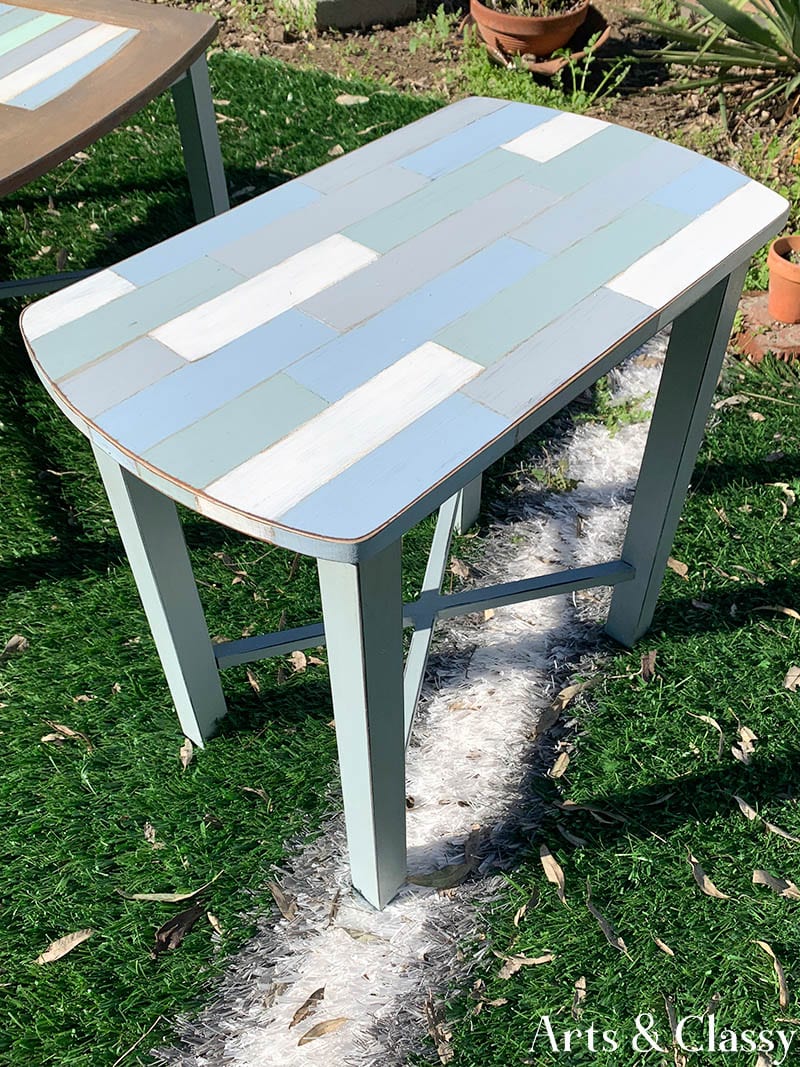
This is the painted wood side table AFTER!

If you liked this project, you may also like:
What did you think of this project? I would love to know your thoughts. Feel free to share in the comments below. Also, make sure you are following me on YouTube. See you next time!

If you liked this project, pin it to refer to later and share!