Restore Your Thrifted Farmhouse Sofa Table: 10 Simple Steps!
Have you ever found an ugly table with hidden potential? I went on a shopping excursion at my favorite local thrift store for some top deals and found a table with great bones!
Follow along with this tutorial as I convert this thrift store sofa table into a farmhouse beauty.
This post contains some affiliate links. I may earn a small commission if you make a purchase through one of these links. See more information in my disclosure policy.
Materials needed for this farmhouse sofa table makeover:
- Rustoleum Chalked Paint “Linen White”
- Retique it Liquid Paint
- Paint Brushes
- Retique it Gel Stain – “Barn Wood”
- Wood Graining Tool
- Rustoleum Chalked Decorative Glaze – “Smoked Glaze”
- Rustoleum Chalked Protective Top Coat – “Matte Clear”
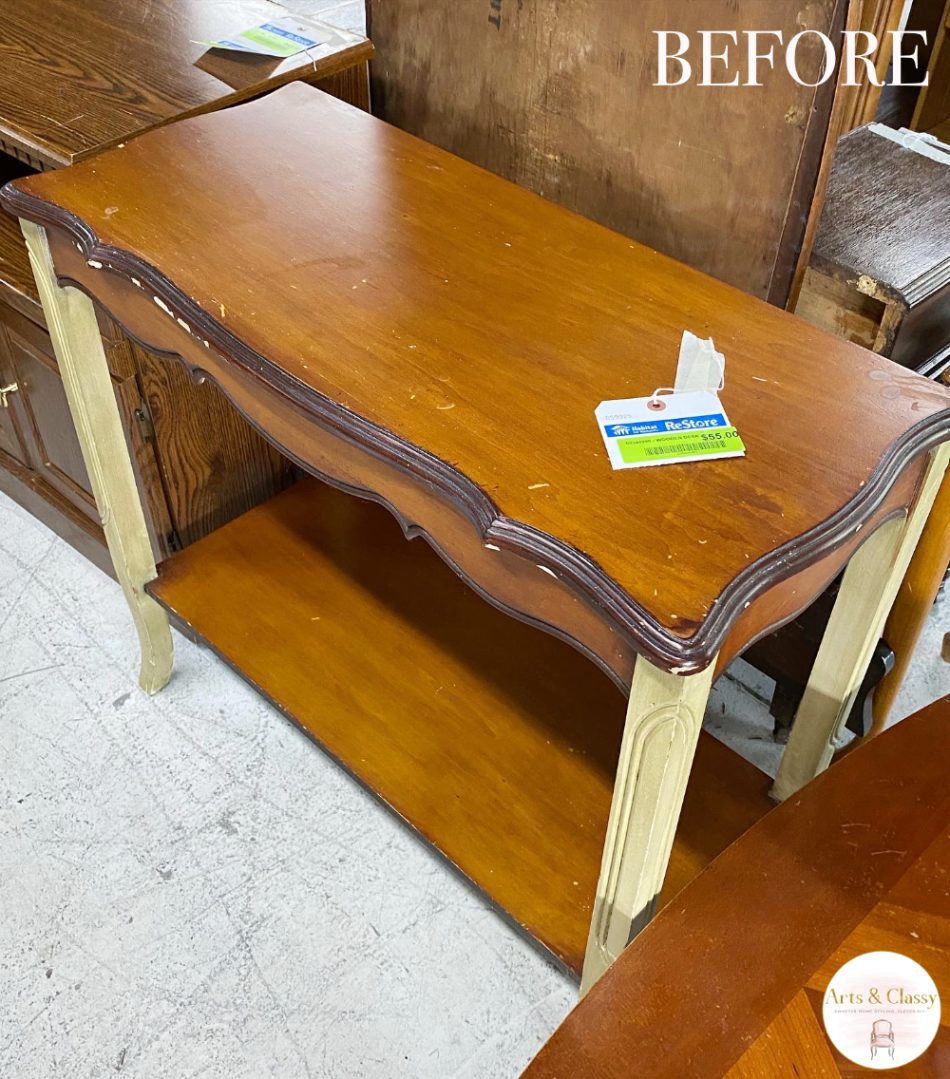
Step 1: Finding The Table
This is probably my favorite part of any DIY furniture flip that I do. At my favorite local thrift store, I stumbled upon a small table made of sturdy wood that had a lot of potential.
It was listed at $55 but the green tag indicated that it was 30% off. I nabbed it for $38.95!
My inspiration for this piece was to give it a rustic farmhouse console table with a white finish makeover. No power tools are needed for this flip.
Fining console tables that fit in a small space is perfection and this is one of them.
This table wasn’t made of solid wood. It was actually made of an oak veneer so I didn’t feel bad painting it.
Step 2: Cleaning The Table
A furniture makeover is a great way to give old furniture a new lease on life. It can be an easy and affordable way to update your home décor. And, it’s a fun project to take on!
The most important step in any furniture makeover is to degrease the surfaces of the furniture.
Sure, the surface of your furniture may look clean enough at first glance. There is typically dirt hidden beneath those cracks and scratches that could prevent you from getting a perfect paint job!
To avoid chipping or peeling away in later stages when it comes time for finishing touches like glossing finishes with furniture waxes, make sure to give all surfaces – inside AND out-a good degreasing before starting any new project.
Once you’ve degreased the farmhouse sofa table, you can start painting!
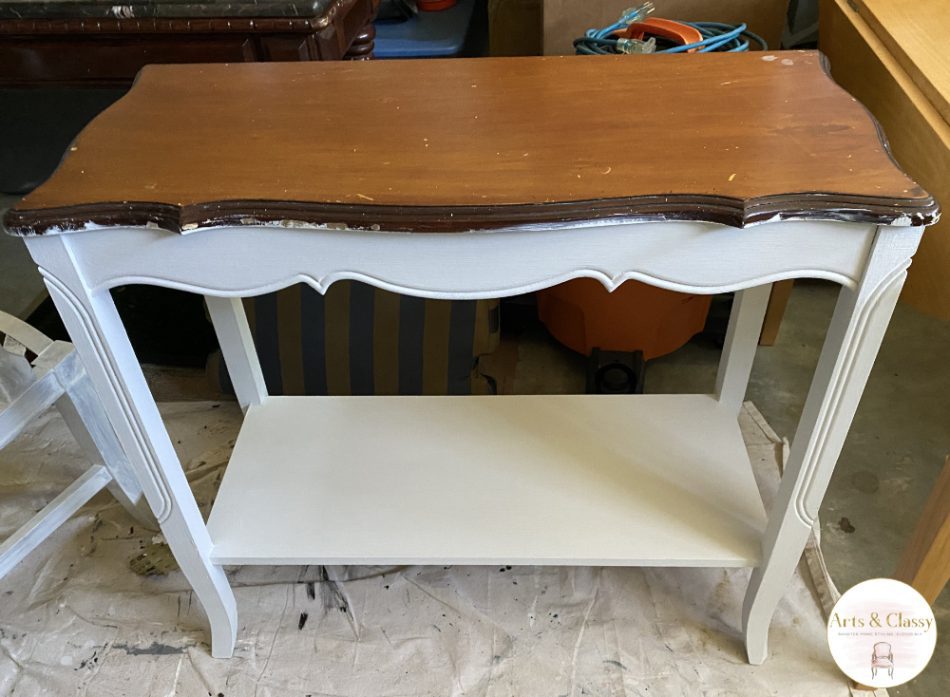
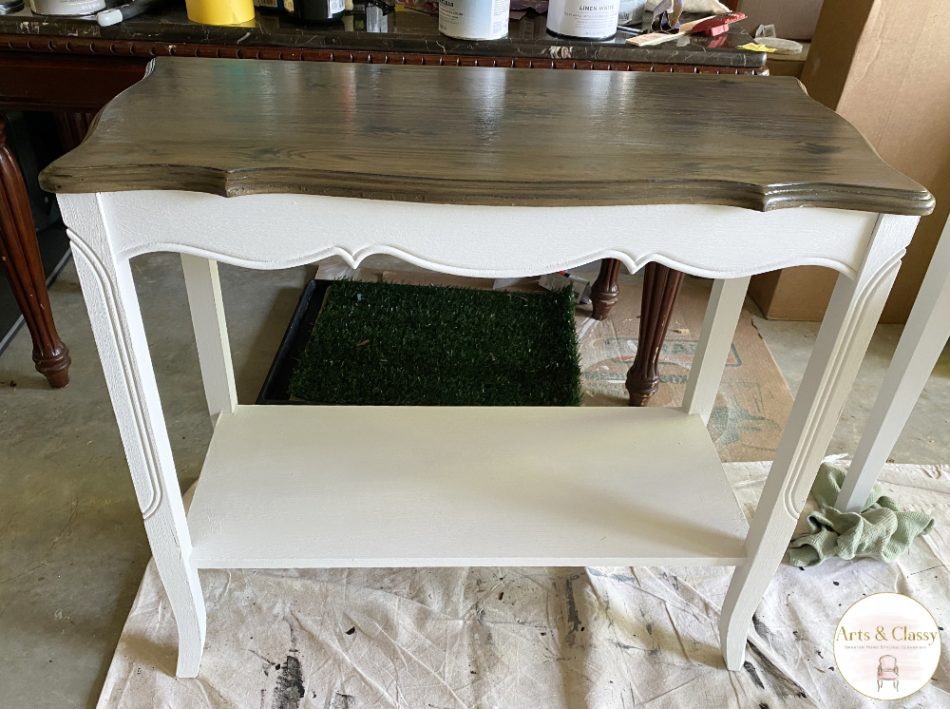
Step 3: Painting The Table
I used my Rustoleum Chalked Paint “Linen White” to paint the table trim, legs, and lower shelf. It took a couple of coats to cover this part of the table completely.
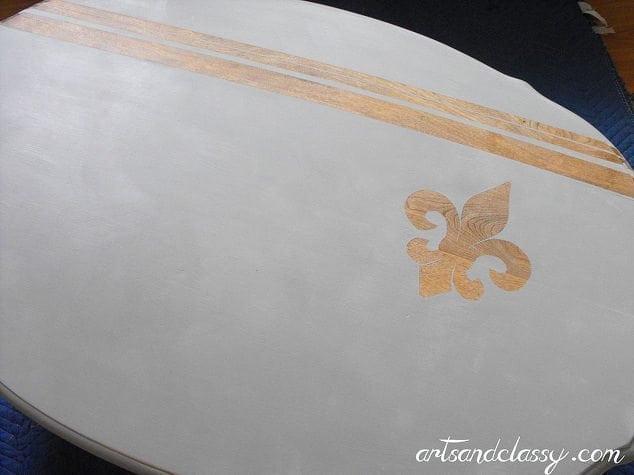
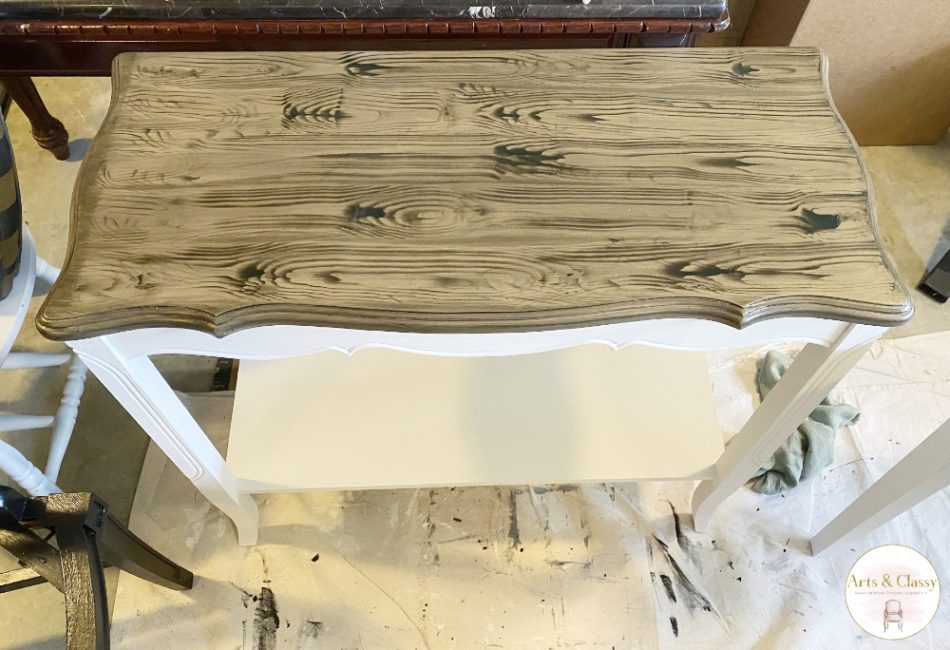
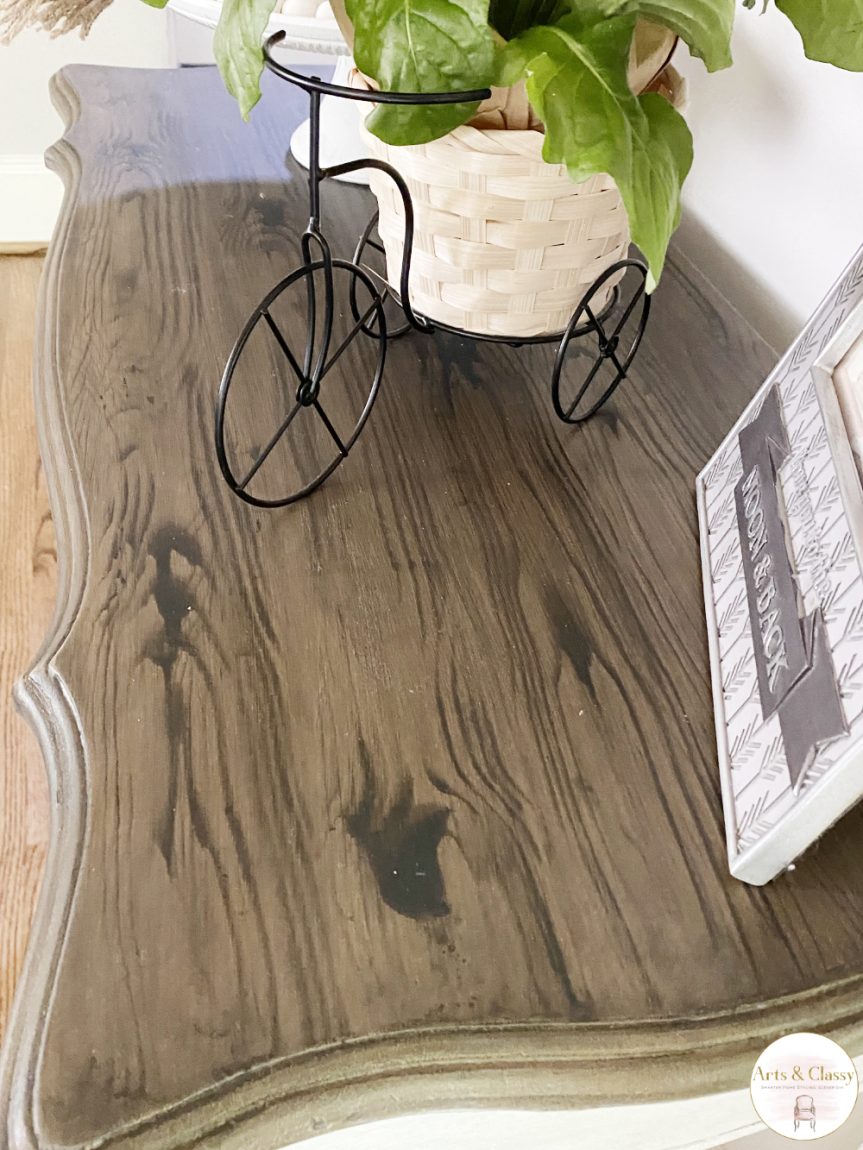
Step 4: Staining The Table
For this step, I used my Retique Liquid Wood paint and applied about 2-3 coats to the tabletop. Allow at least a couple of hours of dry time between paint coats.
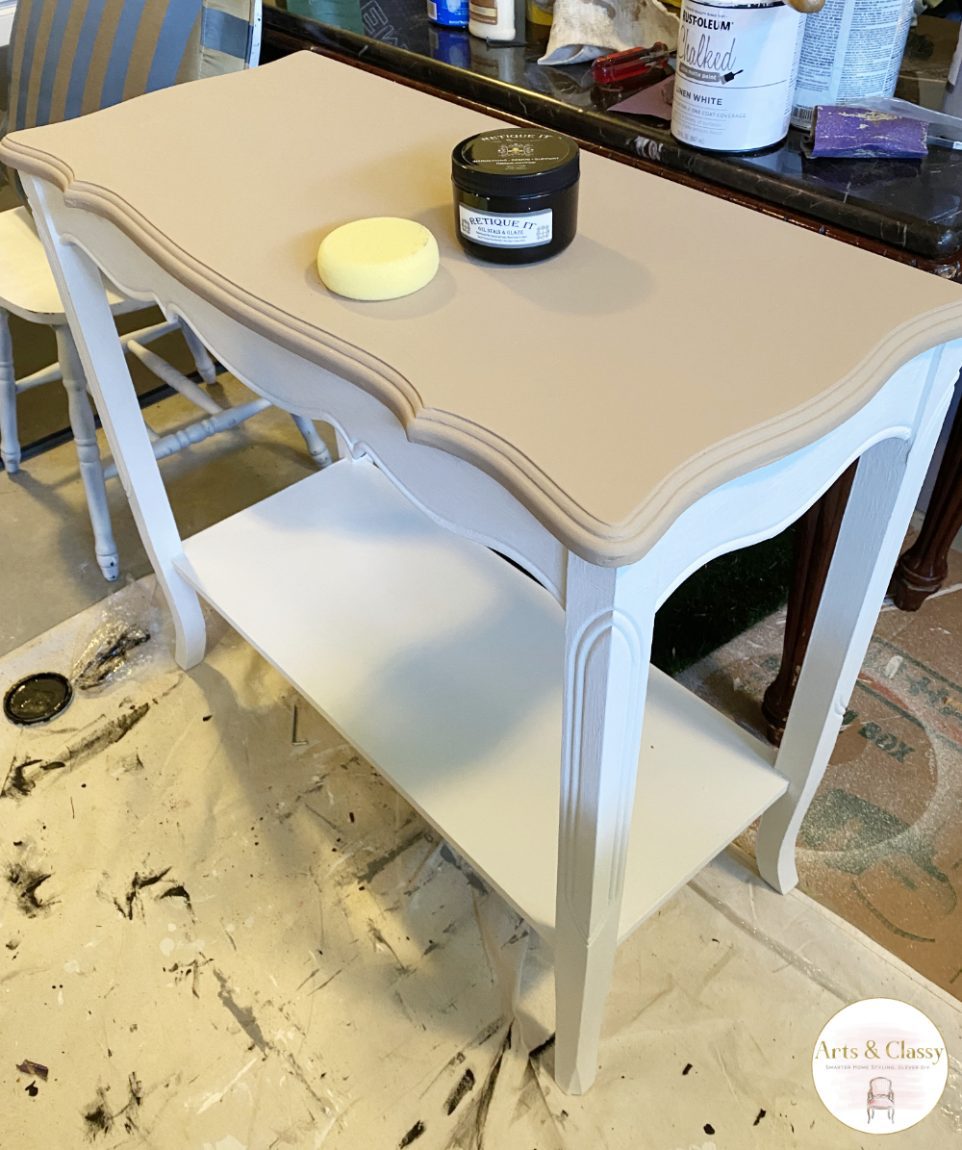
Once there was enough coverage and it was dry, I moved on to the next step. This was an easy step with the staining part of this sofa table project.
I love this paint and stain kit! When I get an opportunity to say no to sanding… I light up like a Christmas tree.
I applied a couple of layers of stain in long straight strokes across the length of the table where I wanted the grain to flow. I used a round sponge for this part to make sure I was applying the stain evenly.
After letting those layers dry, I applied my third coat and as I applied it I used my wood graining tool to lightly drag across the tabletop to create the illusion of rustic wood grain.
RELATED: DIY File Cabinet Farmhouse Makeover
Step 5: Glazing The Table
To add a touch of rustic charm to console tables and other furniture flips, I used my decorative glaze to apply to the legs and bottom shelf.
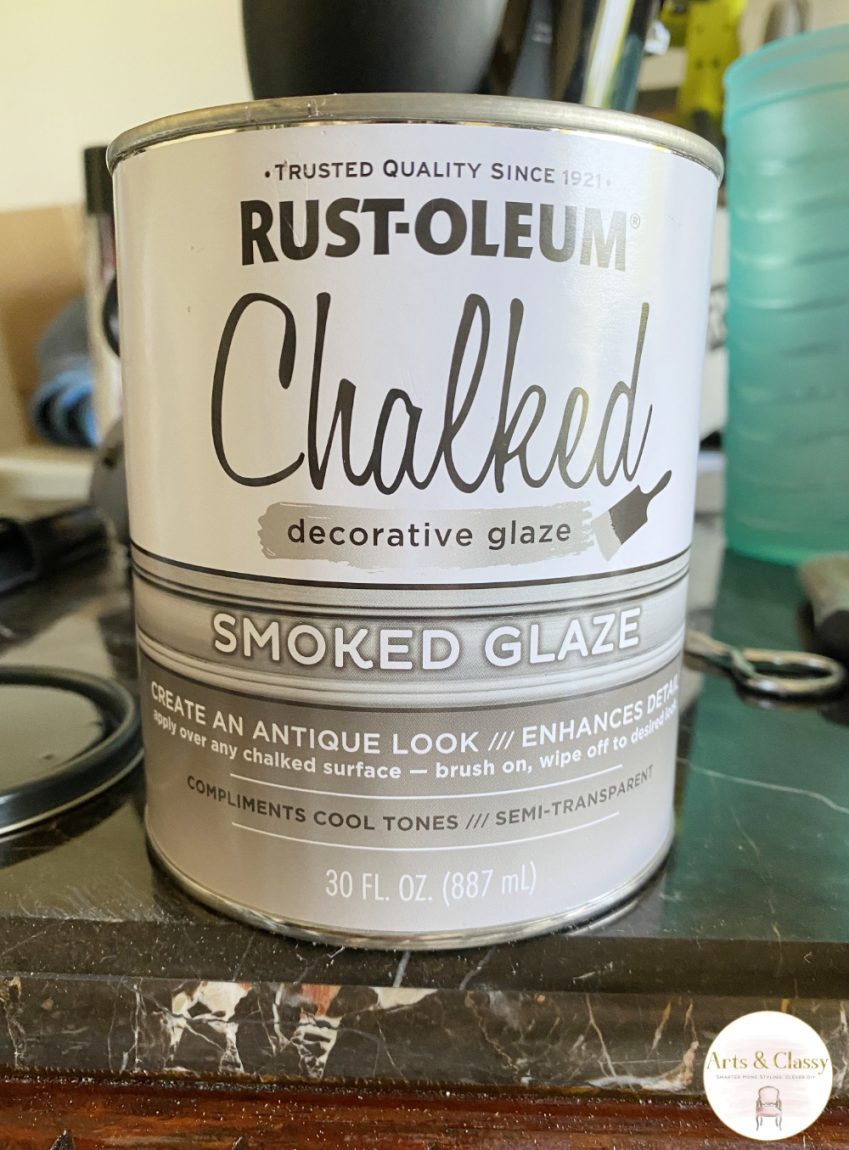
To put it simply, you paint on the glaze to make sure you get it in the carved details, and then take a rag and wipe off the glaze.
This method will leave the excess glaze in the detailing to make it pop a little more.
It also leaves some residue on the paint to age the table if you are looking for an antique finish.
Step 6: Sealing and Finishing The Table
The last step of this makeover was applying my clear top coat to protect the paint surface. I applied this with a paintbrush and allowed time for it to dry.
RELATED: An Easy To Follow Step By Step Guide To Making A Pedestal Bowl
Step 7: Placement of The farmhouse sofa table
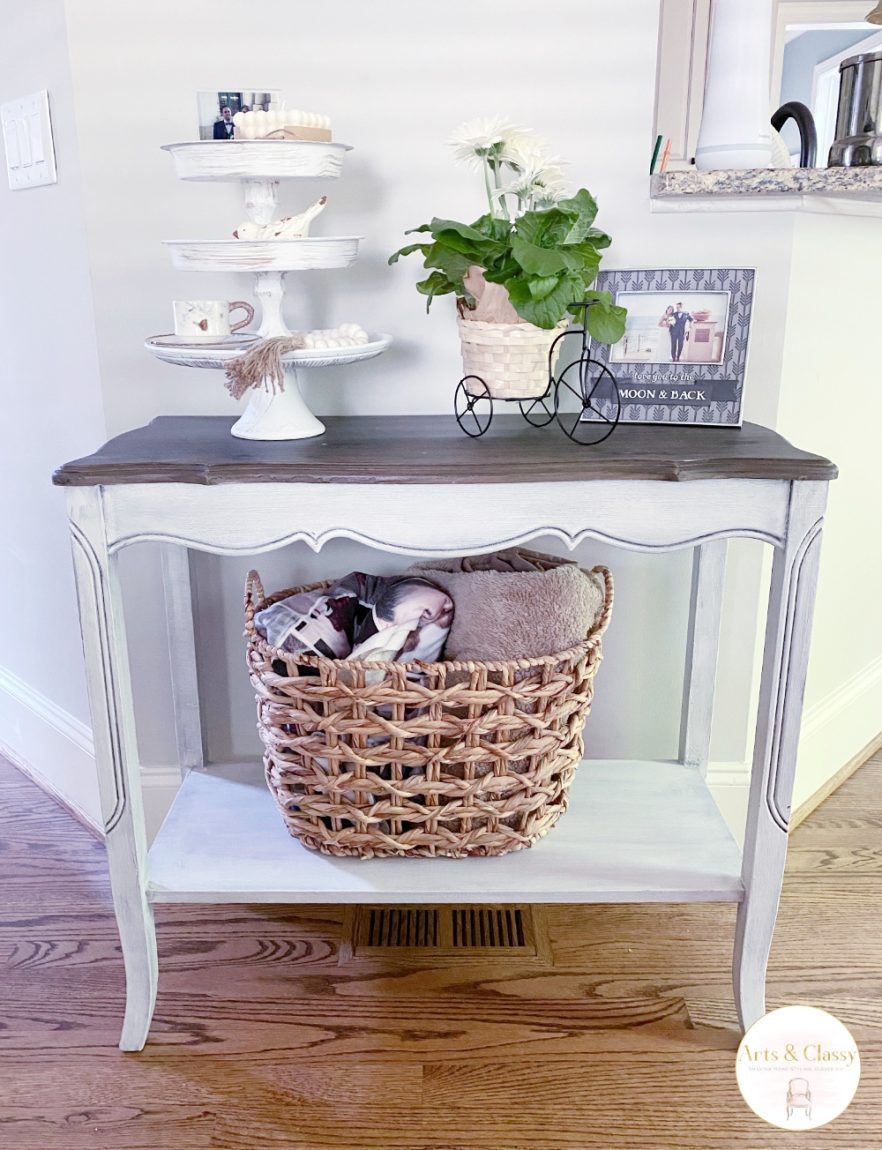
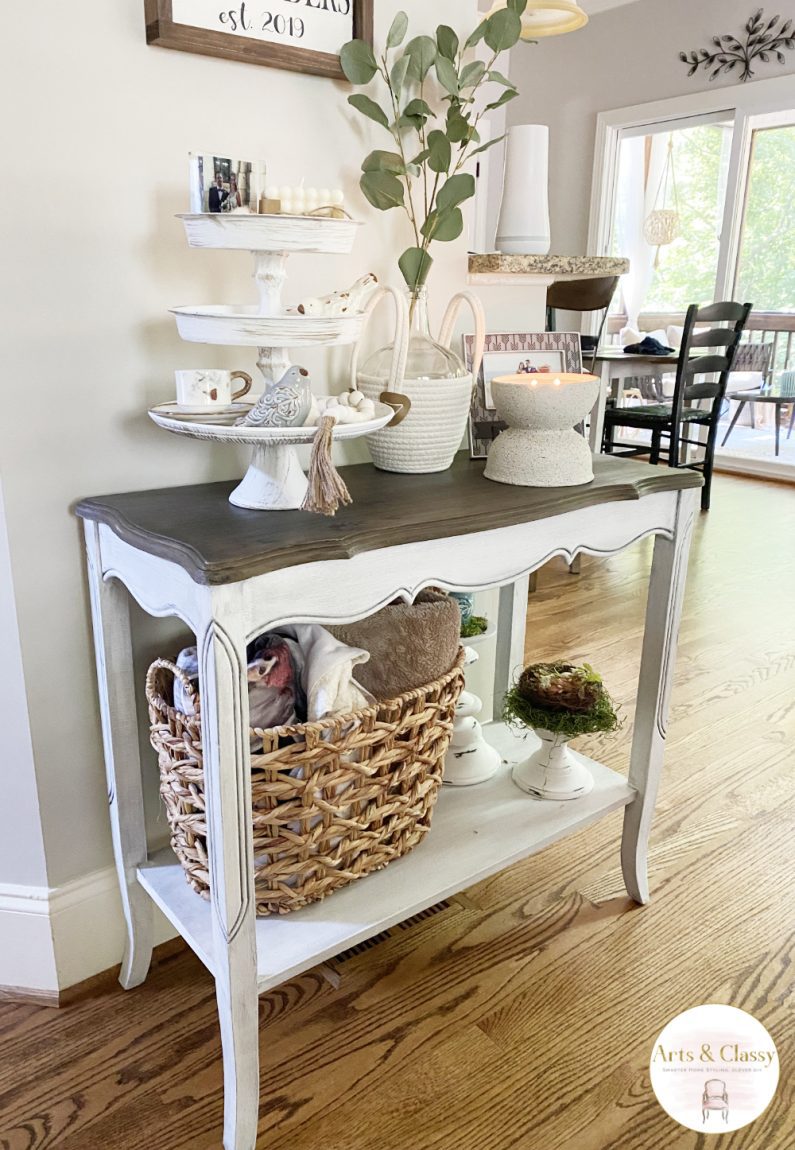
This console table is a bit on the smaller side and figuring out where to put it took some time to decide. It could have gone into my entryway, hallway, or my living room. After placing it and observing it, I liked it in the living room best. It fit perfectly behind my sofa against a tiny wall next to my kitchen counter.
This console table proved to be great for small spaces.
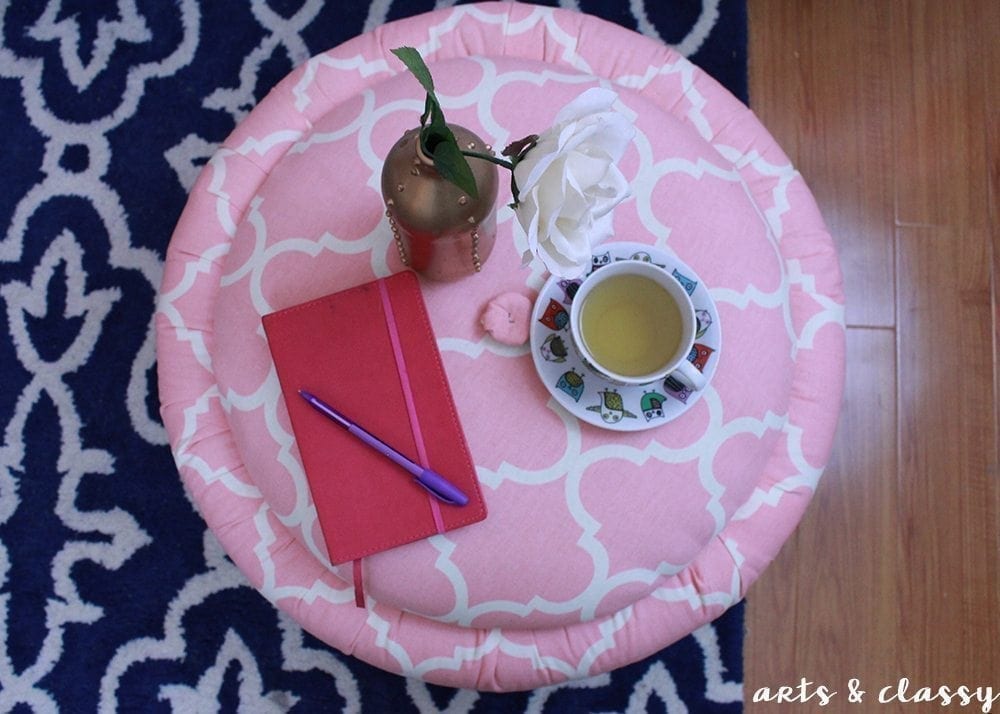
Once I placed it where it was going to live, I began adding home decor that would be perfect to go along with the farmhouse theme. My recent 3-tiered farmhouse tray was a perfect fit, along with a framed photo from my wedding, and a cute daisy planter on the tabletop.
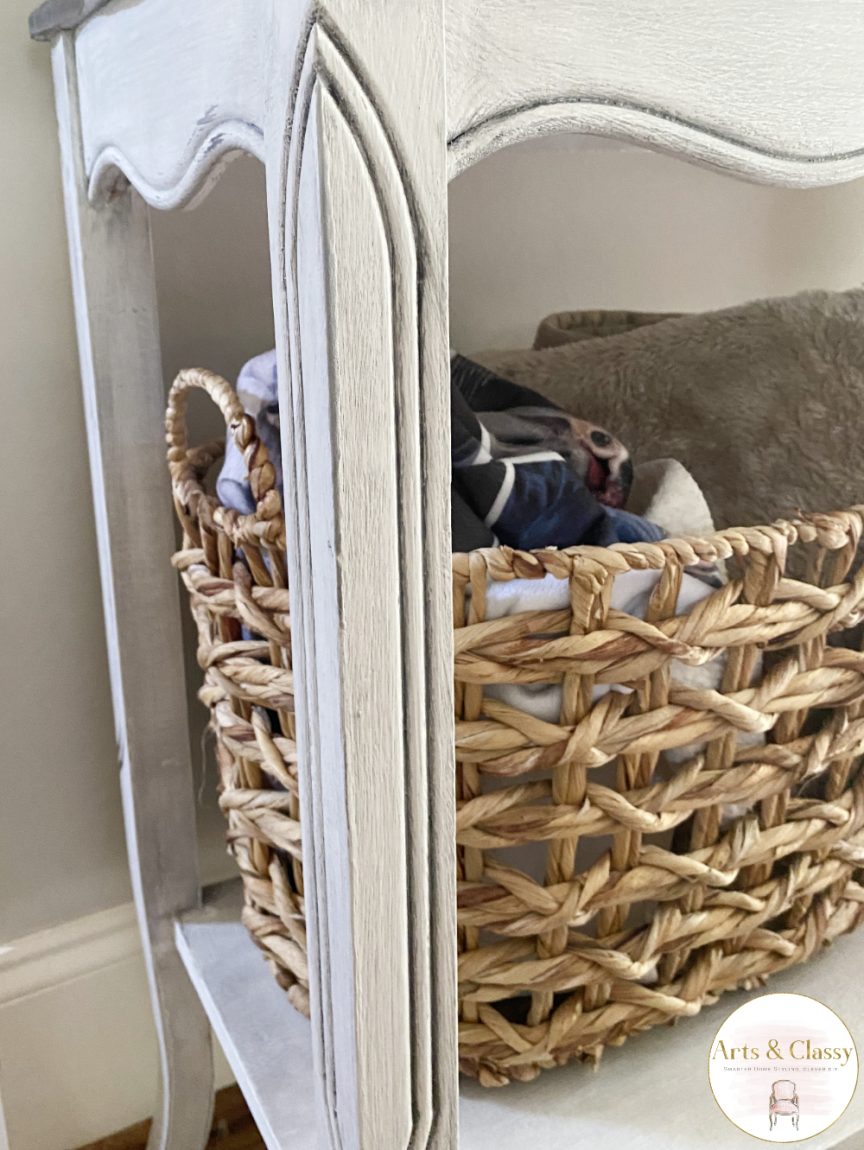
On the lowest shelf, I used a basket that I found at my local Ross for additional storage of my throw blankets.
Now, I want to hear from you! What did you think of this farmhouse sofa table furniture flip?
Let me know in the comments below. How do you style your console tables? I hope that you will be motivated to explore your local thrift stores to find furniture you can breathe some new life into.
Have fun decorating your home on a small budget with the top deals you find!
I hope you enjoyed following this restoration process as much as I enjoyed completing it. It was so rewarding to see the finished product and to know that this table will be used and loved for many years to come. Make sure you are following me on Instagram, Pinterest, and TikTok for more ideas like this one – I would love to hear what you think!