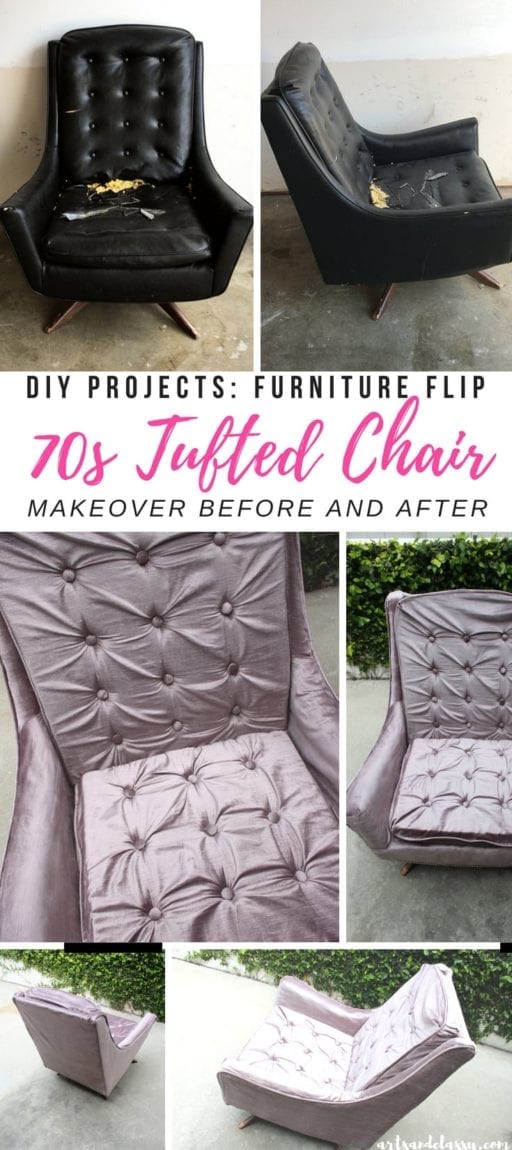
Vintage Leather Rocker Transformation: Before and After Reveal!
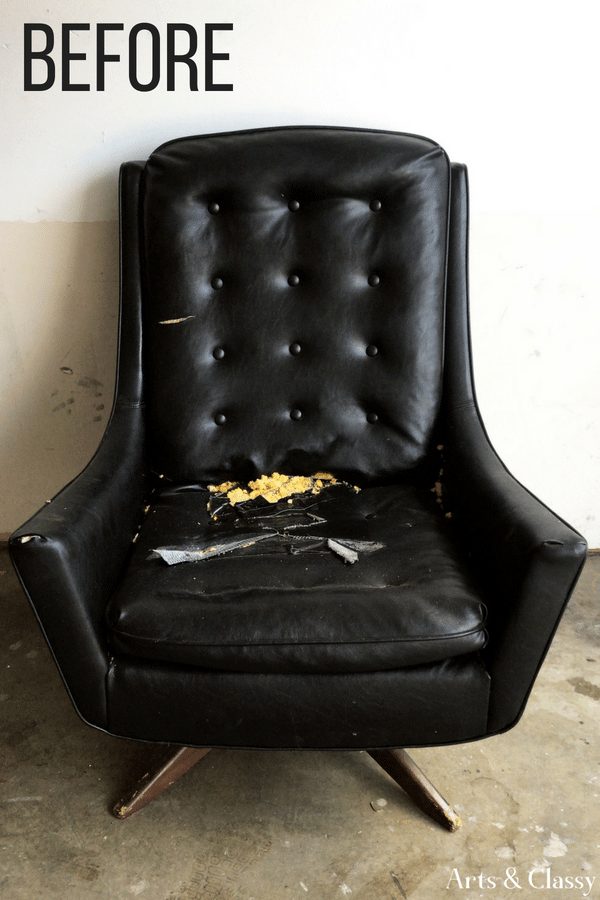
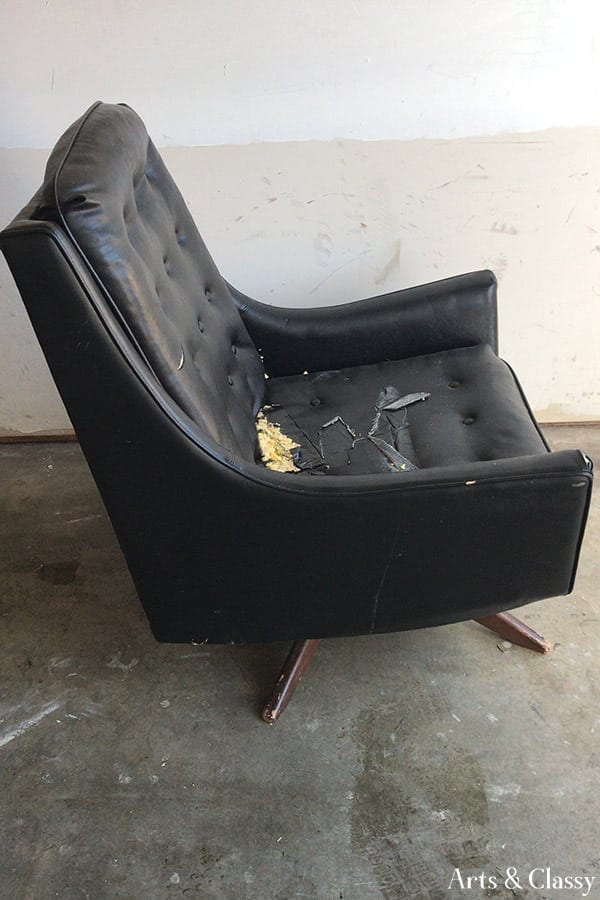
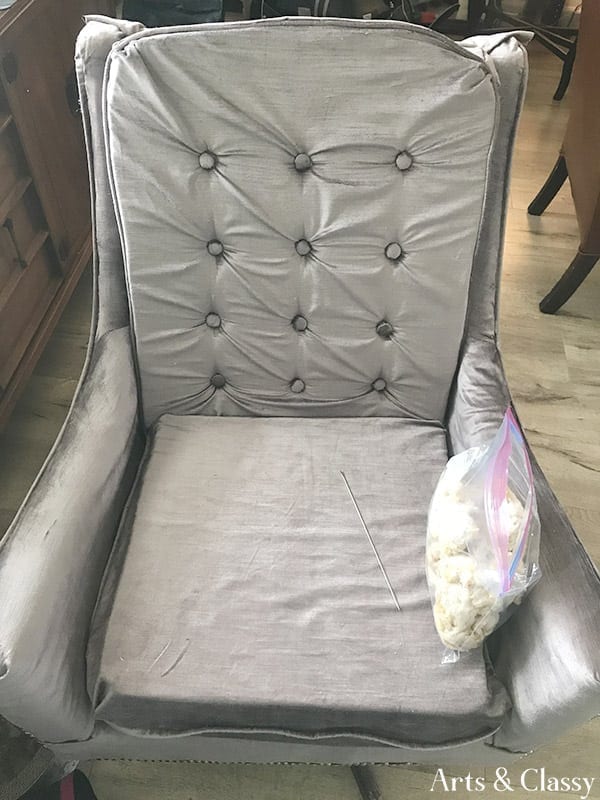
Are you ready to see an amazing transformation? Then buckle up, because you’re in for a treat! I’m thrilled to share with you the incredible DIY makeover job I tackled recently. My friend had an old 70s vintage rocker chair collecting dust in her garage that was in desperate need of an update. It was covered in black duct tape and just looked, well, sad.
But I saw the potential in it, so I grabbed some supplies and got to work and the results were stunning.
In this article, I’ll be sharing the before and after photos, the tools I used, and my step-by-step process for achieving the perfect modern makeover. By the end, you’ll be inspired to turn any outdated furniture piece into a modern masterpiece.
I was going to try and record myself working on this vintage leather rocker project, but since it was such a big piece (and I had to spread the work out each week) it didn’t happen. I will be honest though… it’s a relief that this project is finished. What I learned during this project was that I am not a big fan of heavy sewing. I am more of a let’s paint furniture kind of DIYer.
*This post contains affiliate links. Please refer to my disclosure policy for more information.
Supplies I used for this project:
- Flathead screwdriver
- Needlenose pliers
- Upholstery Stapler with 1/2″ crown staples
- Upholstery needles
- Sewing Machine (This machine is similar to the one I have)
- Thread
- Upholstery thread
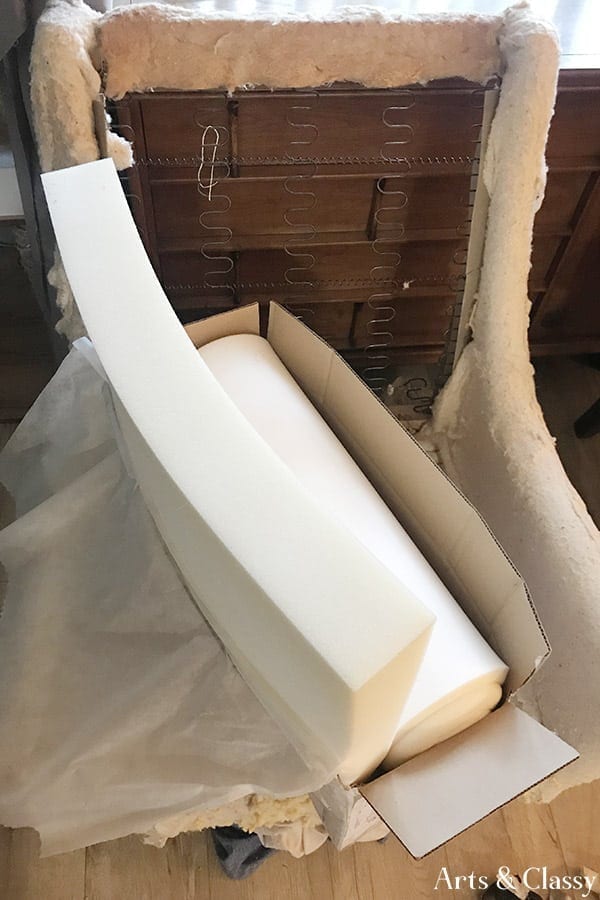
- Upholstery Foam 3″ thick
- Upholstery Tacks
- Fabric – I got mine from the fabric district in Downtown LA.
- Hammer
- Upholstery tack spacer
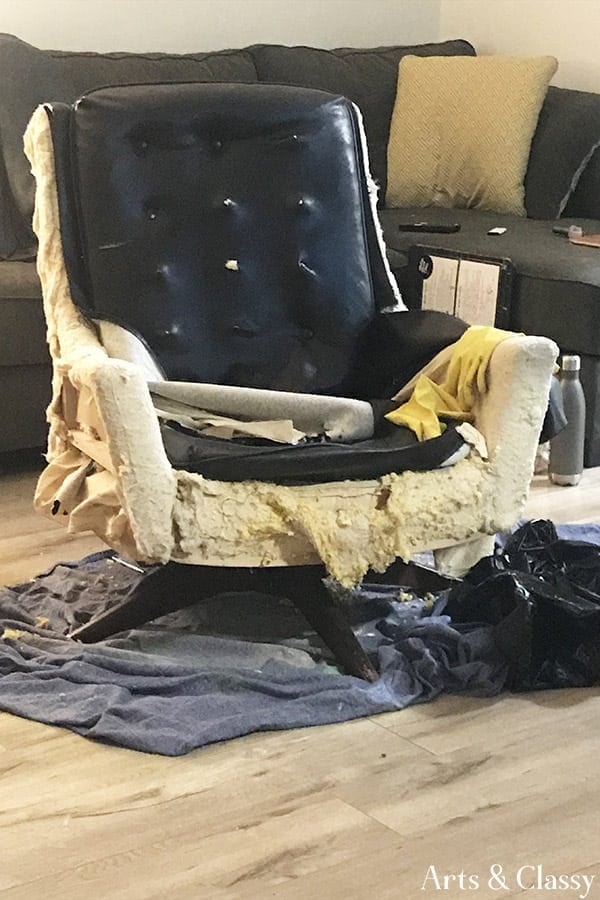
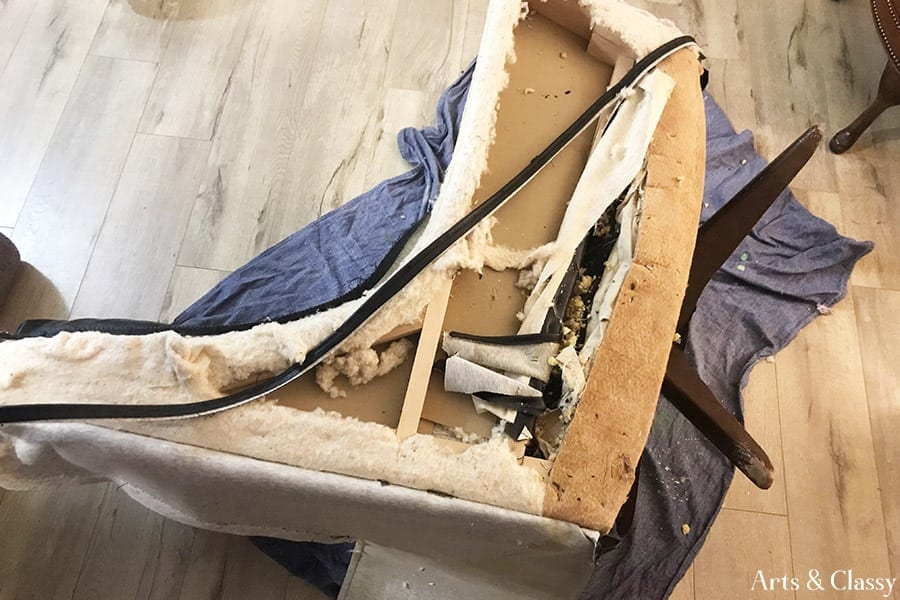
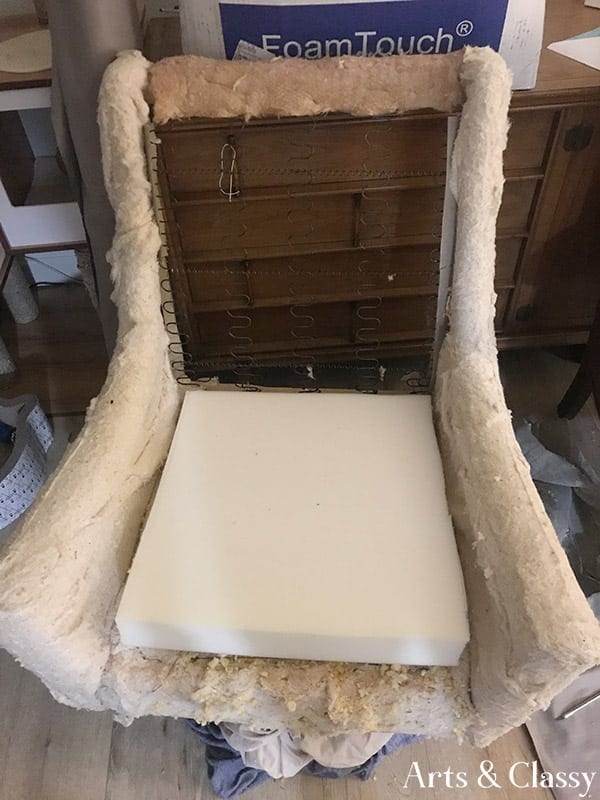
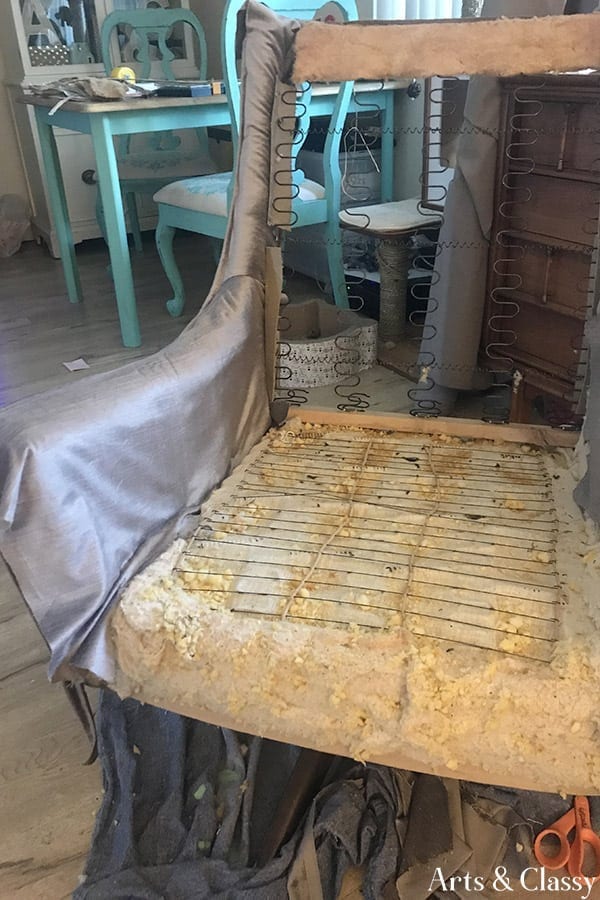
The process of removing all the leather from this piece took me a couple of days. This was a big job. Especially since the seat and back cushions had completely disintegrated.
For the most part, I used the flathead screwdriver and my needlenose pliers to remove the leather. I wanted to keep everything intact so I could use the original to make new patterns with the fabric I chose. I also kept a lot of the original hardware that was used on the back of this chair and the front to reuse it.
3″ thick upholstery foam was needed and had to be cut it into the shapes I needed for both cushions.
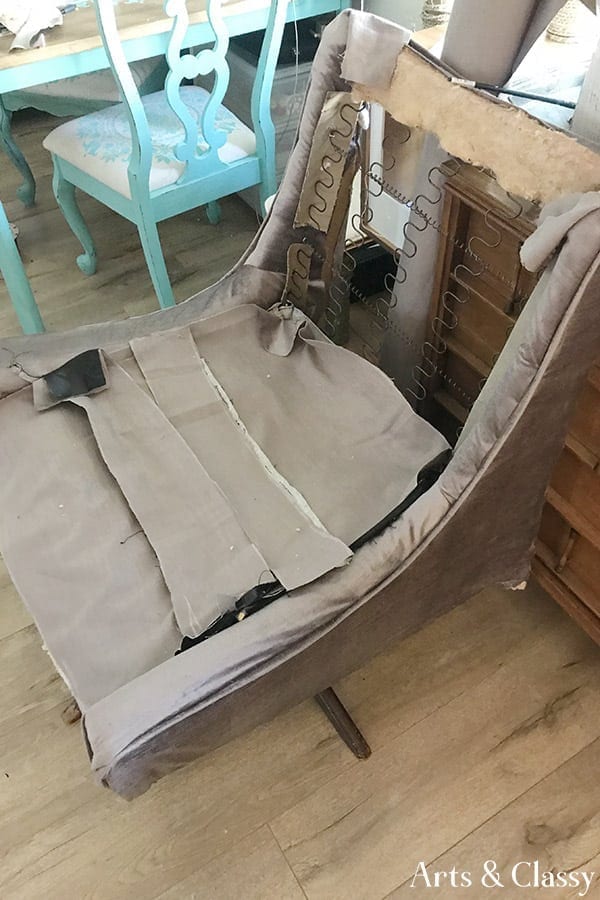
I had to break out my Brother’s sewing machine for this one. This project was like putting a really challenging 3d puzzle together.
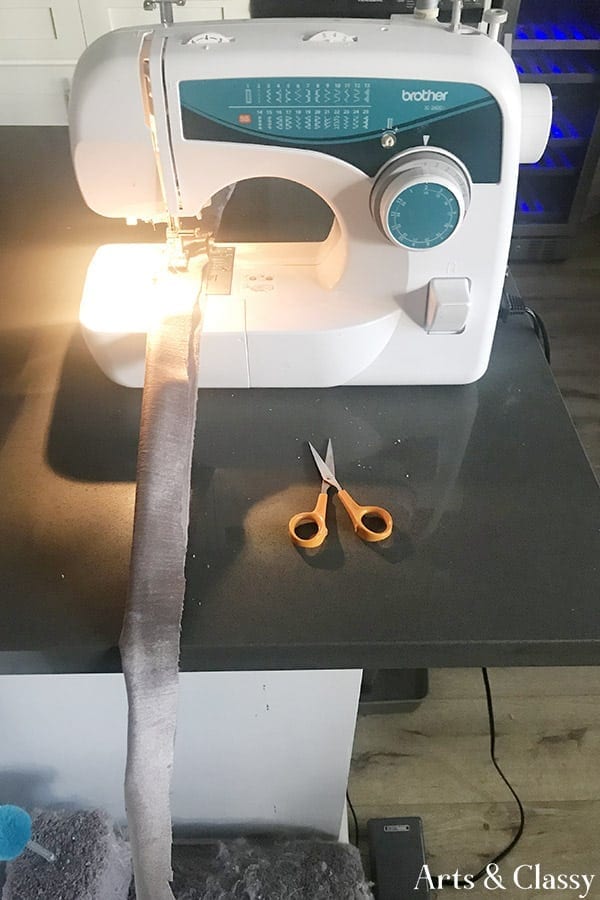
When it came to the smaller pieces of fabric, it got a little tricky, but I tried to stay organized with this process. I didn’t want to lose track of anything and have to redo more than I already had to.
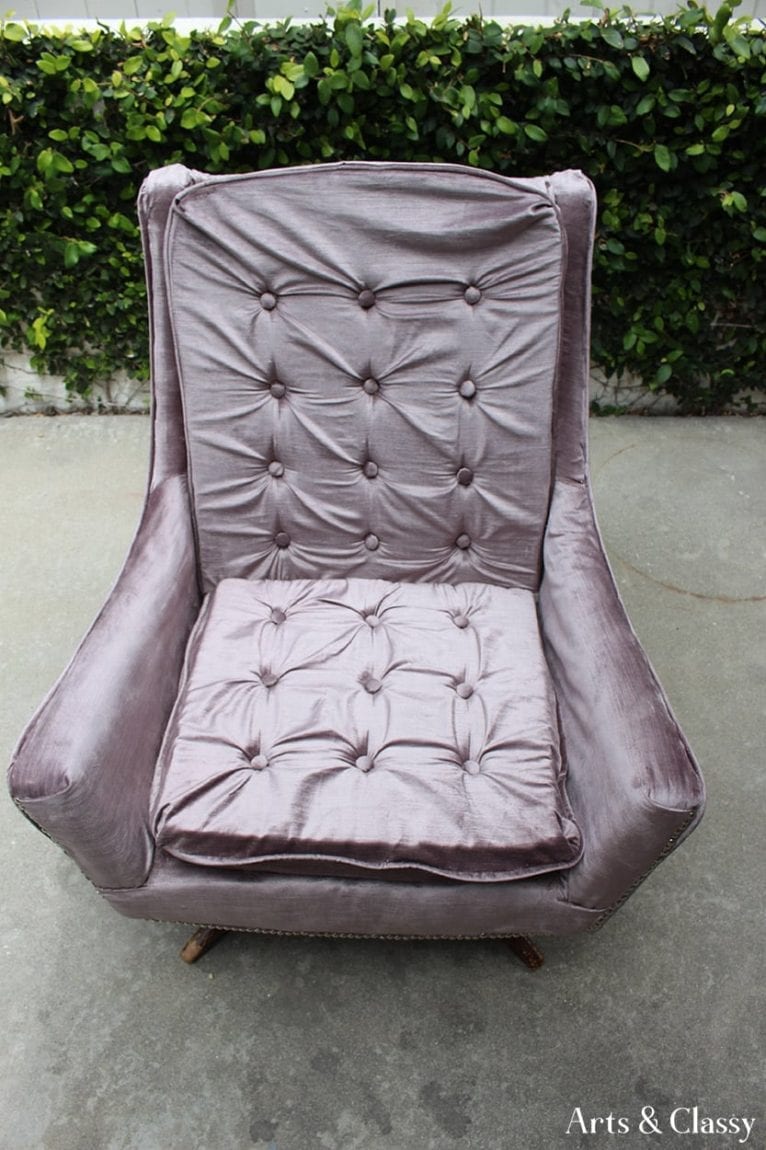
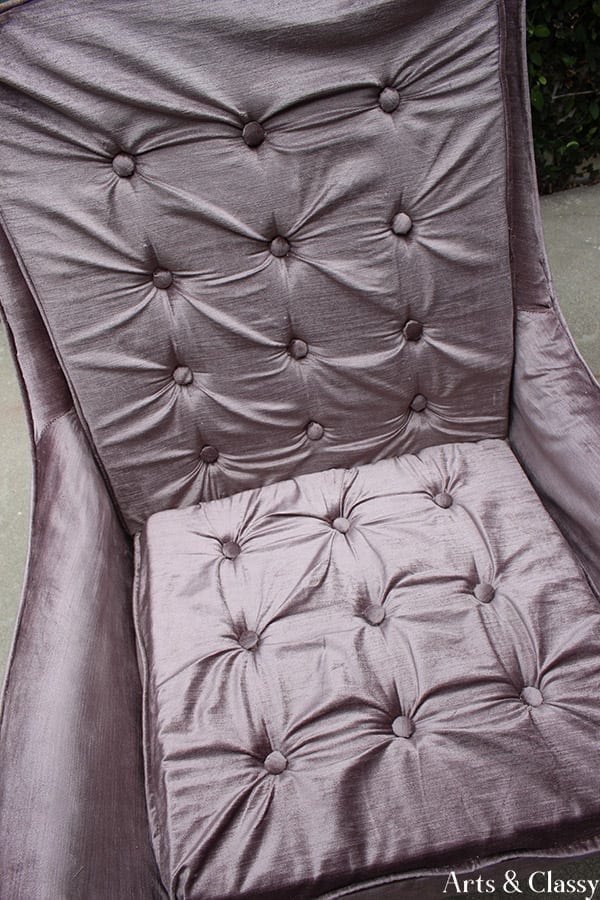
The tufting portion of this project was simply my favorite! I used the original fabric to give the chair’s already existing buttons a stylish update. I also ordered upholstery needles and thread to ensure the buttons were securely fastened in place. With a bit of creativity, I was able to make this piece truly unique. A perfect choice to add some modern flair to your home.
I also added some upholstery tack decoration to the bottom front part of this vintage leather rocker chair.
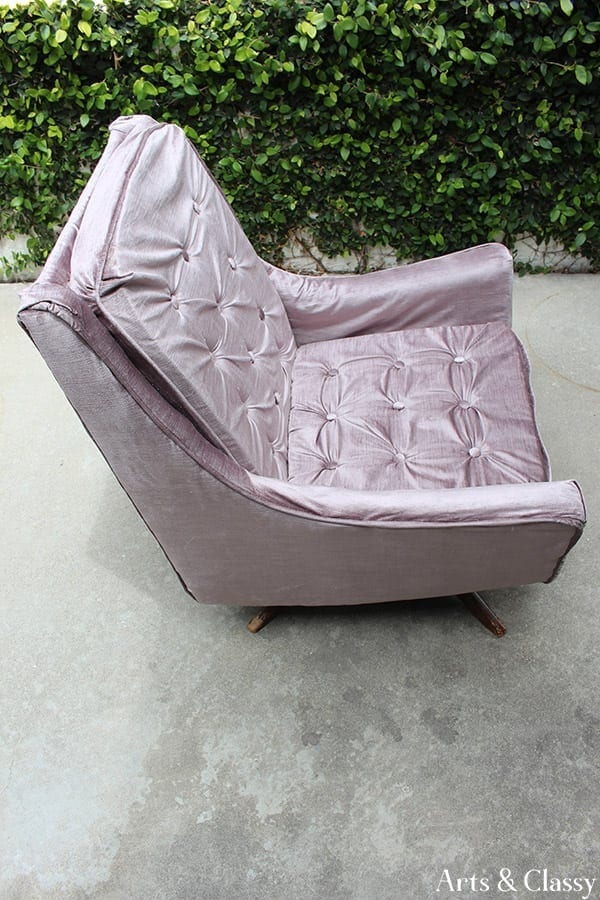


As I said earlier, I learned a lot during this process. I do not claim to be a professional upholsterer but, I think I did a decent job making this piece enjoyable again.
So what do you think of this chair? Do you like what I did to it? Let me know in the comments below.
If you liked this project, please pin it for later.
If you liked this project, you might also enjoy…