Do It Yourself Goodwill Table Lamp Makeover
Have you ever gone to Goodwill with just a few dollars in your pocket, but come out with something truly beautiful and unique? With a little bit of creativity and effort, you can transform an inexpensive second-hand item into a beautiful home décor piece that will dazzle your guests and make you proud. In this article, we’ll show you how to give a secondhand table lamp a creative DIY makeover.
You’ll learn about the tools, supplies, and techniques you’ll need to complete this project so you can enjoy a beautiful, one-of-a-kind lamp that’s a fraction of the price of an expensive designer piece. So grab your paintbrush and a pair of gloves, and let’s get making!
One project is finally finished! I am elated that I can finally show it to you. I have become a little obsessed with stripes. I love them! I have been trying to implement them into a few projects.
I think this project was truly inspired by my Cane Back Chair Makeover a few months ago. I fell in love with the black and white stripe pattern.
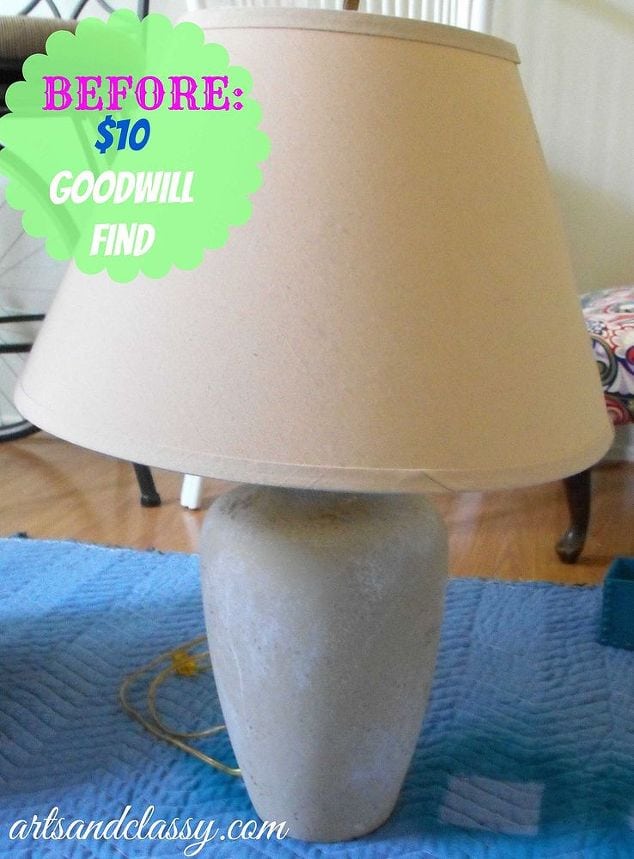
If you like what you see so far, I would love to teach you how I transformed this $10 goodwill lamp and lampshade into something more.
First, you will need supplies:
- Spray Paint Primer
- Spray Paint – White
- Black Craft Paint
- Spray Paint – Metallic Gold
- Chalk Paint by Annie Sloan – Paris Grey
- Paint Brushes
- Painters Tape
- Sand Paper
- Soft Clear Annie Sloan Wax
I began by disassembling the lamp and taping off the sections I wanted to mask.
Once I sprayed the lamp with a few layers of primer and spray paint. I have a day to dry. After toiling around with the idea of using painter’s tape to create my stripes, I realized how hard that would have been since the stripes I wanted to do were not the same thickness in certain areas.

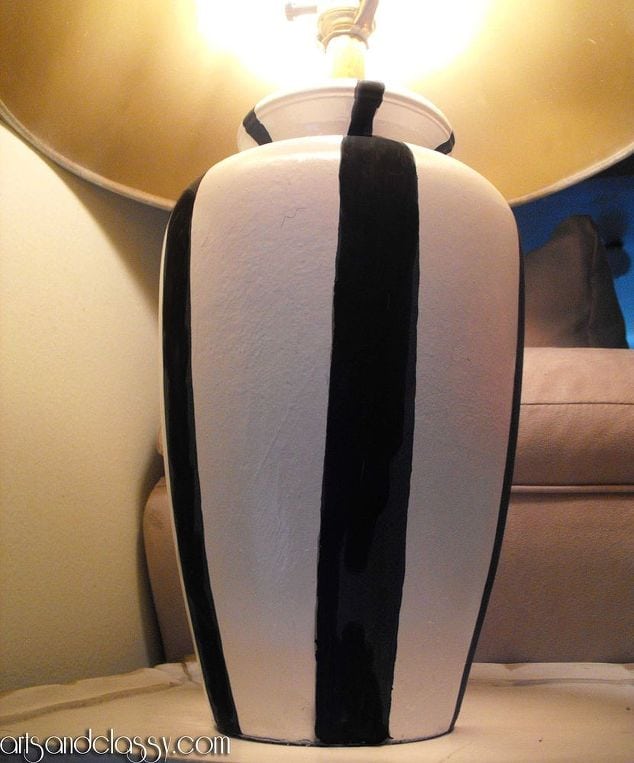
I decided to be brave and hand paints the stripes myself.
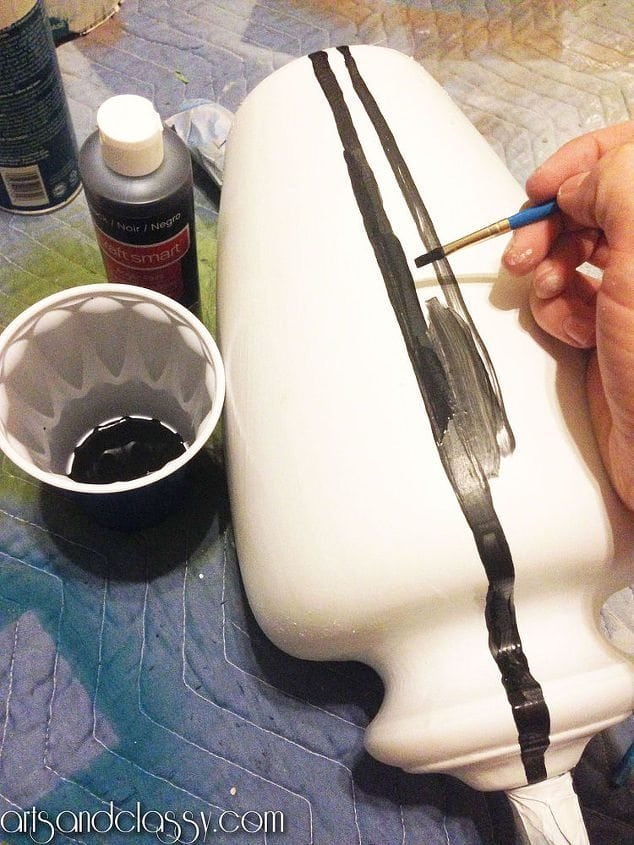
- I used a very small detail brush and began doing my best to create the illusion of a perfect stripe. I even spaced out the stripes as best I could.
- Next, I attempted to tackle that old lampshade. The fabric was fraying on it which gave it a dingy look.
- But, other than that, this lampshade wasn’t all that bad. So I decided to revive it with none other than chalk paint by Annie Sloan Unfolded and some metallic gold spray paint for the under part of the shade.
- Once I applied 2 coats of chalk paint (see before photo below) you could still see the fraying. It does not look attractive.
- I thought I would experiment by sanding the painted shade to see if it would eliminate the fibers.
- AND IT WORKED! I used a circular motion on the shade to make it nice and smooth (see the after photo below)
- Last, I took my soft clear Annie Sloan wax and buffed the shade where I painted to seal the finish.

Here is a great image of the gold underside of the lampshade. What do you think of the lamp in general? Do you like it? Since this project only cost me $10 for the lamp, I think I consider this a success.
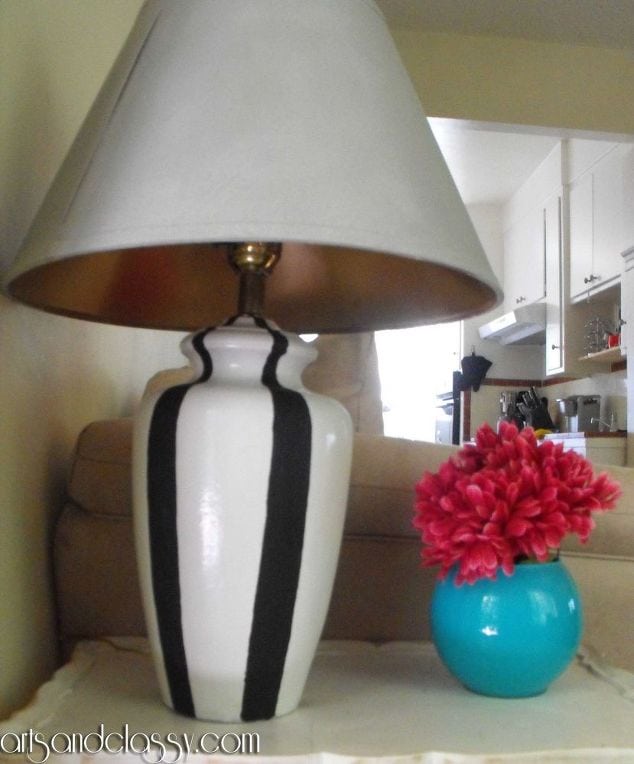
I am very happy with this table lamp as it is now in my living room. It feels nice to have finally tackled this project and it looks great in the space. Love the additional light, and I would love to hear your feedback. What do you think? Please comment below and let me know your thoughts.