Do it Yourself Coffee Table Makeover with Chalk Paint®
DIY furniture flip projects are my favorite, especially flipping goodwill, yard sale, and curbside finds. Follow this tutorial for a do-it-yourself coffee table makeover.
A Do It Yourself Coffee Table Makeover
When I was perusing my local goodwill, just for the heck of it I was elated to find an amazing coffee table that was perfect. I decided it was the perfect do it yourself coffee table makeover project for trying out a product I have never tried called Chalk Paint® by Annie Sloan Unfolded.
Here is the big reveal for you all today. My goodwill coffee table find that I made over while partnering up with the company Annie Sloan Unfolded to review their Chalk Paint®, soft waxes, and brush products!
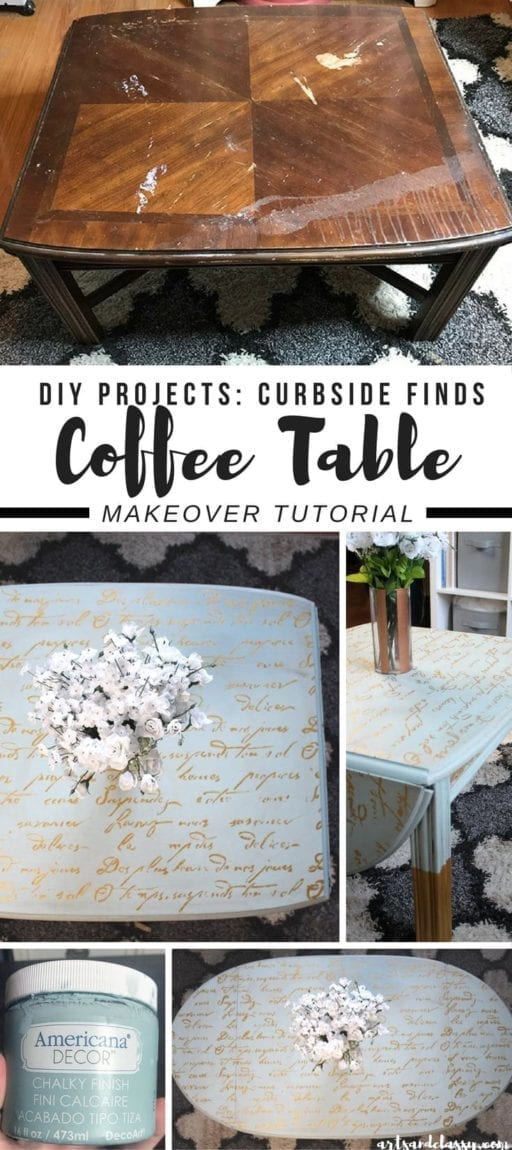
Related: Curbside Finds – A curbside table gets a gratitude stencil makeover
I was so excited that this company was willing to send me products to try out. Since I have heard many bloggers rave about their chalk paint and waxes…I thought it was high time that I finally try it. So, I decided to to tackle this do it yourself coffee table makeover and review a fantastic product all at once.
First thing I was excited about was that I didn’t have to prime anything on my table! The Chalk Paint® does all the work.
I spent $25 on this table at the Goodwill, which was such a surprise!!
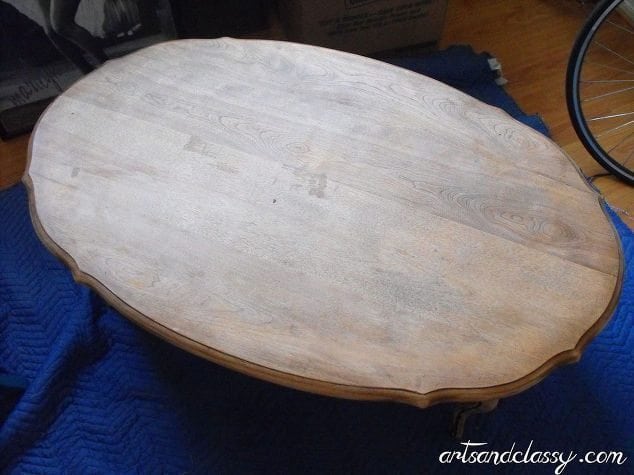
There was some inspiration that went into this coffee table. I knew I wanted to play with some exposed wood grain, and maybe a pretty decal to use as a reverse stencil to achieve that look.
I went into this project hoping for the best, but without a real plan to achieve the look, I had envisioned in my head. This is often how my projects begin. I like getting creative and “winging it” sometimes.
This review and tutorial begin after the sanding process. I will tell you that I did use an orbital sander for this job mostly 80 grit sandpaper. The legs and base of the table were painted black. I was not having it. That needed to go ASAP!
This post contains some affiliate links for your convenience. Click here to read my full disclosure policy.
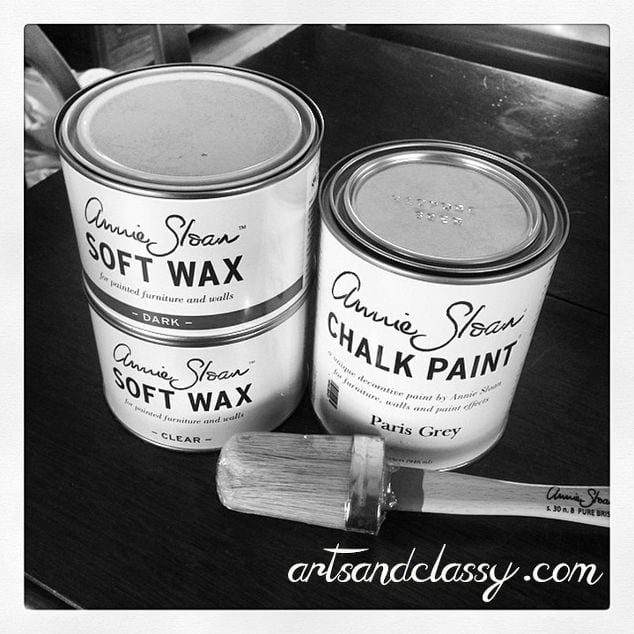
Other supplies I used for this do it yourself coffee table makeover:
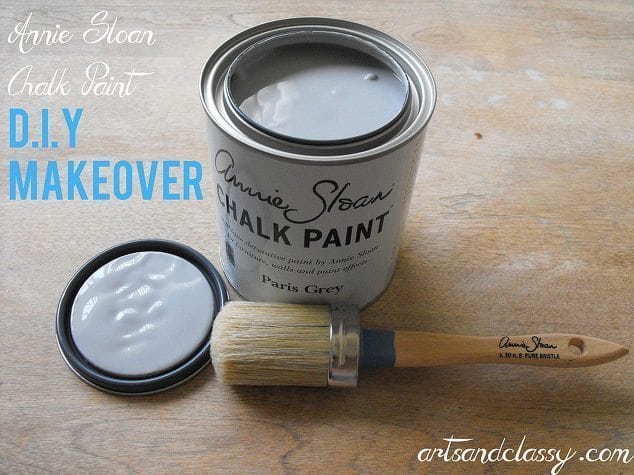
- Chalk Paint® decorative paint by Annie Sloan – “Paris Grey”
- Clear Soft Wax By Annie Sloan Unfolded
- Dark Soft Wax By Annie Sloan Unfolded
- Small Pure Bristle Brush By Annie Sloan Unfolded
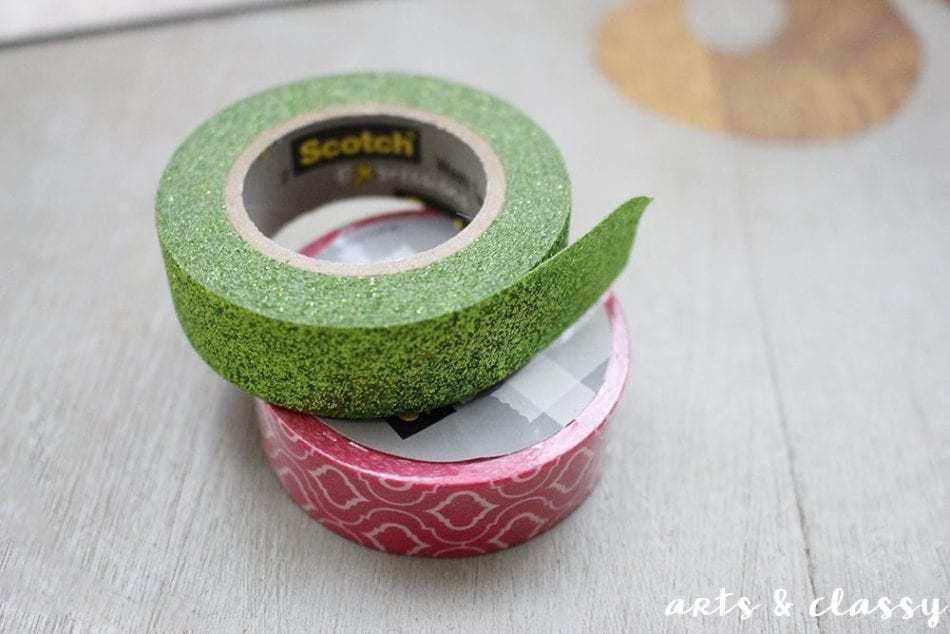
- Frog Tape
- Scissors
- Xacto Knife
- Cutting mat
- Cardboard
- Super 77 Spray Adhesive
- Towel
- Paper Plate
- Painters Tape
- Scotch Tape
Tutorial: Do it Yourself Coffee Table Makeover
1 – Prep
I began wiping down my table after sanding it to remove the excess dust and dirt before taping the lines I wanted to mask off to have the wood grain show through. I pretty much eye balled this part as the scalloped edges of the table made it easy to match up on either side.
2 – Create a Stencil
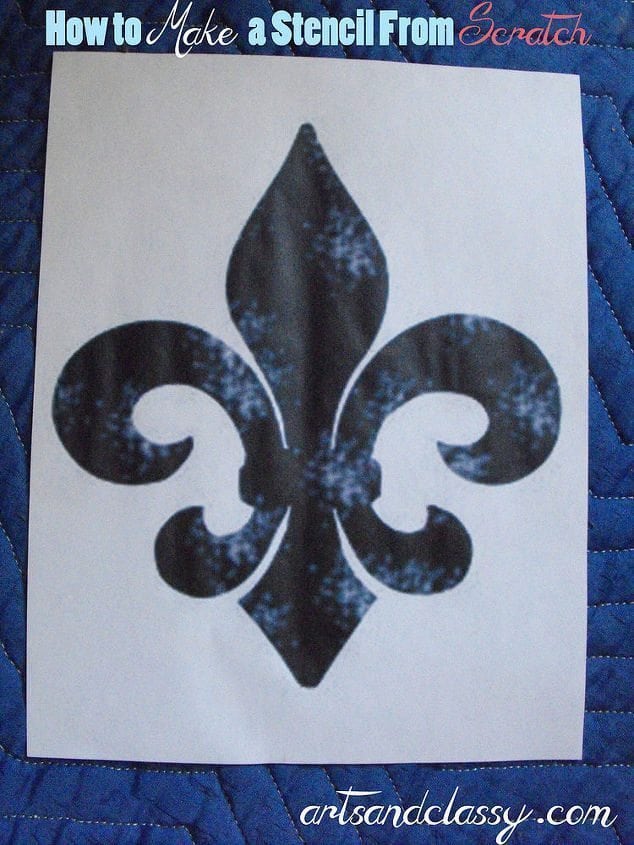
Next, I decided in keeping up with my Parisian motif in my décor that I wanted to continue to embrace the french influence with a Fleur De Lis . This was something I was racking my brain about for weeks prior to executing this project. How was going to achieve this? I wanted it to look clean. No paint bleed allowed. On my project day, I decided to use frog tape for the lines, but instead of the frog tape for the Fleur De Lis, I used the edge lock blue painters tape in the 2” width.
Now the steps I took to create the stencil:
- Found a fleur de lis online that I liked.
- Opened it in Photoshop to resize the image to the size I desired.
- Printed it on 8.5”x11 paper.
- Cut out the shape.
- Used spray 77 to adhere it to a piece of thin cardboard.
- Cut out the shape from the cardboard.
- Laid out my painters tape to fit my shape and semi overlapping each layer.
- Taped each layer together with scotch tape.
- Traced my stencil onto the painters tape.
- Cut the shape out of the painters tape.
- Adhere the shape to the area on the table that I wanted it.
 3 – Paint
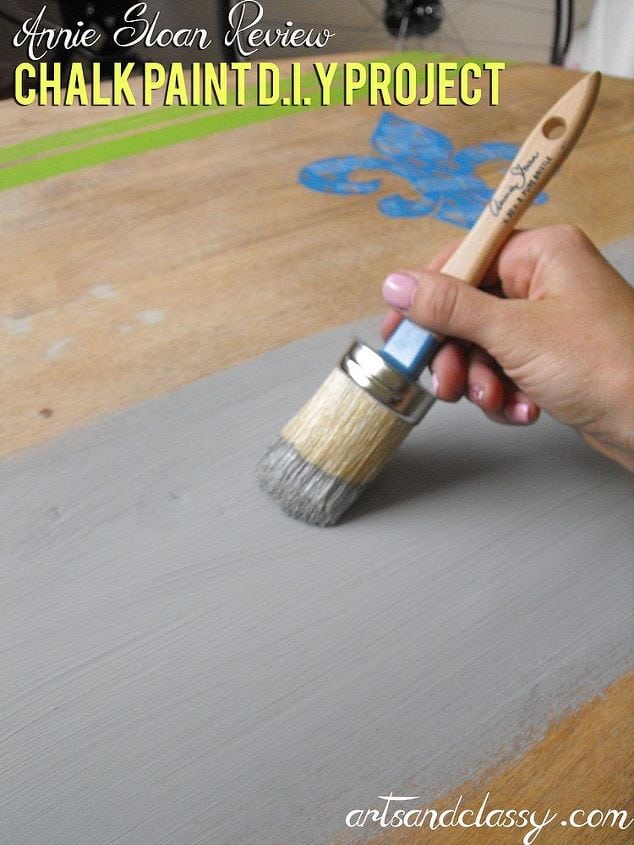
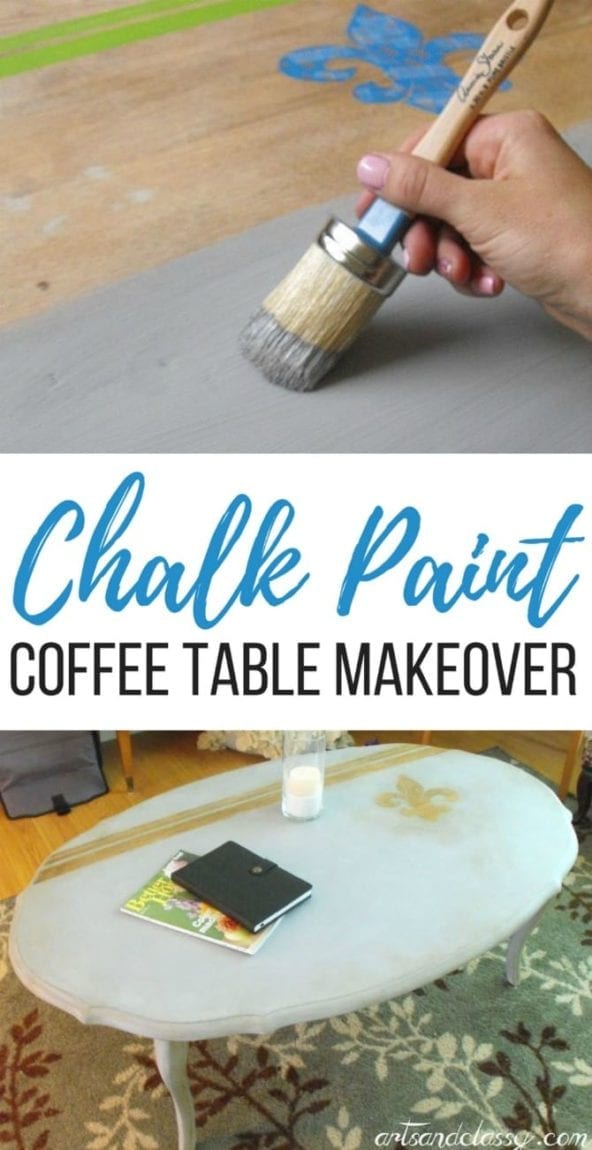
After sticking all my tape down, I pulled out my Annie Sloan paint and brush and started painting on the layers. This small pure bristle brush specializes in texture and was fun to paint with. I was pretty amazed at how quickly I covered with the first and second layer, AND I only used about less than a quarter of the quart that was sent to me! The paint’s coverage is insanely good AND I love that I have so much extra paint for more projects! Between the brush and the paint alone, my expectations were exceeded.
The brushes shape is very interesting, but makes for a great paint spread on many different size surfaces and allows to create whatever texture you want. I can’t wait to play around on other pieces of furniture with this brush and the multiple other brush sizes.
I am so happy I chose Chalk Paint® for this project because if I had used just normal acrylic latex paint, I do not think the outcome I wanted would have been achievable.
The chalk paint is a little thicker and is richer when you paint it on a surface. I think the thickness of this paint allowed for my reverse stencil to work seamlessly. I even painted completely over the stripes and the fleur de lis.
4 – Dry Time
The next mind blower was that this paint takes so little time to dry. I worked on this project inside my home. The ceiling fan ran, and I left the room for about 10-15 min and it was dry when I came back. I had dedicated an entire day to this project, thinking the drying time would be the biggest thing to slow me down. But instead I was finished with this project in no time. It was fantastic news!
5 – Wax
After the 2 layers of paint dried, I broke out Annie Sloan’s soft clear wax and began to buff it onto the surface of the table. I used the same bristle brush and it worked great for this purpose too. It really makes your paint color pop a little more and sets the paint to the surface. It gives it a little sheen and smooth’s the Chalk Paint® surface. You can just use the clear wax and be finished. I have seen many examples of this. But instead of finishing there, I wanted to add some aging to this piece so I opted for the dark wax also.
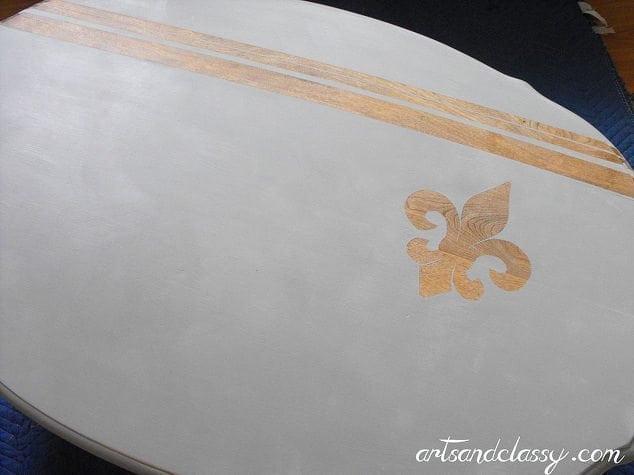
With the clear you apply it with a brush or towel. I put it on a paper plate to work with easier. I also used a little bit at a time, since I didn’t know what the coverage was going to be like. This wax is unlike anything I have used before, but I loved working with it.
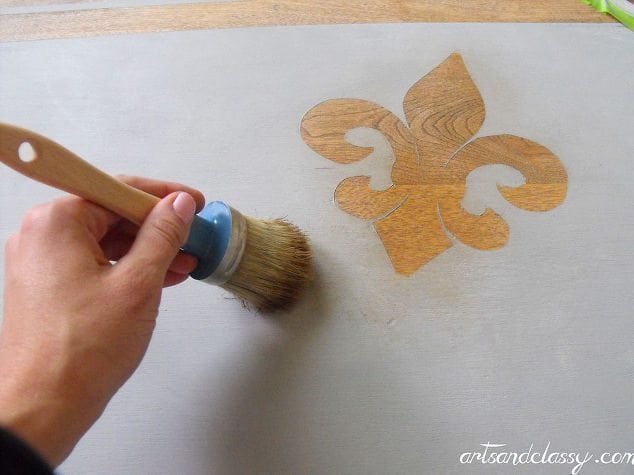
After using a circular motion to buff it into the surface, I wiped it down with a towel to remove the excess.
After accomplishing that I removed the stencils and stripes for the application of the dark wax.
This I had heard goes on quite dark. Since I hadn’t worked with this product before to know how well it works; I decided to mix it with some of the clear wax on a paper plate to break it up a little. I dipped my brush into the wax and then dabbed it on the clean part of the paper plate to remove any large dollops of the product from my brush.
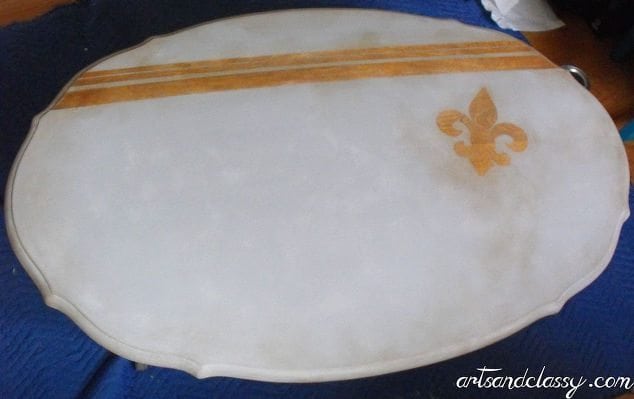
Then I buffed it on in the areas I wanted including the exposed wood. I wanted to darken and make that pop a little more. I am elated that my do it yourself coffee table makeover turned out so nicely!!
My Finished Do It Yourself Coffee Table Makeover
And then… the FINISHED PRODUCT! I am so please with how this piece turned out. More importantly I am elated that the Annie Sloan products worked so seamlessly. There was no muss of fuss in this entire process.
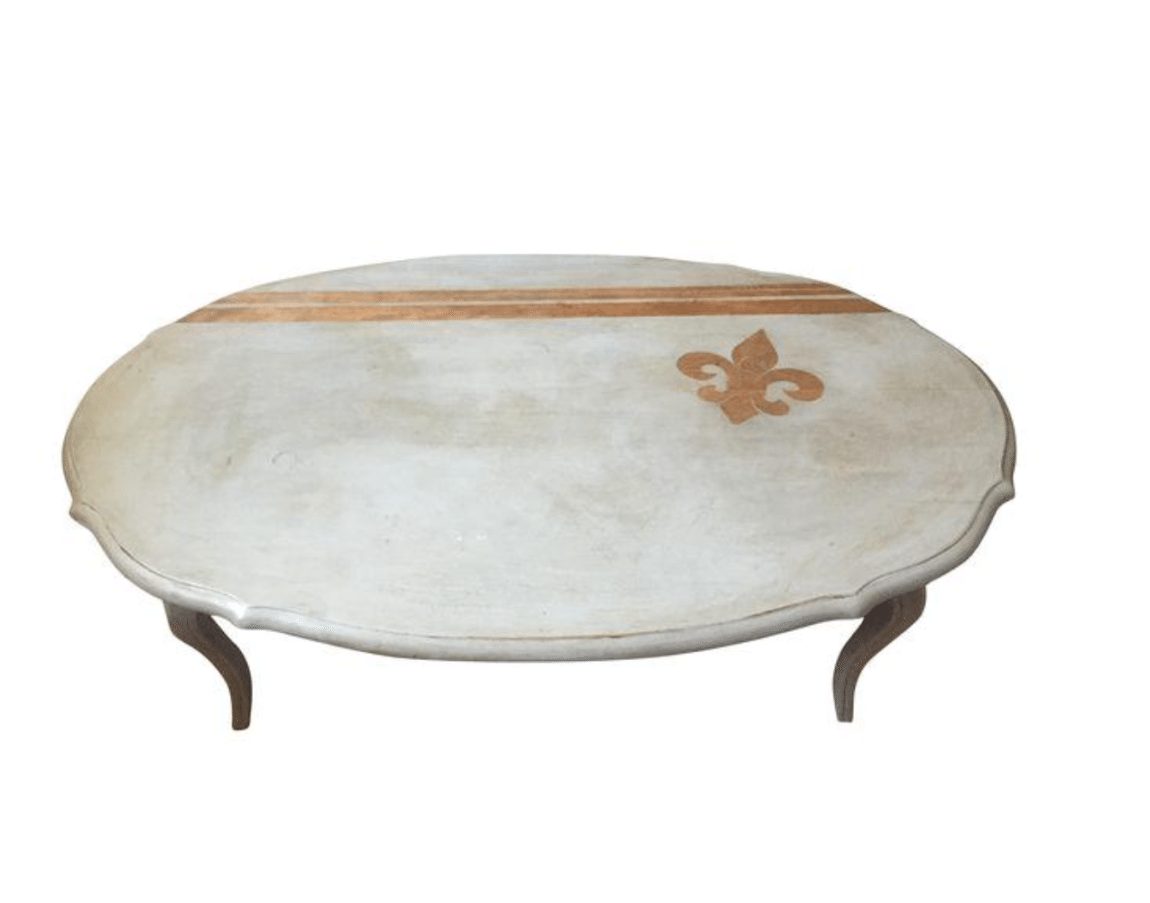
Over all, I am head over heels in love with Chalk Paint® decorative paint by Annie Sloan, Waxes, and Bristle Brushes.
This changes my whole process in flipping furniture. It cuts my time in half and turns out fantastic!
Thank you to the Annie Sloan representatives for allowing me to try your product! This has changed my whole outlook on painting furniture. I hope you try it too readers!
What do you think of this project? Have you ever used Annie Sloan products before? Please share your experience if you have.
Do you need even more coffee table DIY inspiration? I’ve got you covered with these two. Check out my DIY Faux Marble Coffee Table Makeover and this Coffee Table Furniture Flip Makeover.
If you liked this project, you may also like:

More DIY Furniture Posts You’ll LOVE:

 3 – Paint