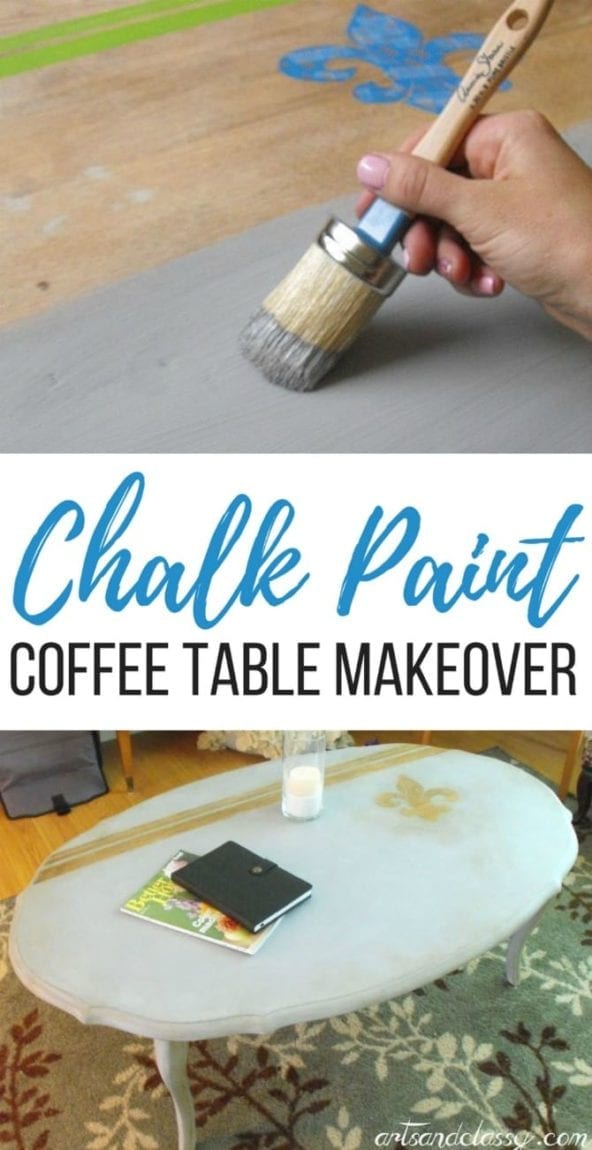
Do It Yourself Coffee Table Makeover with Chalk Paint
I’ve always believed the best old furniture has a story, and this little coffee table definitely had one to tell. I spotted it tucked in a corner at my local Goodwill, dusty and forgotten, with a $25 price tag and a whole lot of potential. The shape was beautiful, but the finish? Let’s just say it had “potential for a new life” written all over it. I knew instantly it was begging for a do-it-yourself coffee table makeover—and I was just the girl for the job.
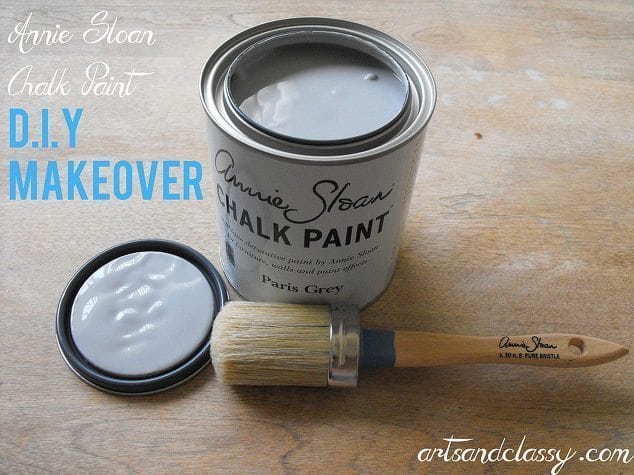
I decided to use chalk paint for this project because it’s the DIY world’s best-kept secret for quick, stunning transformations. It requires zero priming, covers like a dream, and dries faster than you can finish a cup of coffee (which, for me, is saying something).

Key Takeaways
- If you’ve got a tired old coffee table taking up space, a can of chalk paint might be all you need to turn it into a charming, one-of-a-kind statement piece—no primer, no perfection, just creativity and a weekend’s worth of fun.
- Chalk paint provides superior coverage, dries quickly, and allows for easy texture creation without sanding.
- This budget-friendly project demonstrates that creativity can yield beautiful results without a large investment.
Why Chalk Paint Is Perfect for Furniture Makeovers
If you’ve never worked with chalk paint before, prepare to be obsessed. It’s thicker than regular latex paint, which means you get richer coverage with fewer coats. It also creates a smooth, velvety matte finish that looks both vintage and elevated.
The magic of chalk paint is that it sticks to almost any surface—wood, metal, laminate—without the hassle of sanding or priming first. For a do-it-yourself coffee table makeover, that’s a total time-saver. You can easily create texture or a distressed look by layering colors, or you can go modern and smooth with just one even coat.
Related: Curbside Finds – A curbside table gets a gratitude stencil makeover
The Inspiration Behind My Chalk Paint Coffee Table
Before I picked up my brush, I had a vision: I wanted something that felt like it could live in a cozy Parisian apartment—a mix of rustic wood and finding the right color of soft chalky paint with a subtle, artistic touch. I also wanted to show off some of the natural wood grain since that texture gives a piece such character.
I decided to incorporate a simple design element on the tabletop—a stencil effect that would highlight the wood beneath the paint. This way, I’d have a perfect blend of natural and refined, without making it too precious to use every day.
Tutorial: Do it Yourself Coffee Table Makeover
This post contains some affiliate links. I may earn a small commission if you purchase through one of these links. See more information in my full disclosure policy.
Other supplies I used for this do it yourself coffee table makeover:
- An Old Coffee Table (I found mine at a thrift store)
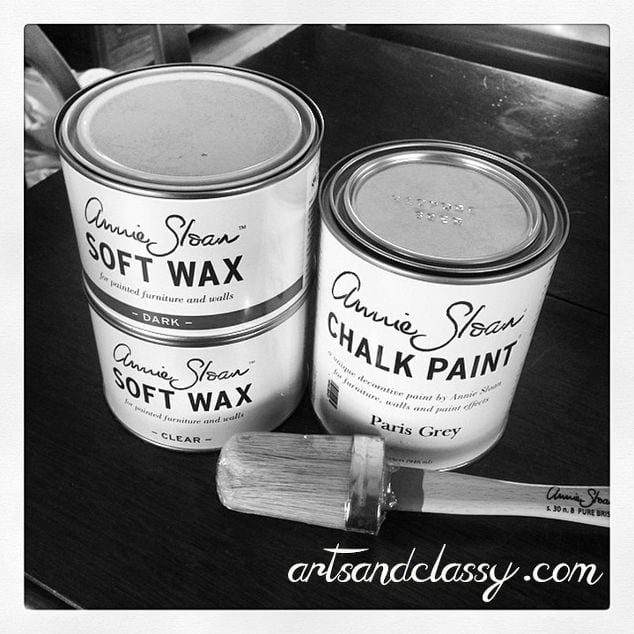
- Grey Chalk Paint
- Clear Soft Wax
- Dark Soft Wax
- Paintbrushes
- Bristle Brush
- Frog Tape
- Scissors
- Xacto Blade
- Cutting Mat
- Cardboard
- Super 77 Spray Adhesive
- Towel
- Paper Plate
- Painters Tape
- Scotch Tape
Shop the supplies below by clicking on each image.

Step One: Prepping the Coffee Table
Even though chalk paint doesn’t require sanding, this particular table had seen some things. The base had been painted black, and there were scratches and dents everywhere. So, I gave it a quick sand-down with an orbital sander and 80-grit paper to even everything out and remove the glossy finish.
Once it was smooth and clean, I wiped it down with a damp cloth to remove dust. From here, the real fun began.
Step Two: Creating a Custom Stencil Design
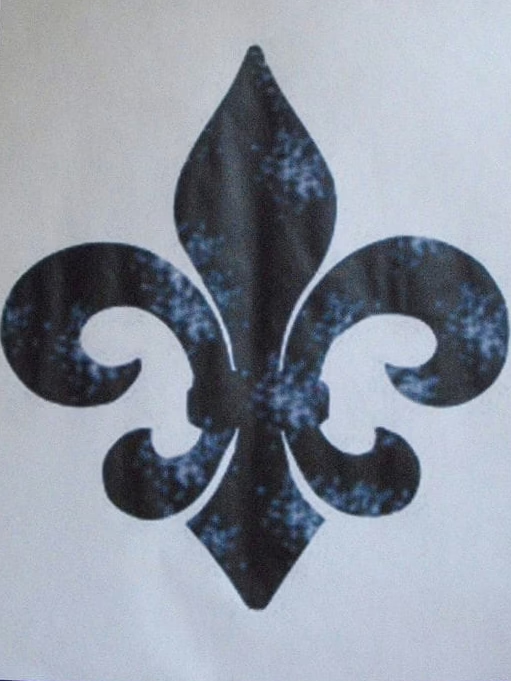
I’m a big believer that DIY projects should have a personal touch, so I decided to add a delicate fleur-de-lis design to the top of the table using a reverse stencil method.
I found a simple graphic online, resized it in Photoshop, and printed it out on standard paper. From there, I transferred it onto cardboard, layered painter’s tape over it, and carefully cut out the design. Then I placed my painter’s tape stencil directly onto the wood where I wanted the exposed design to peek through.
This might sound like a lot of steps, but it’s actually super satisfying—kind of like crafting meets puzzle-solving.
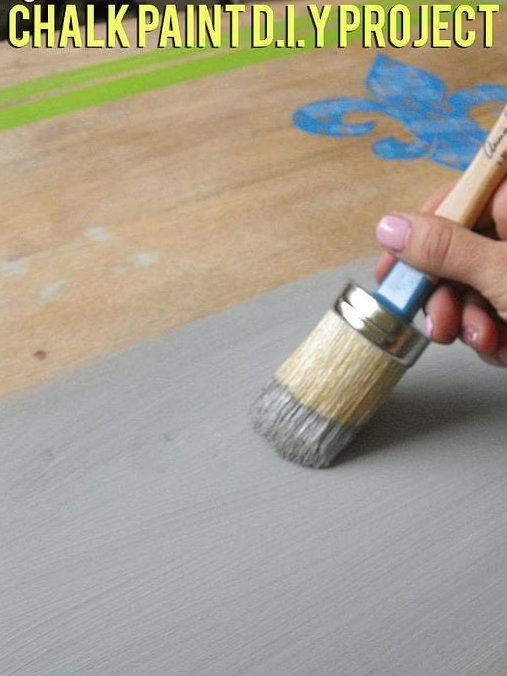
Step Three: Painting the Coffee Table
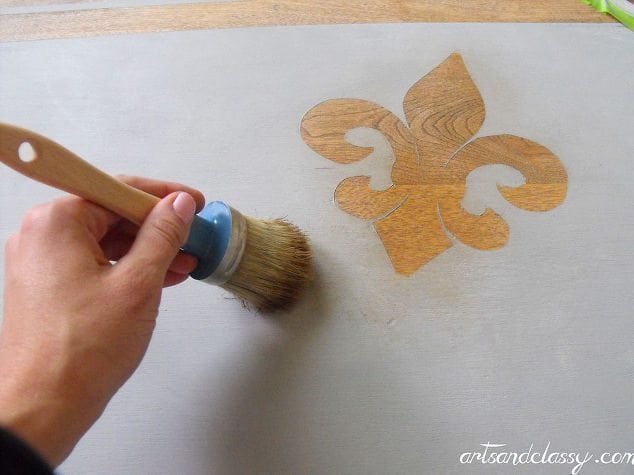
Now for the main event: the paint. I used a small round bristle brush designed for chalk paint because it makes creating texture almost effortless. The paint spread evenly, and I was amazed at how far a small amount went—I used less than a quarter of my quart.
After applying the first coat, I waited a little while to let it dry for (about 15 minutes) under a ceiling fan. Then, I added a second coat for a more polished, even look. The coverage was incredible. Chalk paint dries with a beautiful matte finish that feels soft and looks high-end, even though it’s totally achievable on a thrift-store budget.
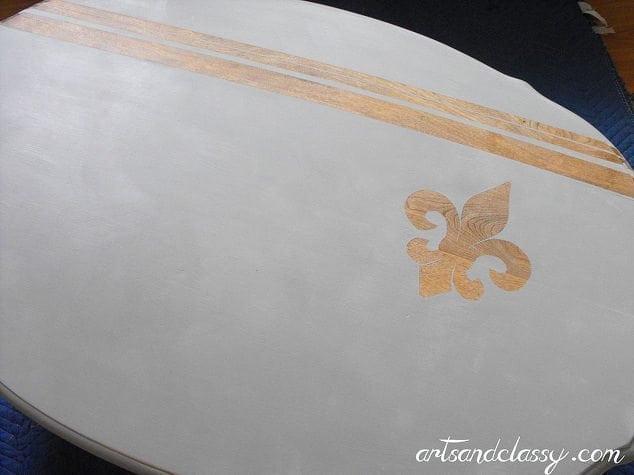
Step Four: Revealing the Design
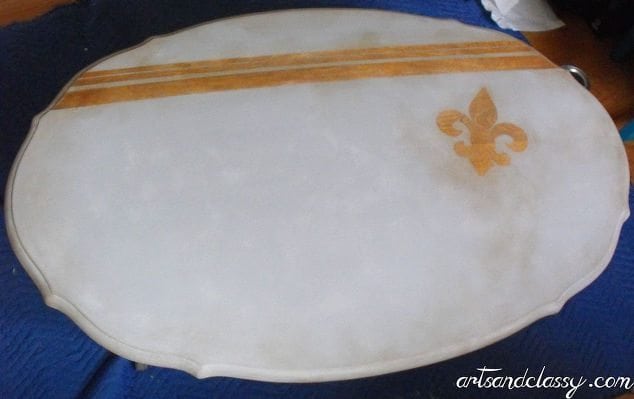
Once the paint was completely dry, I gently peeled off the stencil tape to reveal the raw wood fleur-de-lis beneath. The contrast between the painted surface and the natural grain gave the piece a handcrafted, designer feel—like something you’d find in a boutique rather than a Goodwill aisle.
This little design detail elevated the piece instantly. It looked custom, not crafty, which is always the goal when you’re flipping furniture.
Step Five: Sealing the Paint with Wax
One of my favorite things about chalk paint projects is finishing them with wax instead of traditional sealant. Wax not only protects the paint, but it also deepens the color and adds a subtle sheen.
I started with a clear wax to seal the paint and enhance the hue’s richness. Then, to give the piece some dimension and a slightly aged look, I mixed a small amount of dark wax with the clear and lightly brushed it into the corners and edges.
If you’ve never worked with wax before, the key is to go slow—use a circular motion to buff it in and then wipe away any excess. The result is smooth, durable, and oh-so-satisfying to the touch.
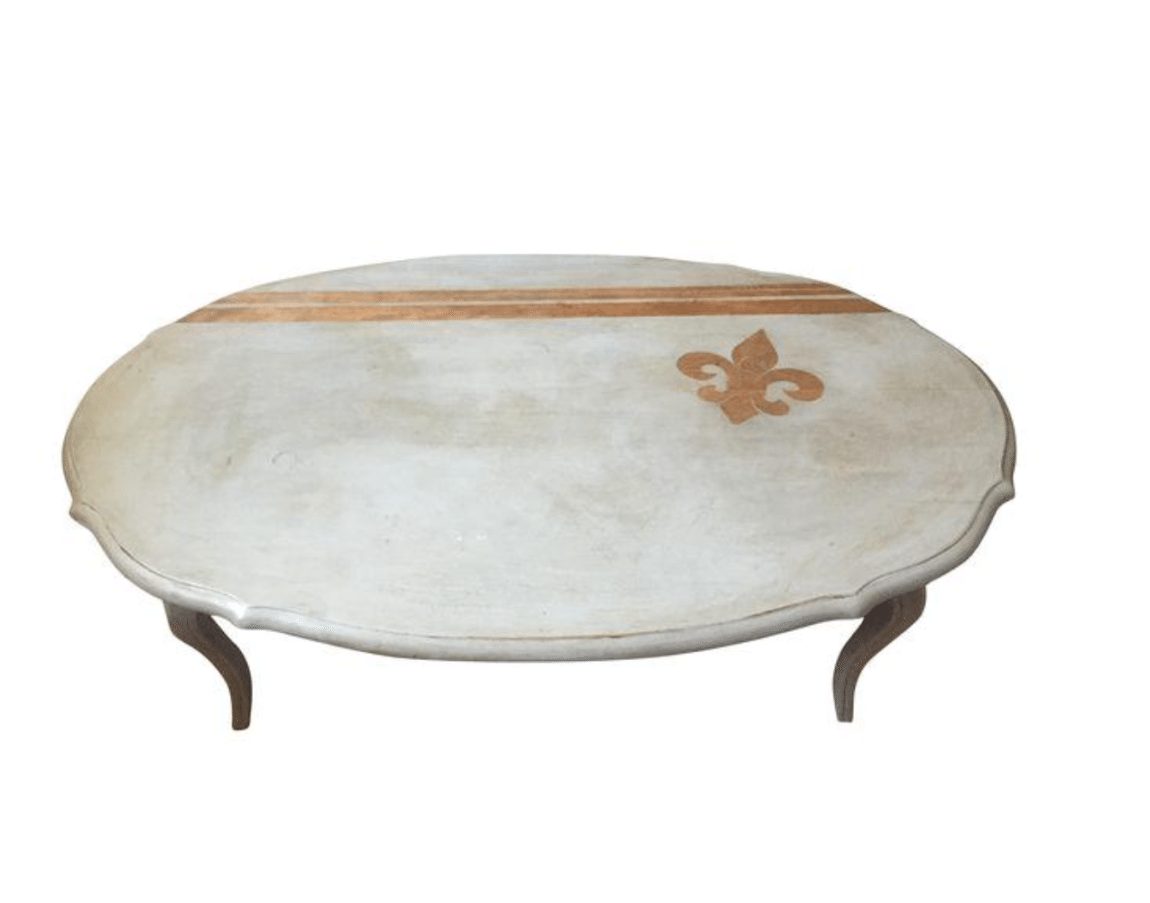
My Finished Chalk Paint Coffee Table
When everything dried and set, I stood back and just stared. The once-forgotten thrift store table now looked like it belonged in a designer home magazine. The wood grain peeked through just enough to add texture, the stencil design made it unique, and the chalk paint gave it that soft, elegant finish that feels cozy but classy.
And the best part? The entire project cost (in 2014) under $50 in materials, took just one afternoon, and completely transformed my living room.
What I Learned from This Project
This coffee table makeover reminded me that you don’t need a massive budget—or even a solid plan—to create something beautiful. Chalk paint makes furniture flipping approachable, even if you’re a total beginner. It’s forgiving, fast-drying, and flexible enough to handle everything from rustic farmhouse to modern minimalist styles.
If you’ve been eyeing that old piece of furniture in your garage or even in your family room and wondering if it’s worth saving, trust me: grab a brush, open a can of chalk paint, and go for it. You might just surprise yourself.
Coffee Table Makeover Ideas You’ll Also Love
If this project got your creative gears turning, check out a few more ways to upgrade your living room on a budget:
- My DIY Faux Marble Coffee Table Makeover for a glam-meets-modern look
- A Budget-Friendly Furniture Flip using neutral paint and gold hardware for instant elegance
Final Thoughts
Chalk paint is the ultimate secret weapon for furniture flippers and weekend DIYers alike. It’s quick, forgiving, and delivers professional-looking results with minimal effort. This do-it-yourself coffee table makeover completely changed how I see secondhand furniture—and it might just do the same for you.
So next time you’re wandering through Goodwill, don’t overlook that tired old table in the corner. It could be your next masterpiece waiting for a little chalk paint magic.
If you liked this project, you may also like: