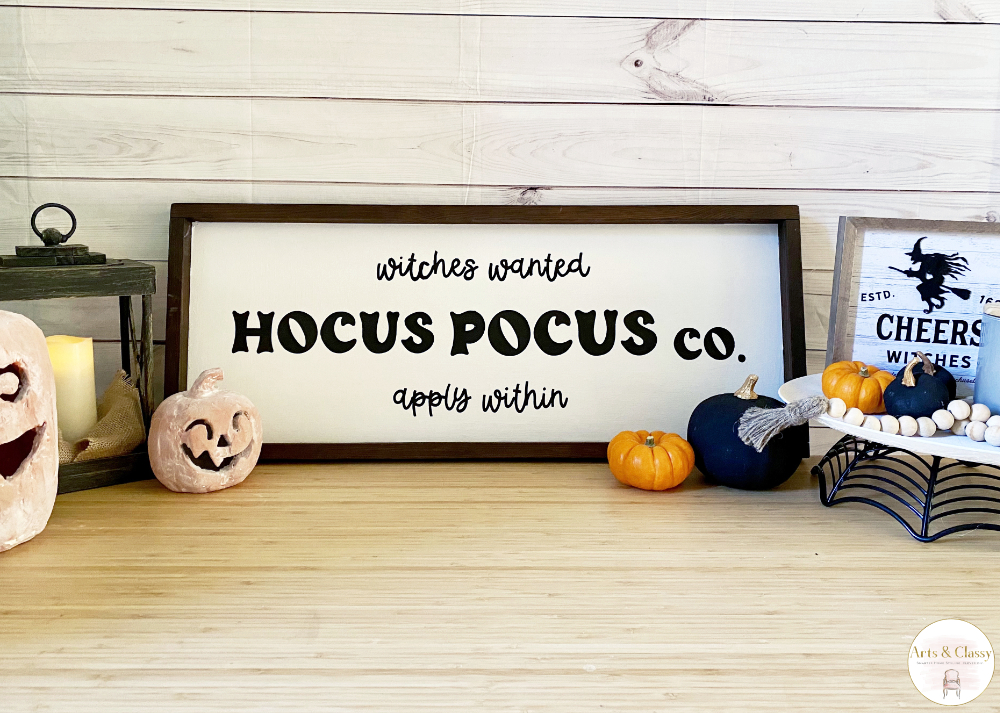
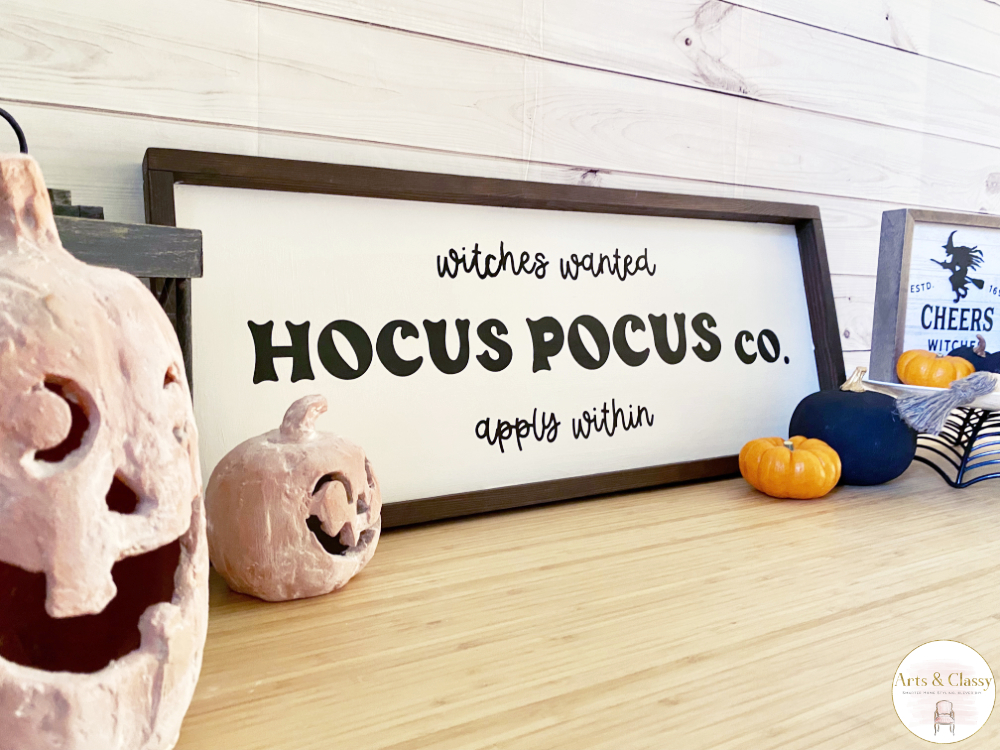
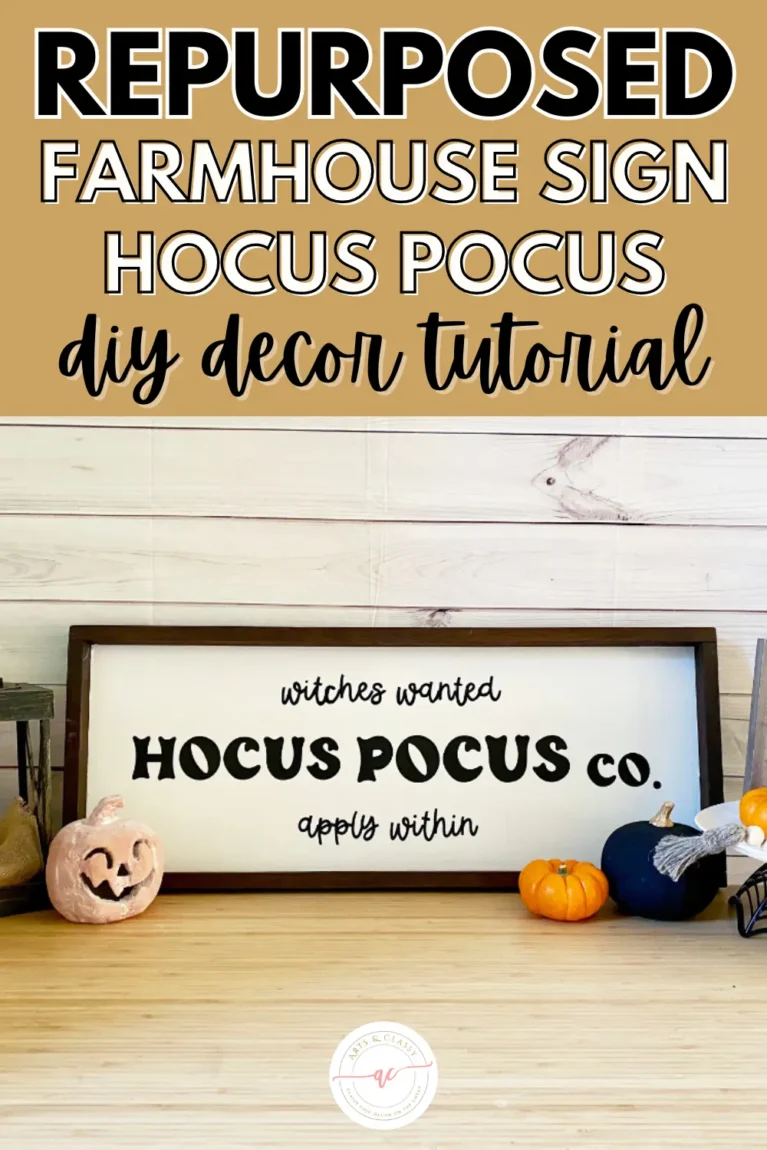
Crafting the Perfect Hocus Pocus Sign? Let’s Make it Fun!
Do you love Halloween as much as I do? I love decorating for Halloween! And this year, I decided to repurpose an old wood sign and turn it into a fun Hocus Pocus sign to add some festive farmhouse Halloween decor to my home. If you’re looking for a quick and easy way to add some Halloween cheer to your home, then this DIY project is for you!
This post contains some affiliate links. I may earn a small commission if you make a purchase through one of these links. See more information in my disclosure policy.
Here’s what you’ll need to make your own Hocus Pocus sign:
- An old wood sign (mine is from my mom’s new house. It was left behind by the previous owners)
- Chalkboard paint – I got my from the Dollar Tree craft section
- White Acrylic Paint
- Paintbrush – I got mine from Dollar Tree
- Scissors
- Cricut Maker Vinyl Cutter
- Lightgrip mat for Cricut machine
- This Hocus Pocus template for Cricut
- Stencil Vinyl (I used adhesive vinyl from Amazon for my Cricut)
- Transfer paper (also from Cricut)
- Weeding tool – I got mine from Dollar Tree and I have one from Cricut
- Vinyl squeegee
- Ruler or measuring tape
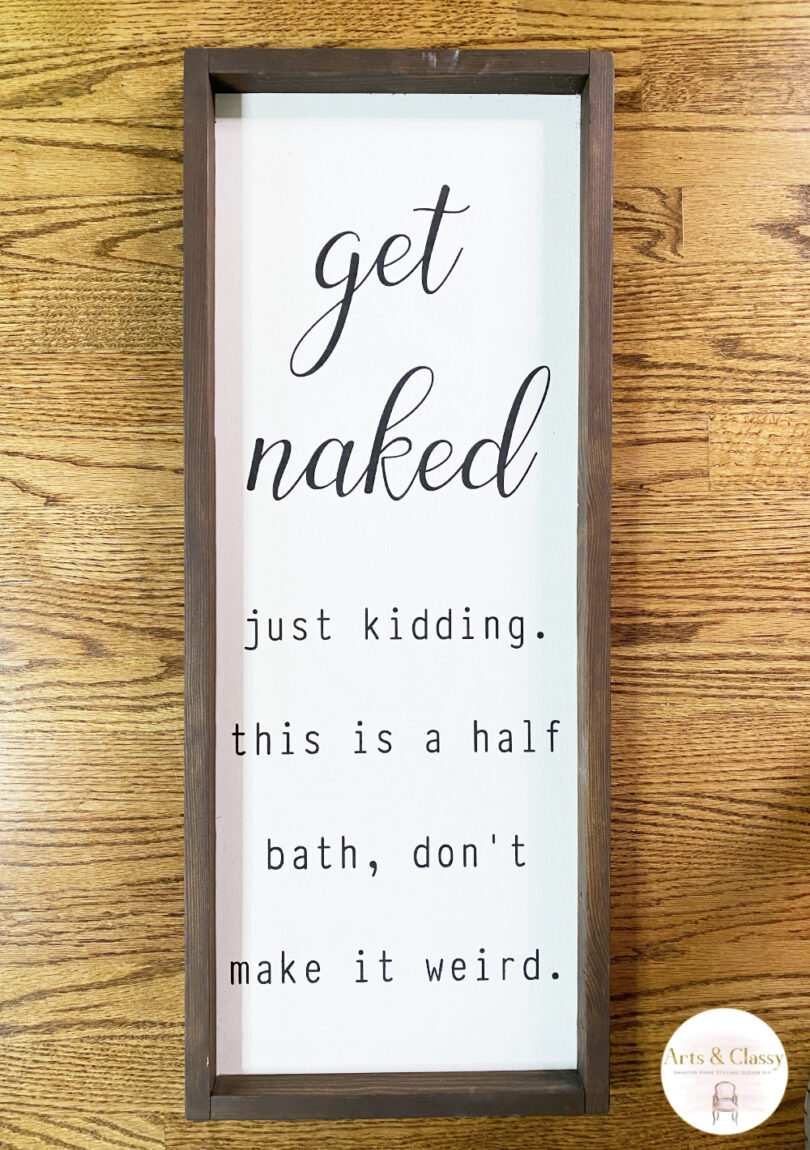
This sign was given to me because it was left behind by the previous owners of my mom’s new home. It’s cute but not something I would ever hang up in my home so I decided I could give it a new life as farmhouse Halloween decor.
1. Make sure the surface you are painting is clean and dust free.
The cleaning step is the first part of this project process. It’s important to make sure the surface of your hocus pocus sign is clean and dust free before proceeding.
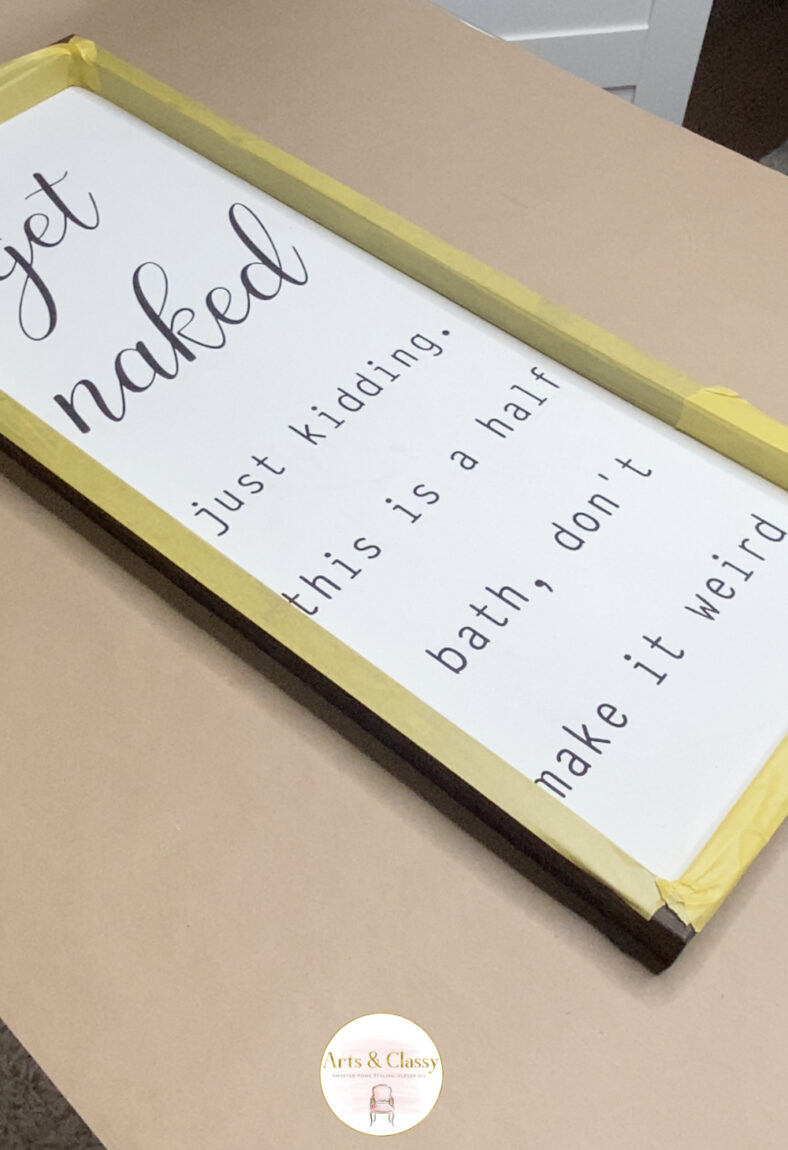
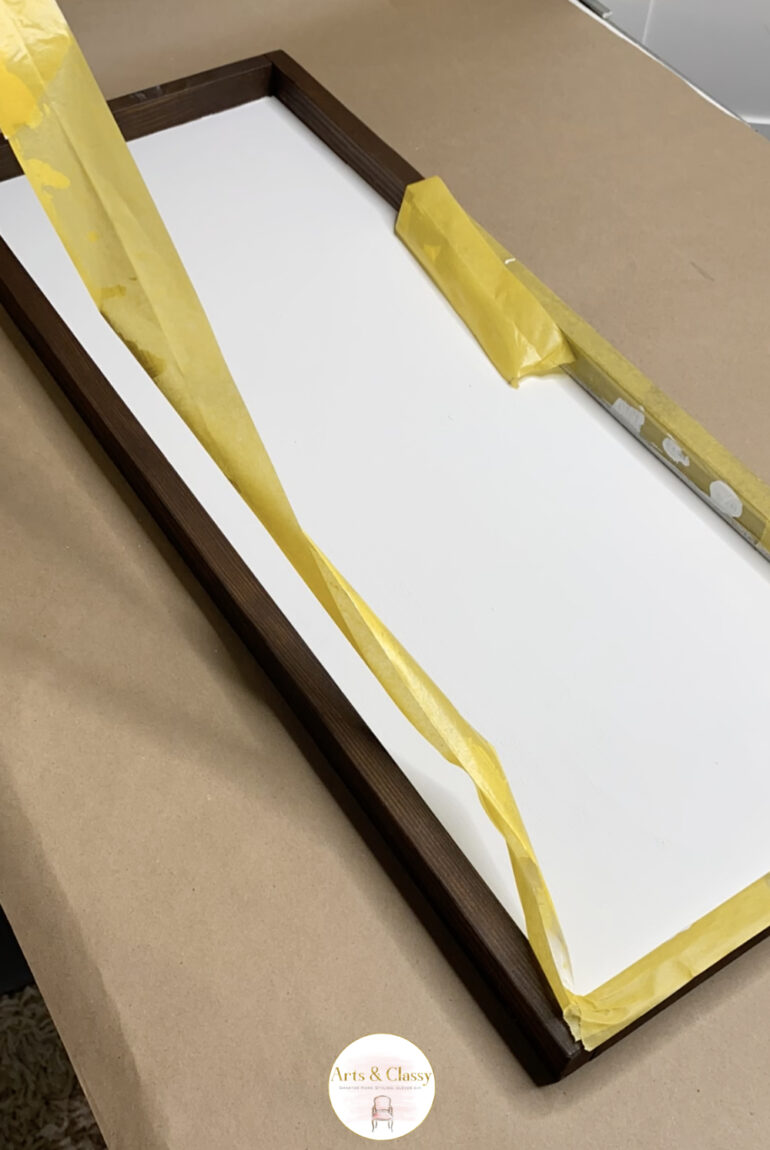
2. Apply some delicate surface painter’s tape to the interior of the wood frame to mask off that section.
There’s one important step you need to take: applying some delicate surface painter’s tape to the interior of the pieces of the wood frame. This will help to mask off that section before painting the inner part white. Trust me, it’s worth taking the time to do this step right! Otherwise, you might end up with a hocus pocus sign that’s not quite as magical as you wanted it to be.
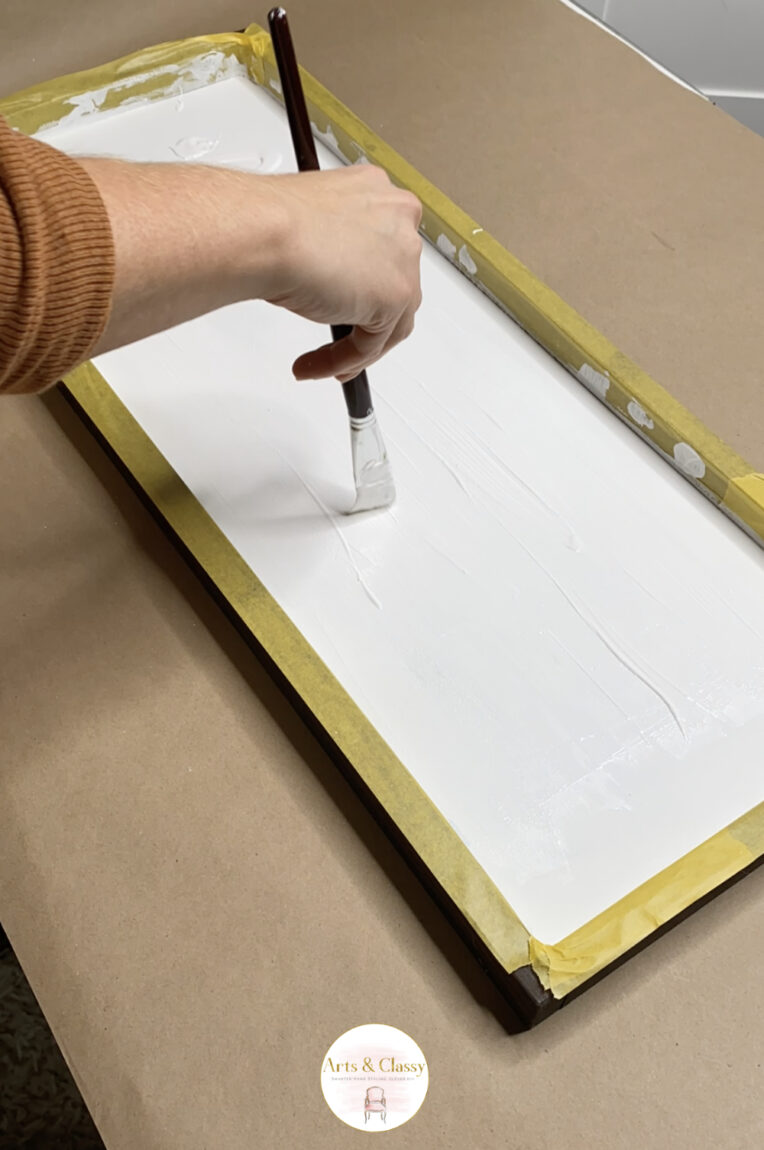
3. Give your wood sign a coat of white acrylic paint.
One step in this repurposed sign DIY project process is to give your wood sign a coat of white acrylic paint to cover up the previous sign text. I did a few coats to create a solid white background to make sure I covered the previous sign text. Let the paint dry completely.
4. Remove the painter’s tape from the wood frame.
One of the most satisfying moments in any DIY project is when you get to remove the painter’s tape and see the clean lines of your work. This is especially true for a hocus pocus sign DIY project. After spending hours carefully painting the surface white, the last thing you want is for the paint to bleed under the tape and ruin all your hard work.
Fortunately, there’s a simple trick to avoid this problem. First, make sure that the paint is completely dry. Then, slowly and carefully peel back the tape at a 45-degree angle. If done correctly, you should be able to remove the tape without any paint coming off it.
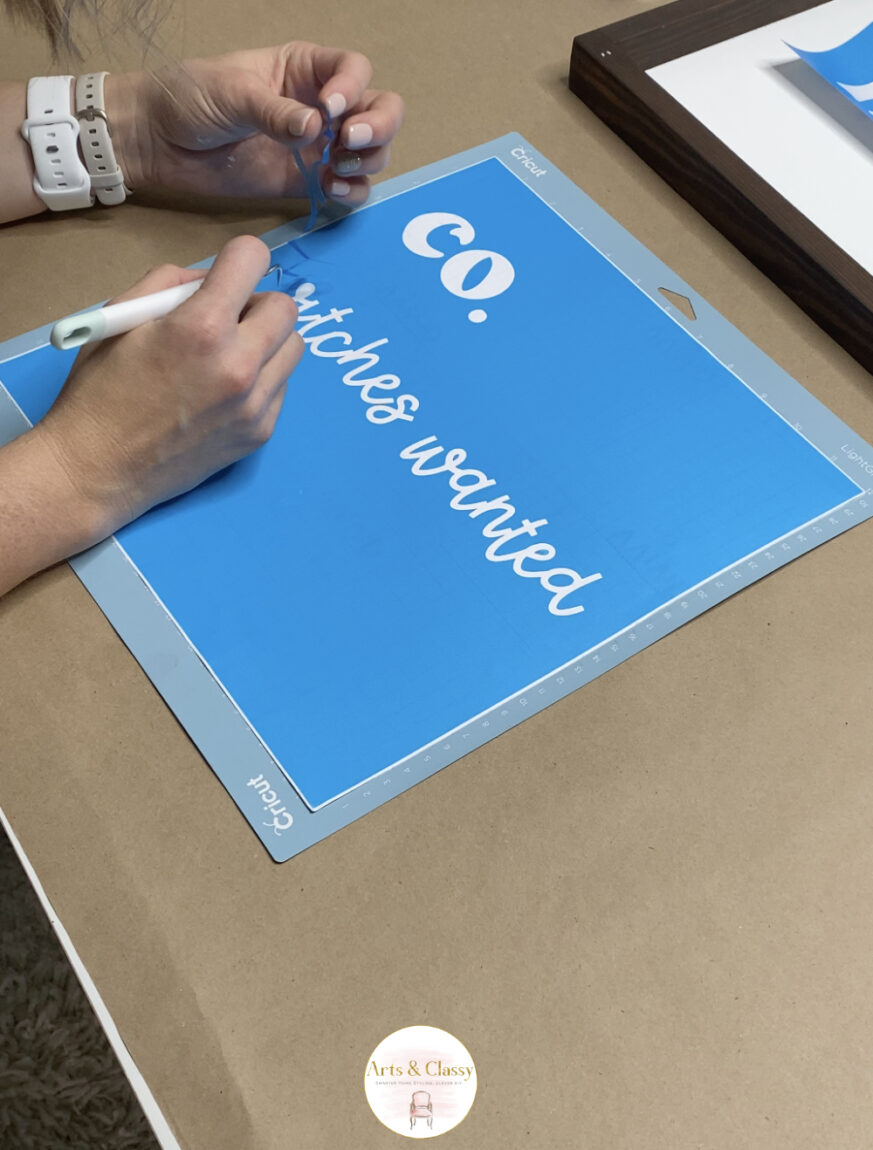
5. Create the stencil for the sign with Cricut Design Space
Cricut Design Space is the perfect place to create a stencil for your hocus pocus sign. With its easy-to-use tools, you can quickly design a stencil that is perfect for your farmhouse sign decor. You can choose from a variety of hocus-pocus-themed designs, or you can create your own.
Best of all, Cricut Design Space is free to use, so you can get started on your hocus pocus sign right away! If you pay for the premium version you can get access to the template I made!

Use the stencil vinyl to create your stencil and use a weeding tool to remove the font so you can apply this directly to the white surface of the sign.
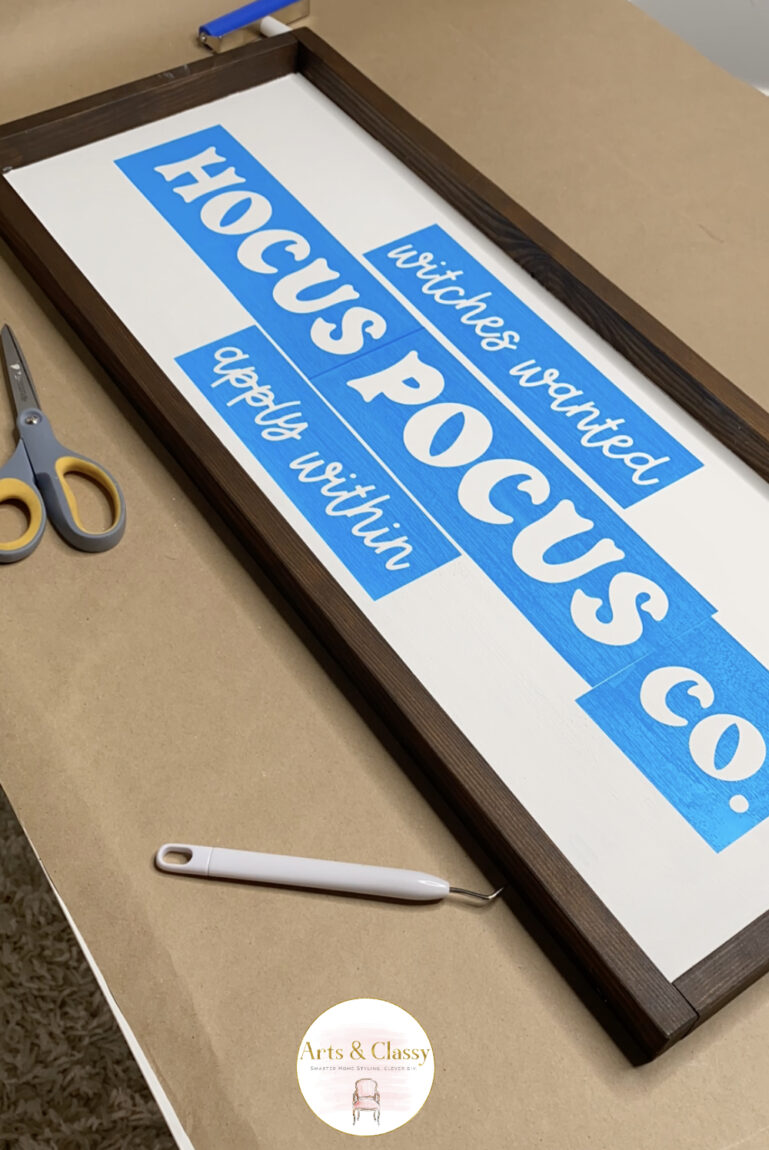
6. Cut and apply stencils to sign
Use clear transfer tape to apply to the top of the stencils and then use a squeegee to help it stick to the surface of the vinyl.
Then apply the words in the way that works best for the wooden sign. Then use the squeegee tool to make sure they stick and stay in place. Slowly peel the clear transfer tape away from the stencil without pulling the stencil off the sign surface.
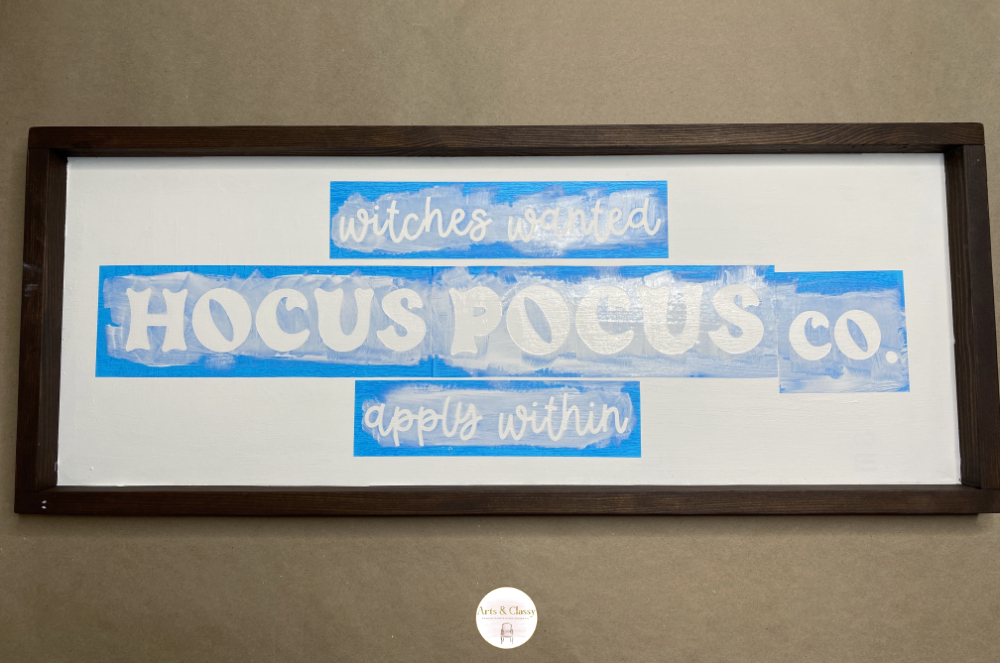
7. Apply white paint to the top of the stencil after application
A fun tip I like to use with stencils is to use the surface color over the stencil first before applying the color you really want to use. This will help to prevent paint from bleeding under the stencil surface.
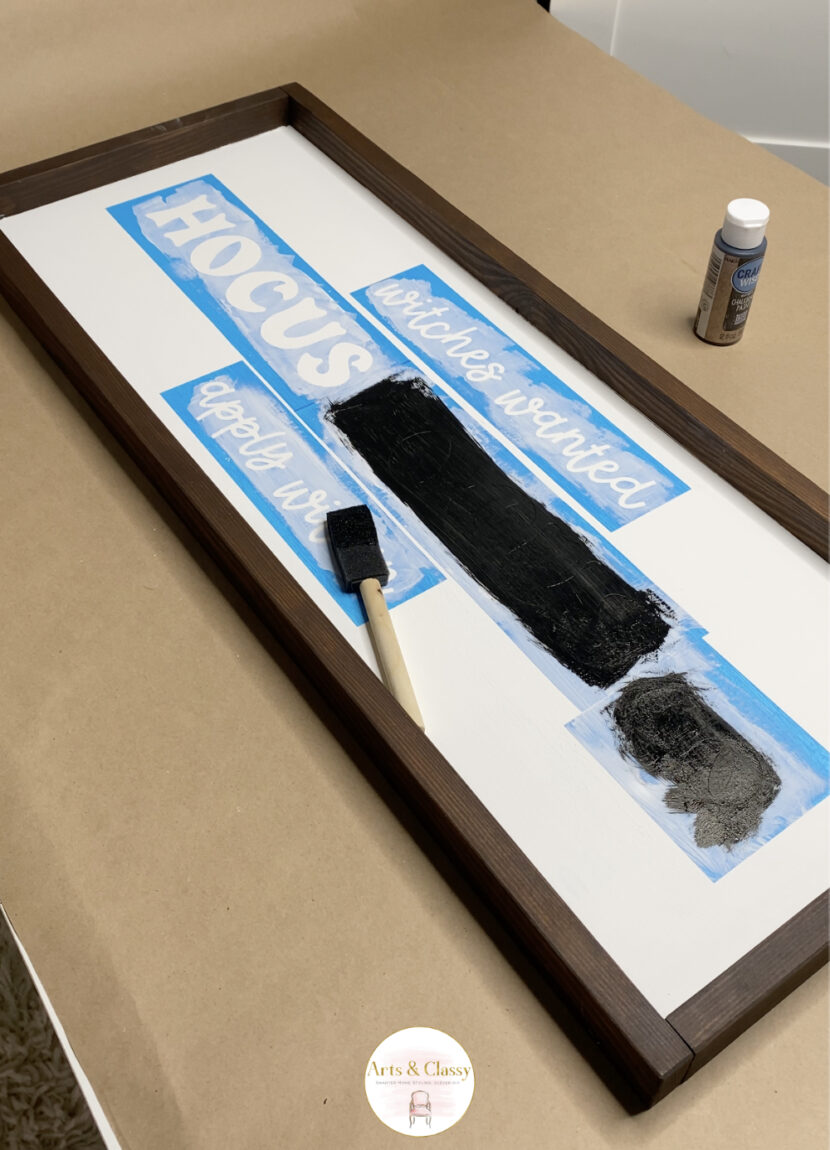
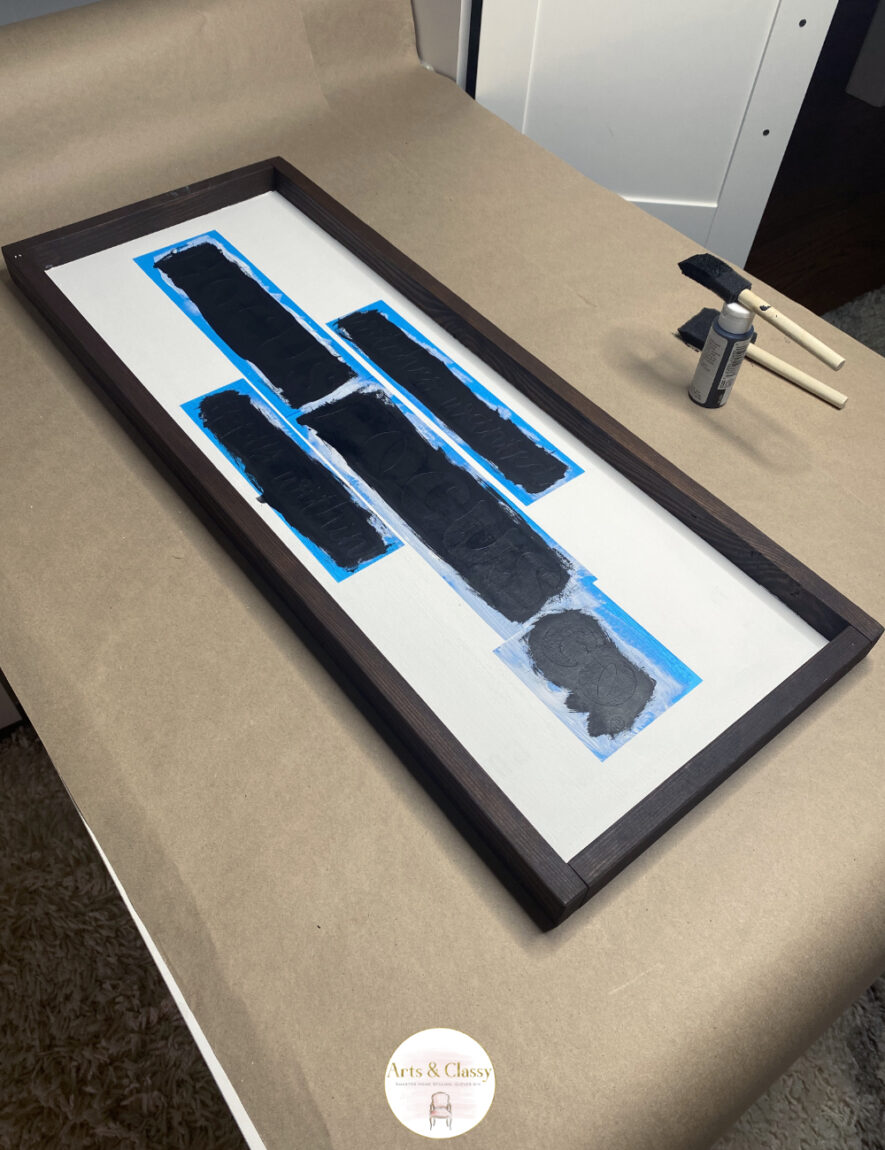
8. Apply black chalkboard paint to the top of the stencil
Use a foam paint brush to apply this chalkboard paint to the stencil once the white paint dries. Make sure you allow for plenty of dry time between coats. 2-3 coats should give you great coverage.
RELATED: 5 Simple DIY Ways to Transform Your Home for Halloween
9. Remove stencils from the sign
Really make sure the paint is dry for this step. Go slow and steady and make sure you are using a weeding tool to help remove the center of some of the letters.
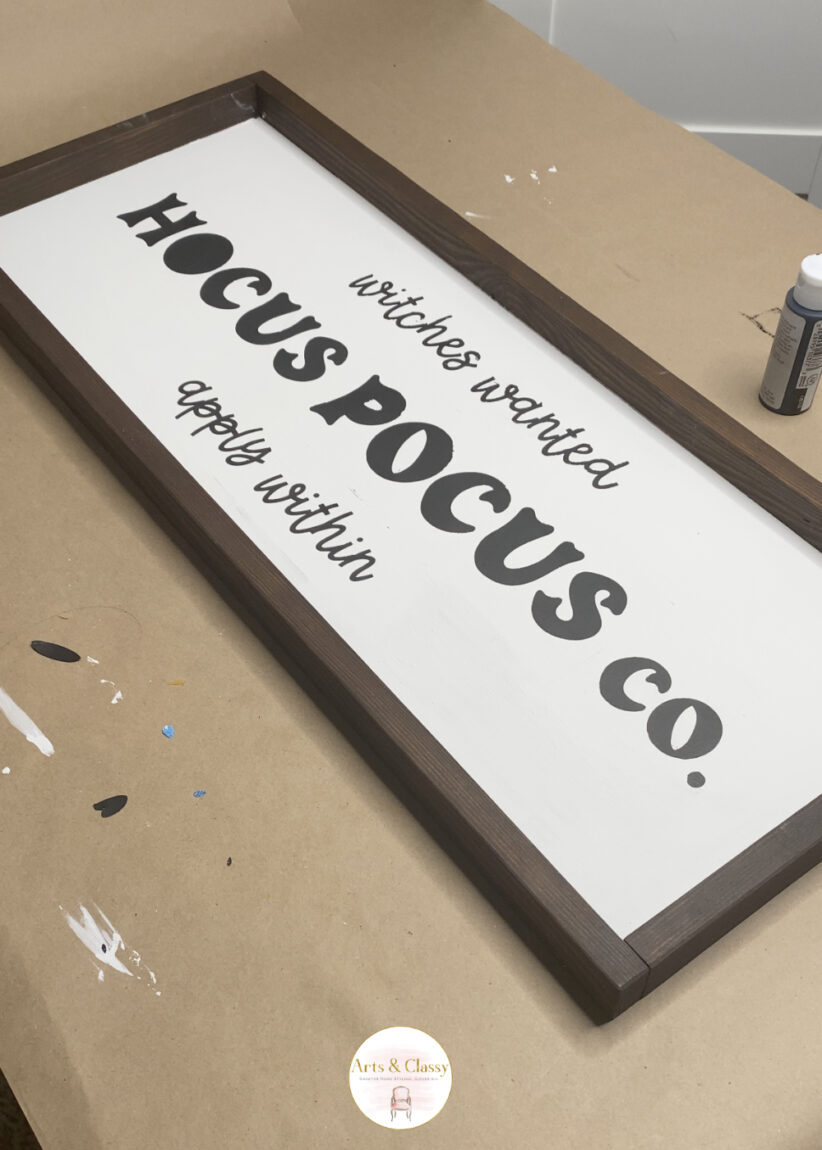
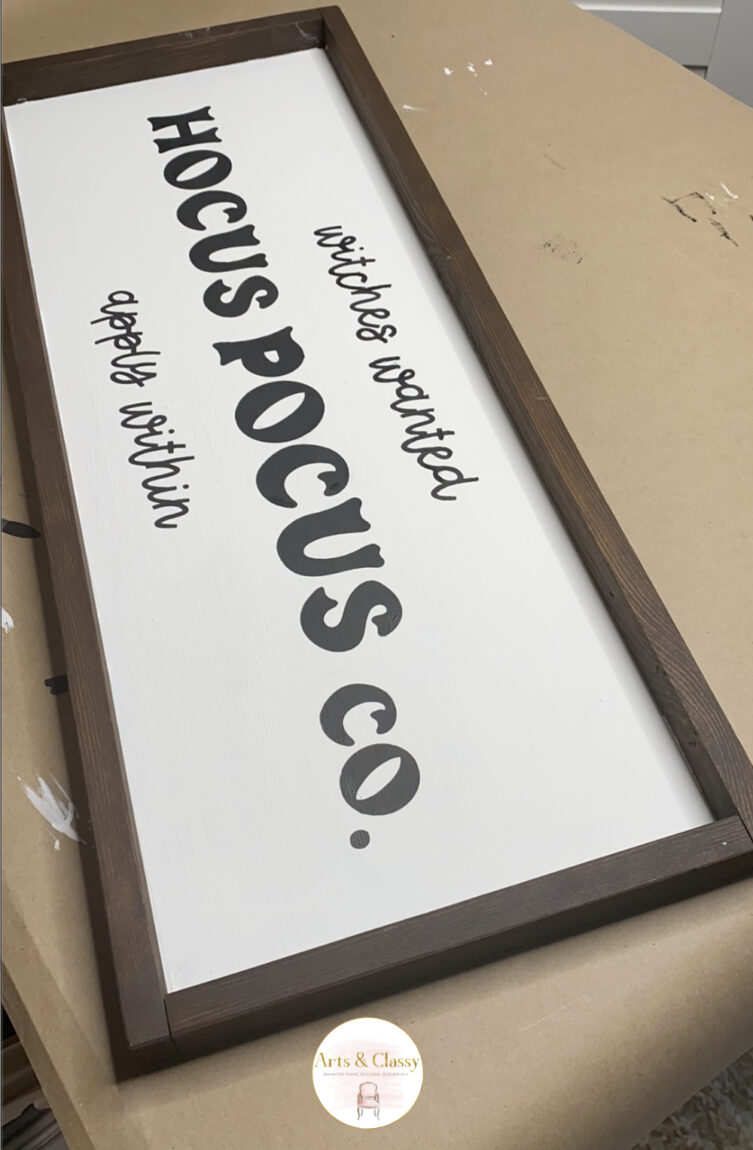
10. Enjoy the fruits of your labor and hang this somewhere in your home!
And that’s it! Your Hocus Pocus sign is now complete. You can add hanging hardware or use command strips to hang this sign. It’s not very heavy. Hang it on your walls, lean on a console table, or anywhere in your home that could use a little bit of festive farmhouse Halloween decor!
Watch a quick video of me creating this sign by scanning this QR code and watch it on Instagram!

This easy Hocus Pocus sign is such a fun and festive way to add some farmhouse Halloween charm to your home! And it’s so quick and easy to make, you’ll be done in no time.
So get creative and have some fun with it! Your friends and family will love this unique Hocus Pocus sign. Make sure you are following me on Instagram, Pinterest, LTK, and TikTok for more ideas just like this one. Happy crafting!
If you enjoyed this DIY project, you may also like:

YOU CAN SHOP THE SUPPLIES NEEDED FOR THIS PROJECT:


I love how you repurposed this old sign into something completely new! What a great idea and so cute too!
Thank you! It’s always fun to repurpose things, isn’t it? 😀